Jotform’s Calculator widget lets your form do the math for you—no spreadsheets, no manual number-crunching, just instant results. Whether you’re adding up prices, scoring quizzes, or calculating shipping costs, it’s a simple way to make your form smarter, faster, and way more interactive.
Here are a few ways to use it:
- Compute Total Costs or Prices — You can use the Calculator widget to automatically calculate totals in order forms, invoices, or service requests. Users can see the total amount in real time as they select products or services.
- Calculate Discounts and Promotions — The widget can apply discounts, promo codes, or special offers directly in the form. This helps users understand savings instantly and improves checkout experience.
- Estimate Project or Service Quotes — You can use the Calculator widget to provide instant quotes for projects, bookings, or consultations. Users select options, and the form calculates the final estimate automatically.
- Track Quantities and Subtotals — For forms with multiple items or services, the widget can calculate subtotals for each selection and then sum them up for the total. This is useful for event registrations, product bundles, or subscription plans.
Note
The Calculator widget can handle basic arithmetic (addition, subtraction, multiplication, division) and more complex operations like percentages.
Adding and Setting Up the Calculator Widget
Add a powerful, easy-to-use calculator right inside your form with the Calculator widget. Your users can crunch numbers without ever leaving the page. Getting started is simple—here’s what to do:
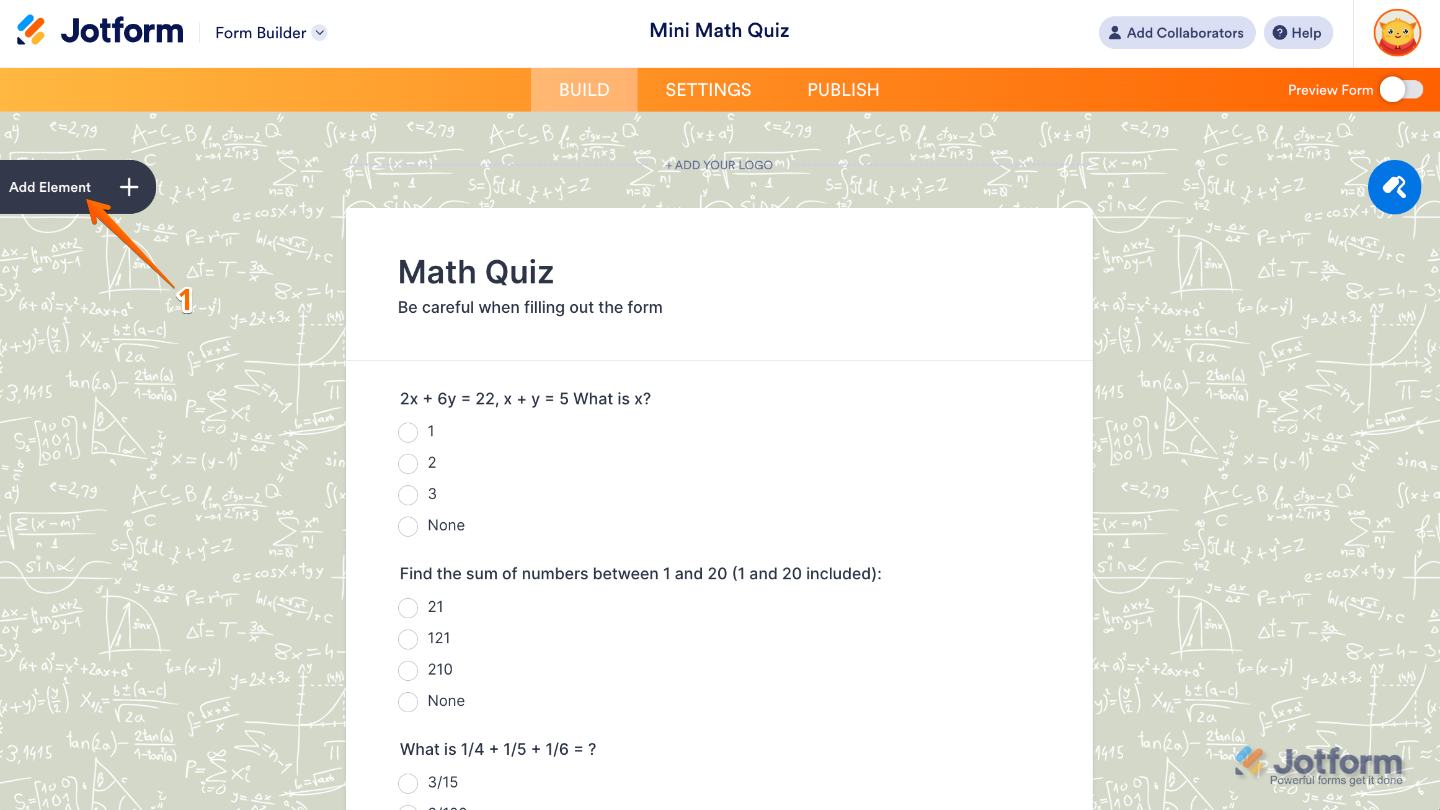
- In Form Builder, click on Add Element on the left side of the page.
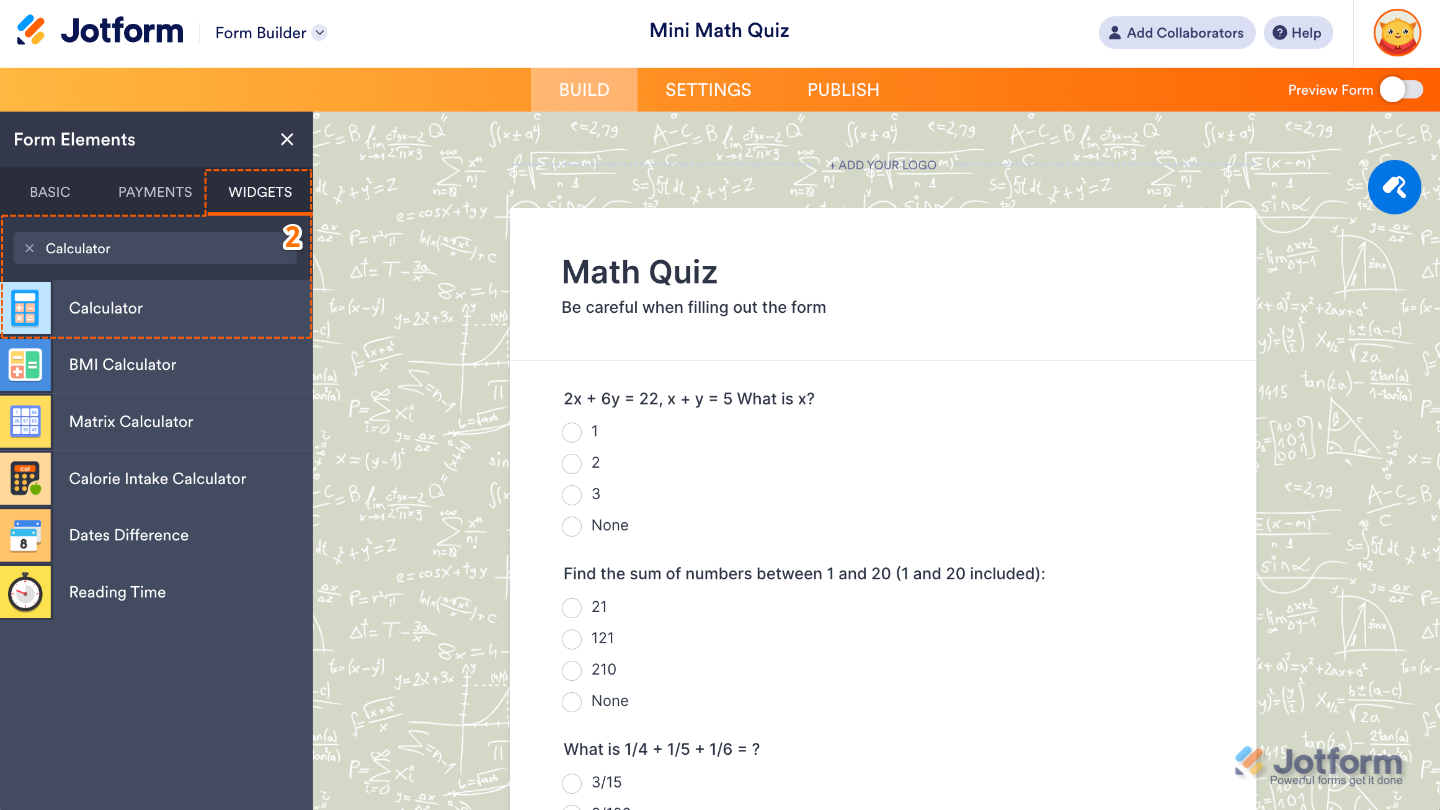
- Now, in the Form Elements menu, under the Widgets tab, search for Calculator and then click on it. Or, just drag and drop it to where you want it to be on your form.
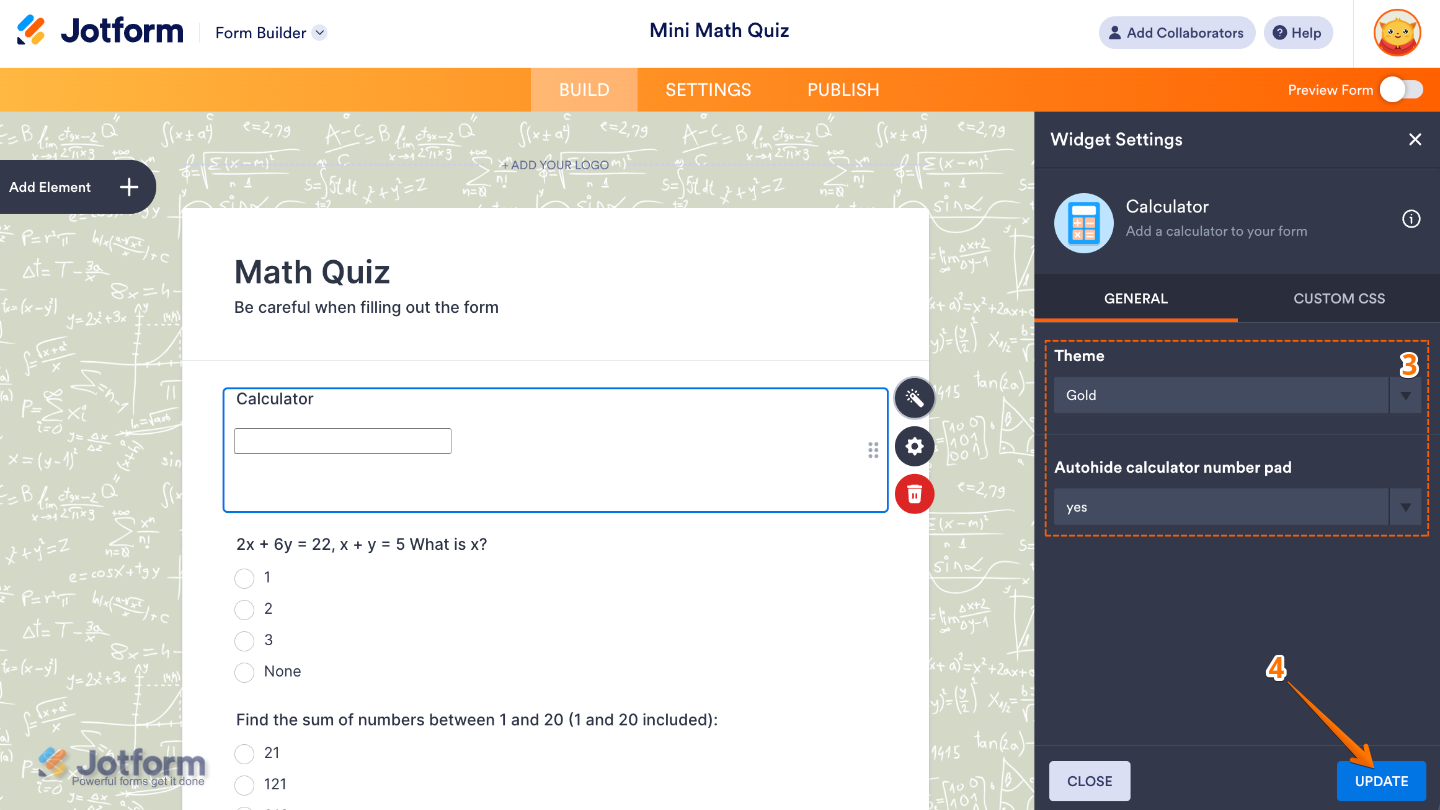
- Next, in the Widget Settings window that opens on the right side of the page, set up the following options:
- Theme — Pick a calculator style that fits right in with your form’s look, so everything feels seamless and easy on the eyes.
- Autohide calculator number pad — When turned on, the calculator’s number pad will neatly tuck itself away after a calculation, keeping your form clean and clutter-free for your users.
- Once you’re done, click on Update.
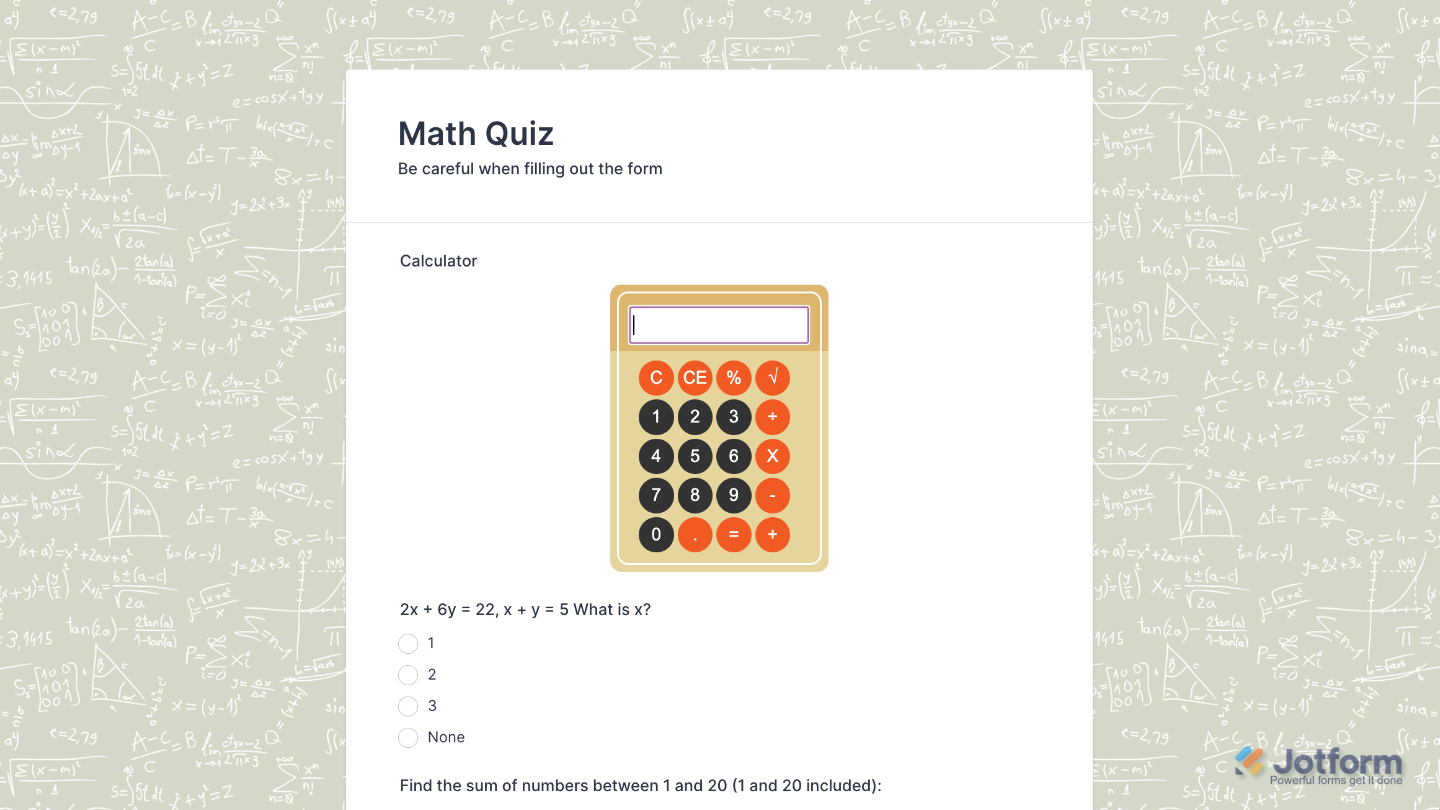
That’s it. You’ve successfully added and set up the Calculator widget to your form. Now, you have a field in your form that lets users perform calculations right on the spot—no separate tools needed. Curious how it works on a live form? Check out this Demo Form.
To tweak how your Calculator field looks, just click the gear icon to open its settings and adjust it to your liking.
Note
For advanced styling, you can add your own custom CSS under the Custom CSS tab in the widget settings and style the Calculator field. Our guide on How to Inject CSS Codes to Widgets walks you through everything.
Pro Tips
- Use clear, descriptive names for your form fields—it makes setting up formulas in the Calculator widget much easier.
- If your form is mobile-friendly, give the calculator a quick test on your phone to make sure the buttons are easy to tap.

Send Comment: