Jotform’s DatePicker Year Month widget makes it easy for users to select just a month and year—no need to choose a specific day. It’s a great fit for things like billing cycles, start dates, expiration periods, or any situation where a full calendar date isn’t necessary. Simple, focused, and easy to use.
Here are a few ways to use it
- Collect Credit Card Expiration Dates — You can use the DatePicker Year–Month widget to collect credit card expiration dates without asking for a specific day. This keeps the form simple and avoids unnecessary details.
- Gather Employment Start and End Dates — The widget works well for collecting job start or end dates when only the month and year are relevant. This is helpful for applications, resumes, or HR forms.
- Record Subscription or Membership Periods — You can use it to track when a subscription or membership begins or ends. Selecting just the month and year makes the process faster and more user-friendly.
- Collect Graduation or Education Dates — The widget is ideal for education forms where you only need the graduation month and year. It keeps the form clean and prevents confusion about exact dates.
Note
The widget is built for situations where you only need the month and year, making it perfect for forms that don’t require a specific day. It keeps things simple and focused, so users can quickly provide exactly what you need—nothing more, nothing less.
Adding and Setting Up the DatePicker Year Month Widget
When using the DatePicker Year Month widget, once a selection is made, the picker neatly hides itself, keeping your form clean and easy to fill out. Want to set it up? Just do this:
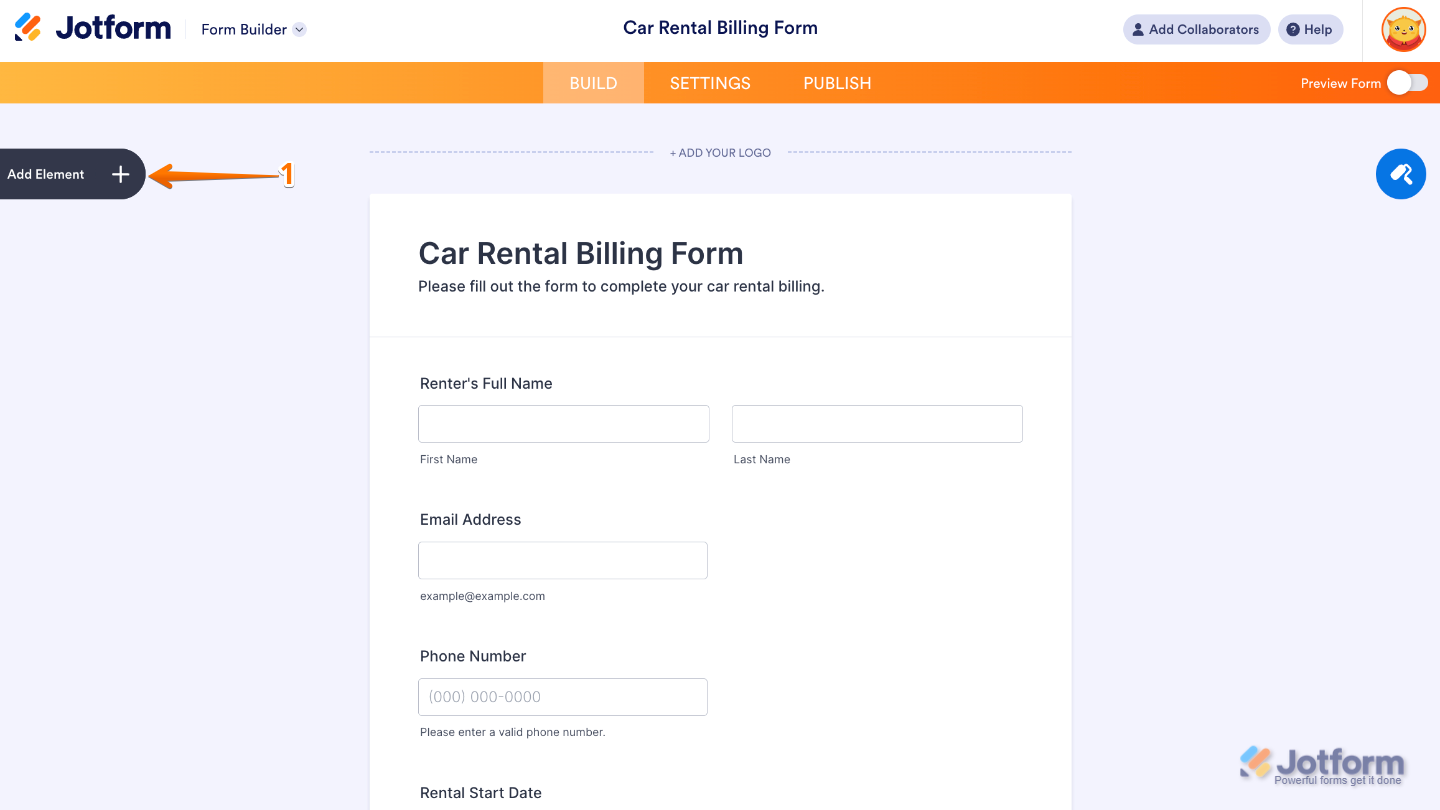
- In Form Builder, click on Add Element on the left side of the page.
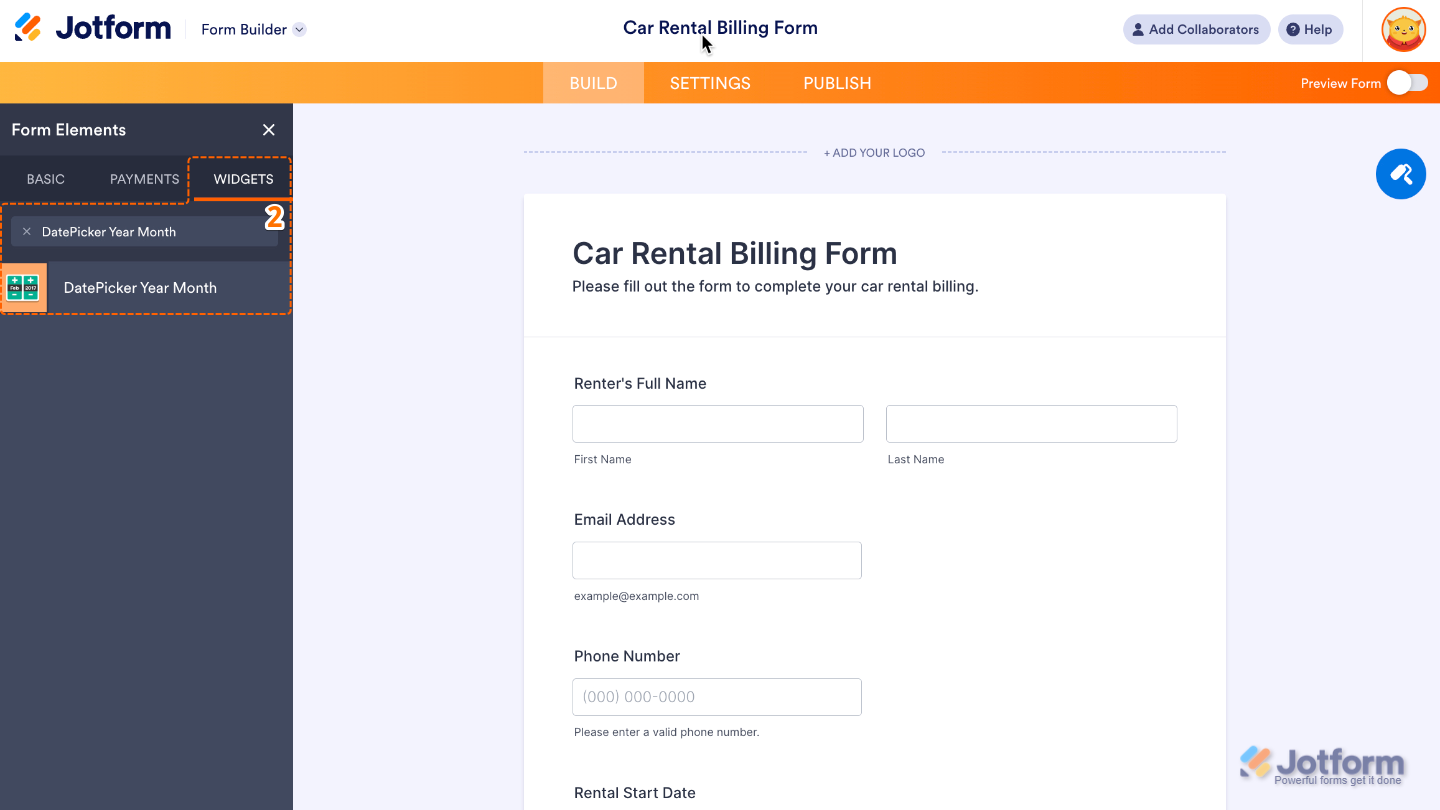
- Now, in the Form Elements menu, under the Widgets tab, search for DatePicker Year Month and then click on it. Or, just drag and drop it to where you want it to be on your form.
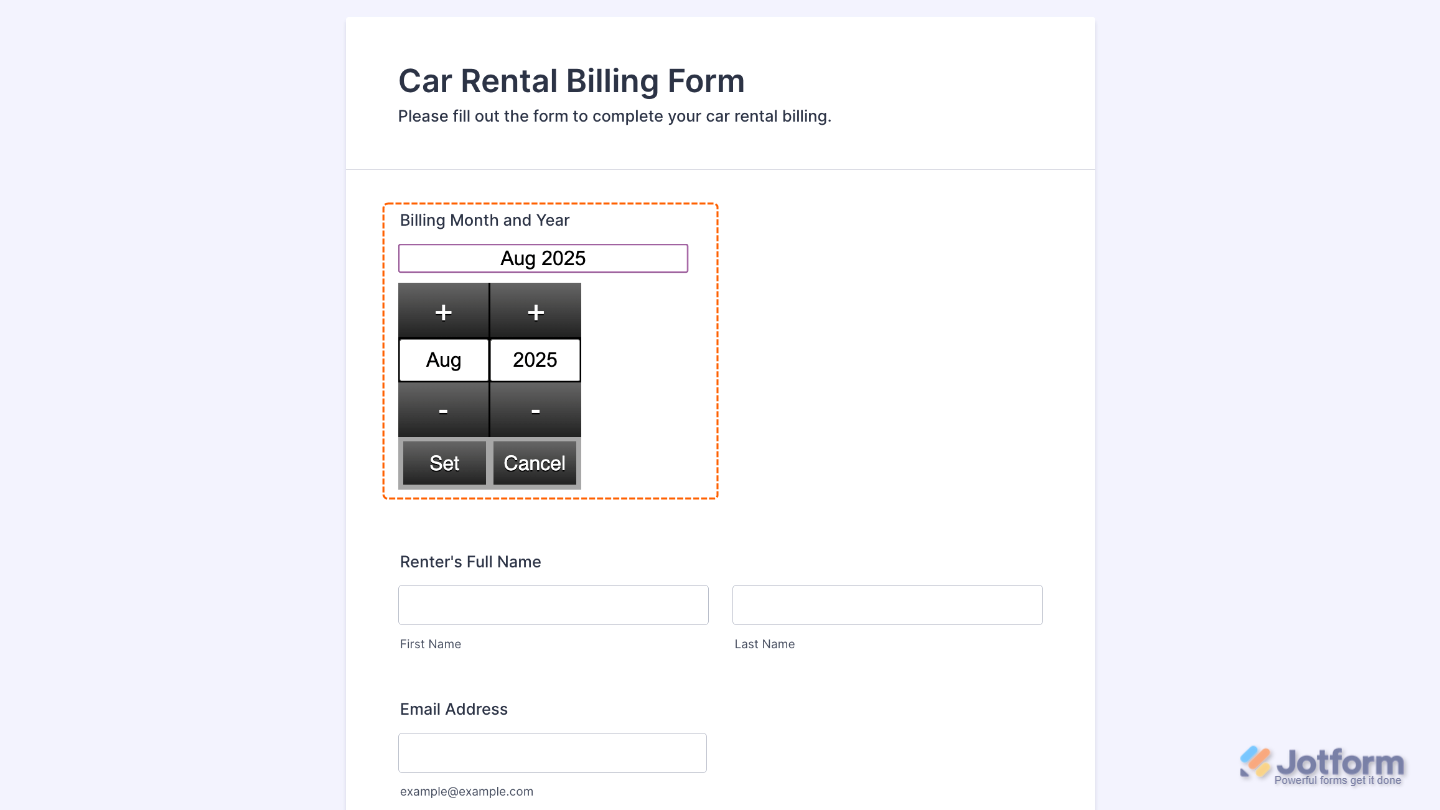
That’s it. You’ve successfully added and set up the DatePicker Year Month widget to your form. Now, you have a field in your form that makes it easy for users to pick just a month and year, no extra setup needed. Wondering how it looks in action? Check out this Demo Form.
To customize how your DatePicker Year Month field looks, simply click the gear icon to open its properties and adjust the settings to your liking.
Note
For advanced styling, you can add your own custom CSS under the Custom CSS tab in the widget settings and style the DatePicker Year Month field. Our guide on How to Inject CSS Codes to Widgets walks you through everything.
Pro Tip
If your form uses both full date pickers and this widget, make sure to clearly indicate which one should be used for each question to avoid duplicate or conflicting entries.

Send Comment: