Jotform’s Labelless widget is perfect if you’re going for a clean, minimalist form design. It allows you to add fields without visible labels, giving your form a sleek, modern feel that keeps the focus on the user’s input. Whether you’re building a quick survey, a sign-up form, or a stylish contact form, this widget helps you keep everything simple and clutter-free while still collecting the information you need.
Here are a few ways to use it:
- Create a Clean, Minimalist Form Design — You can use the Labelless widget to remove visible field labels and rely on placeholder text instead. This gives your form a sleek, modern look while keeping the focus on the content.
- Build Short, Quick-Entry Forms — The widget works well for simple forms like newsletter sign-ups or contact forms where only a few fields are needed. Without labels taking up space, the form feels lighter and faster to complete.
- Design Landing Page Forms — For landing pages where design matters, the Labelless widget helps maintain a streamlined layout. It blends naturally into marketing pages without adding extra visual clutter.
- Create Compact Inline Forms — If you need to place a form in a tight space, such as a sidebar or footer, the Labelless widget keeps the layout compact by minimizing vertical spacing.
Note
Since the prompt disappears as soon as the user starts typing, keep your placeholder text short, clear, and easy to understand so they know exactly what to enter right away.
Adding and Setting Up the Labelless Widget
Adding the Labelless widget helps keep your form clean and compact by placing prompts or questions directly inside the text field, creating a simple and streamlined experience for your users. It only takes a minute to set up—here’s how:
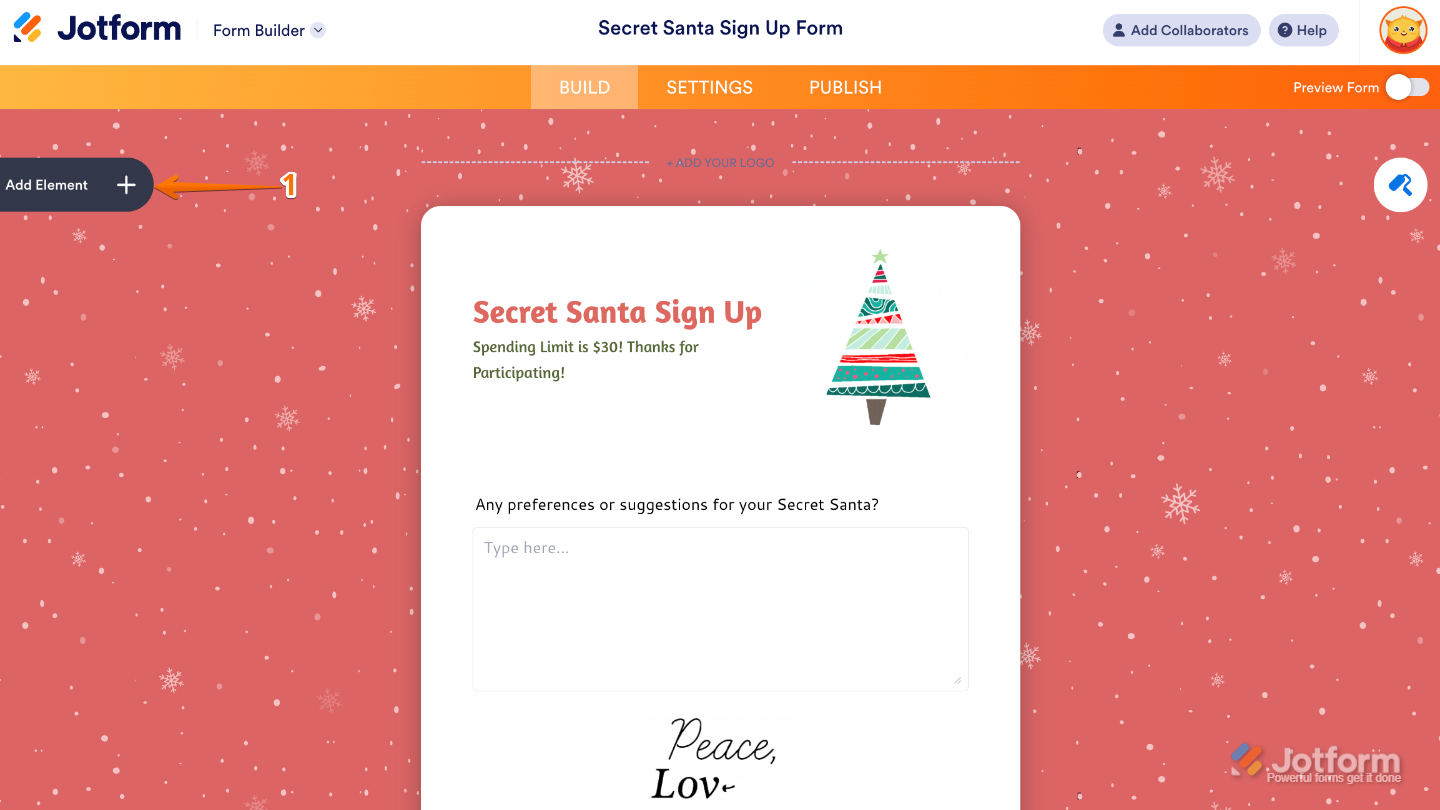
- In Form Builder, click on Add Element on the left side of the page.
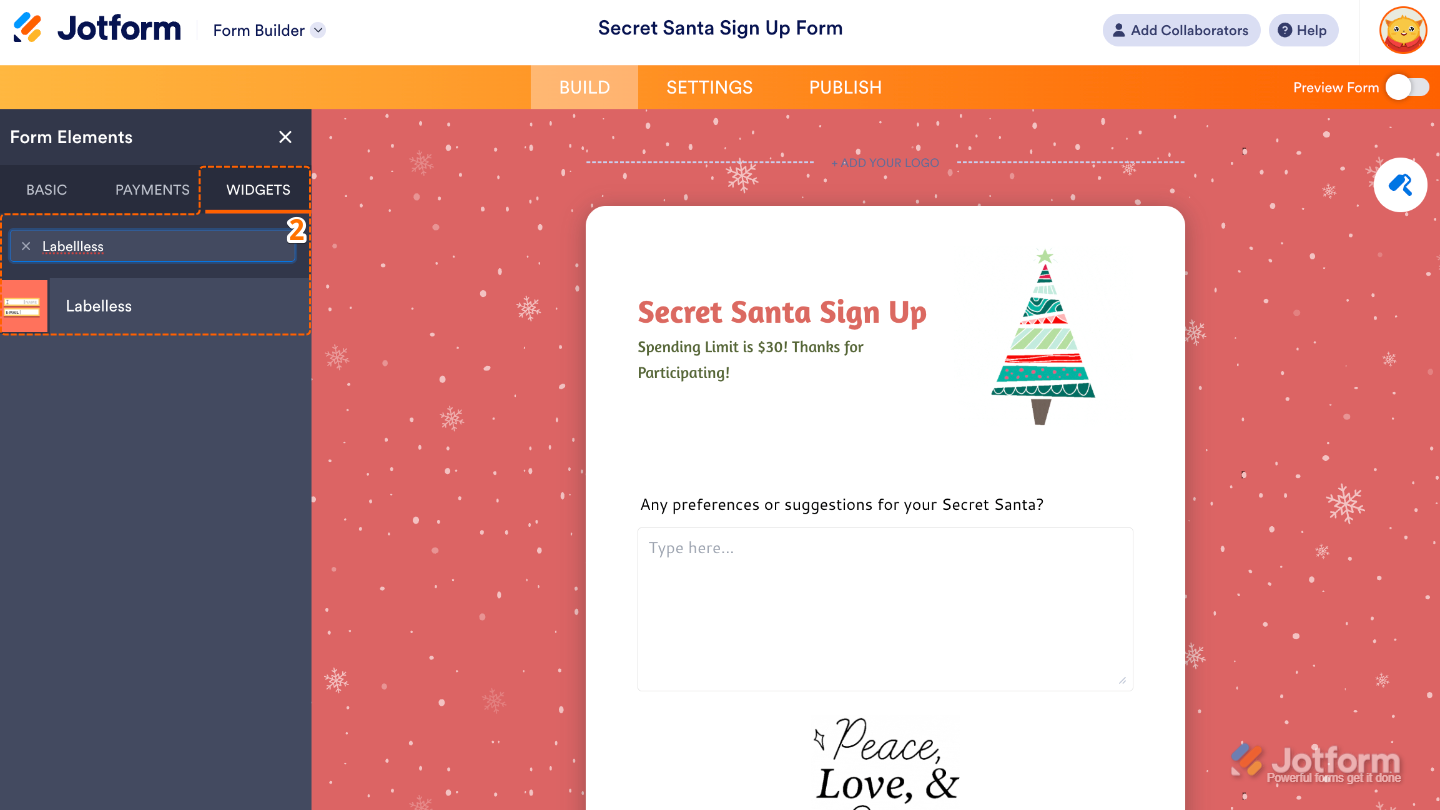
- Now, in the Form Elements menu, under the Widgets tab, search for Labelless and then click on it. Or, just drag and drop it to where you want it to be on your form.
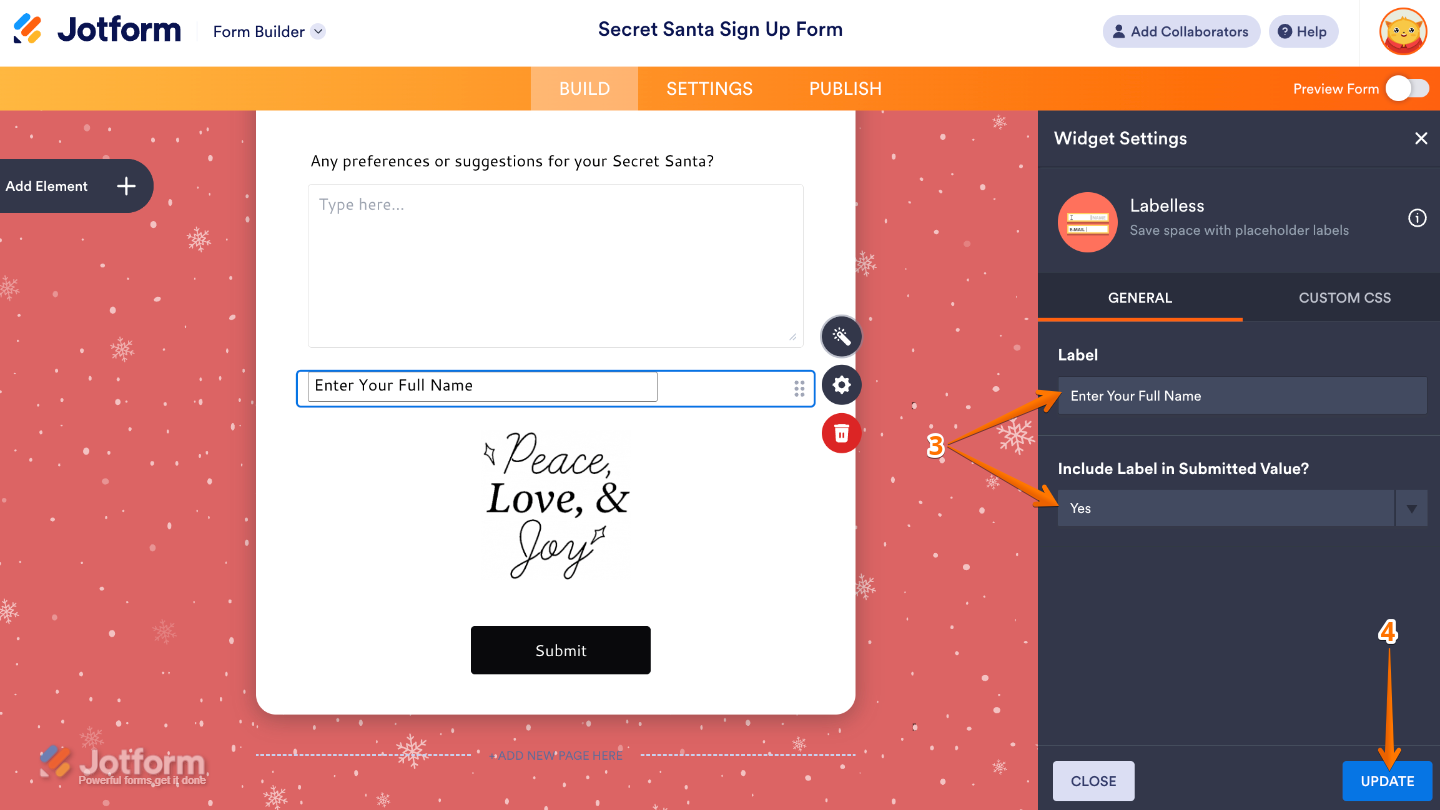
- Next, in the Widget Settings window that opens on the right side of the page, set up the following options:
- Label — Enter the text prompt or question that appears inside the input field instead of above it.
- Include Label in Submitted Value — When toggled on, the submitted response will also include the label text along with the user’s answer.
- Once you’re done, click on Update.
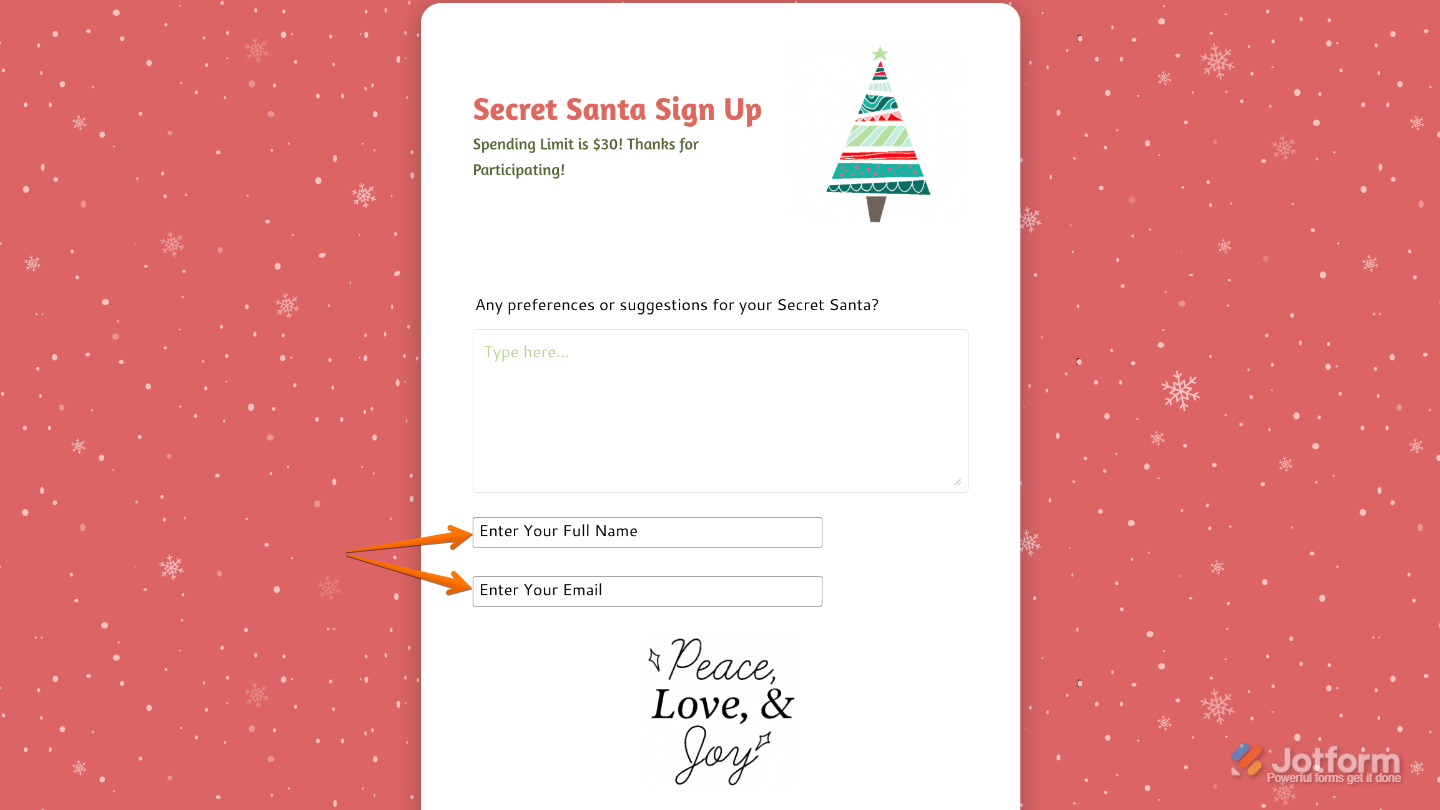
That’s it. You’ve successfully added and set up the Labelless widget to your form. Now, you have a field in your form that is handy when you want your form to look uncluttered, keep users focused, and work seamlessly on mobile devices. Curious how it works on a live form? Check out this Demo Form.
To further customize your Labelless field’s appearance, just click on the Gear icon to open its properties.
Note
For advanced styling, you can add your own custom CSS under the Custom CSS tab in the widget settings and style the Labelless field. Our guide on How to Inject CSS Codes to Widgets walks you through everything.
Pro Tips
- experience smooth.
- Test your form on mobile devices—the Labelless widget looks great on smaller screens, but it’s always good to double-check that your placeholder text is easy to read.
- If you’re using multiple Labelless fields, arrange them in a logical order so users can move through the form naturally and without second-guessing.

Send Comment: