When you need people to enter a specific time on your form, clarity and ease of use make all the difference. The Large Time Picker widget is designed exactly for that—it gives your users a clean, spacious, and intuitive way to select a time without any hassle. Whether you’re scheduling appointments, setting event times, or collecting time-based data, this widget helps keep everything simple and precise.
Here are a few ways to use it:
- Let Users Easily Select Appointment Times — Whether you’re scheduling meetings, booking services, or reserving slots, the large time picker makes choosing a time feel effortless and intuitive.
- Great for Mobile-First Forms — Because the picker is large and easy to tap, it’s ideal for people filling out your form on their phone or tablet. No tiny dropdowns or fiddly buttons—just a clean, user-friendly time selector.
- Perfect for Event Signups — Use it to let attendees pick start times for workshops, sessions, or activities without confusion.
- Smooth Experience for Older Users or Accessibility Needs — The bold, spacious layout makes it easier for users with visual or motor challenges to select the right time without mistakes.
Adding and Setting Up the Large Time Picker Widget
Adding the Large Time Picker widget to your form gives your users a clear, easy-to-use way to select a specific time. Its simple, spacious design makes choosing hours and minutes feel effortless, helping you collect accurate time inputs without any confusion. Get started like this:
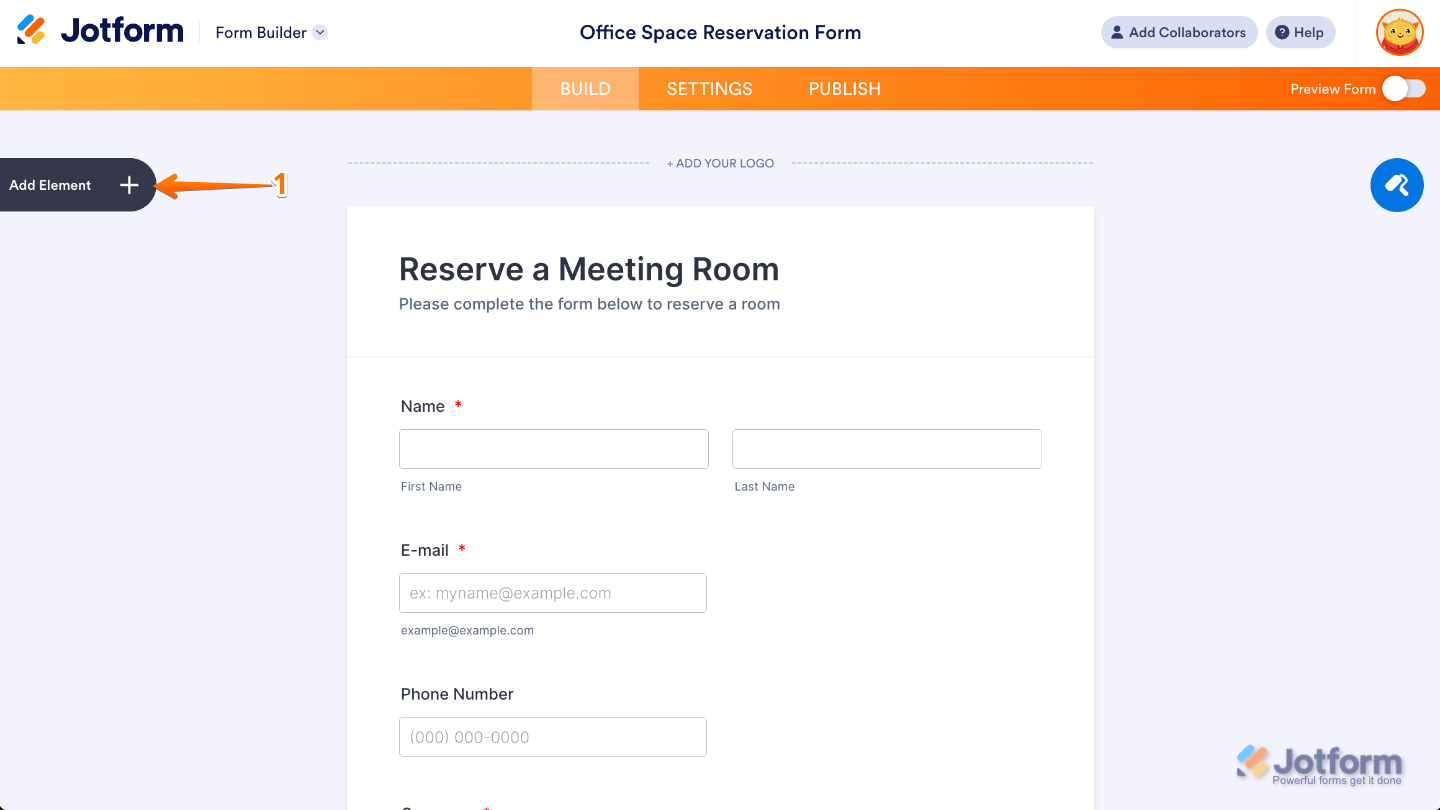
- In Form Builder, click on Add Element on the left side of the page.
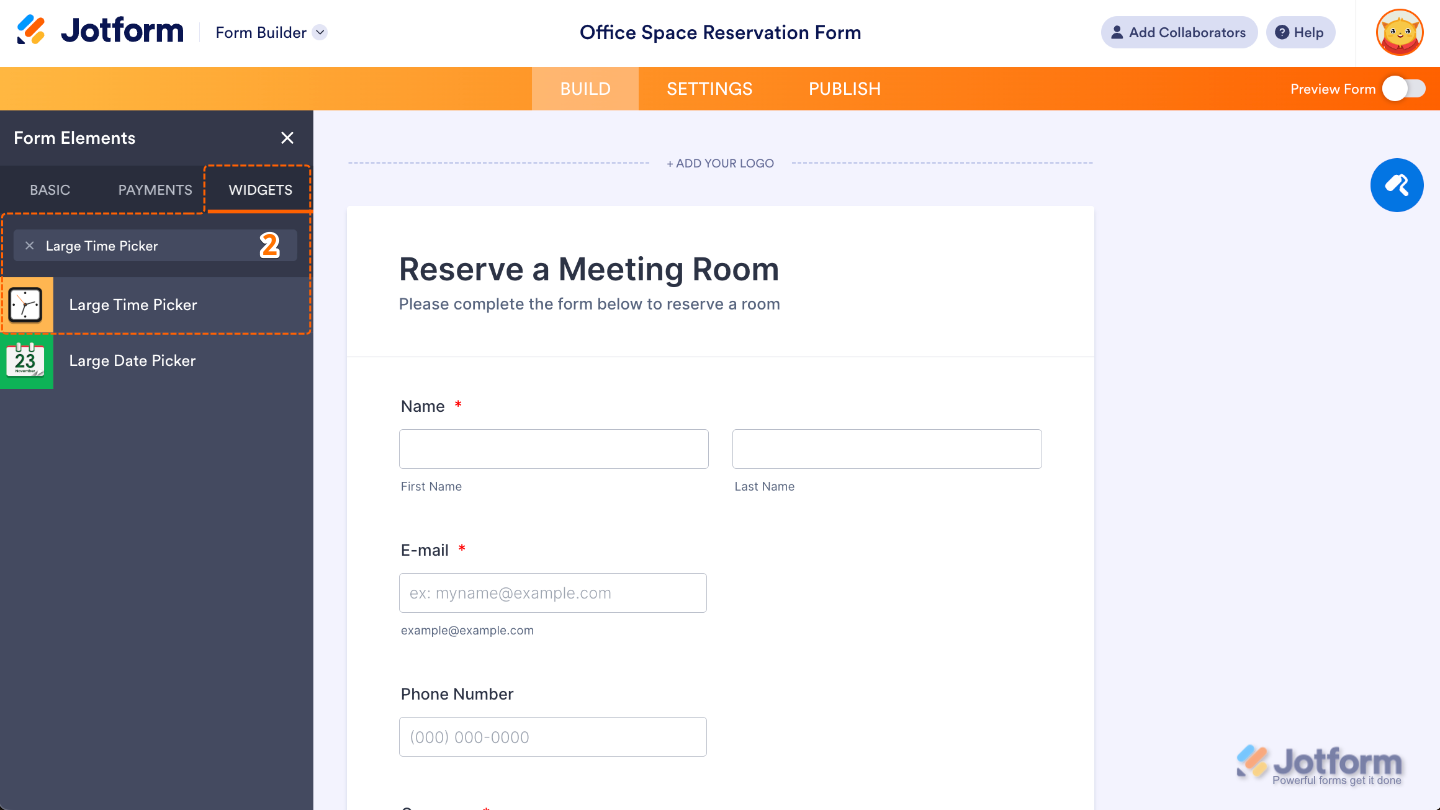
- Now, in the Form Elements menu, under the Widgets tab, search for Large Time Picker and then click on it. Or, just drag and drop it to where you want it to be on your form.
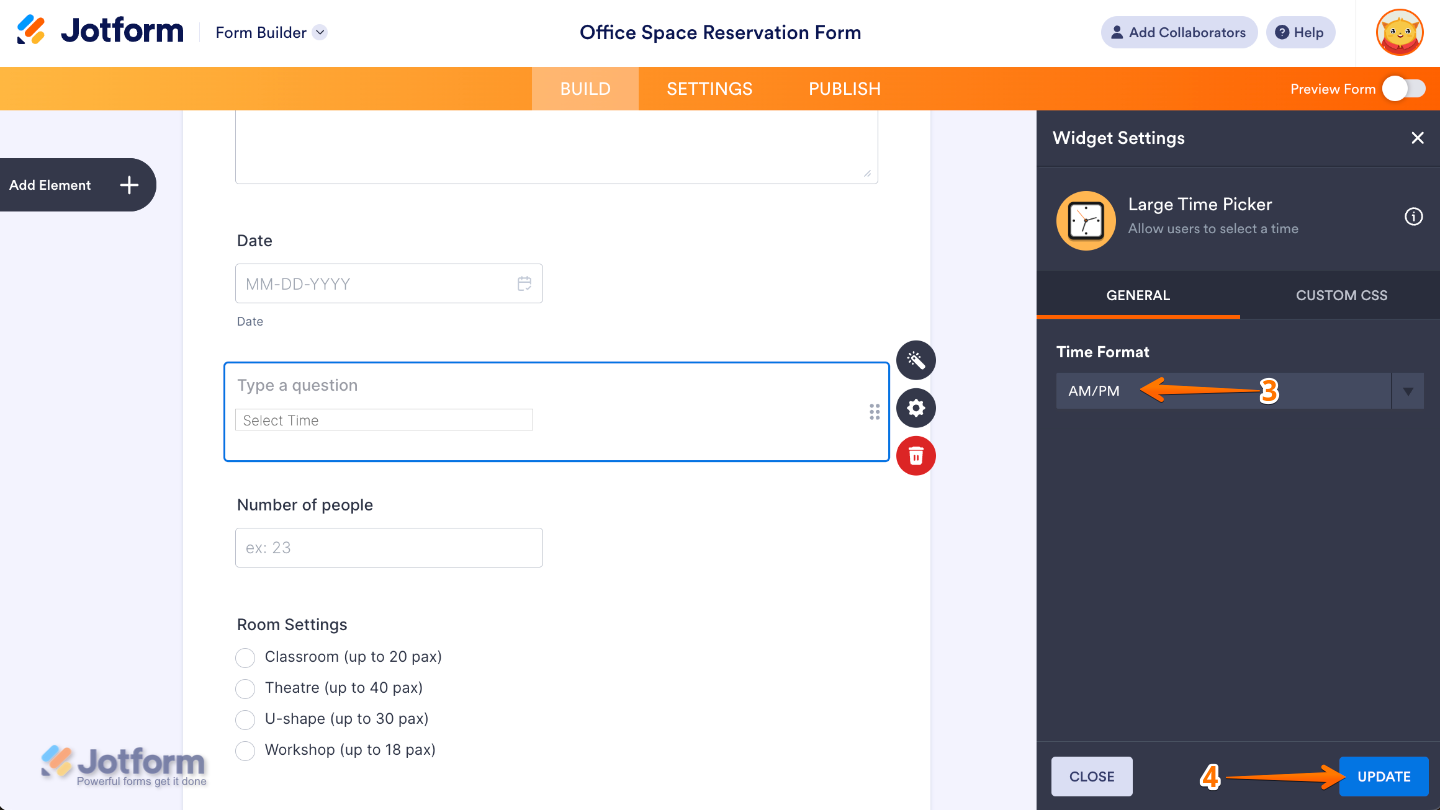
- Next, in the Widget Settings menu that opens on the right side of the page, set up the Time Format option to decide whether the widget displays time in 12-hour format (with AM/PM) or 24-hour format (military time).
- Once you’re done, click on Update.
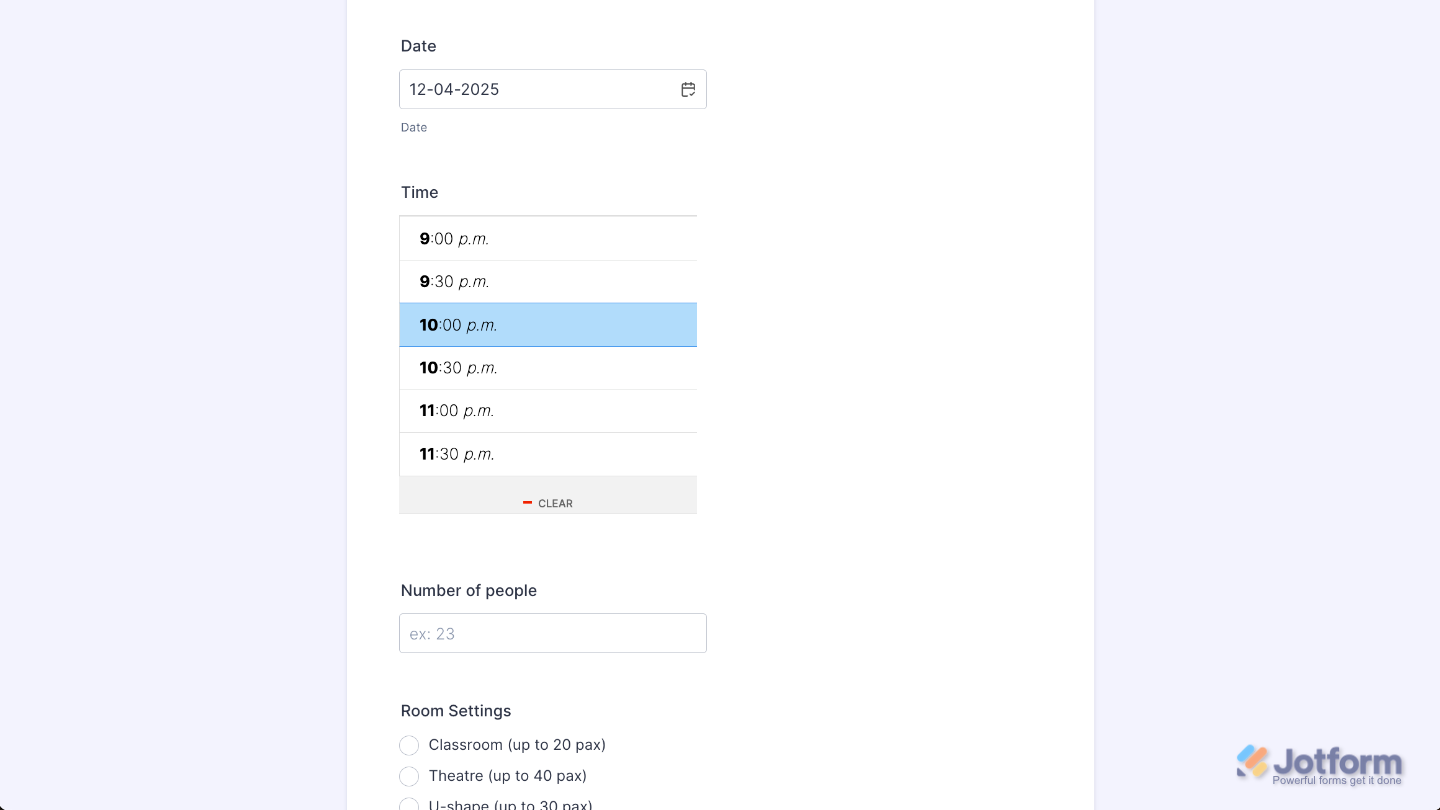
That’s it. You’ve successfully added and set up the Large Time Picker widget on your form. Now your users can select exact times with ease, giving them a smooth, accurate, and user-friendly way to enter time without any confusion. Curious how it works on a live form? Check out this Demo Form.
To further customize your Large Time Picker field appearance, just click on the Gear icon to open its properties.
Note
For advanced styling, you can add your own custom CSS under the Custom CSS tab in the widget settings and style the Large Time Picker field. Our guide on How to Inject CSS Codes to Widgets walks you through everything.
Pro Tips
- For full scheduling workflows, combine the Large Time Picker with a date field. It helps users avoid confusion and ensures you get complete appointment details.
- Test the widget from a user’s perspective—check how easy it is to adjust the time, switch between hours and minutes, and submit the field without mistakes.

Send Comment: