Jotform’s Localized Calendar widget makes picking dates easier and more personalized for your users. With support for multiple languages and regional formats, this widget ensures everyone sees the calendar in a way that feels familiar to them. Whether you’re scheduling appointments, planning events, or collecting availability, it’s a simple way to make your forms more user-friendly and accessible.
Here are a few ways to use it:
- Collect Dates in the User’s Local Format — You can use the Localized Calendar widget to display dates in the format commonly used in a specific country or region. This reduces confusion and ensures users enter dates correctly.
- Accept International Bookings or Registrations — The widget is ideal for global businesses that serve customers in different countries. It automatically adapts the calendar format to match local conventions, making booking or registration forms more user-friendly.
- Simplify Travel and Reservation Forms — For travel agencies or accommodation providers, the widget helps users select departure and return dates in a familiar format. This improves clarity and minimizes date-entry errors.
- Manage Event Registrations Across Regions — If you’re hosting international events or webinars, the Localized Calendar widget ensures participants clearly understand event dates based on their regional settings.
Adding and Setting Up the Localized Calendar Widget
Adding the Localized Calendar widget to your form makes choosing dates a breeze for your users. Setting it up takes no time at all—here’s how:
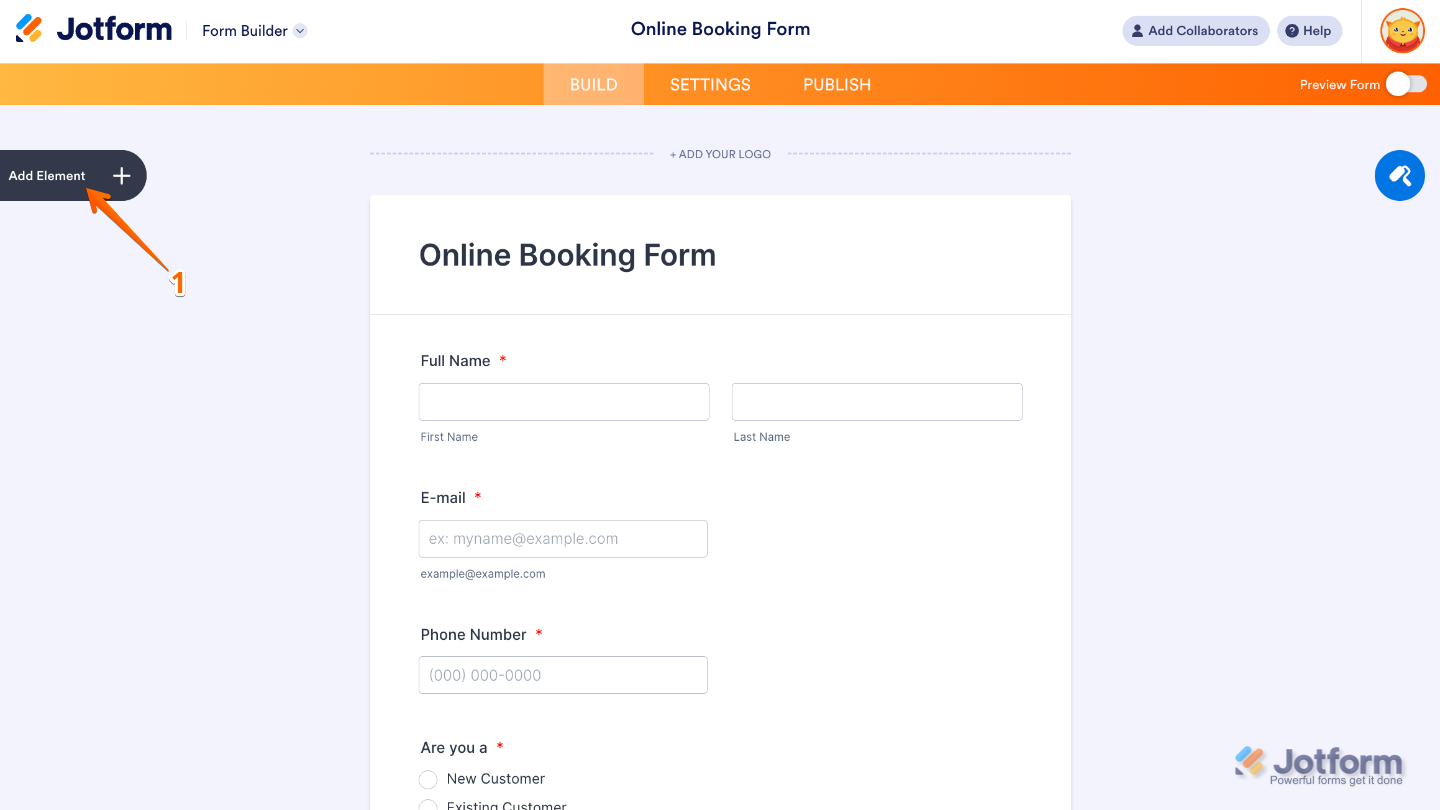
- In Form Builder, click on Add Element on the left side of the page.
- Now, in the Form Elements menu, under the Widgets tab, search for Localized Calendar and then click on it. Or, just drag and drop it to where you want it to be on your form.

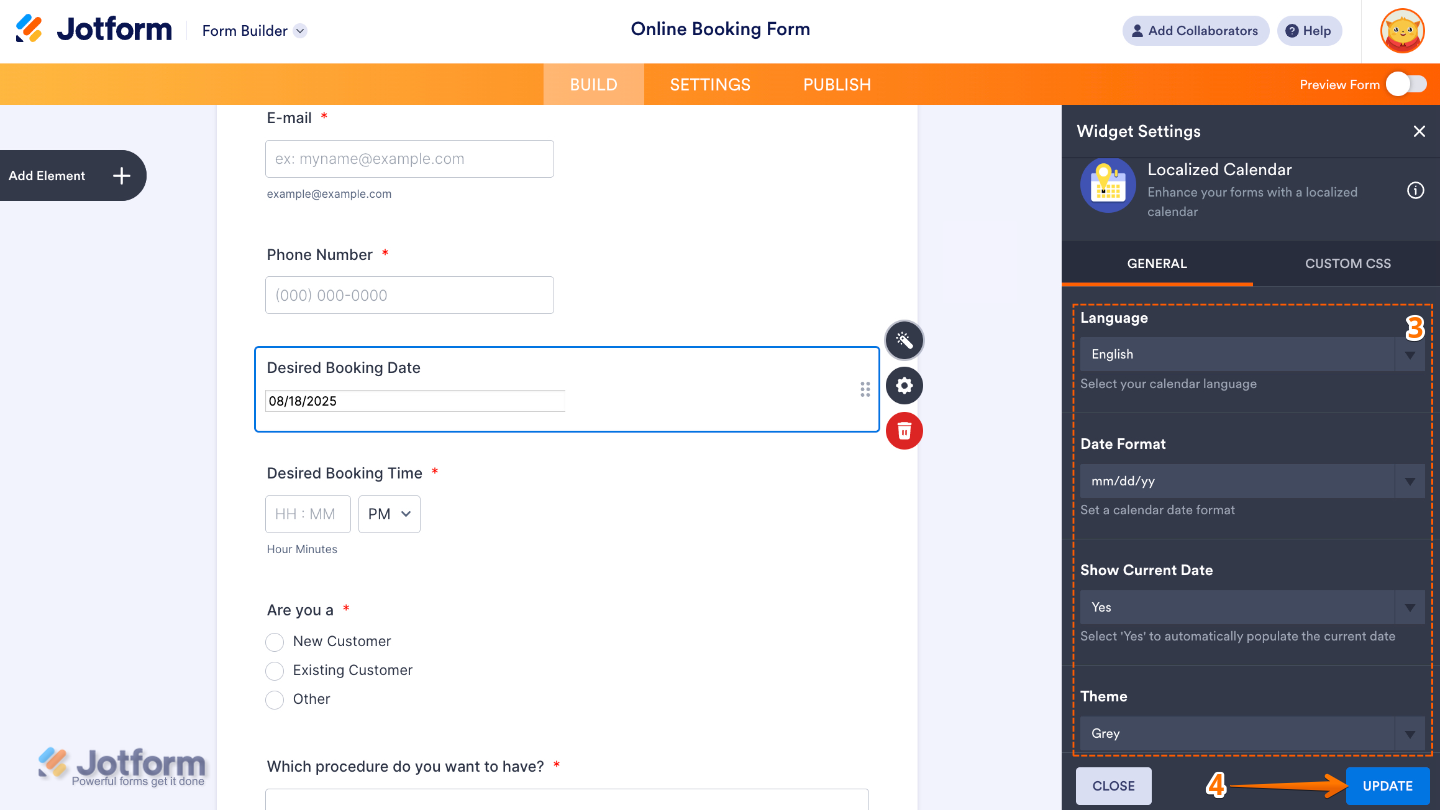
- Next, in the Widget Settings window that opens on the right side of the page, set up the following options:
- Language — Pick a language so the calendar’s months and days show up in the way your users are most familiar with.
- Date Format — Set how the date will appear so it matches the regional format your users are most familiar with.
- Show Current Date — Turn this on, and the calendar will automatically highlight today’s date, making it easier and faster for users to pick.
- Theme — Choose a calendar style that flows seamlessly with your form’s design, keeping everything looking polished and consistent.
- Once you’re done, click on Update.
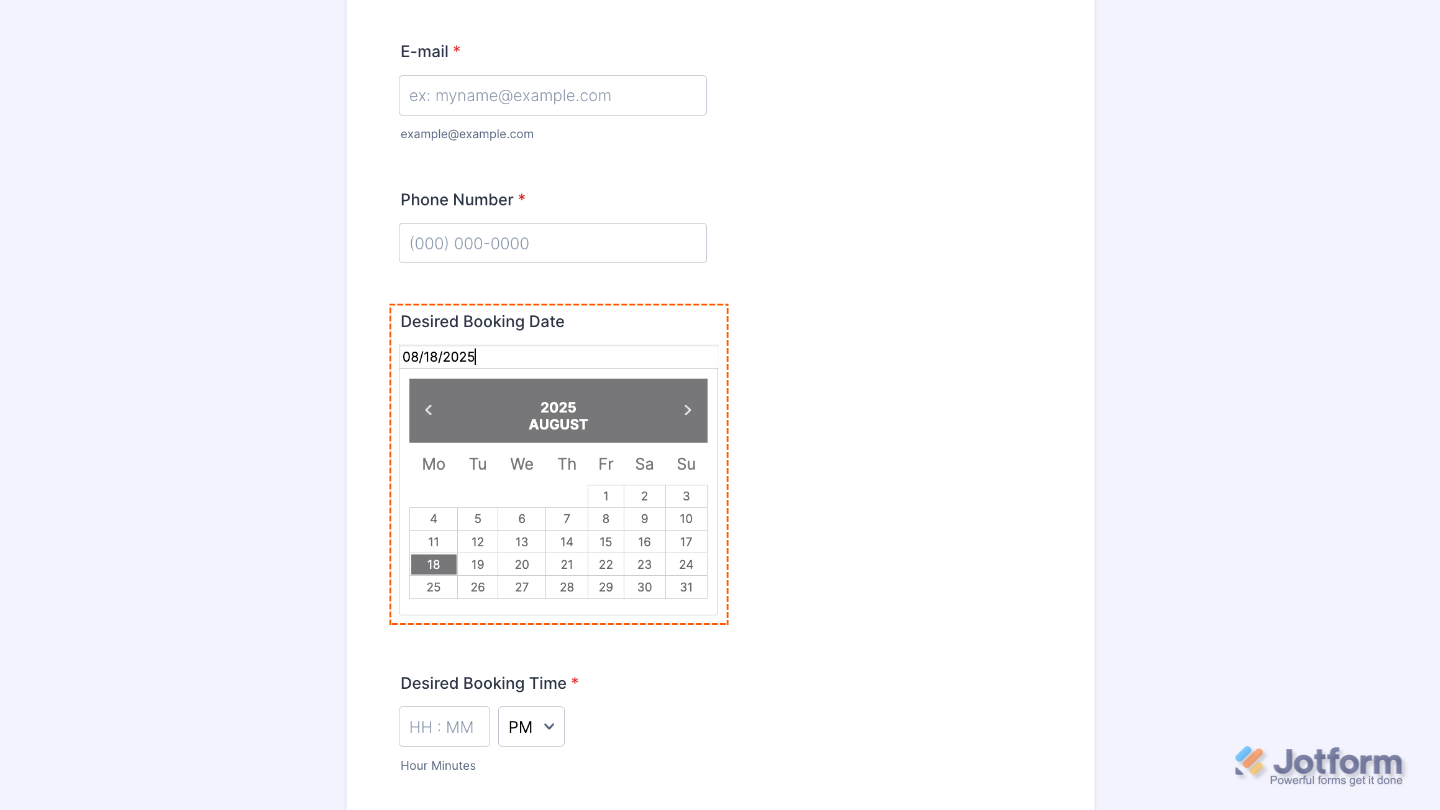
That’s it. You’ve successfully added and set up the Localized Calendar Buttons widget to your form. Now, you have a field in your form that shows a calendar tailored to your users’ local language and date format, making it easy and intuitive for them to pick the right date. Curious how it works on a live form? Check out this Demo Form.
To tweak how your Localized Calendar field looks, just click the gear icon to open its settings and adjust it to your liking.
Note
For advanced styling, you can add your own custom CSS under the Custom CSS tab in the widget settings and style the Localized Calendar field. Our guide on How to Inject CSS Codes to Widgets walks you through everything.

Send Comment: