Jotform’s Passage Test widget makes it easy to check how well your form users understand a passage of text. You can display a block of text—like instructions, policies, or reading material—and then add questions to see how much your users remember. It’s a simple way to test comprehension, collect feedback, or even create quizzes right inside your form.
Here are a few ways to use it:
- Assess Reading Comprehension Skills — You can use the Passage Test widget to present a short reading passage followed by related questions. This is ideal for evaluating comprehension in educational or training settings.
- Conduct Language Proficiency Evaluations — The widget works well for testing grammar, vocabulary, and understanding within context. Language instructors can assess how well participants interpret written material.
- Screen Job Applicants — Employers can use the Passage Test widget to evaluate candidates’ ability to understand instructions, analyze information, and respond accurately. This is especially useful for roles that require strong reading skills.
- Deliver Certification or Training Exams — Organizations can include a passage followed by multiple questions to measure knowledge retention after training sessions. This helps ensure participants fully understand the material.
Note
Each blank field should follow a specific format: {FieldName:TextboxSize:Correct Answer}.
Adding and Setting Up the Passage Test Widget
Adding the Passage Test widget to your form is a fun and easy way to switch up your quizzes, surveys, or exams. You can do it in just a few steps:
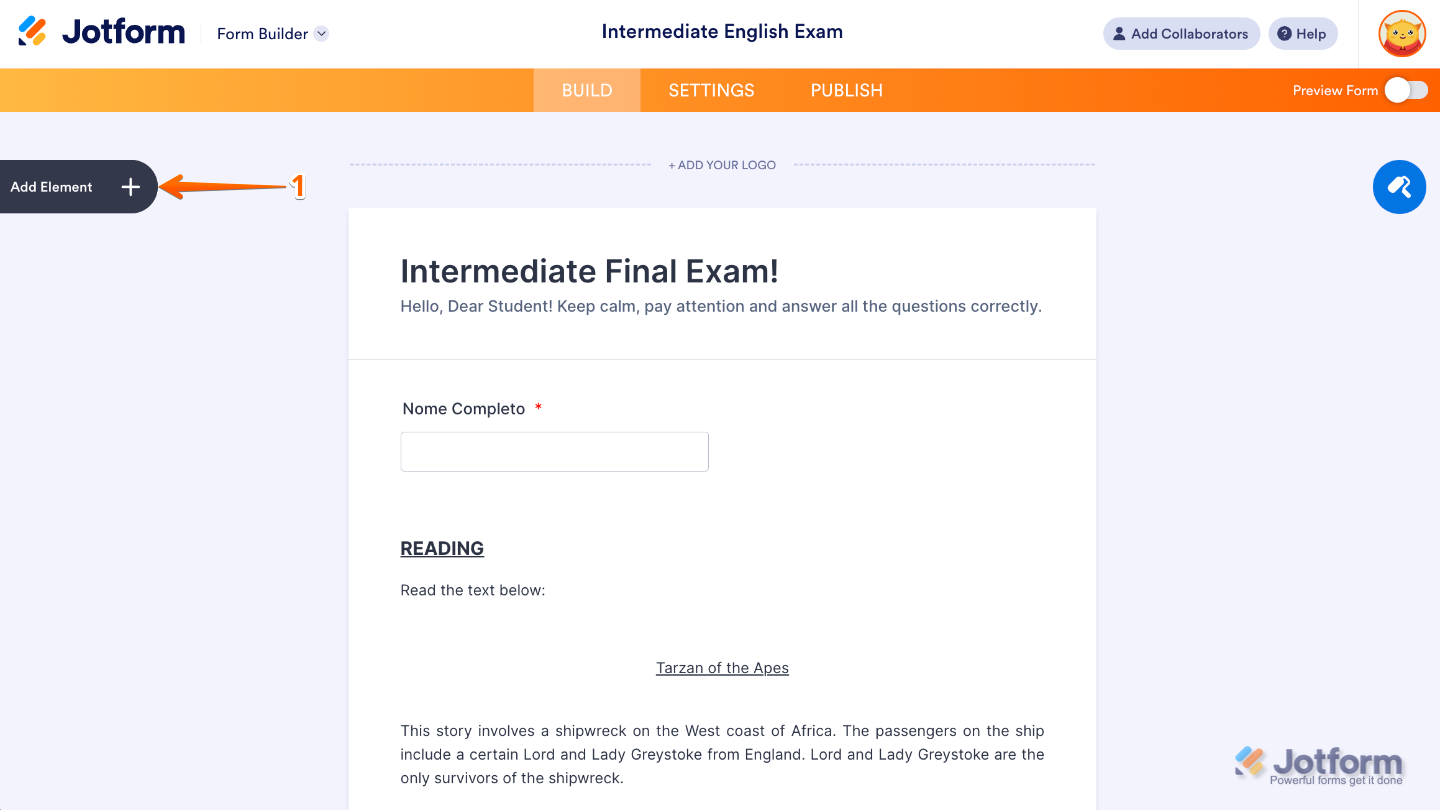
- In Form Builder, click on Add Element on the left side of the page.
- Now, in the Form Elements menu, under the Widgets tab, search for Passage Test and then click on it. Or, just drag and drop it to where you want it to be on your form.

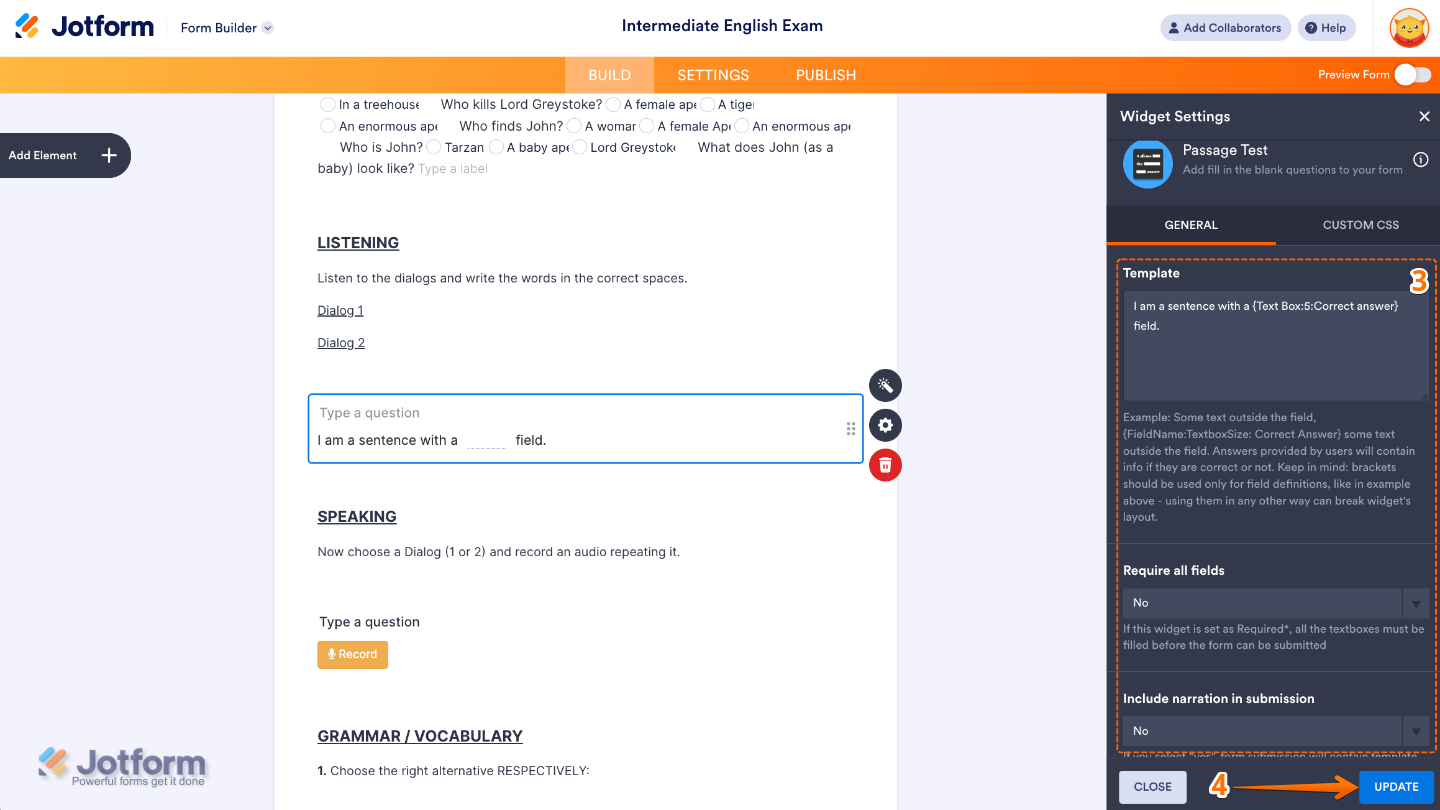
- Next, in the Widget Settings window that opens on the right side of the page, set up the following options:
- Template — Choose a ready-made passage format to save time, or create your own if you’d like. When setting up blank fields, just follow this simple format: {FieldName:TextboxSize:Correct Answer}. This way, your Passage Test field knows exactly where the blank goes, how big the text box should be, and what the correct answer is.
- Require All Fields — When enabled, users must fill in all the blanks in the passage before they can submit the form.
- Include Naration In Submission — Set this up to control whether the entire passage (with the blank spaces and answers) will show up in the form’s submission data. Turning it on can help you review answers in context instead of just seeing the filled-in blanks.
- Once you’re done, click on Update.
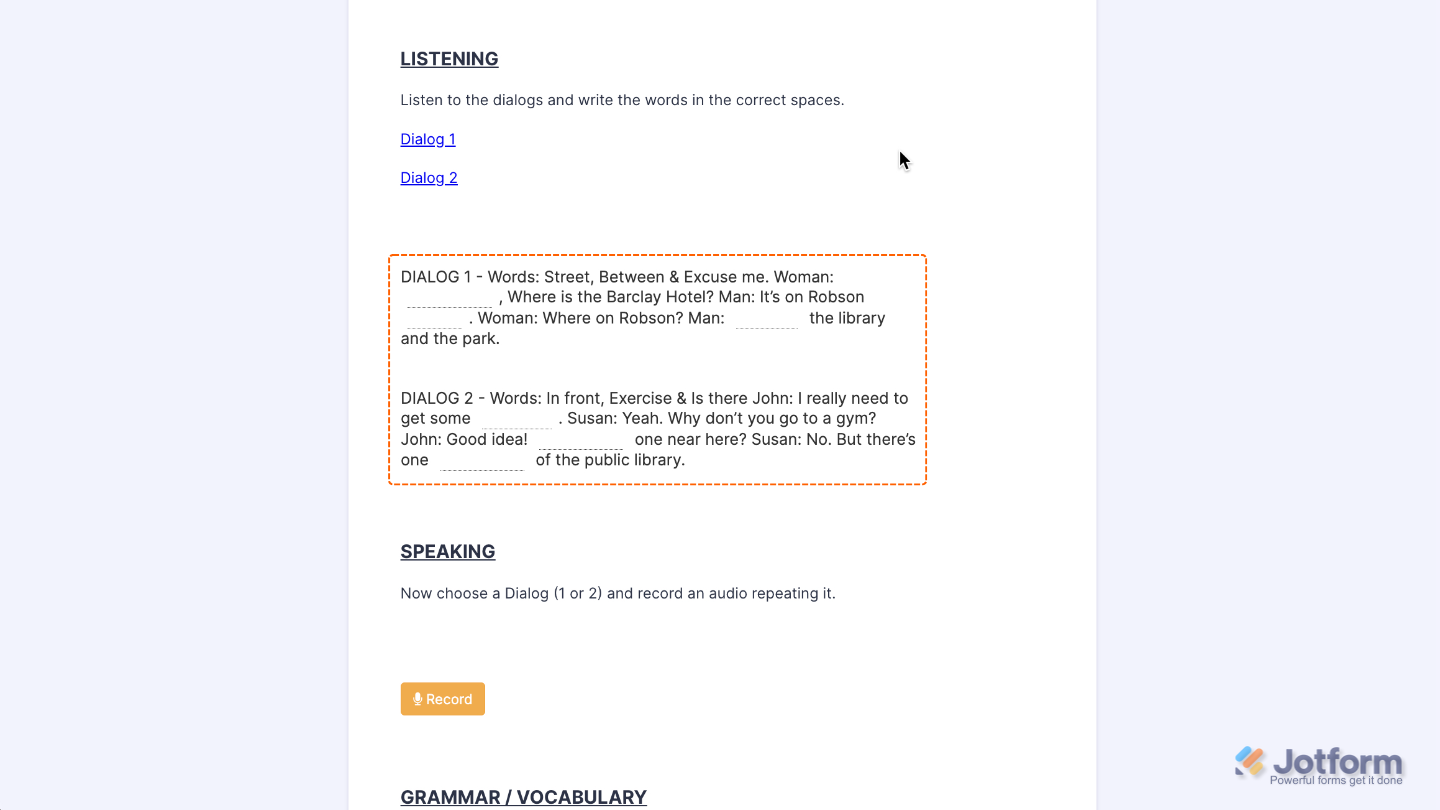
That’s it. You’ve successfully added and set up the Passage Test widget to your form. Now, you have a field in your form that allows for fill-in-the-blank questions, decide exactly where you’d like people to answer, and even set it up to automatically mark responses as pass or fail. Ready to see it in real time? Have a look at this Demo Form.
To tweak how your Passage Test field looks, just click the gear icon to open its settings and adjust it to your liking.
Note
For advanced styling, you can add your own custom CSS under the Custom CSS tab in the widget settings and style the Passage Test field. Need a hand? Our guide on How to Inject CSS Codes to Widgets] is a great place to start.
Pro Tips
- Naming your blanks something short and easy makes reviewing answers later much smoother.
- Make textboxes bigger for longer answers and smaller for short ones—this helps guide your users when they fill out the form.
- Always preview your form to make sure the blanks are placed exactly where you want them and that the answers work as expected.

Send Comment: