Jotform’s QR Code widget automatically creates a scannable QR code that users can access with their mobile devices. Whether you’re promoting an event, linking to a website, or sharing a digital download, this widget is a great way to get your content to users quickly and easily.
Here are a few ways to use it:
- Share Event Details — If you’re planning a workshop, webinar, or party, add a QR code that links directly to the event page, map location, or even digital tickets.
- Give Quick Access to Resources — Perfect for forms that include guides, instructions, or reference materials. Instead of cluttering the page with links, just drop in a QR code that users can scan.
- Simplify Product or Service Info — If you’re showcasing products or services, you can generate QR codes that link to demo videos, manuals, or pricing pages.
- Make Check-Ins Easier — Pair the widget with registration forms so participants can scan a QR code for entry, sign-in, or verification.
Notes
- Users can scan the QR code using their smartphone or tablet camera; no app download is required (on most modern devices).
- The QR code is static, meaning it shows the same content to everyone who scans it.
Adding and Setting Up the QR Code Widget
Add the QR Code widget to your form so users can easily scan a QR code right from the form using their smartphone or tablet. Follow these quick steps to get started:
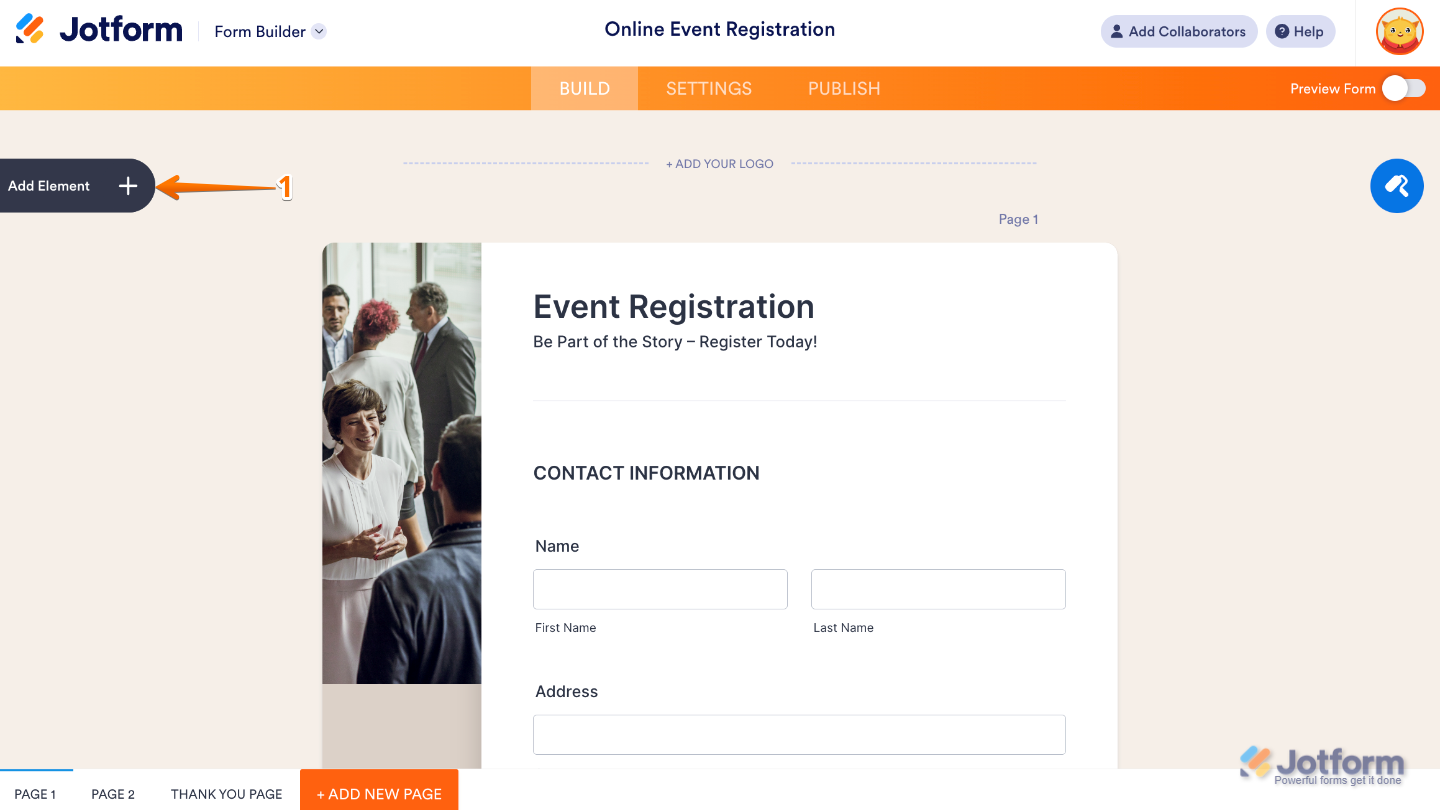
- In Form Builder, click on Add Element on the left side of the page.
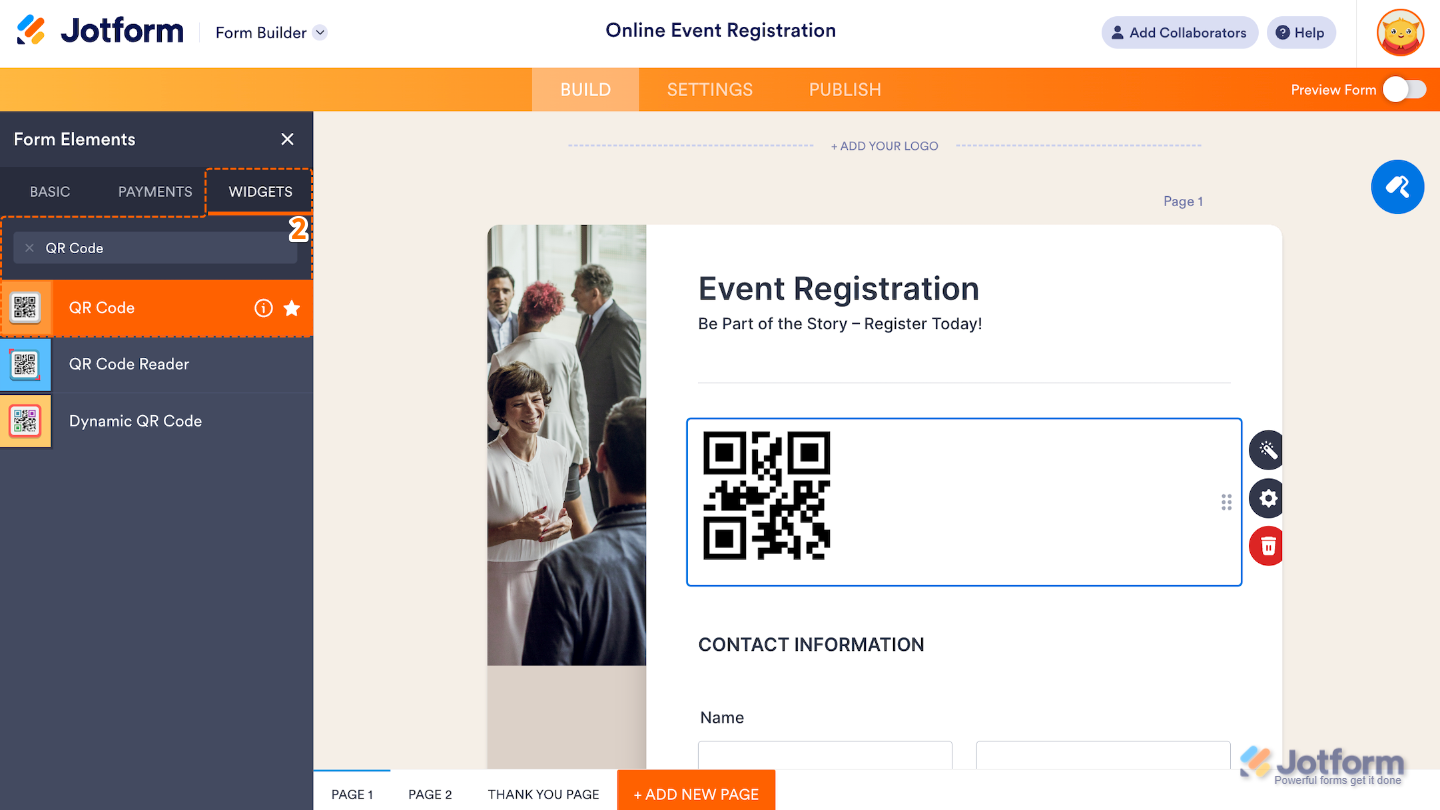
- Now, in the Form Elements menu, under the Widgets tab, search for QR Code and then click on it. Or, just drag and drop it to where you want it to be on your form.
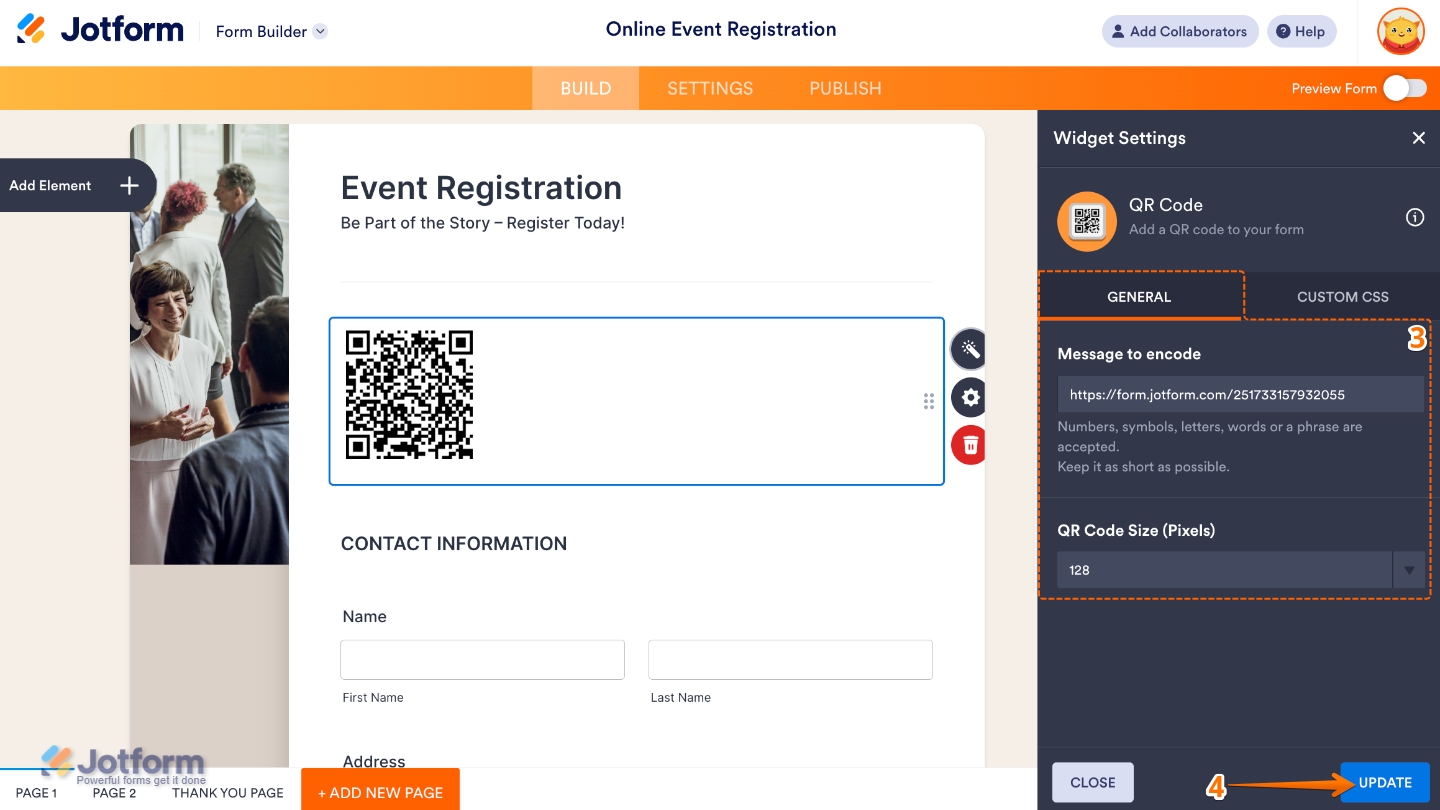
- Next, in the Widget Settings window that opens on the right side of the page, set up the following options:
- Message to Encode — Enter here the text, URL, or data you want the QR code to display or link to when scanned.
- QR Code Size (Pixels) — Set this up to control how large or small the QR code appears on your form.
- Once you’re done, click on Update.
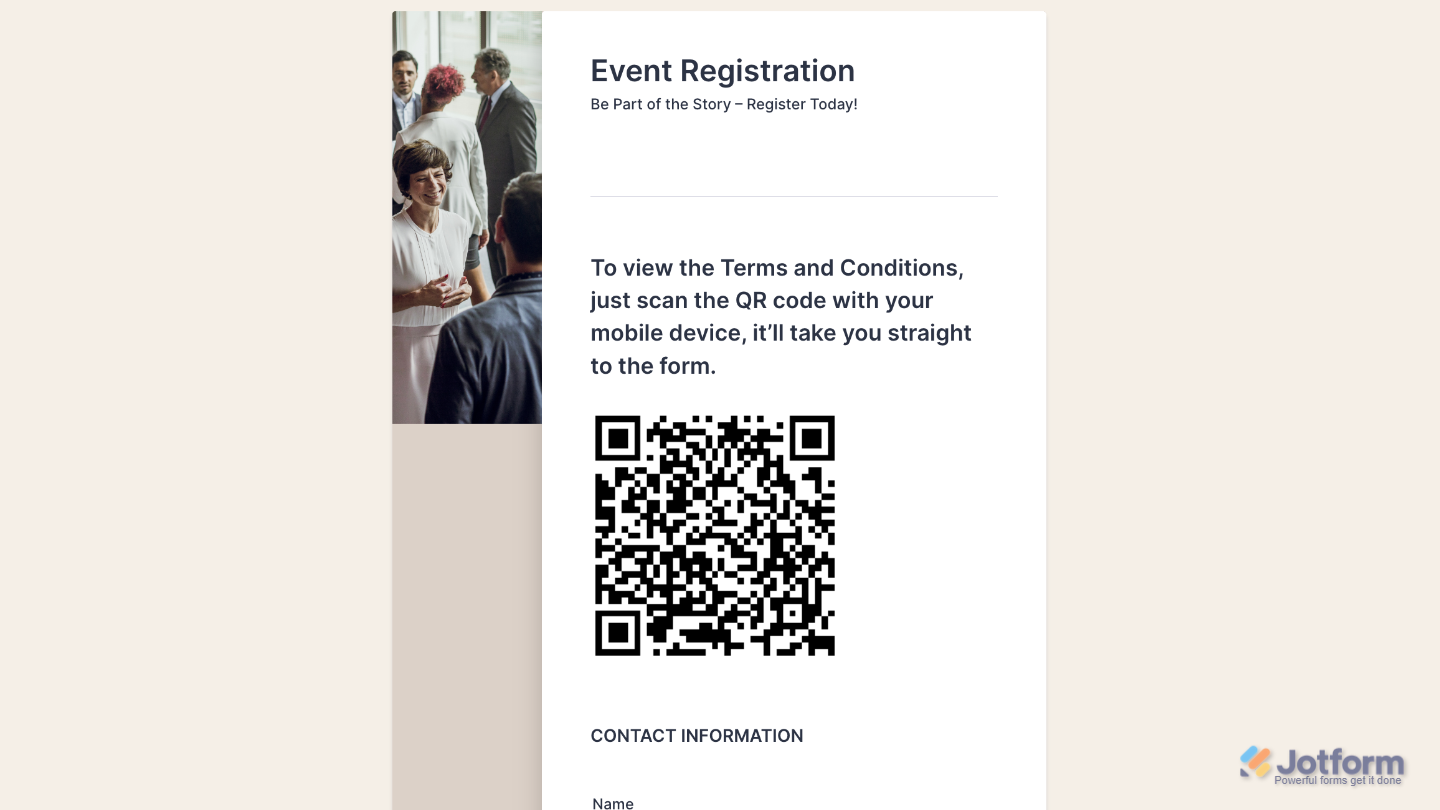
That’s it. You’ve successfully added and set up the QR Code widget to your form. Now, you have a scannable code in your form that generates data based on the message or link you enter in the Message to Encode field. Curious how it works on a live form? Check out this Demo Form.
To further customize your QR Code field appearance, just click on the Gear icon to open its properties.
Note
For advanced styling, you can add your own custom CSS under the Custom CSS tab in the widget settings and style the QR Code field. Our guide on How to Inject CSS Codes to Widgets walks you through everything.
Pro Tips
- Test your QR code on different devices before publishing your form to make sure it scans correctly.
- Pair the widget with an explanation or label so users know what they’ll get when they scan the code.

Send Comment: