Jotform’s Range Slider widget is a quick and interactive way to let users choose a value range right on your form. Instead of typing numbers, users can simply drag sliders to set their minimum and maximum values—making the process faster, more visual, and way more fun. Whether you’re collecting budget ranges, age preferences, or any other numeric range, this widget keeps your form clean, easy to use, and engaging.
Here are a few ways to use it:
- Collect Numerical Ratings or Scores — You can use the Range Slider widget to let users rate experiences, products, or services on a scale, such as 1 to 10. The slider provides a more interactive alternative to traditional radio buttons or dropdowns.
- Measure Satisfaction or Preference Levels — The widget is ideal for surveys that ask how satisfied or interested users are. Sliding to select a value makes it easy for respondents to indicate subtle differences.
- Select a Price Range or Budget — You can use the slider to allow users to specify minimum and maximum budget ranges for products, services, or projects. This helps capture more precise preferences.
- Collect Age or Experience Ranges — The widget can be used to ask for approximate age, years of experience, or other ranges, giving users a visual and intuitive way to select a value.
Notes
- The Range Slider is perfect for questions that need a number range—like age brackets, price filters, or satisfaction scores.
- The results will show up as two numbers in your submissions, separated by the delimiter you choose.
Adding and Setting Up the Add to Range Slider Widget
Adding the Range Slider widget to your form lets users pick a value range with a simple drag. You can do it in a few simple steps:
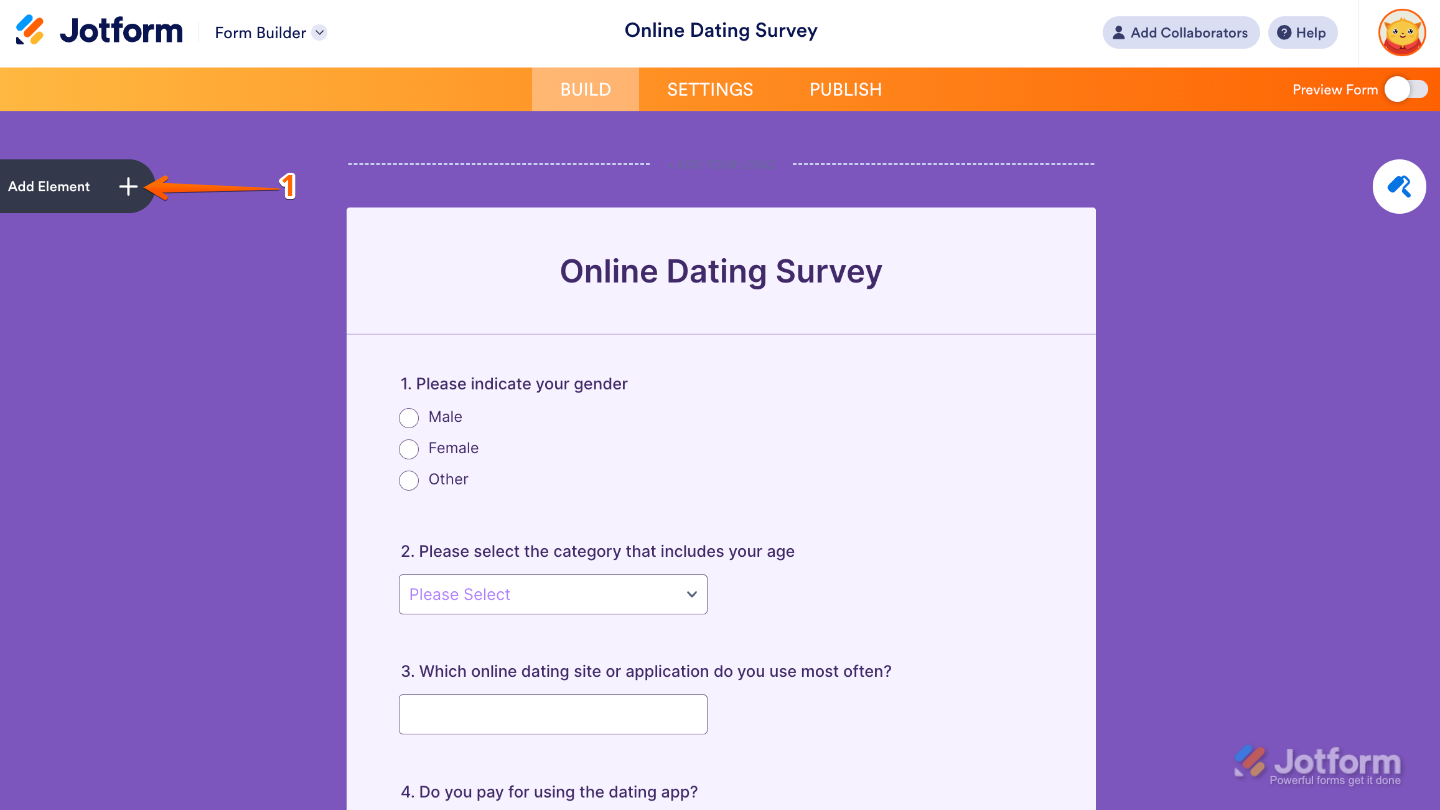
- In Form Builder, click on Add Element on the left side of the page.
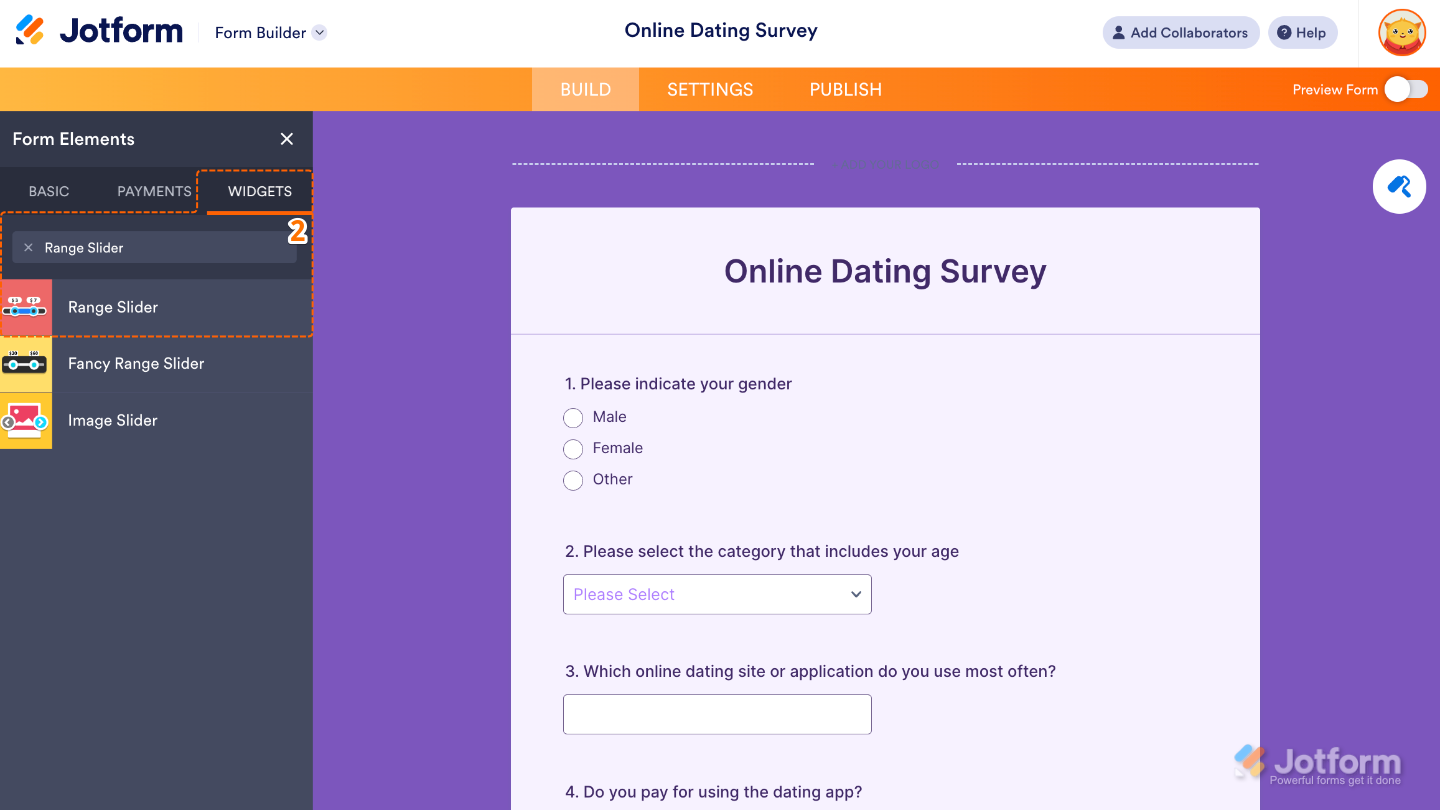
- Now, in the Form Elements menu, under the Widgets tab, search for Range Slider and then click on it. Or, just drag and drop it to where you want it to be on your form.
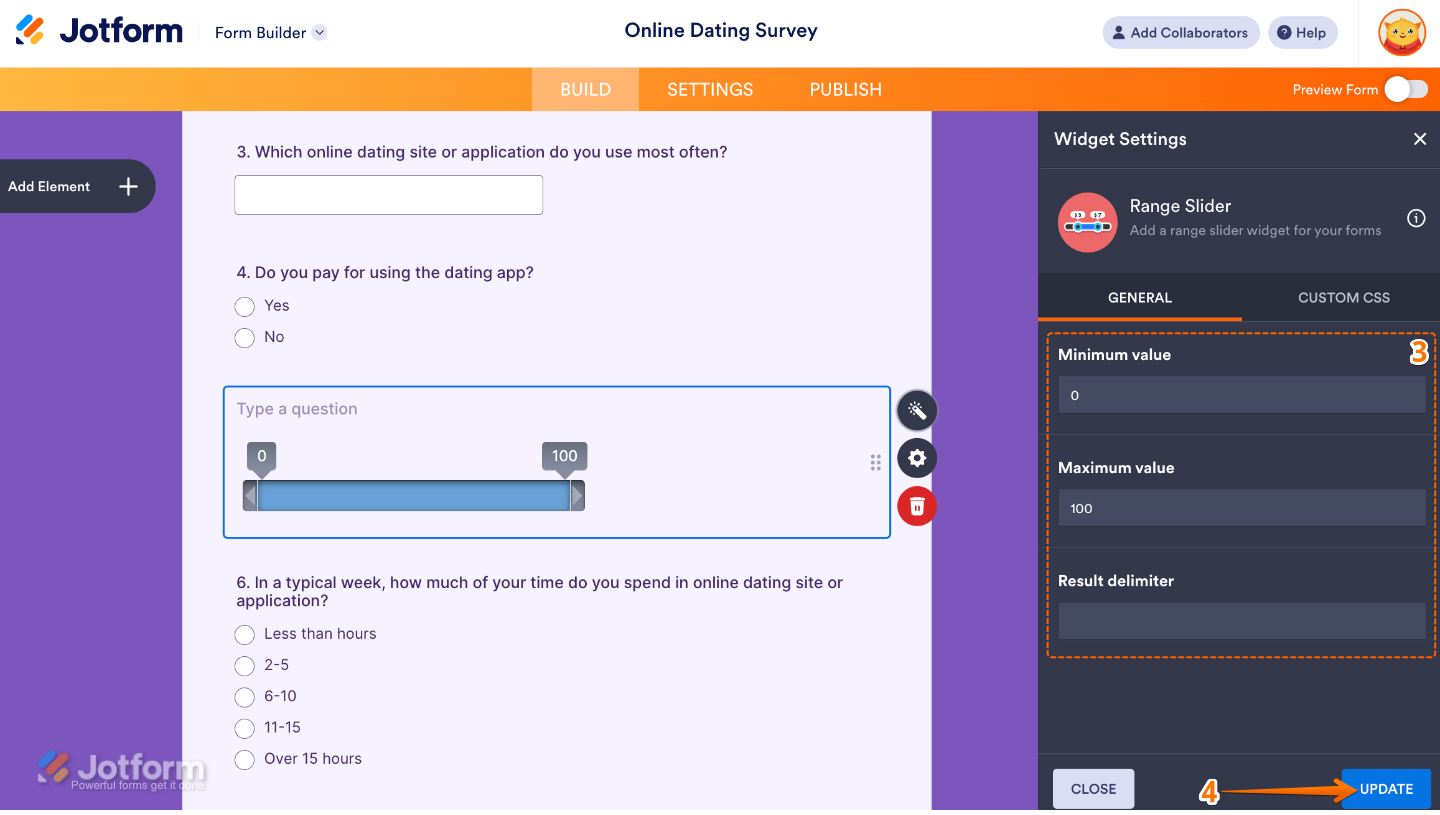
- Next, in the Widget Settings menu that opens on the right side of the page, set up these options:
- Minimum Value — Set the smallest number users can select with the slider. Perfect for setting a lower limit, like a minimum budget, age, or quantity.
- Maximum Value — Choose the highest number users can select. Great for putting an upper limit in place, like the maximum price, age, or score.
- Result Delimiter — Pick the character (like a comma, dash, or space) that separates the two numbers users choose. This makes the result easier to read when you view submissions later.
- Once you’re done, click on Update.
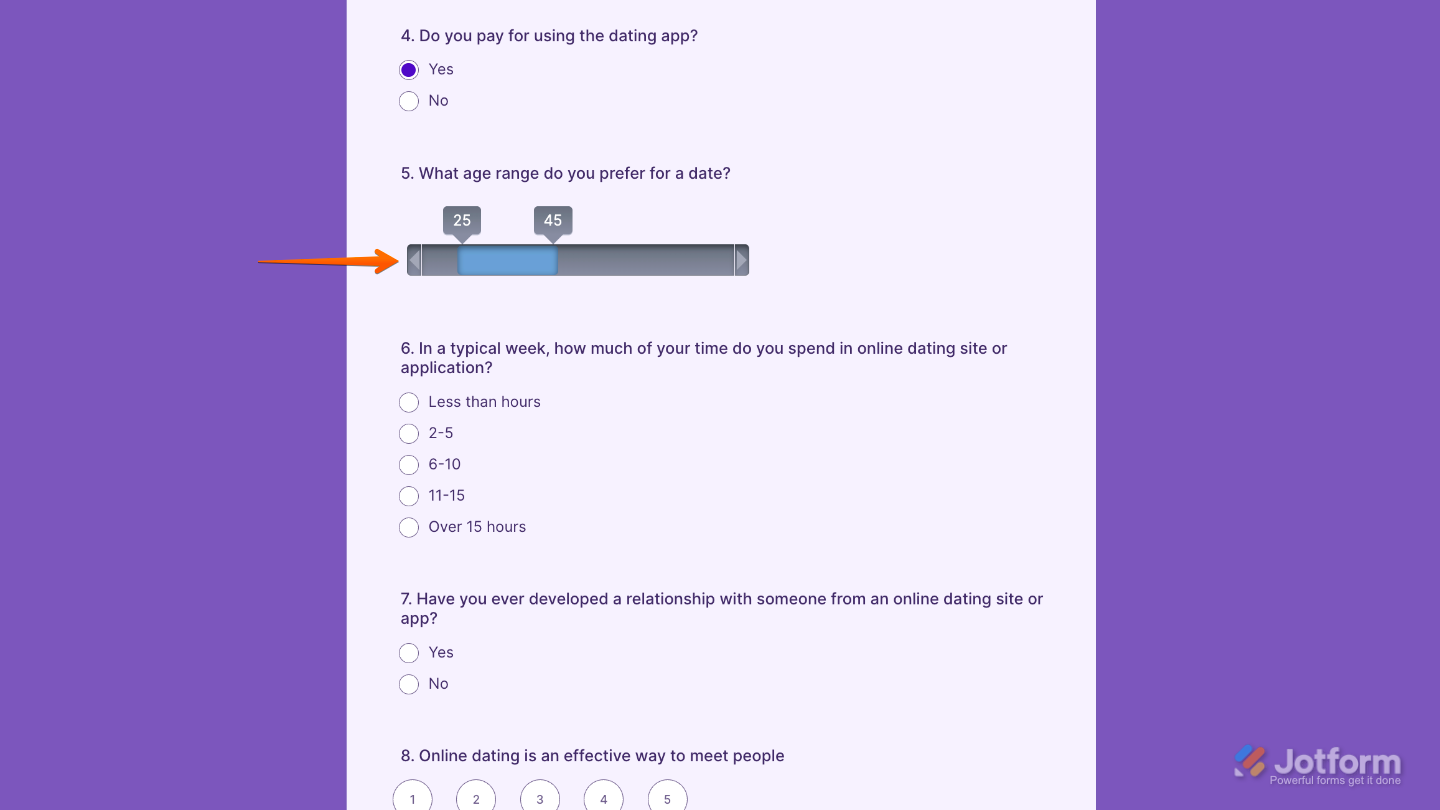
That’s it. You’ve successfully added and set up the Range Slider widget to your form. Now, you have a field in your form that lets users set their own minimum and maximum values, style it to match your form, and make data collection smooth and fun for your audience. Curious how it works on a live form? Check out this Demo Form.
To further customize your Range Slider field’s appearance, just click on the Gear icon to open its properties.
Note
For advanced styling, you can add your own custom CSS under the Custom CSS tab in the widget settings and style the Range Slider field. Our guide on How to Inject CSS Codes to Widgets walks you through everything.

Send Comment: