Jotform’s Select All widget makes it super easy for users to choose multiple options with just one click. Instead of ticking boxes one by one, they can simply hit “Select All” to mark every option in the list—or uncheck them all just as quickly. It’s a simple way to save time and make your form more user-friendly, especially when you’re working with longer lists of choices.
Here are a few ways to use it:
- Allow Users to Quickly Select All Options — You can use the Select All widget to let users check all items in a list with a single click. This saves time, especially for long lists of options.
- Simplify Multiple-Choice Forms — The widget is ideal for surveys or questionnaires where users might want to select most or all options. It improves the user experience by reducing repetitive clicks.
- Improve Bulk Selection in Product Orders — For order forms with multiple add-ons or features, the Select All widget lets users choose everything they want in one action, making the process faster.
- Streamline Preference or Interest Selection — You can use the widget to let users easily select all applicable interests, categories, or subscription options. This is helpful for sign-up forms or preference surveys.
Note
The “Select All” option is added automatically when you use this widget, so you don’t have to create it yourself.
Adding and Setting Up the Select All Widget
Adding the Select All widget to your form makes it easy for users to choose every option in a list with just one click. Setting it up takes no time at all—here’s how:
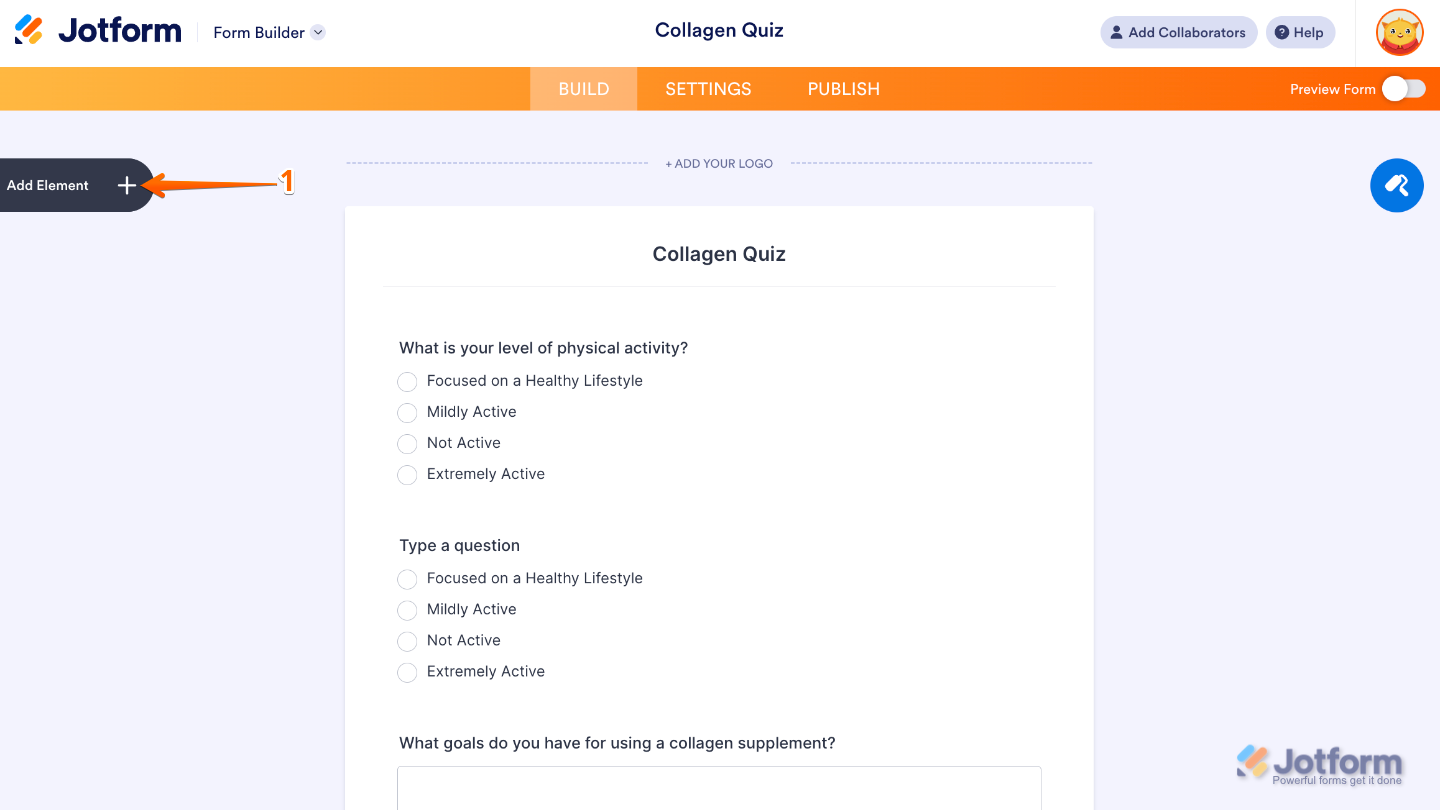
- In Form Builder, click on Add Element on the left side of the page.
- Now, in the Form Elements menu, under the Widgets tab, search for Select All and then click on it. Or, just drag and drop it to where you want it to be on your form.

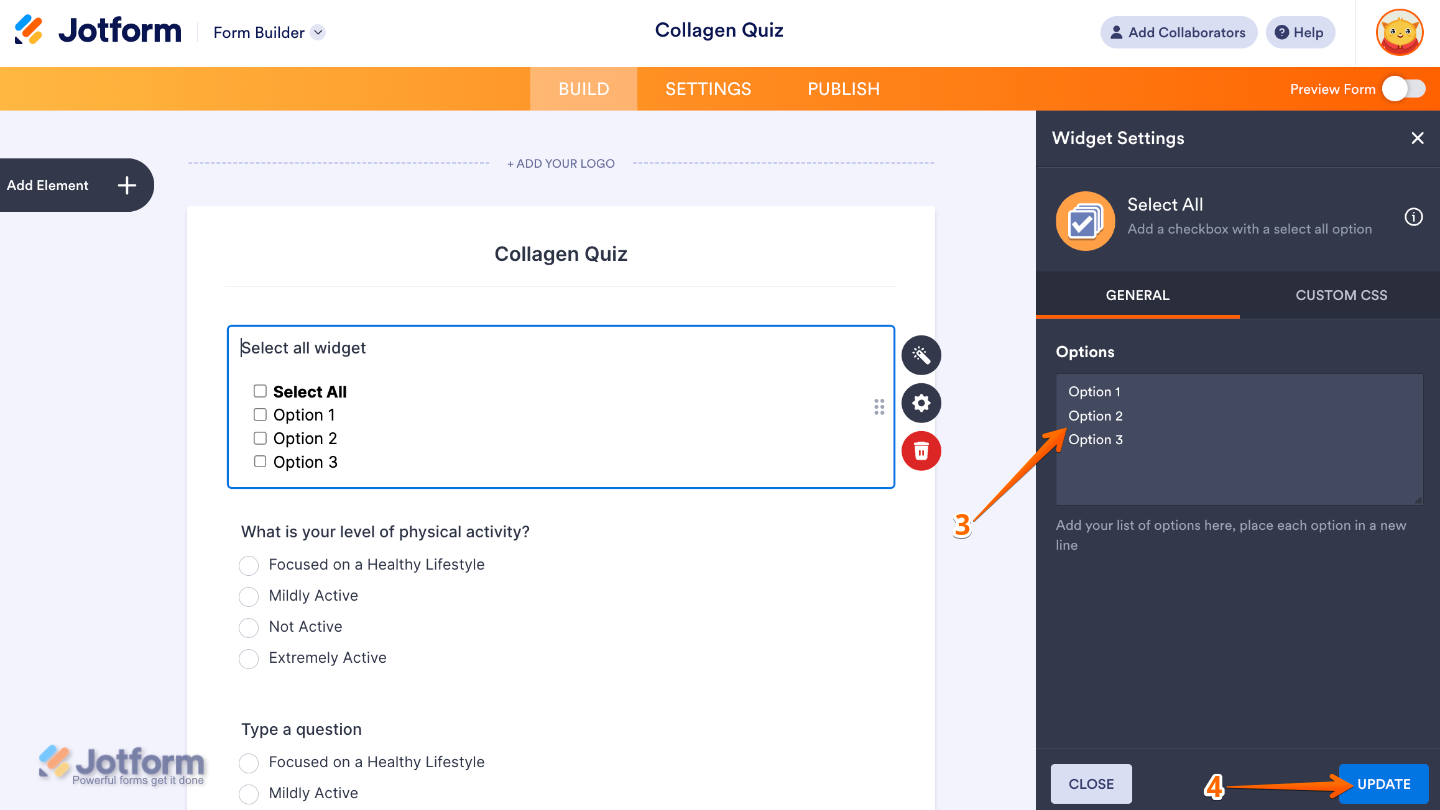
- Next, in the Widget Settings menu that opens on the right side of the page, set up the Options by simply adding the list of choices you want your users to pick from. Each option you enter will appear as its own checkbox on your form, and the handy “select all” option is automatically included—making it easy for users to choose everything at once if they need to.
- Once you’re done, click on Update.
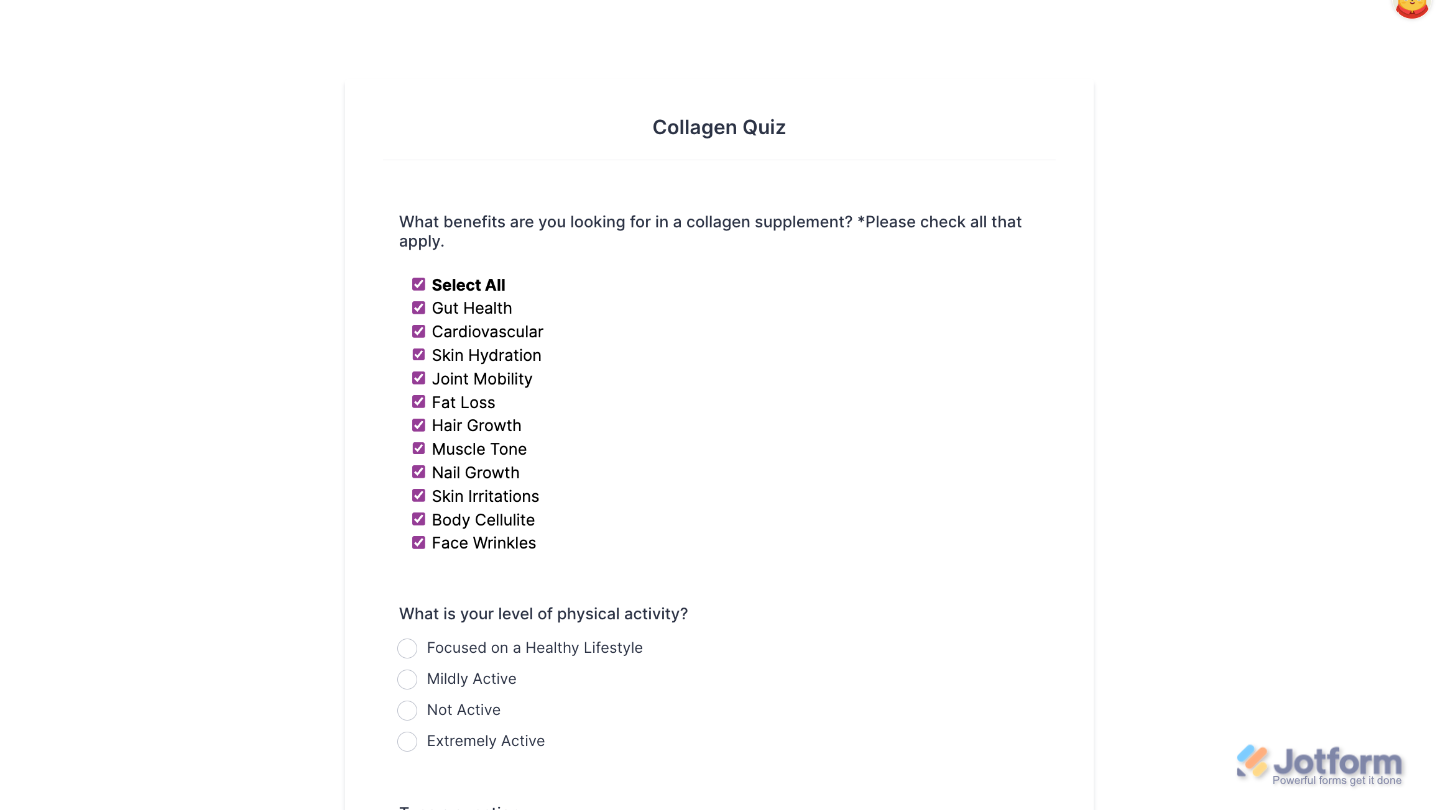
That’s it. You’ve successfully added and set up the Select All widget to your form. Now, you have a field in your form where users can quickly select or clear all choices instead of checking boxes one by one—perfect for quizzes, polls, proposals, and more. Curious how it works on a live form? Check out this Demo Form.
To tweak how your Select All field looks, just click the gear icon to open its settings and adjust it to your liking.
Note
For advanced styling, you can add your own custom CSS under the Custom CSS tab in the widget settings and style the Select All field. Our guide on How to Inject CSS Codes to Widgets walks you through everything.
Pro Tip
Keep your list clear and simple. Short, easy-to-read options make it quicker for users to understand and select.

Send Comment: