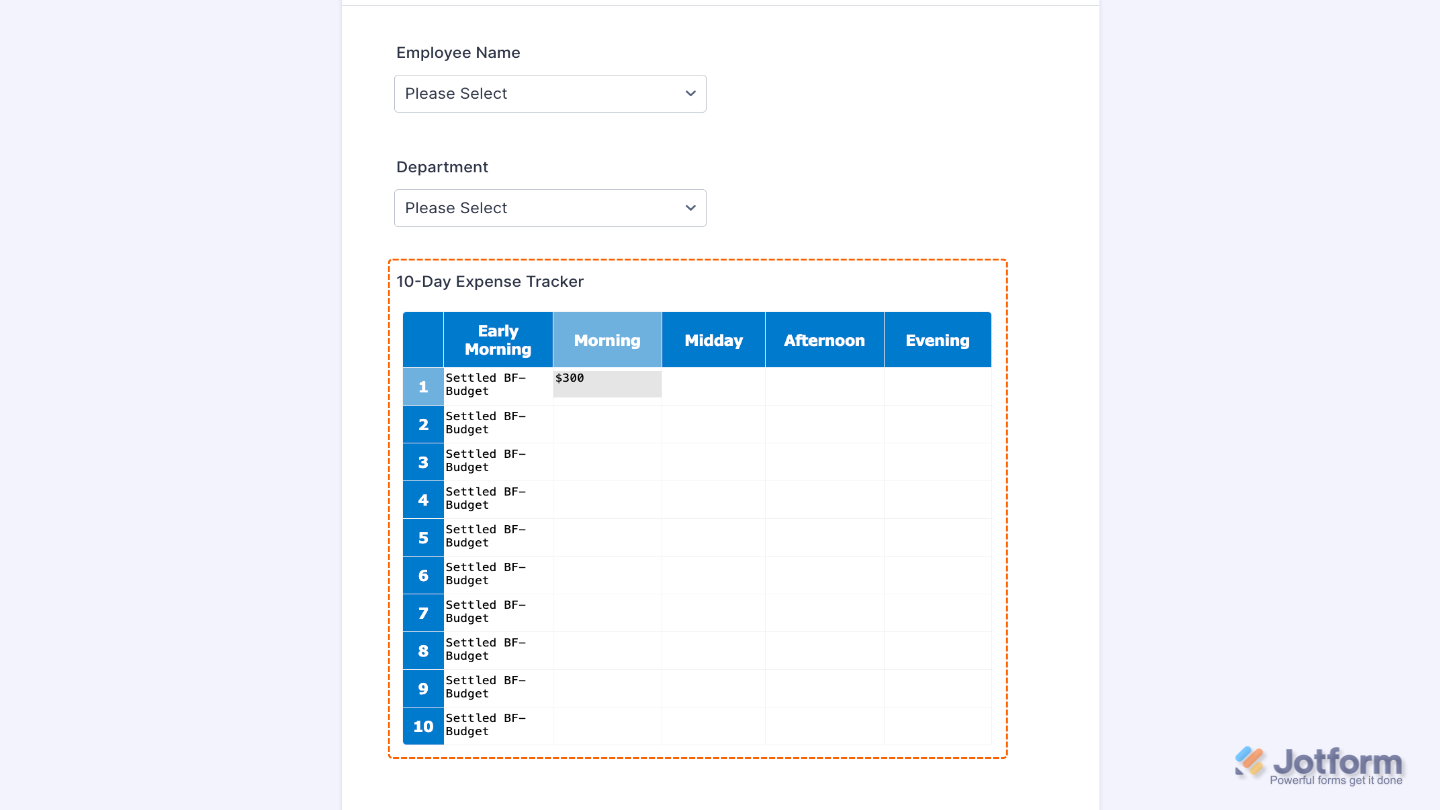
Jotform’s Spreadsheet widget lets you add a clean, Excel-style table to your form so users can input data in rows and columns, just like a real spreadsheet. It’s perfect for capturing itemized details, multiple values, or grouped information all in one place. This will help you collect structured data like budgets, schedules, inventories, or multi-row entries.
Here are a few ways to use it:
- Collect structured data in rows and columns — Perfect for things like budgets, inventories, schedules, or item lists where information needs to be organized neatly.
- Let users input multiple entries in one place — Instead of filling out separate fields, users can add several rows of related data in a single spreadsheet-style view.
- Track or manage detailed records — Great for logs like attendance, work hours, project tracking, or expense records.
- Simplify data collection for complex forms — Helps reduce clutter by grouping related information together in a clean, familiar spreadsheet layout.
Notes
- You can add up to 52 columns to your Spreadsheet widget, giving you plenty of room to organize your data.
- The widget will require you to input labels for all columns, each separated by a comma or a new line.
- The Spreadsheet widget supports Match Functions, as referenced from this page about Mozilla – Math JavaScript Functions.
- You can use cell names in the Default Values field to set up simple calculations between cells.
Adding and Setting Up the Spreadsheet Widget
Add and customize the Spreadsheet widget to your form to allow form users to input and submit data in a familiar table layout. Setting it up takes no time at all—here’s how:
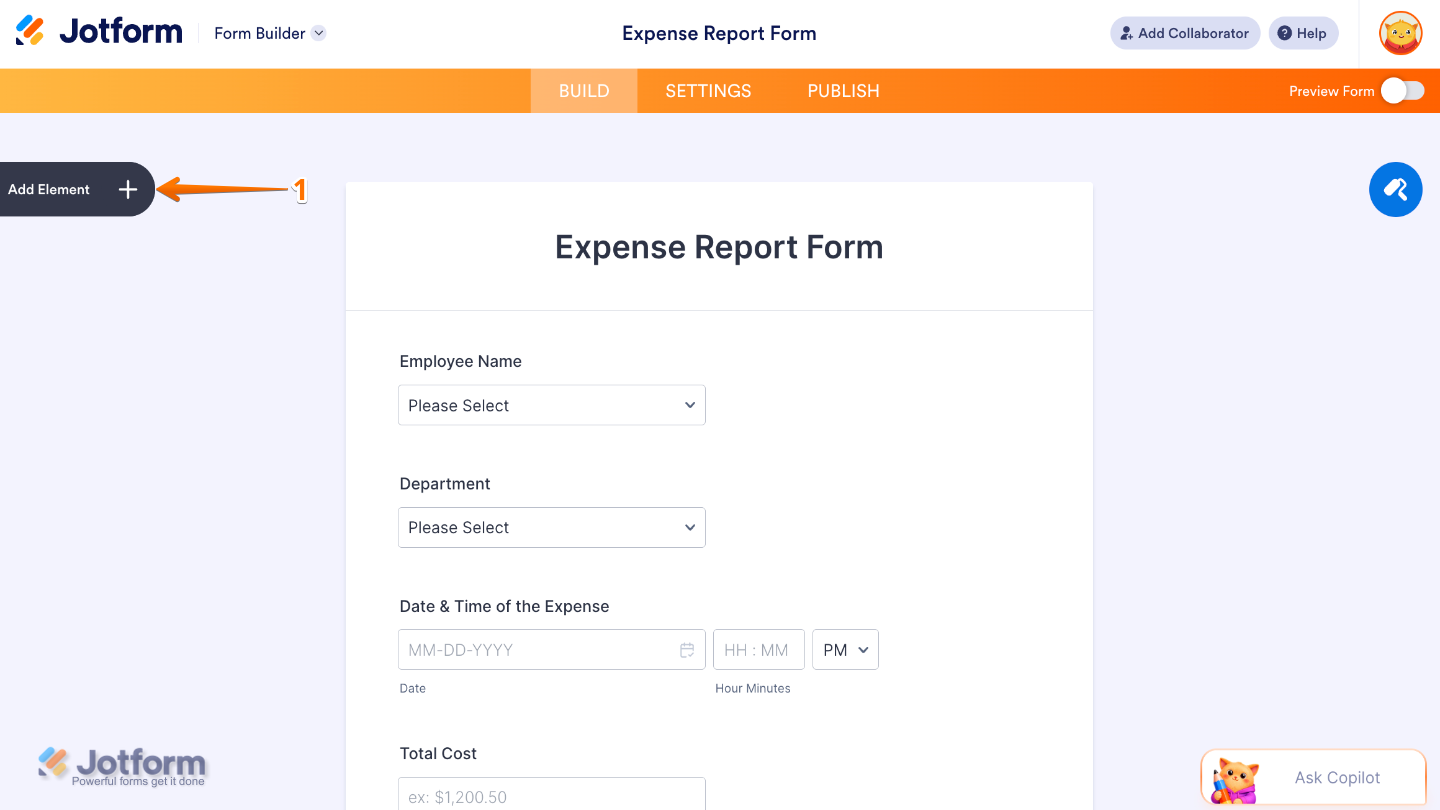
- In Form Builder, click on Add Element on the left side of the page.
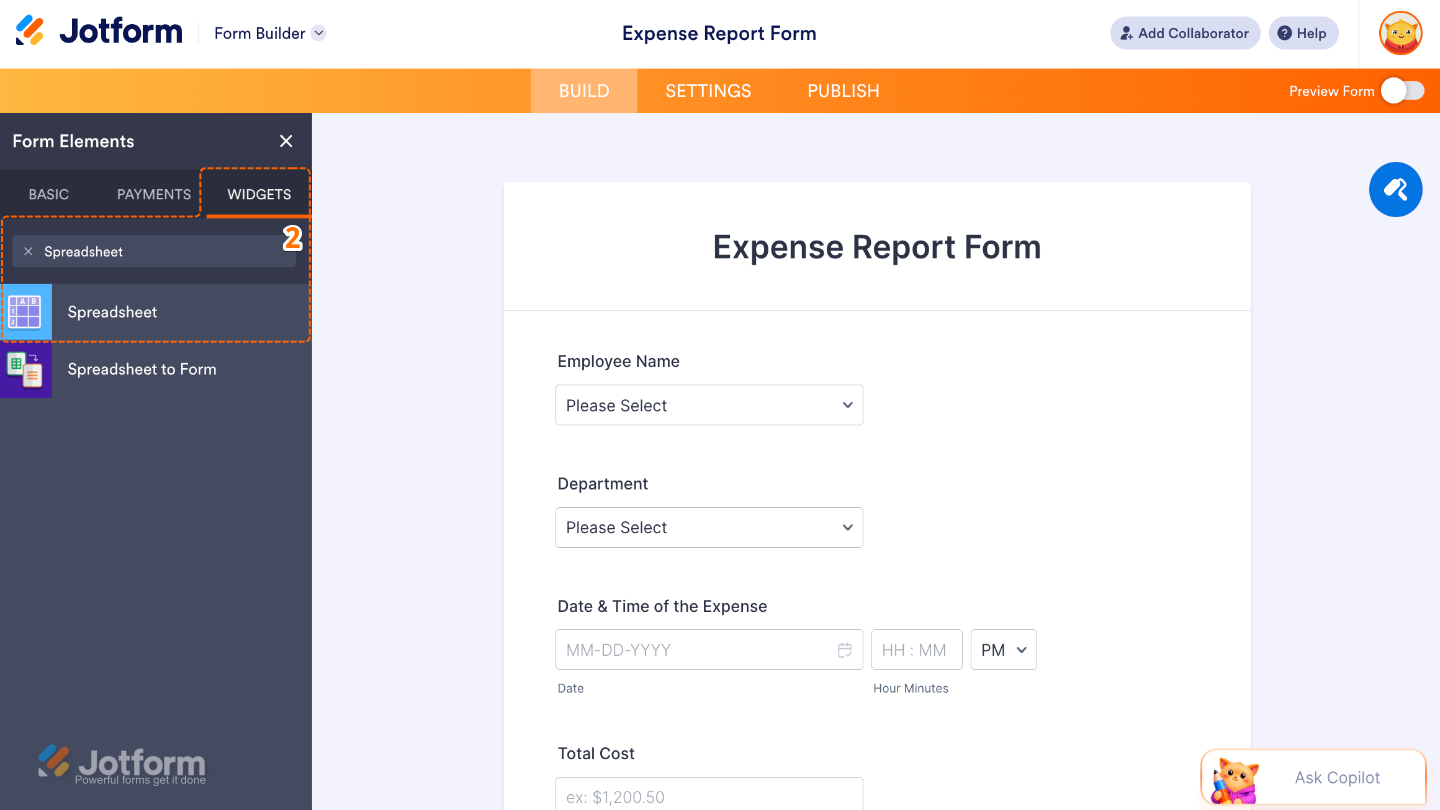
- Now, in the Form Elements menu, under the Widgets tab, search for Spreadsheet and then click on it. Or, just drag and drop it to where you want it to be on your form.
- Next, in the Widget Settings window that opens on the right side of the page, under the General tab, set up the following options:
- Number of Rows — Edit this to define how many rows appear in the spreadsheet
- Number of Columns — Set this up to modify the total number of columns in the spreadsheet.
- Column Labels — Enter here the names of each column for clarity, separating them by a comma or a newline.
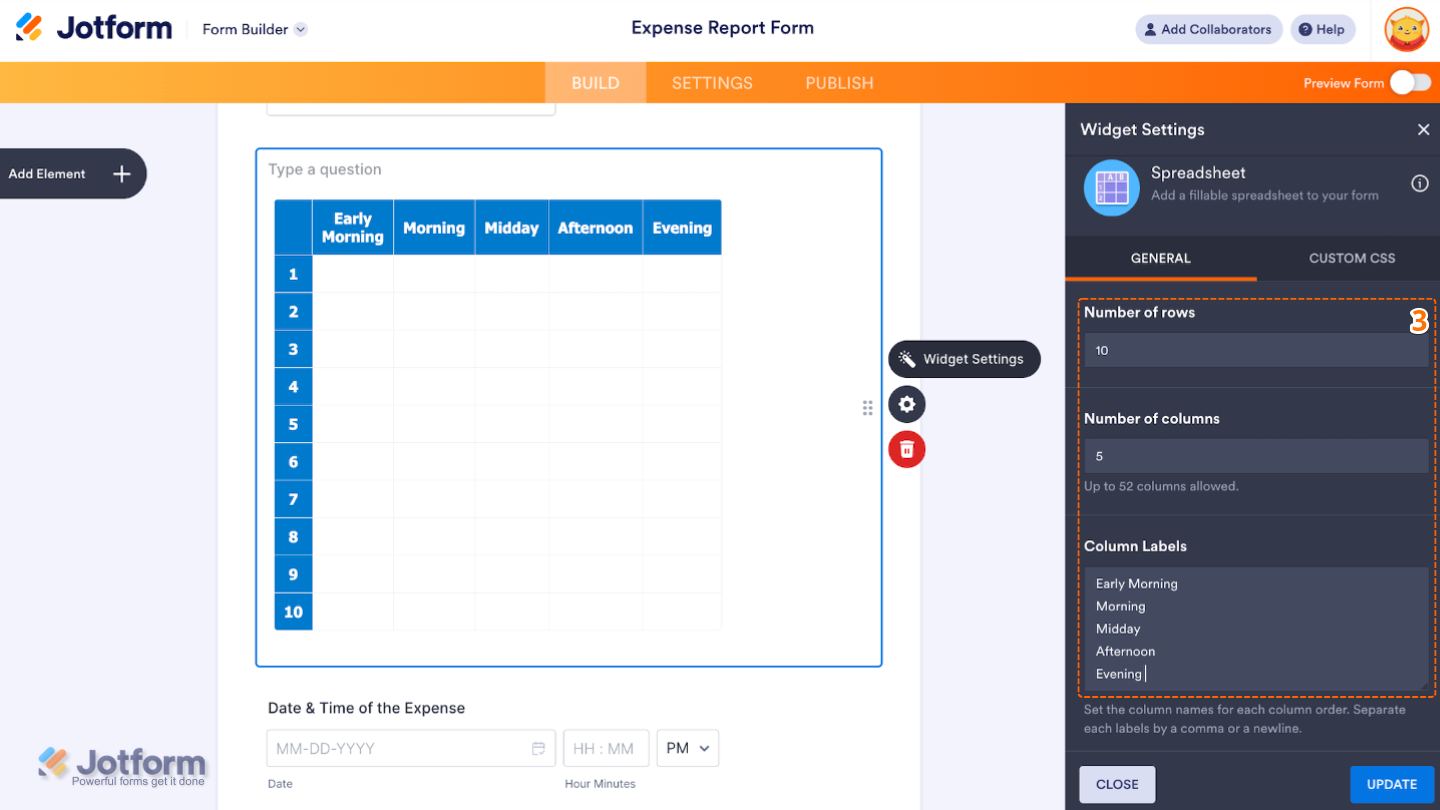
- Then, scroll down to the bottom and continue to set up these options:
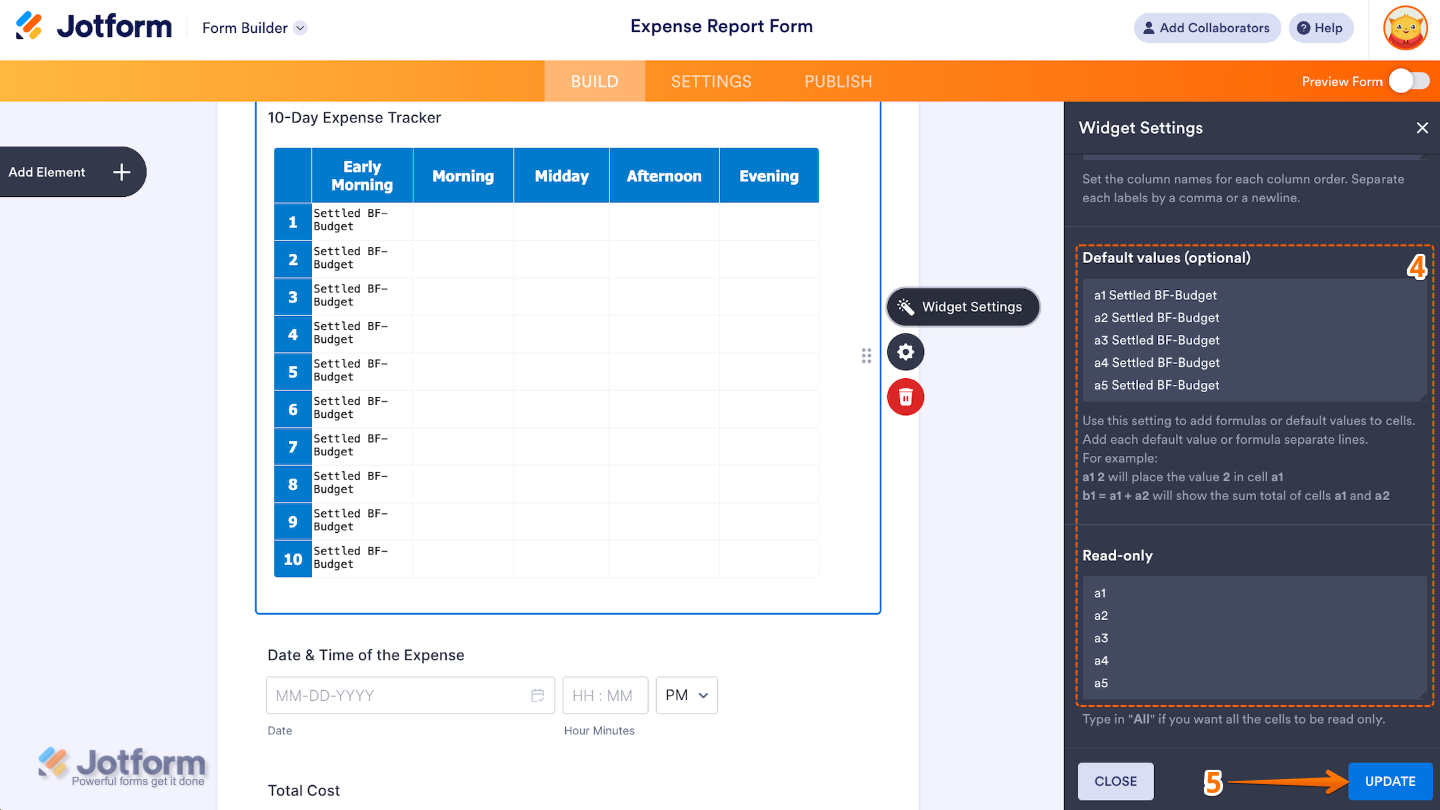
- Default Values — Set this up to pre-fill cells in the spreadsheet with values before the user interacts with it, adding each default value or formula in a separate line.
- Read Only — If you add specific cell names here, those cells will be locked, users won’t be able to make any changes to them. Typing “All” will lock all cells.
- Once you’re done, click on Update.
That’s it. You’ve successfully added and set up the Spreadsheet widget to your form. Now, you’ve added an Excel-style table to your form, allowing users to enter data across multiple rows and columns. A great way for collecting itemized lists, budgets, schedules, time logs, or grouped data in a single field. To see how it looks on a live form, check out this Demo Form.
To further customize your Spreadsheet field appearance, just click on the Gear icon to open its properties. For a full breakdown of how to do it, head over to our guide on How to Access and Configure the Question Properties of a Widget.
Note
For advanced styling, you can add your own custom CSS under the Custom CSS tab in the widget settings and style the Spreadsheet field. Our guide on How to Inject CSS Codes to Widgets walks you through everything.
Pro Tips
- Use meaningful column labels to help users understand what each field is for.
- Lock certain cells using the “Read Only” option to prevent users from editing totals or formulas.
- Pre-fill rows with sample data or headers using the Default Values setting to guide users on how to fill out the table correctly.

Send Comment:
1 Comment:
July 18, 2026
Can a column provide a dropdown selection list?