Jotform’s XVerify Email widget is a handy tool that helps keep your forms secure and your data accurate, giving you peace of mind with every submission. This widget helps you verify email addresses in real time with the help of the XVerify platform, so you can be sure the information you collect is valid before it even hits your inbox. Whether you’re preventing typos, fake signups, or just want to keep your contact list clean, the XVerify Email widget makes it easy to add an extra layer of reliability to your forms.
Here are a few ways to use it:
- Validate Email Addresses in Real Time — You can use the XVerify Email widget to check that email addresses entered by users are valid and deliverable before they submit the form.
- Reduce Bounced Emails — The widget helps ensure that newsletters, notifications, or automated messages reach actual inboxes, reducing bounce rates.
- Improve Data Accuracy in Contact Forms — By verifying email addresses as users type, the widget prevents typos and incorrect submissions, keeping your contact database clean.
- Enhance Lead Generation Forms — For marketing or sales forms, verified email addresses ensure you capture legitimate leads and avoid fake or mistyped entries.
Notes
- The XVerify Email widget requires a valid API key from your XVerify account. Without it, the widget won’t be able to check emails.
- If XVerify marks an email as invalid, your form user will be prompted to enter a correct one before submitting.
- Emails that XVerify can’t confirm (like those from brand-new domains) will depend on how you set the Allow Unknown Emails option.
Adding and Setting Up the Add to XVerify Email Widget
Adding the XVerify Email widget to your form helps ensure every email address entered is valid. To get going, here’s what you’ll do:
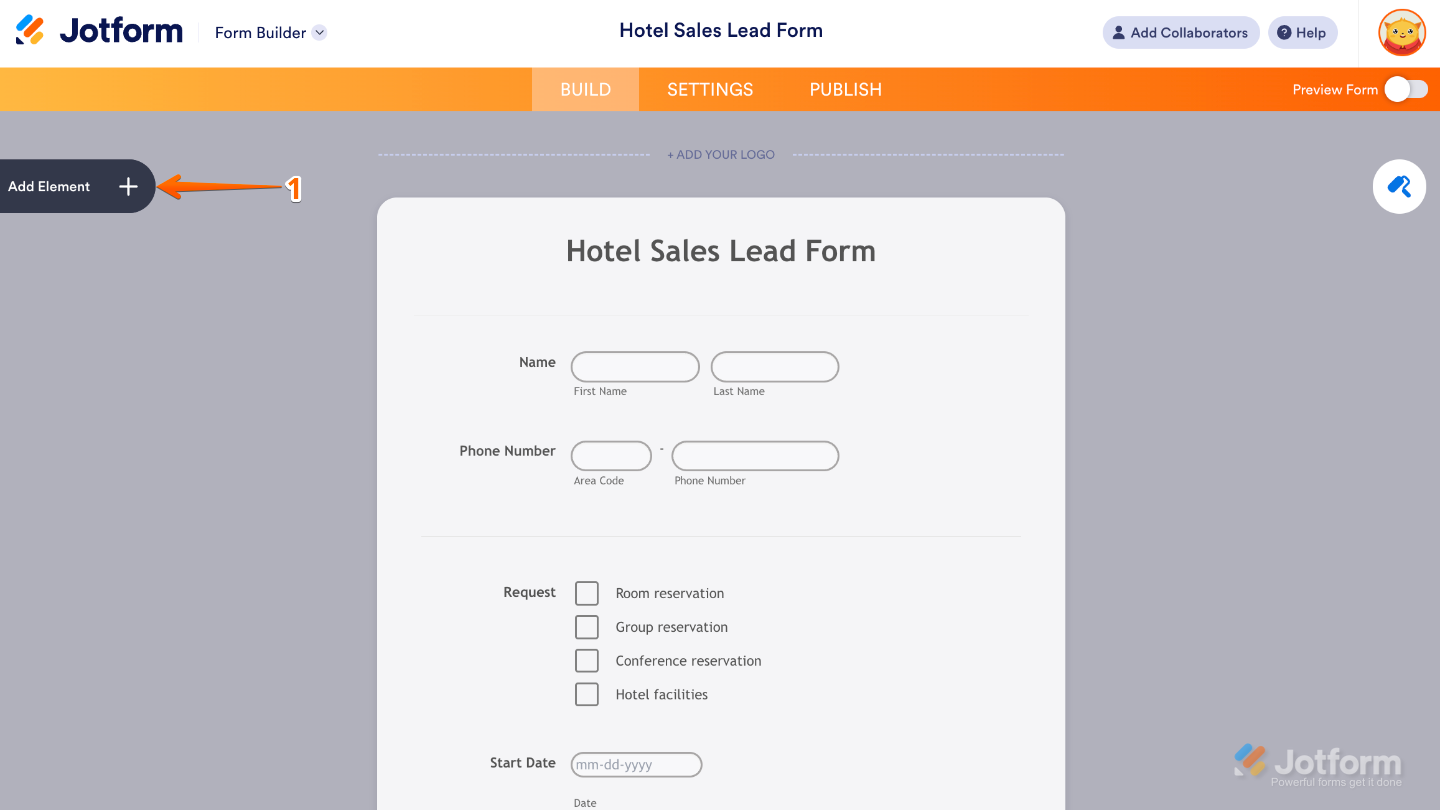
- In Form Builder, click on Add Element on the left side of the page.
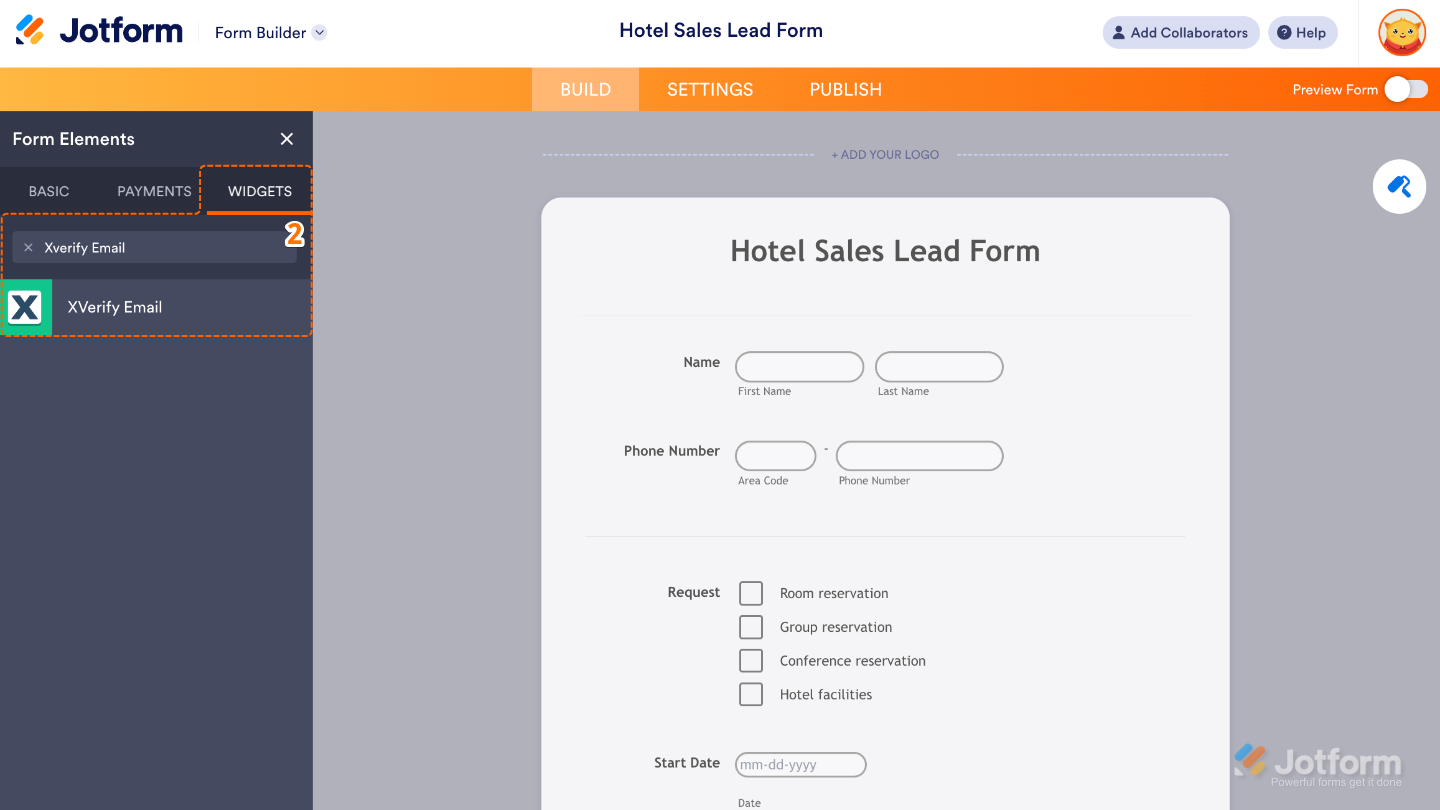
- Now, in the Form Elements menu, under the Widgets tab, search for XVerify Email and then click on it. Or, just drag and drop it to where you want it to be on your form.
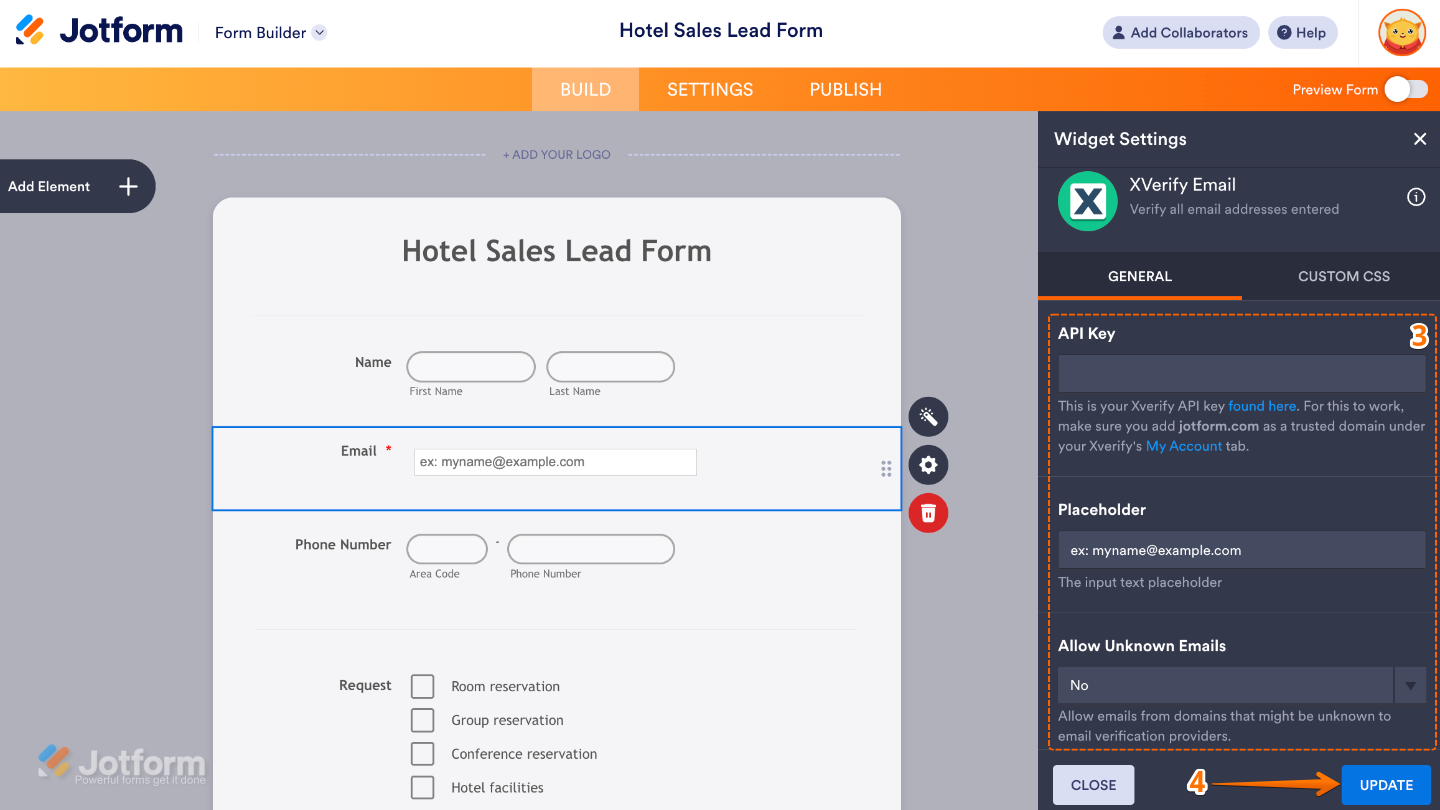
- Next, in the Widget Settings menu that opens on the right side of the page, set up these options:
- API Key — Enter your XVerify API key—this is what links your widget to your XVerify account and lets it check emails instantly. Think of it as the little bridge working quietly in the background to make sure everything runs smoothly.
- Placeholder — Add a simple hint inside the email field—like “Enter your email address.” It’s a gentle prompt that guides users so they instantly know what to type.
- Allow Unknown Emails — Choose whether to let unknown emails pass through or block them, depending on what works best for your form.
- Once you’re done, click on Update.
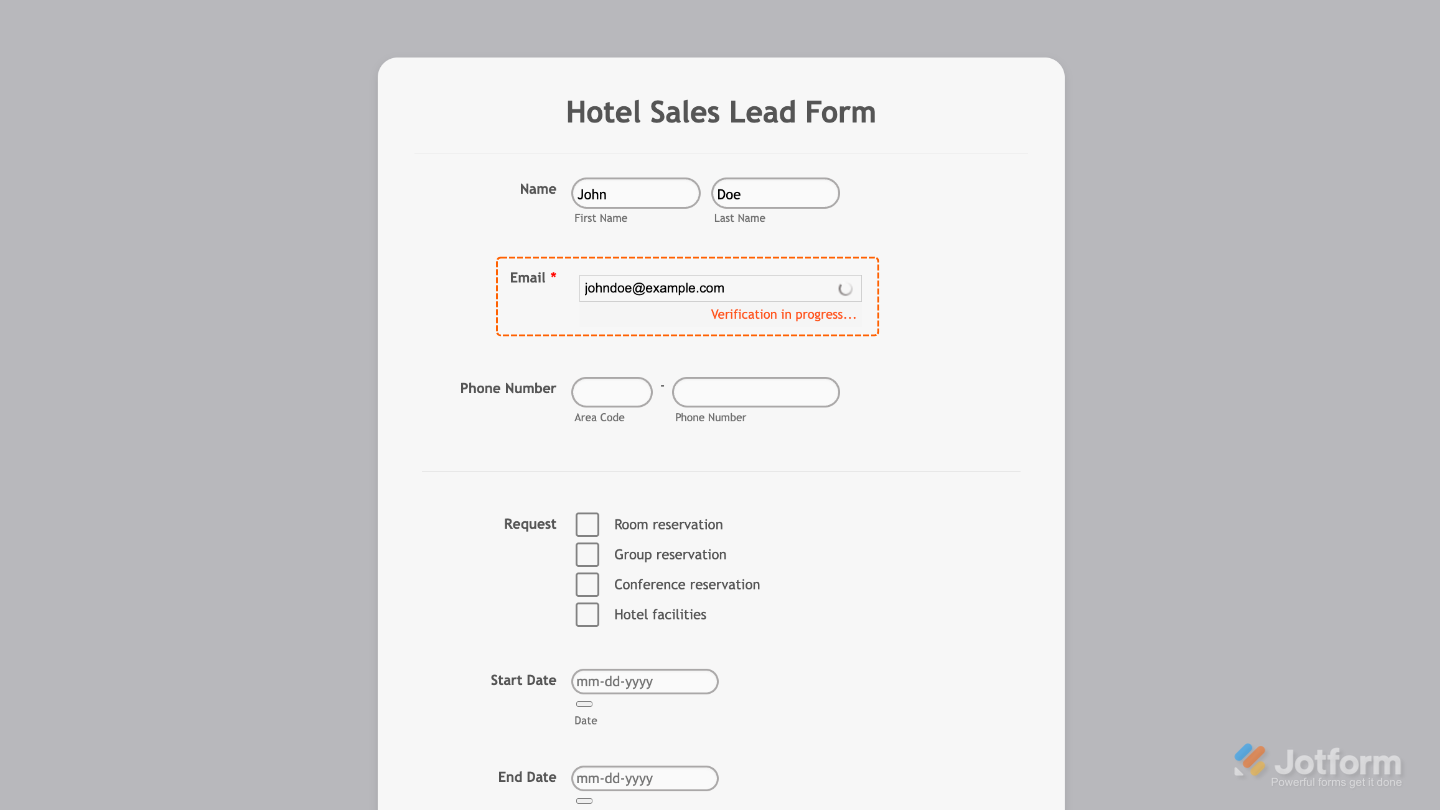
That’s it. You’ve successfully added and set up the XVerify Email widget to your form. Now, you have a field in your form that double-checks for typos or fake addresses in real time, giving users instant feedback if something’s not right—and helping you keep your contact list accurate and reliable. Curious how it works on a live form? Check out this Demo Form.
To further customize your XVerify Email field’s appearance, just click on the Gear icon to open its properties.
Note
For advanced styling, you can add your own custom CSS under the Custom CSS tab in the widget settings and style the XVerify Email field. Our guide on How to Inject CSS Codes to Widgets walks you through everything.
Pro Tip
If you’re unsure about blocking unknown emails, start by allowing them—you can always tighten your settings later once you see how your users respond.

Send Comment: