When you install Jotform’s app on your Salesforce account, you’ll have a Salesforce button right there on your forms, so now you can automate the creation of records in Salesforce. Keep on reading to learn how to install Jotform from Salesforce AppExchange.


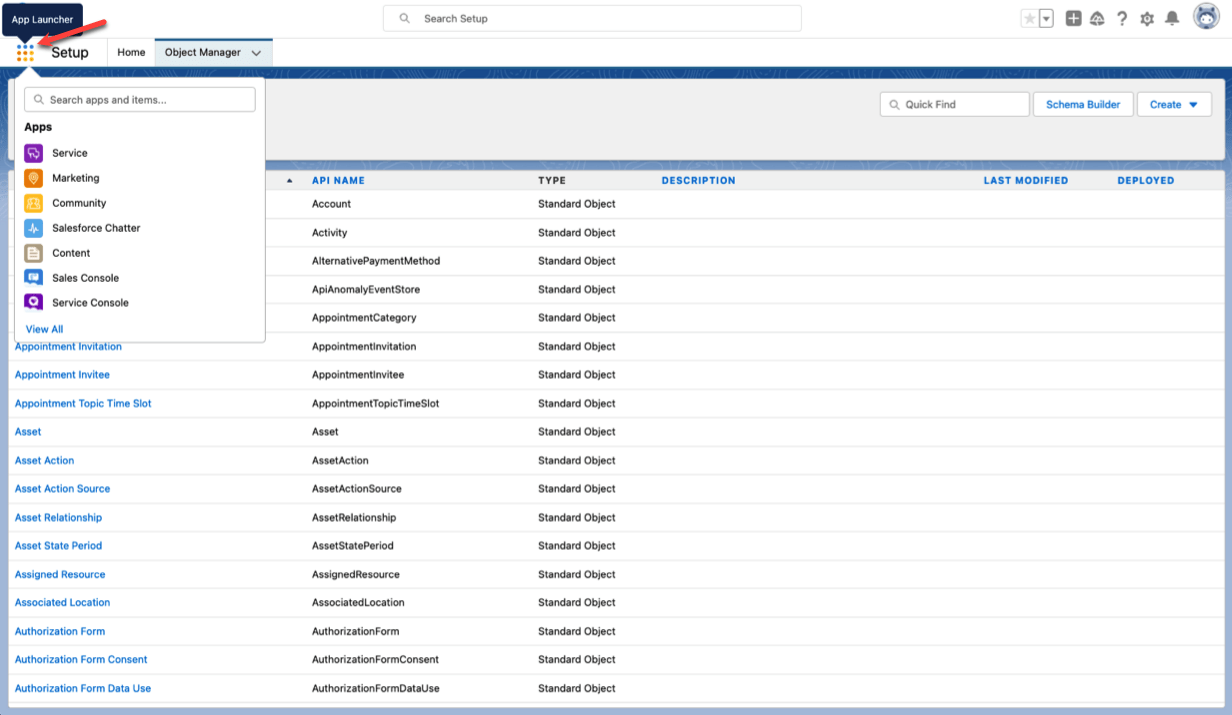
- Log into your Salesforce account and click the 9-dot menu on the left side of your homepage to open the App Launcher.
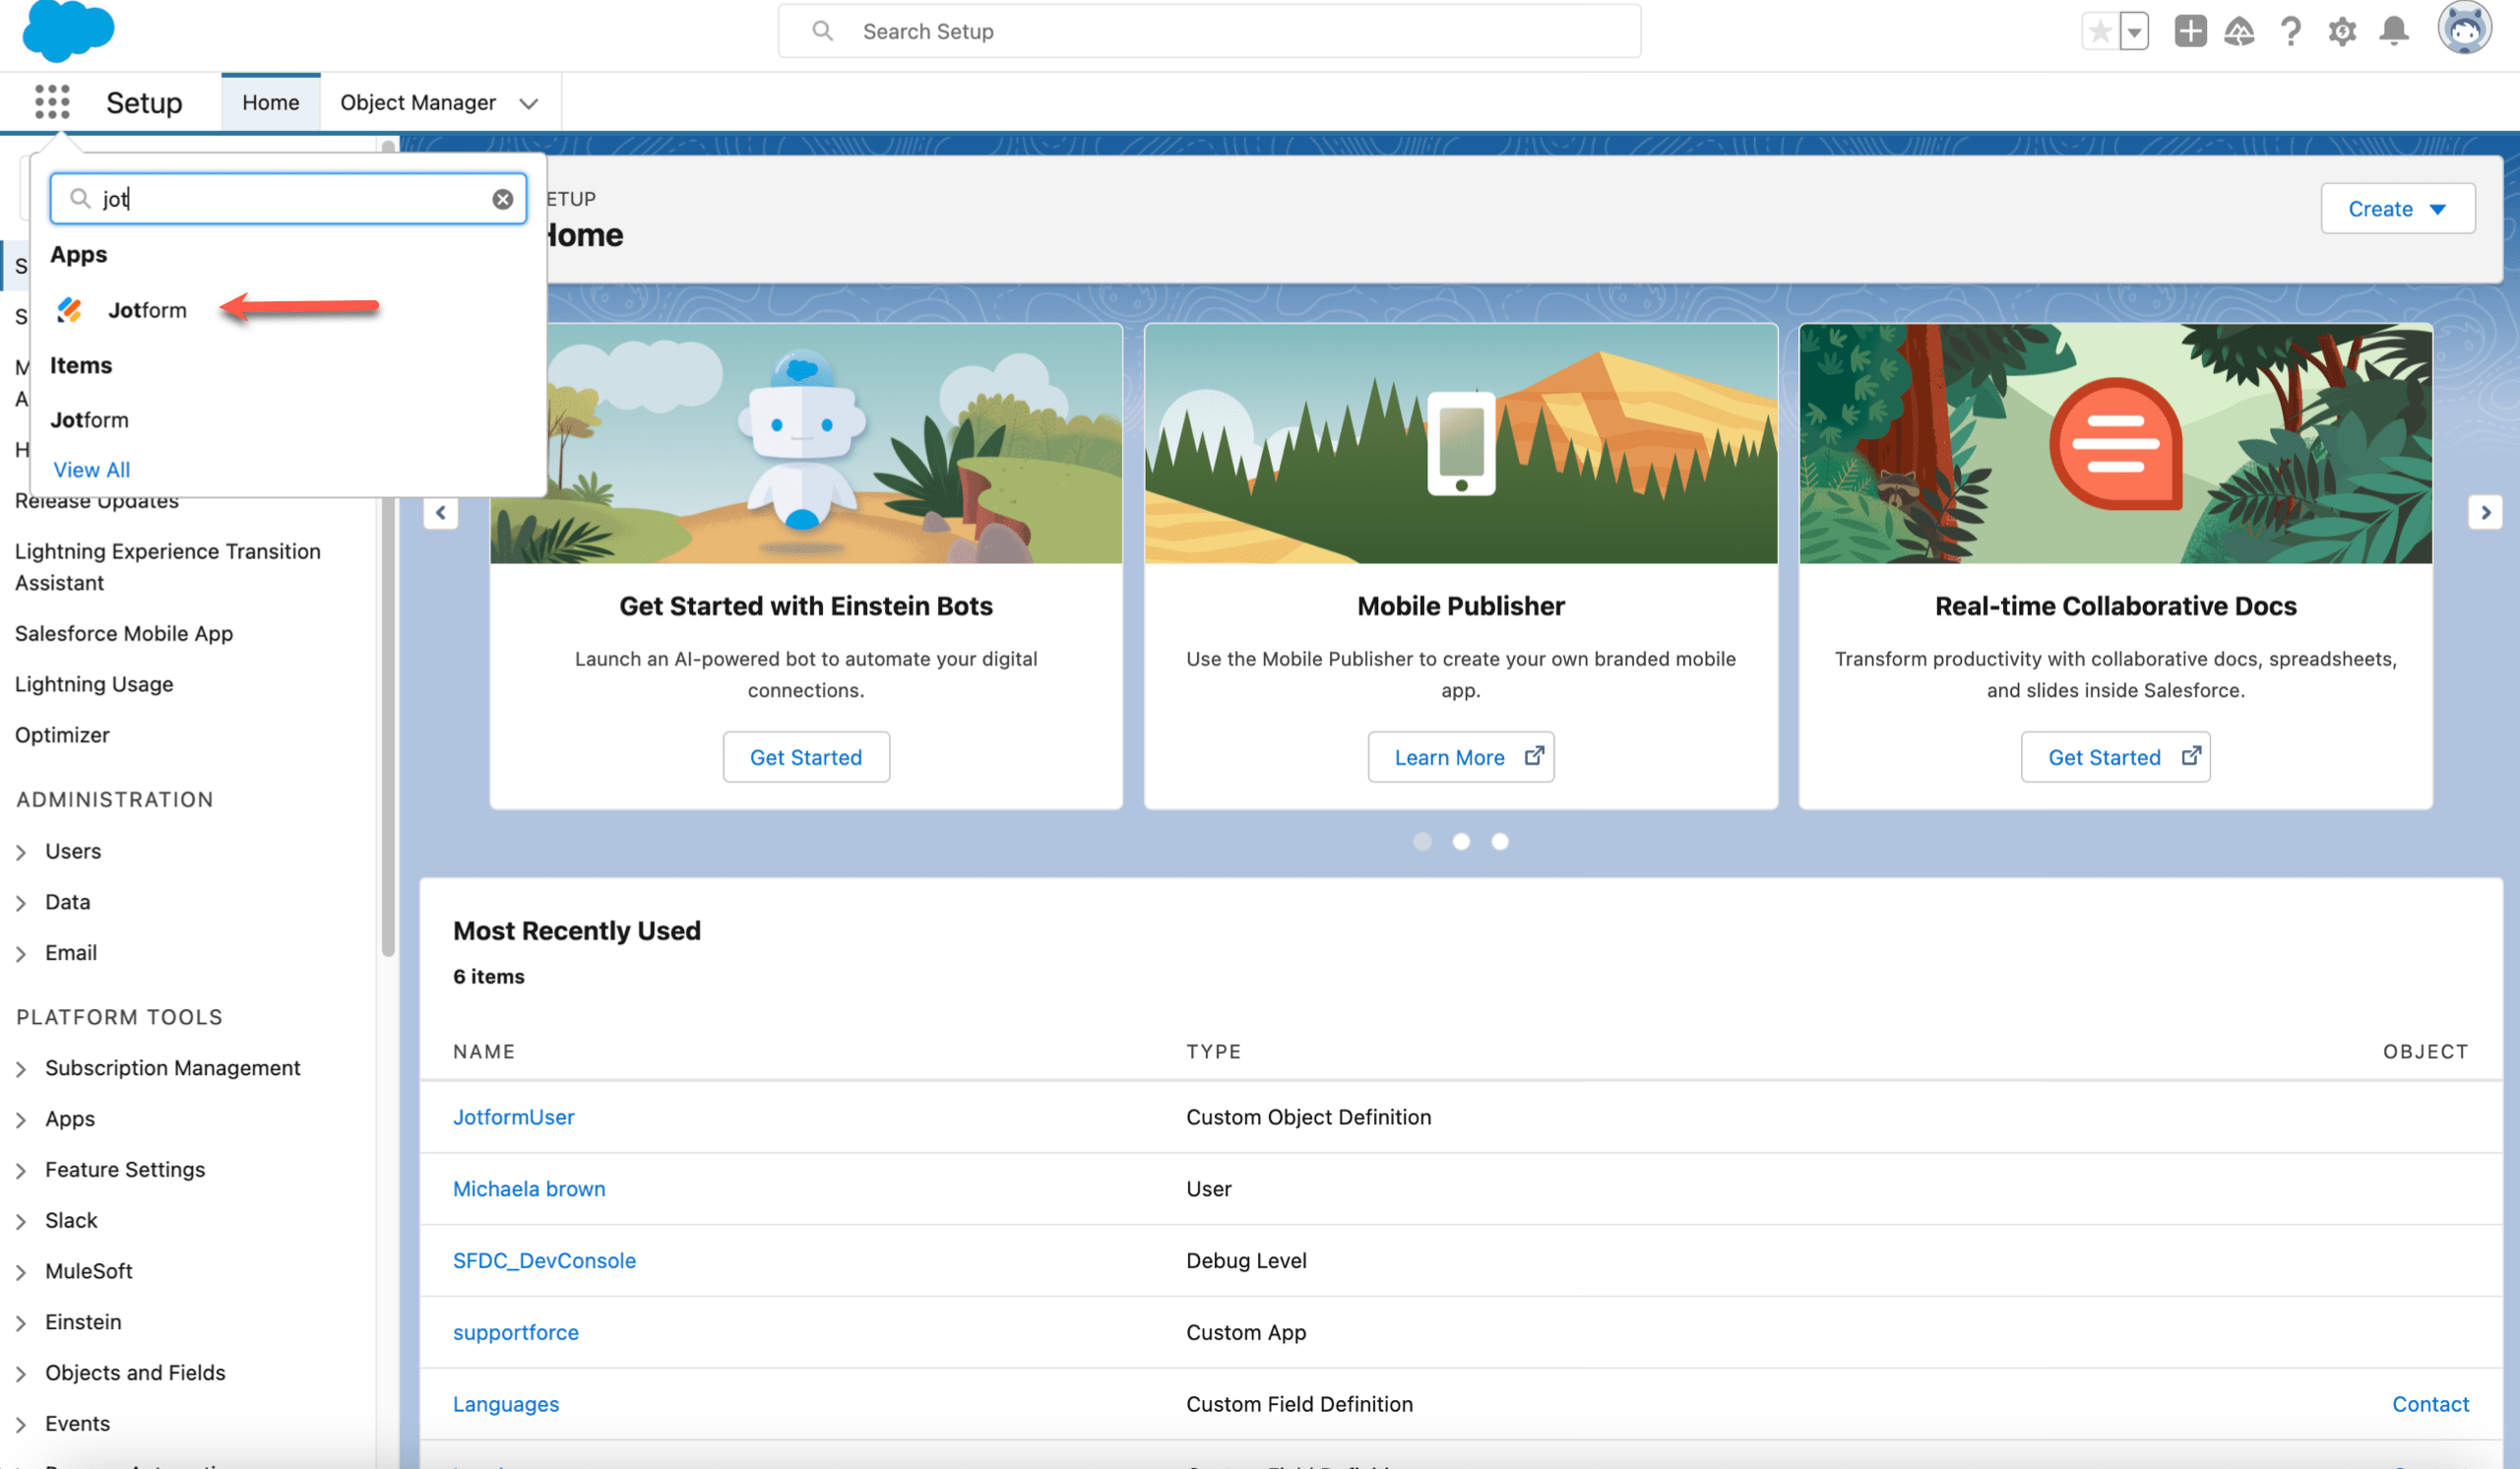
- Search Jotform and click it.
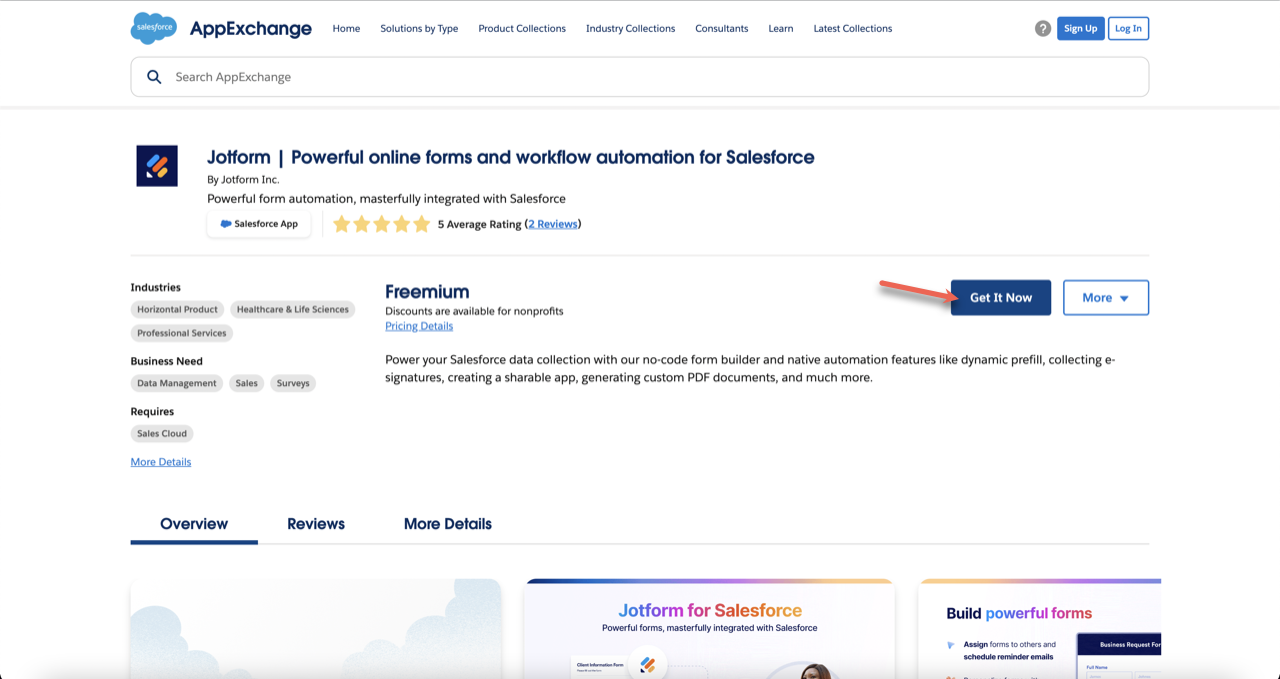
- If you’re in Salesforce AppExchange, search Jotform and click ‘Get it Now’.
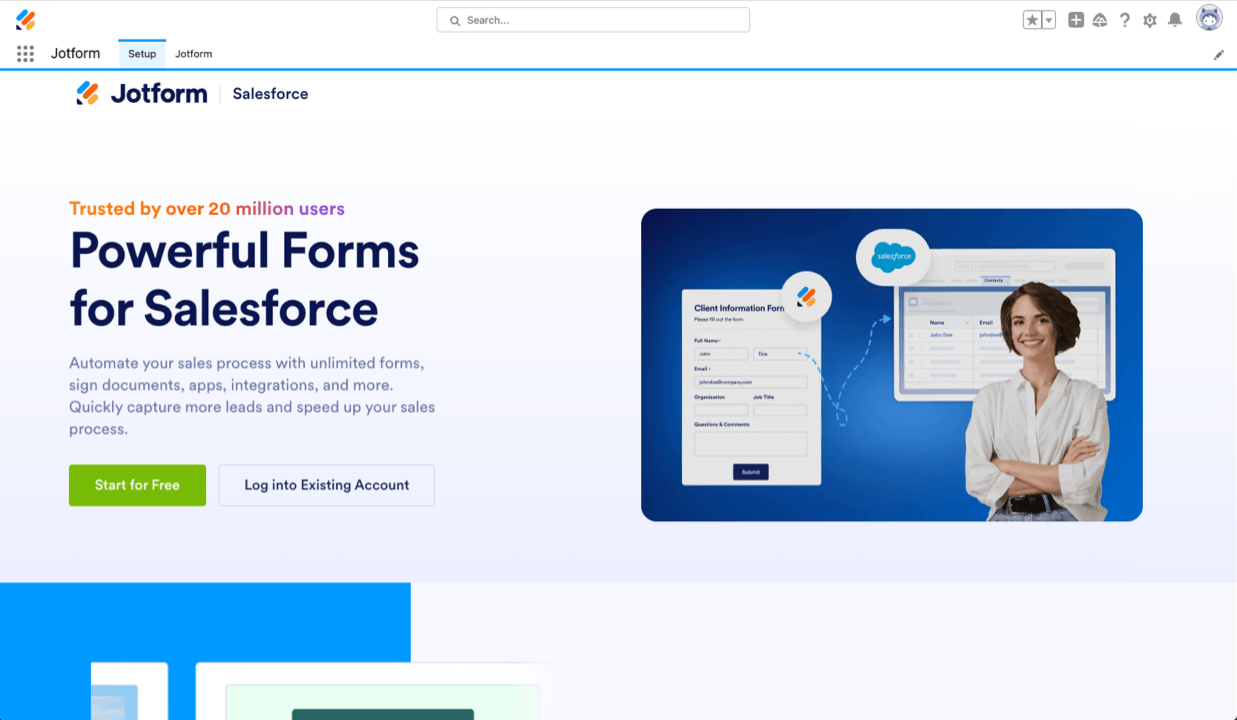
- Under the Setup tab, you can either log into your existing Jotform account or create one for free. If you’re new to Jotform, check out our subscription options.
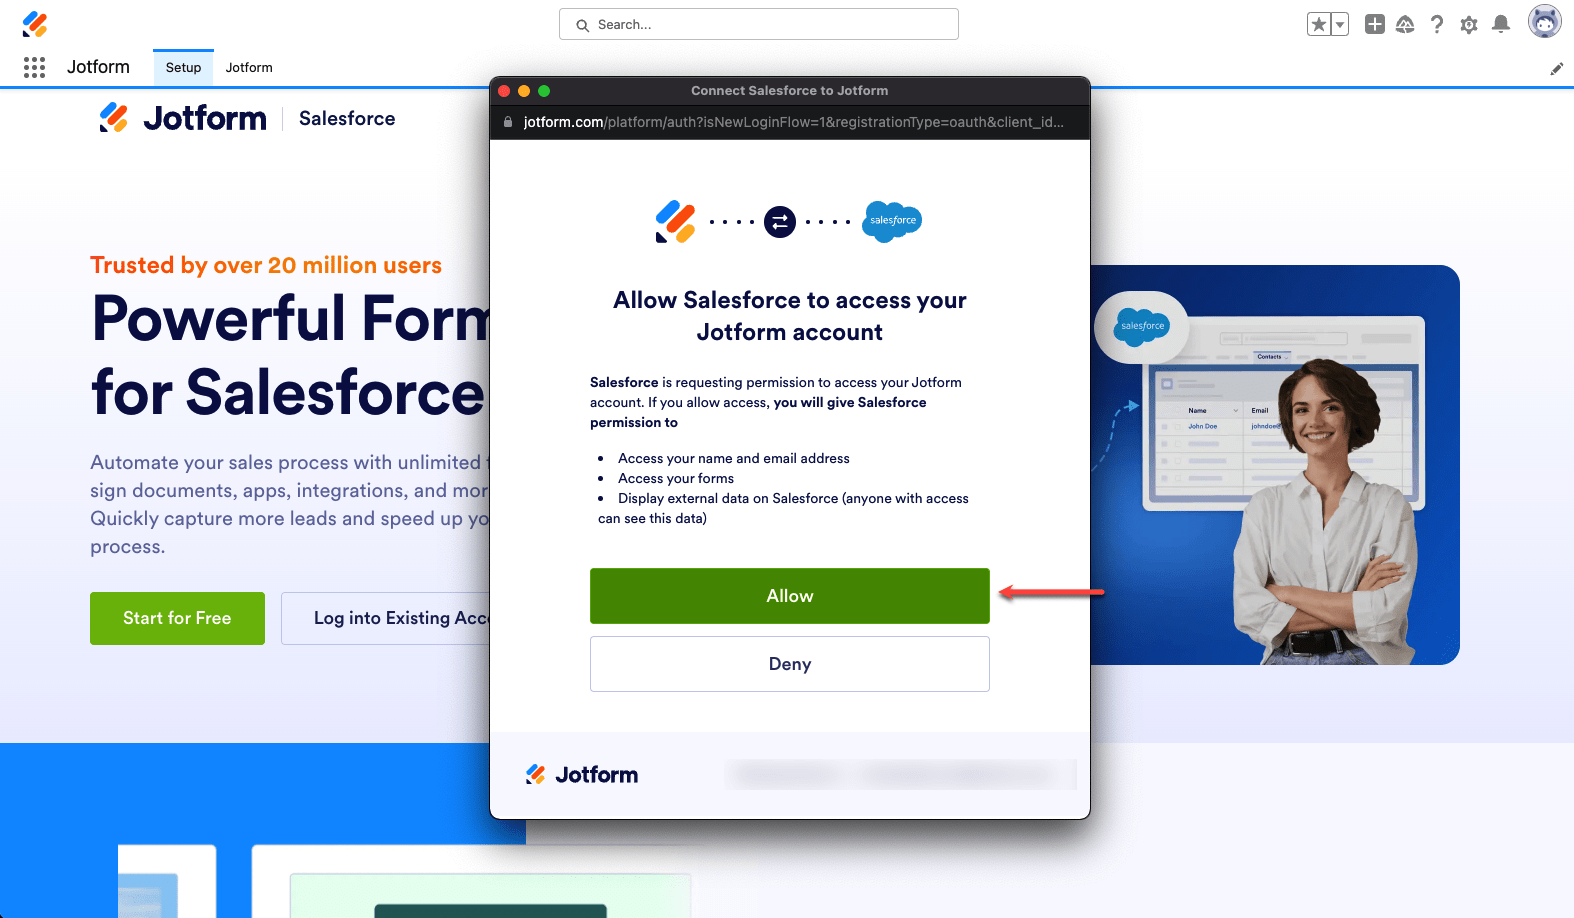
- Once you log in or create your account, you’ll be asked to allow Salesforce to access your Jotform account. Click Allow and your integration will be complete!
How to Change Users Permissions if You’re an Admin
If you’re a system administrator for your organization, you need to assign the Jotform App User permissions to relevant users. Please note that only the system administrator can assign relevant permissions.
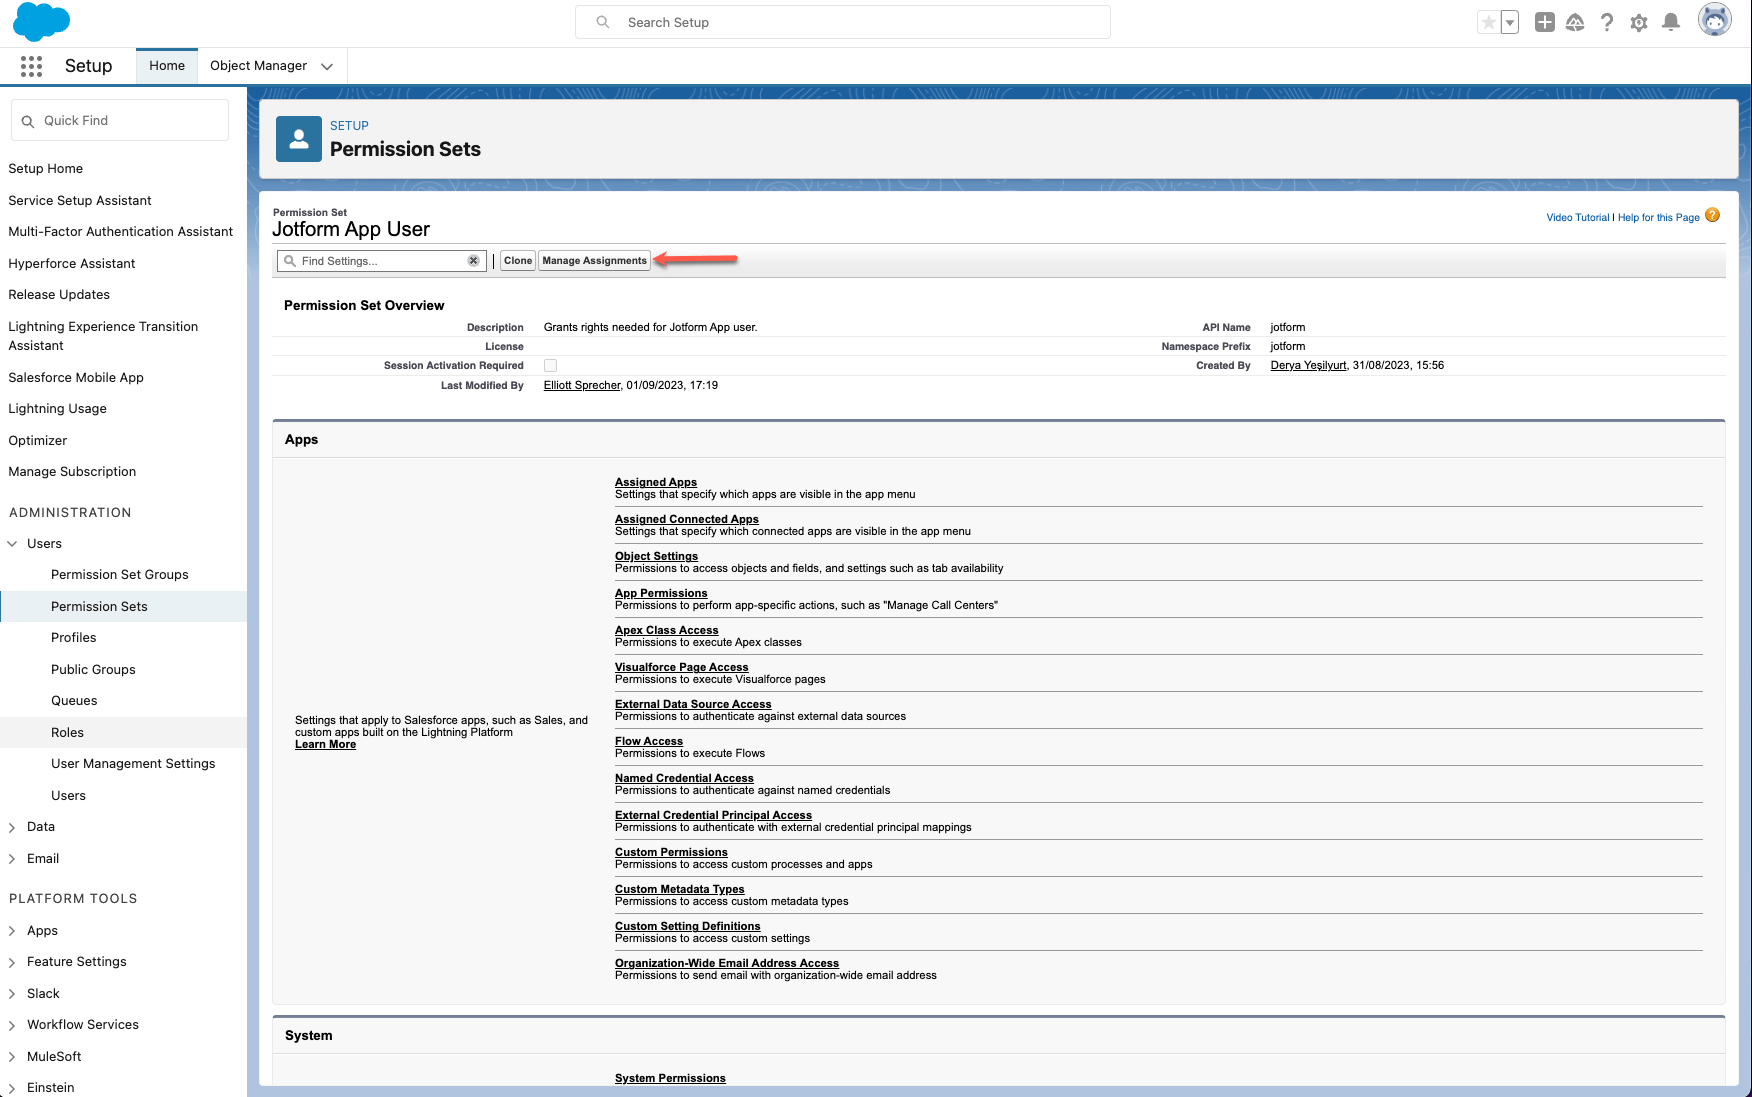
- Go to Administration, then click Users, click Permission Sets, and then click Jotform App User.

- Click Manage Assignments.
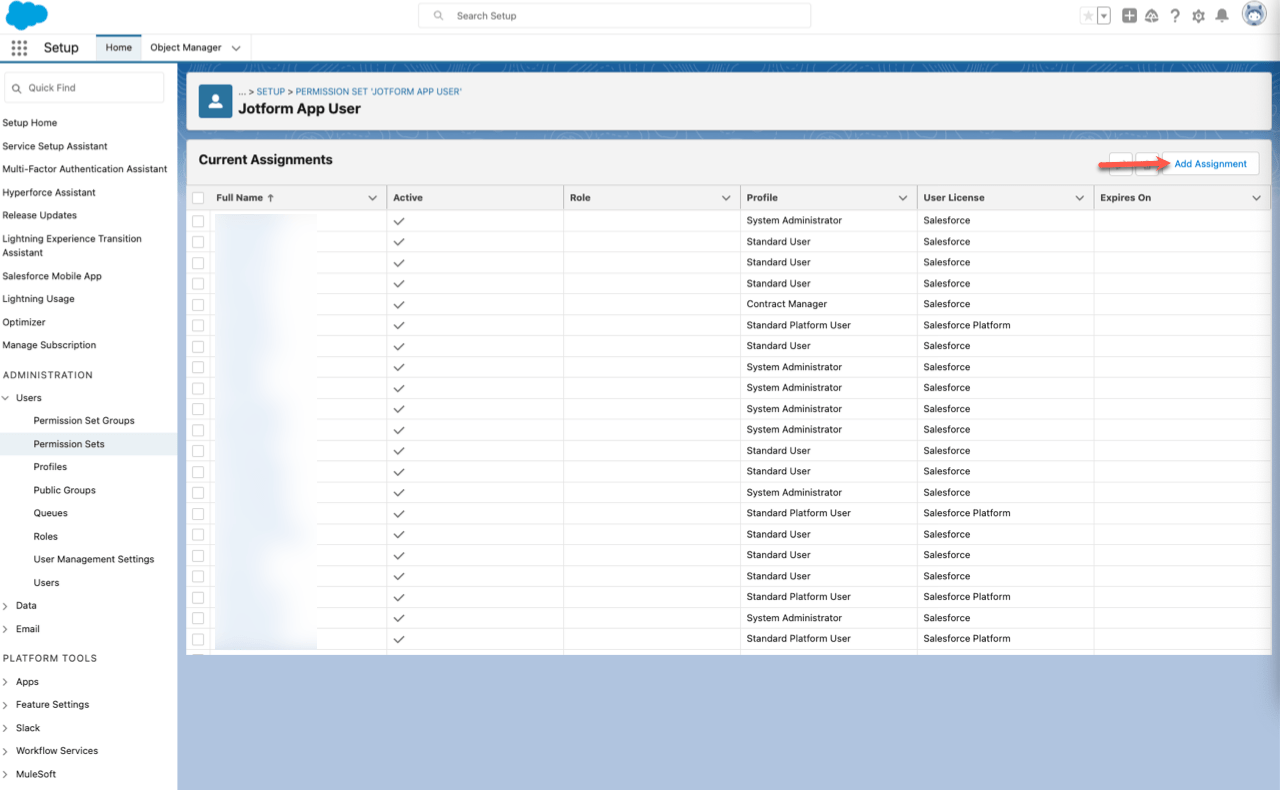
- Click Add Assignment to manage your users permissions.
Creating a Salesforce Form
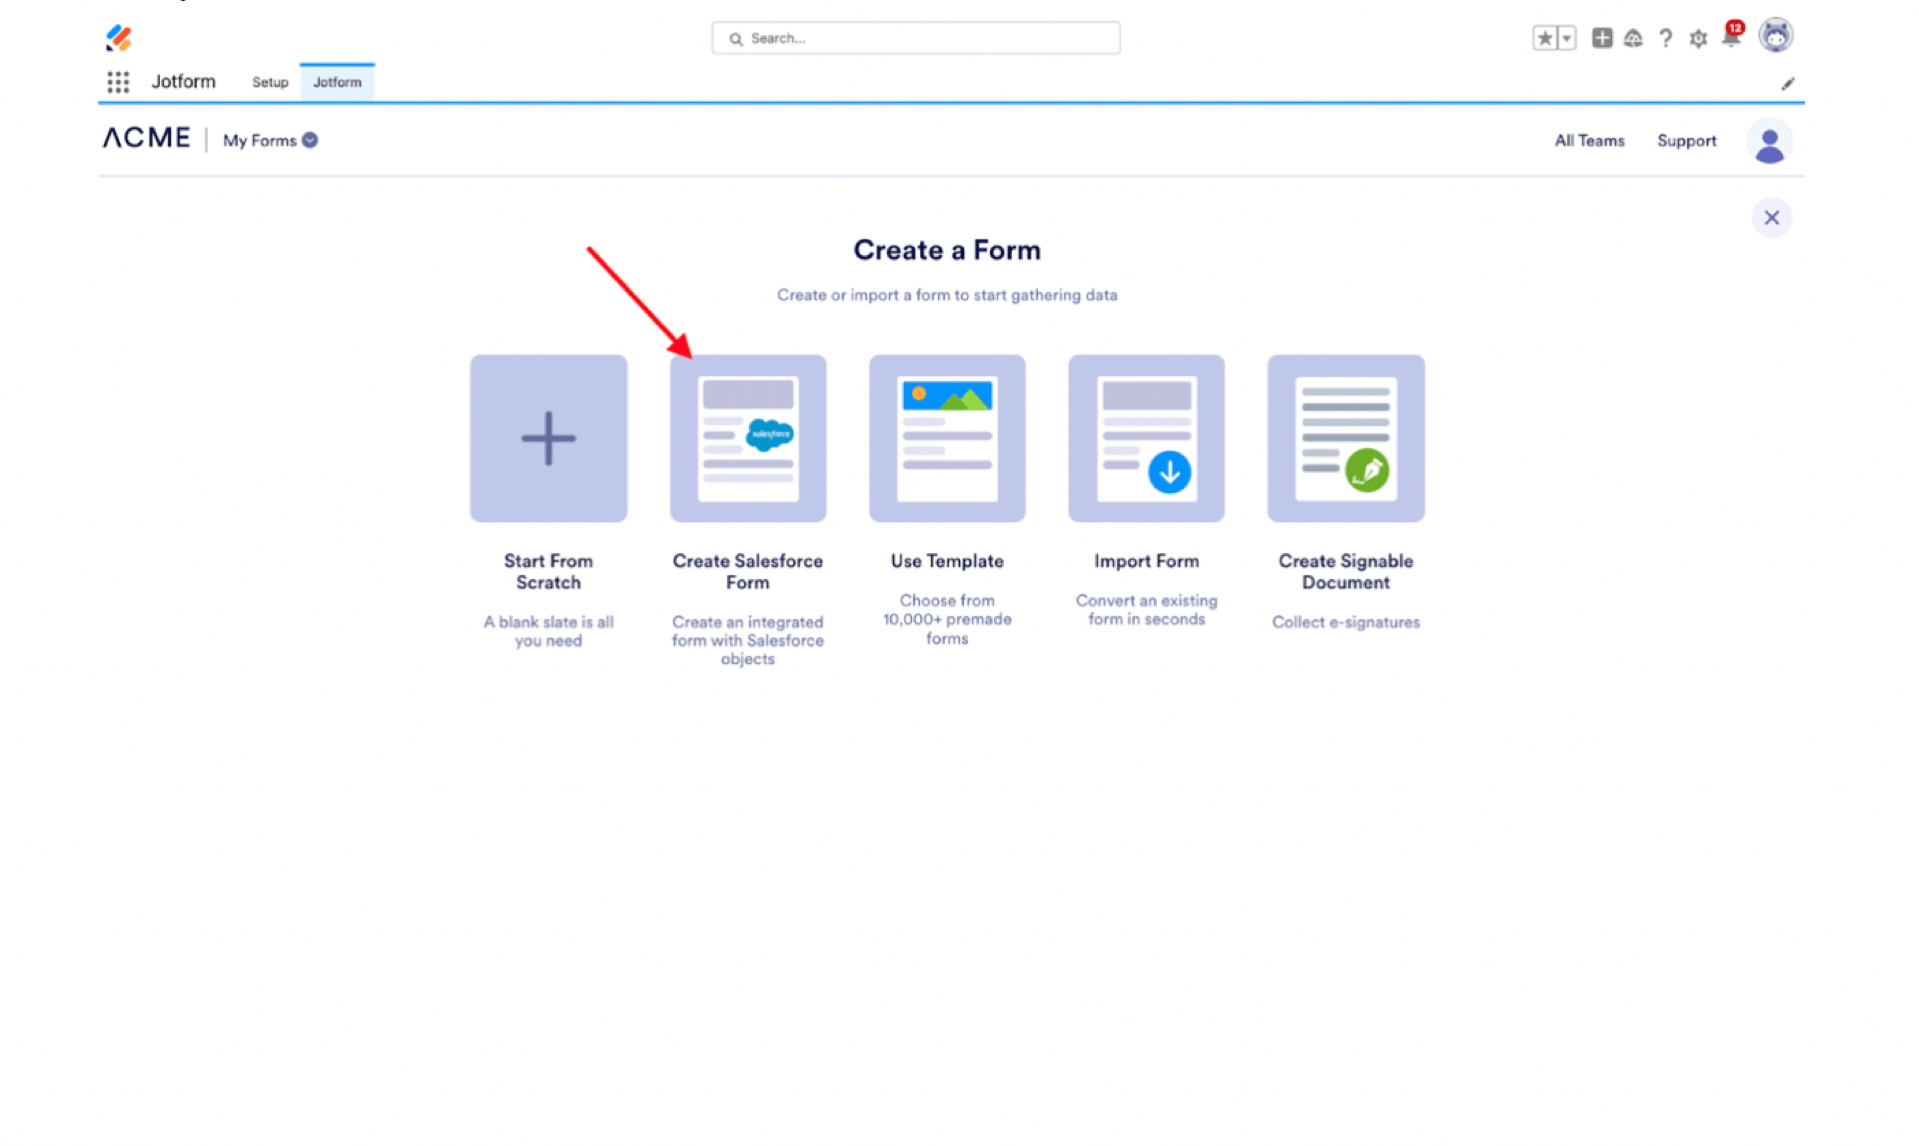
- Now you can create Salesforce forms that are automatically integrated with Salesforce. All you have to do is click Create Salesforce Form.
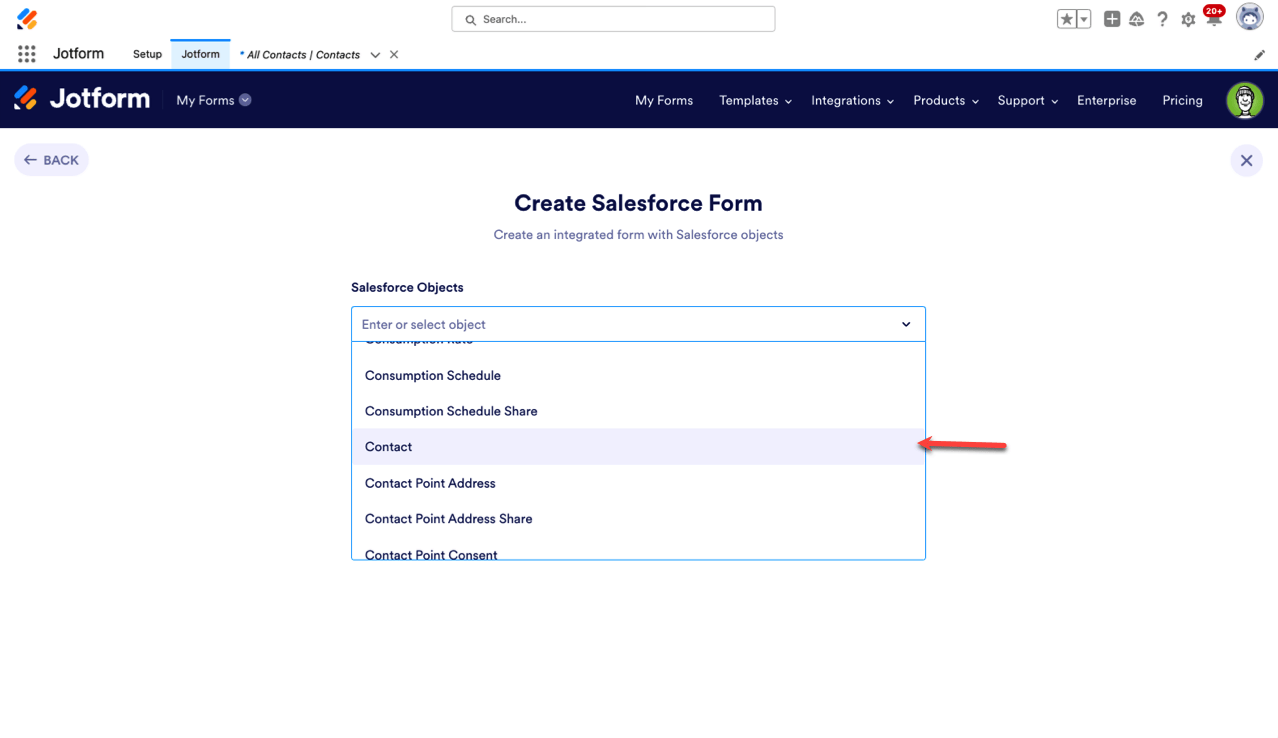
- When you select Create Salesforce Form, you can pick the Salesforce objects you want to include as fields in your form. Objects are essentially databases you can create. Objects are made up of fields that you can map to in your forms. This allows you to automatically create Salesforce records. In this example, we created a Contact form that will connect to a Contact Object in Salesforce.
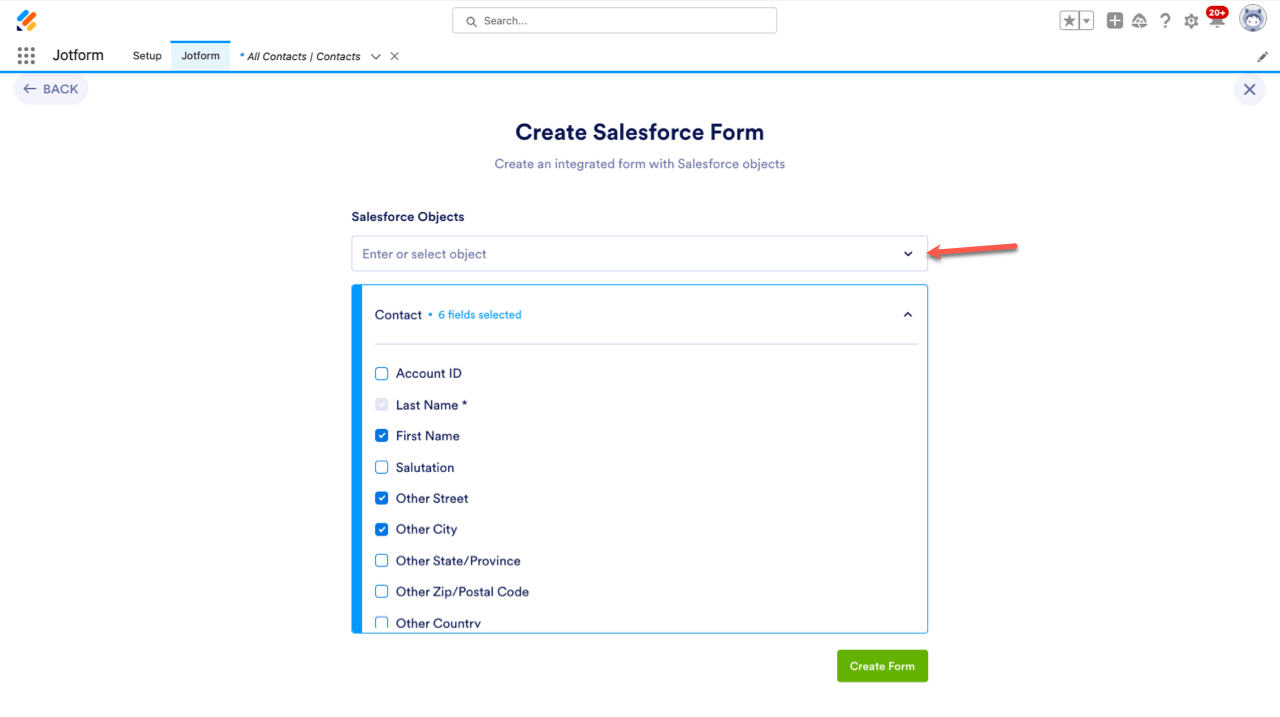
- When you select an object, it will come up with a set of fields for you to include in your form. Now you can select the fields you want to include in your Contact object.
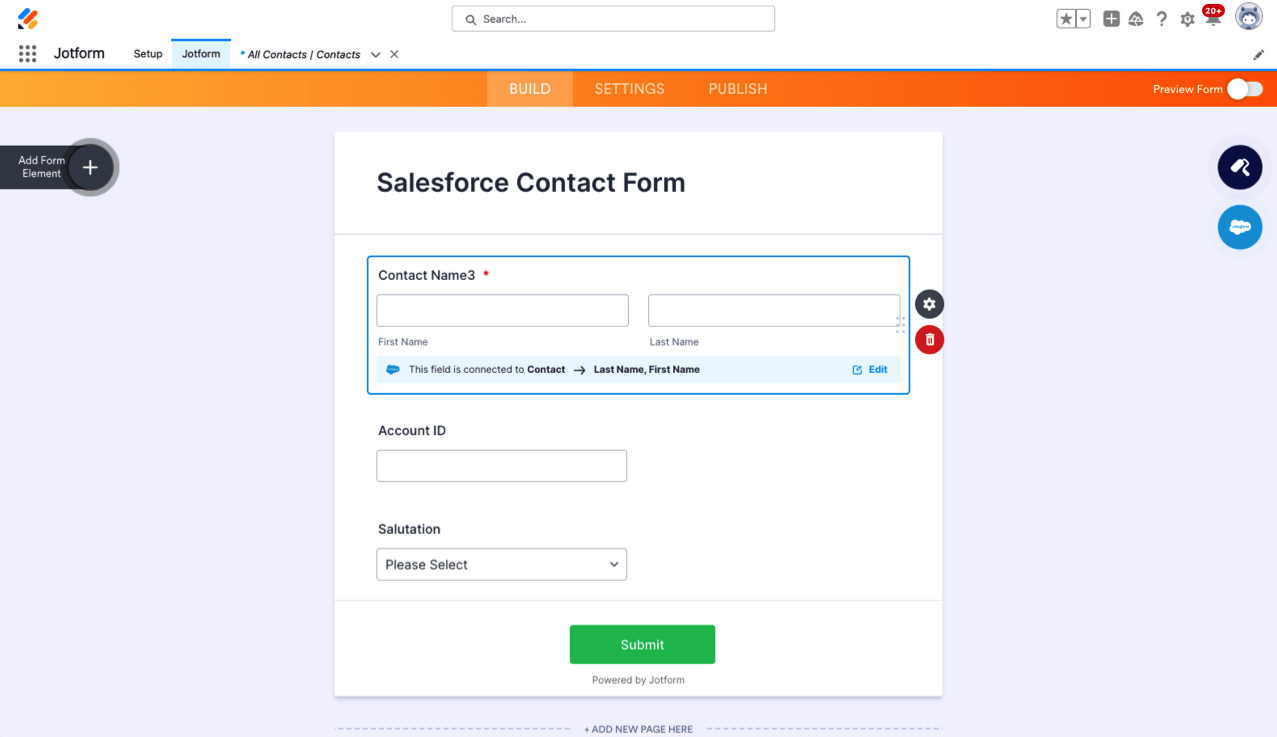
- Click Create Form, and your form will show all the fields you selected earlier. Now, whenever someone submits this form, their contact information will be added to your database in Salesforce.
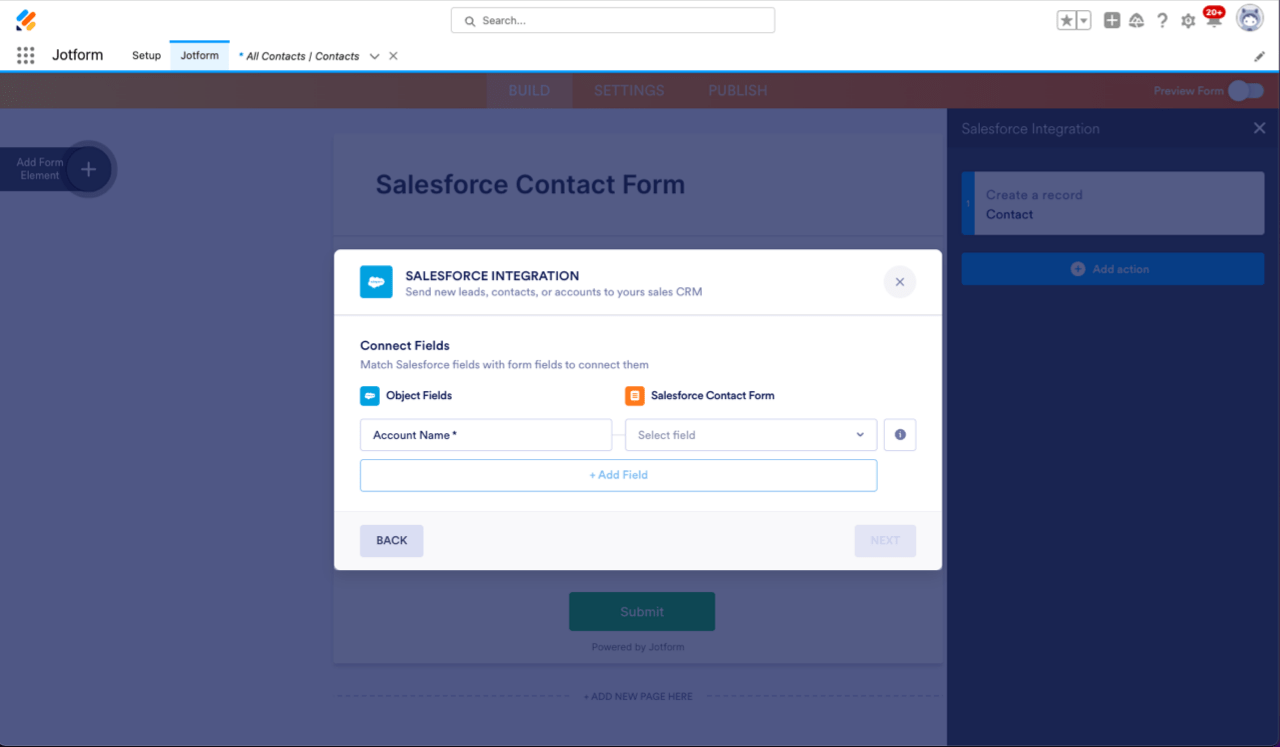
- If you want to connect other objects with your forms and fields you have already created, just click the Salesforce cloud on the right to map your Jotform fields to your Salesforce fields.
If you want to learn more about mapping fields in Salesforce, check out Salesforce’s Help Docs on Standard Contact Matching Rules and Standard Account Matching Rules.

Send Comment:
1 Comment:
March 23, 2024
How do I share the form on a Salesforce Experience Cloud page? The HTML code is not accepted as is...