Salesforce is great at managing contacts through the sales cycle, while Jotform is a great tool to capture contact information to funnel into it thanks to its robust Salesforce forms.
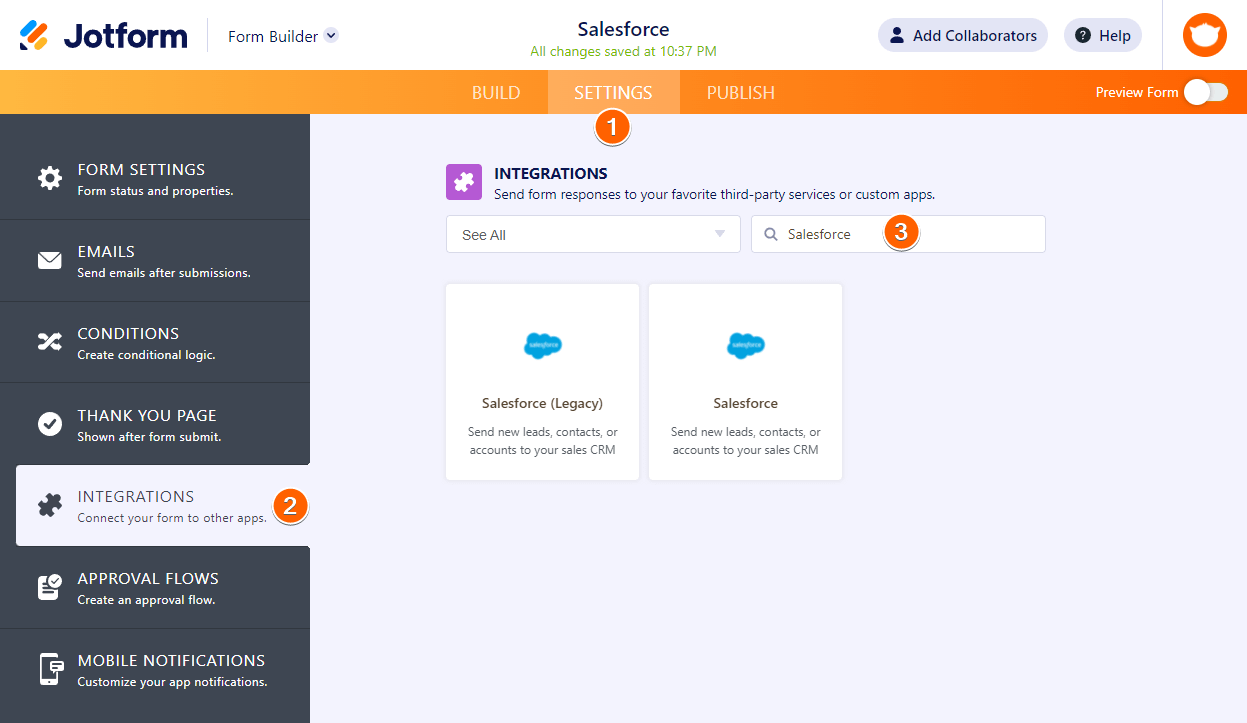
To get started with integrating with Salesforce, click Settings in the Form Builder, and go to the Integrations tab. Search for Salesforce. You have three options:
Your third option is to Add Jotform to Salesforce from Salesforce AppExchange. This is a great option if you love Jotform but want to stay within the Salesforce ecosystem. Once you add it, you’ll have a Salesforce button on your forms so you can easily map your form fields to object fields and automatically create records from Jotform submissions.
Below is a short video for the Salesforce integration:
This guide will cover the Dos and Don’ts of the Salesforce integration. It will help you master the integration and make the same recommendations for other integrations, particularly those that require mapping/matching of form elements.
Let’s start.
Full Name Element
Most people use the Short Text element for customer names, but the integration works well with the Full Name under the Basic elements.

When needed, you can toggle to have the following: Prefix, Middle Name, and Suffix.
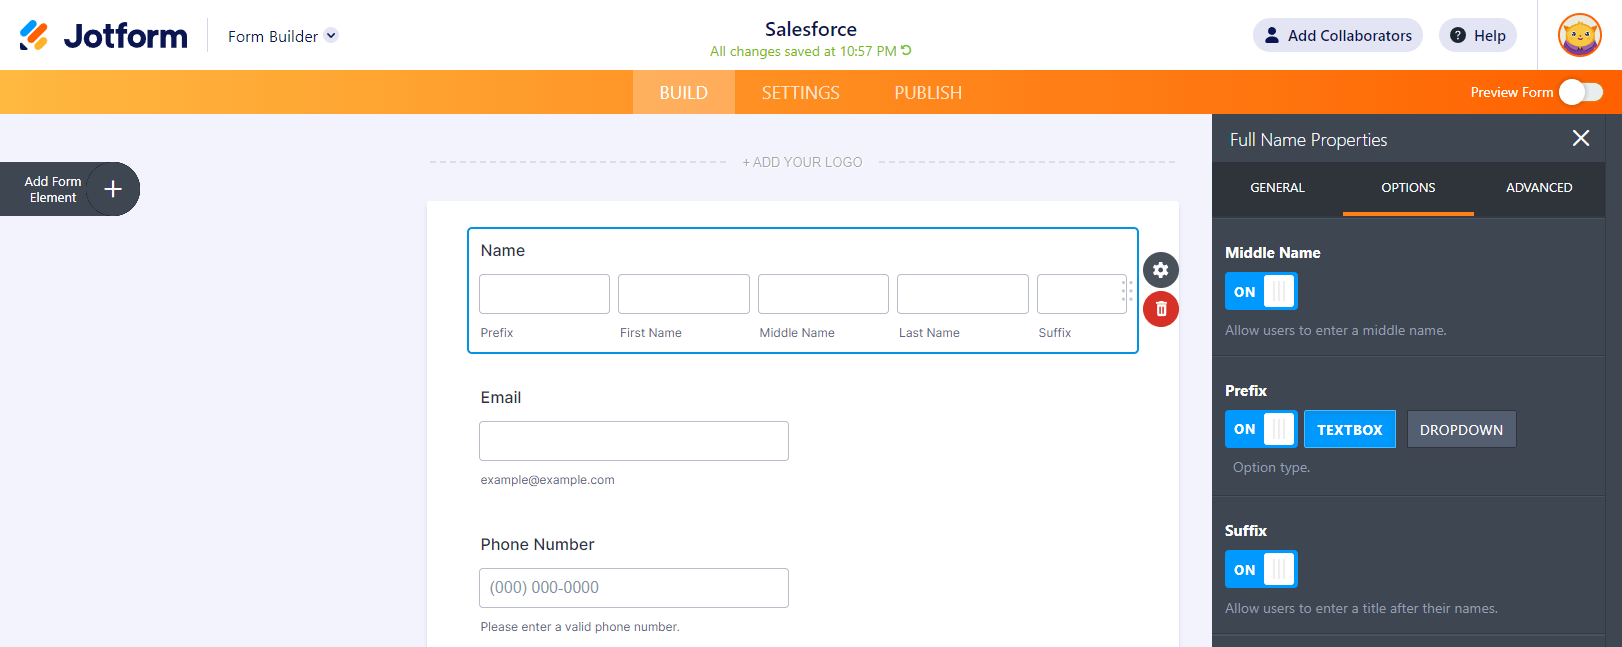
You might be wondering why not use several textboxes. The Full Name element has the following benefits:
- You can pass all of the available options to the integration.
- It is mobile-ready (responsive). Text fields will also display correctly across devices but as separate fields.
- It’s a single field that groups related information. This is helpful for many things including viewing results, setting up conditions, and setting up integrations.
Our smart mapping system will match the field with its equivalent on Salesforce. When setting up the integration, all that’s usually left is to confirm that the defaults are correct.
Address Element
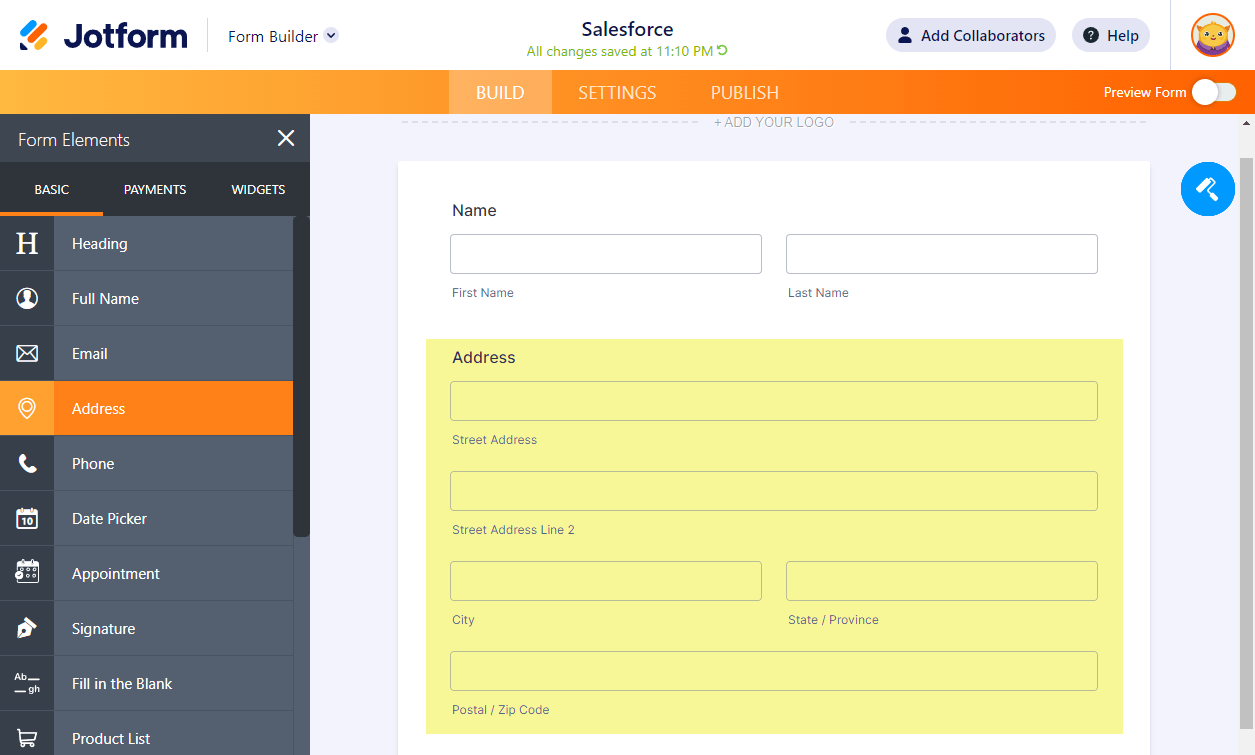
Another great thing to note to master the Salesforce integration with Jotform is to utilize the Address element for your addresses instead of the individual Short Text or Long Text elements.
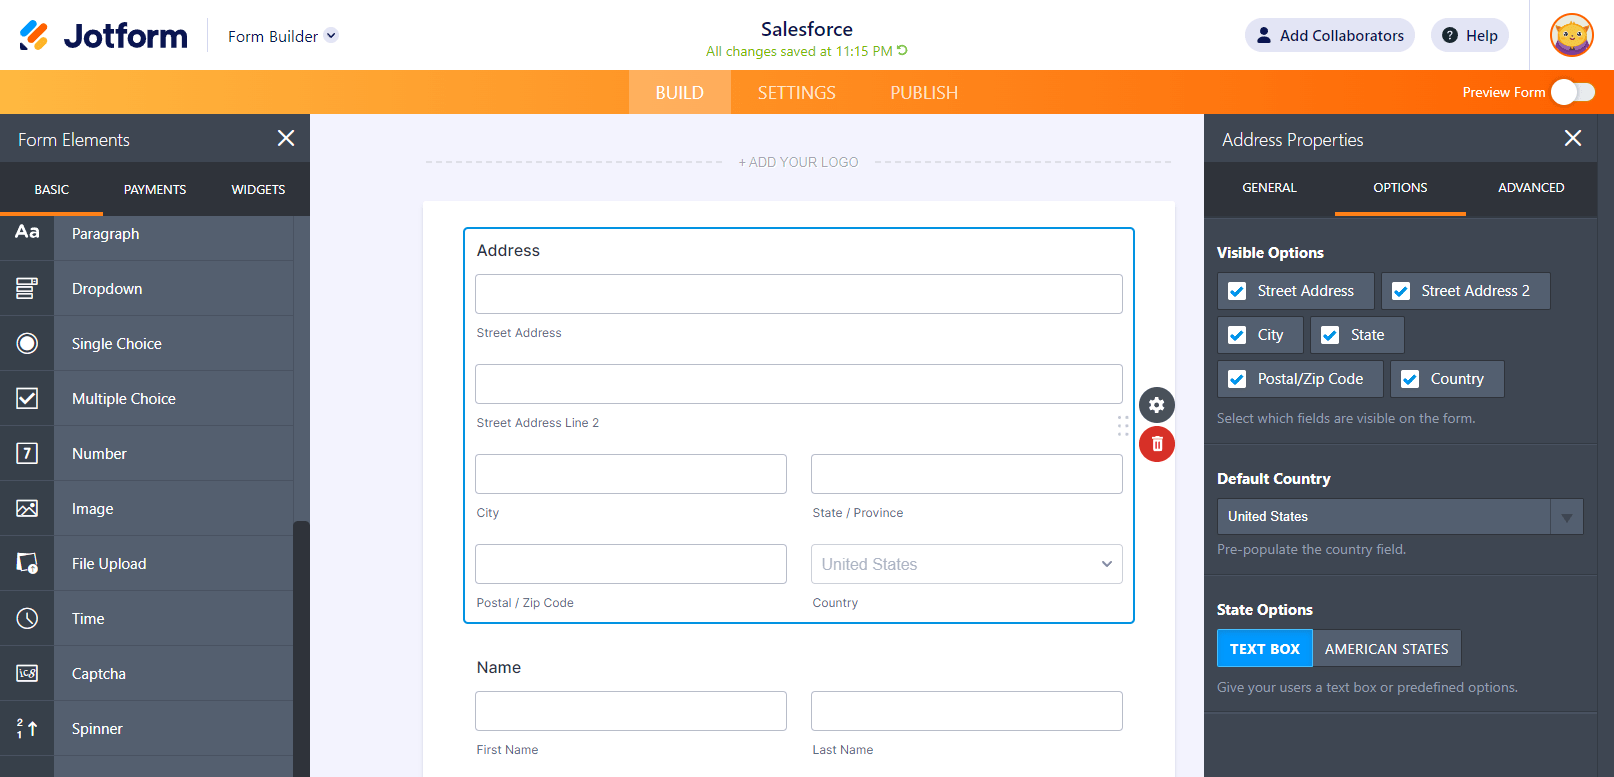
Under Address Properties, you can toggle to include/exclude the visible address options:
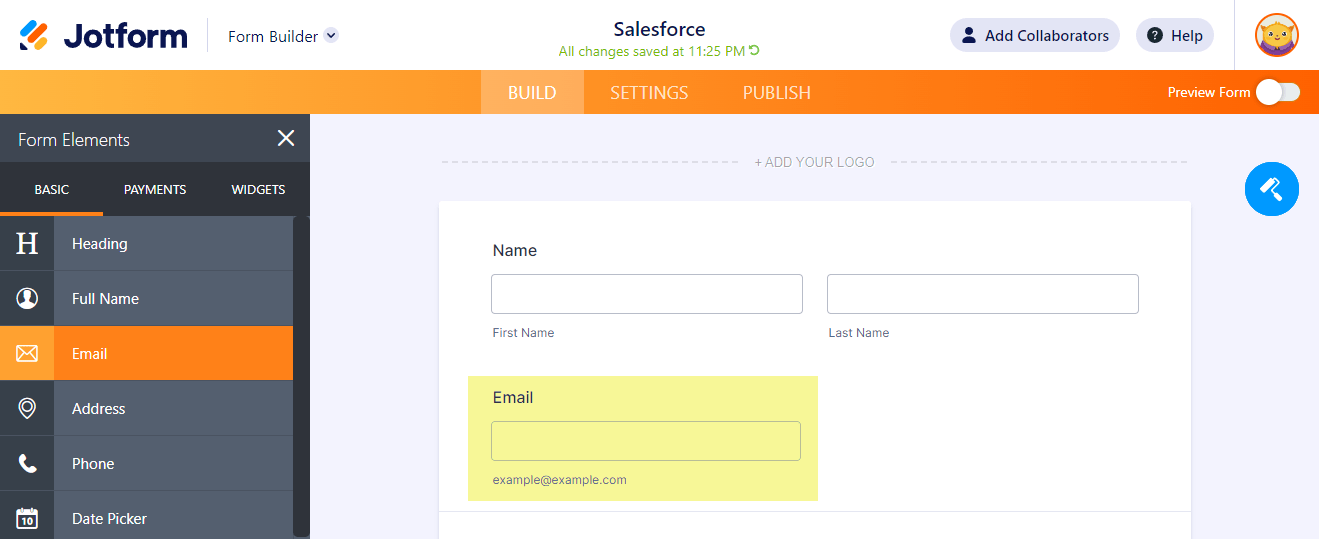
Email Element
While you could use the Short Text element and set its validation as Email, we always suggest using the Email element.
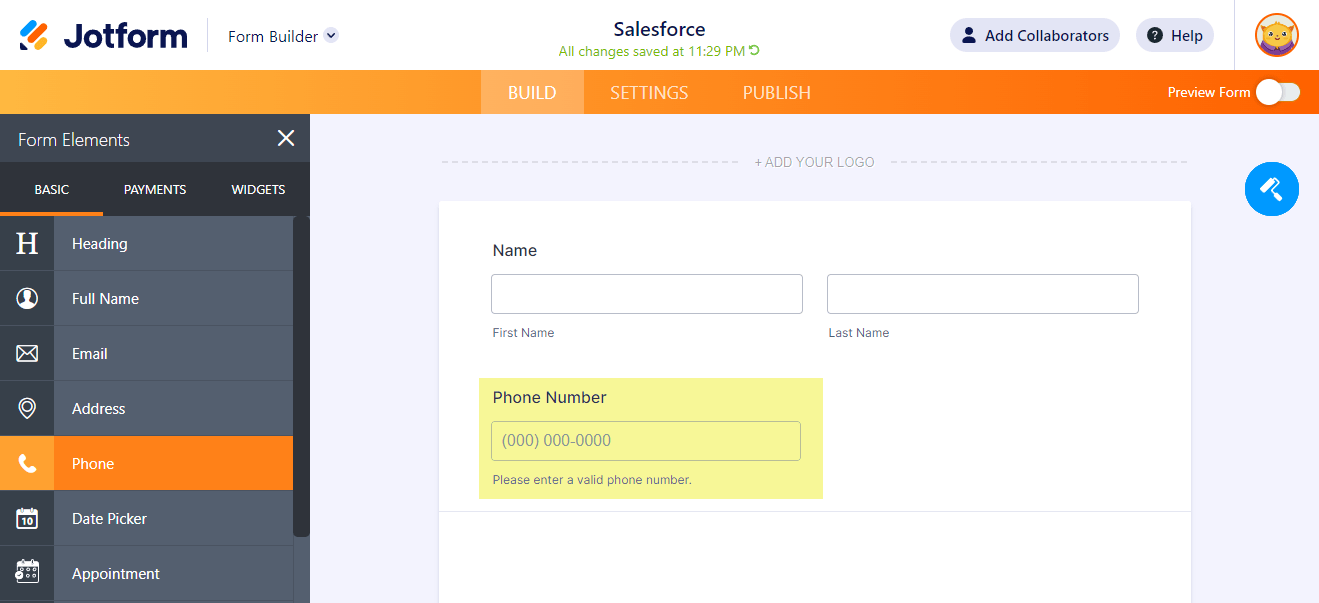
Phone Element
Don’t forget the Phone field. Use it for capturing phone numbers for your integration with Jotform. Not only does it map well to Salesforce, but it also makes collecting the number more manageable.
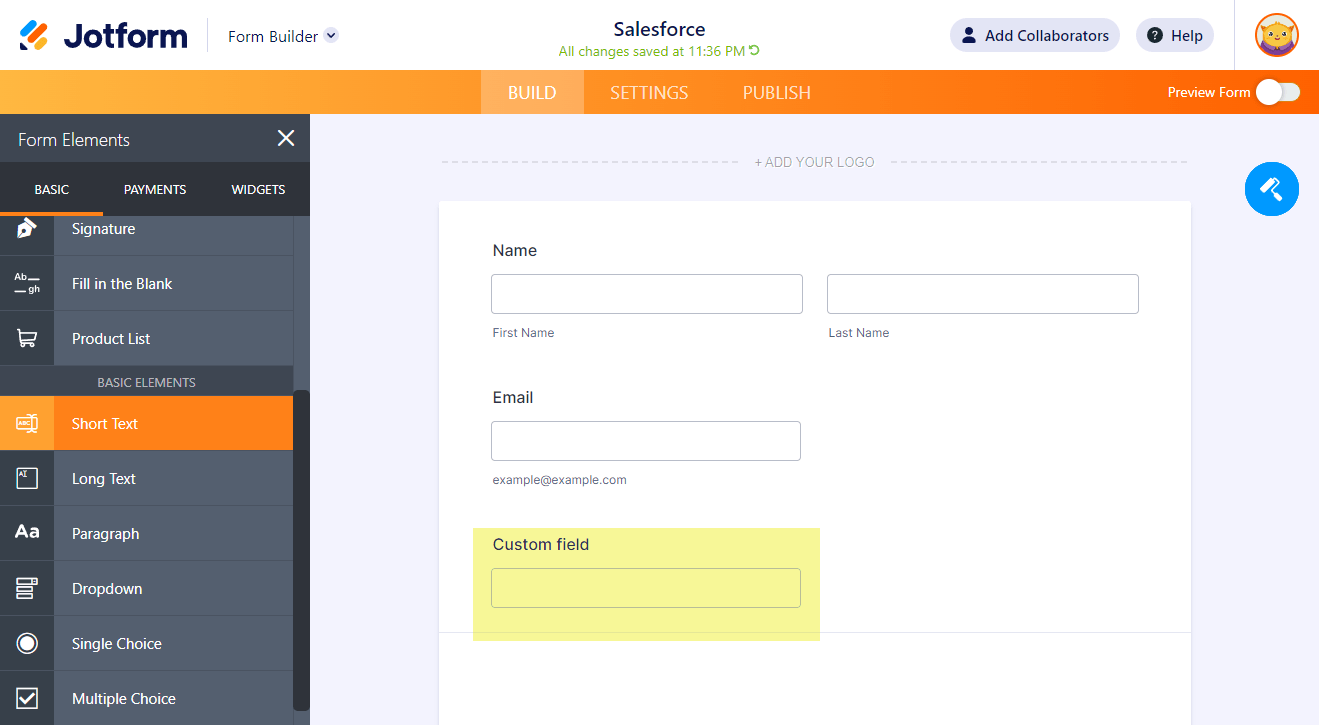
Short Text Element for Custom Fields
You might need to connect your Jotform fields to some custom fields in your Salesforce account. That, too, is possible with Jotform. For this, the Short Text element is the way to go.
Let’s say you need to pass some custom fields like the following:
< input type="hidden" value="Responded" name="member_status" >All you need is to add the Short Text element and map it to the custom Salesforce field.
Under the Advanced tab of the Short Text Properties, you can do the following:
- Set a Default Value.
- Make the element as Read Only.
- Hide the element from user’s view.
Here’s a sample form that follows Jotform’s best practices for integrating with Salesforce: https://www.jotform.com/220594288290462. Feel free to clone it.
If you have any questions, comments, or suggestions, please send a comment below or reach us by creating a support ticket.


Send Comment:
4 Comments:
268 days ago
We want clients to update some Salesforce fields but some of them are picklists. How do we get the picklists to populate in Jotform?
333 days ago
Does Jotform have ability to create multiple related record.
For example if Object A is created then there will be one or more records for object B. Consider Opportunity and Opportunity Line Item.
Can they be pushed all in one form submission.?
More than a year ago
We are a Salesforce service cloud customer who uses both web to case and email to case. Does the Jot Form map fields to case object using Web to Case or Email to Case?
More than a year ago
I've followed all the steps perfectly to integrate my form with Salesforce and it NEVER works. I get the submission email, but have yet to ever have any data get through to Salesforce.