With Jotform’s PDF Editor, you can use conditions to control which elements appear in a generated PDF based on a form submission. This lets you show only the information relevant to each submission and leave out unnecessary details.
PDF Editor currently supports one condition type: Show/Hide condition. You can create rules based on form fields and their submitted values to determine whether an element appears in the generated PDF.
Here are a few ways to use it:
- Show or Hide Condition— Control whether elements appear in the generated PDF based on form fields and submitted values.
- Apply Conditions Per Element — Set conditions for individual elements so different sections and content can respond independently to submission data.
- Manage Existing Conditions — Edit, disable, clone, or delete conditions when you need to update how elements respond to submitted values.
- Preview Conditional Documents — Use submission data to verify which elements will appear in the final PDF before downloading, sending, or sharing it.
Creating a Condition
Each element in PDF Editor has its own Conditions tab, where you can set rules for when the element should be shown or hidden. Follow these quick steps to get started:
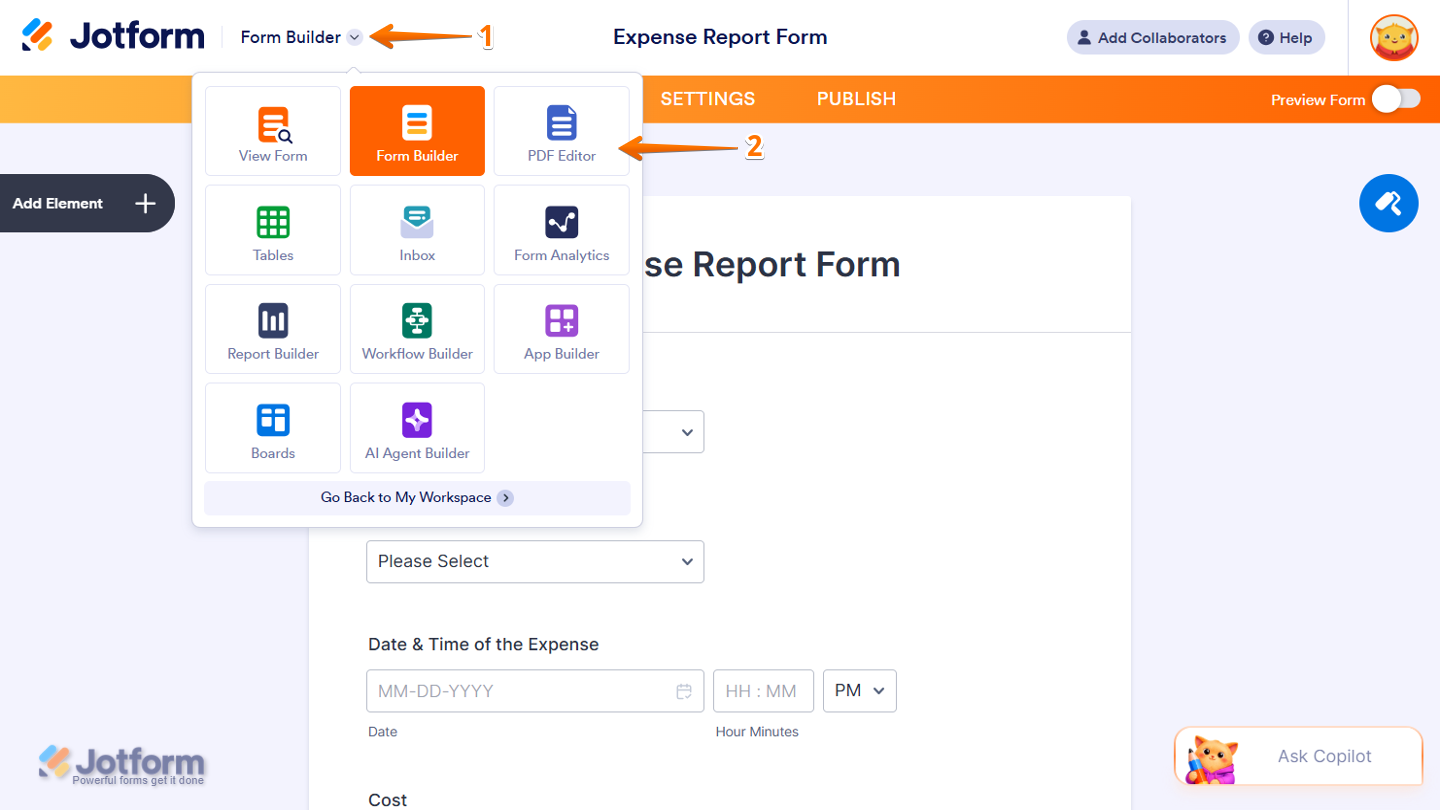
- In Form Builder, click on the Downward Arrow icon next to the Jotform logo in the top-left corner of the page.
- Then, in the Dropdown menu that opens, select PDF Editor.
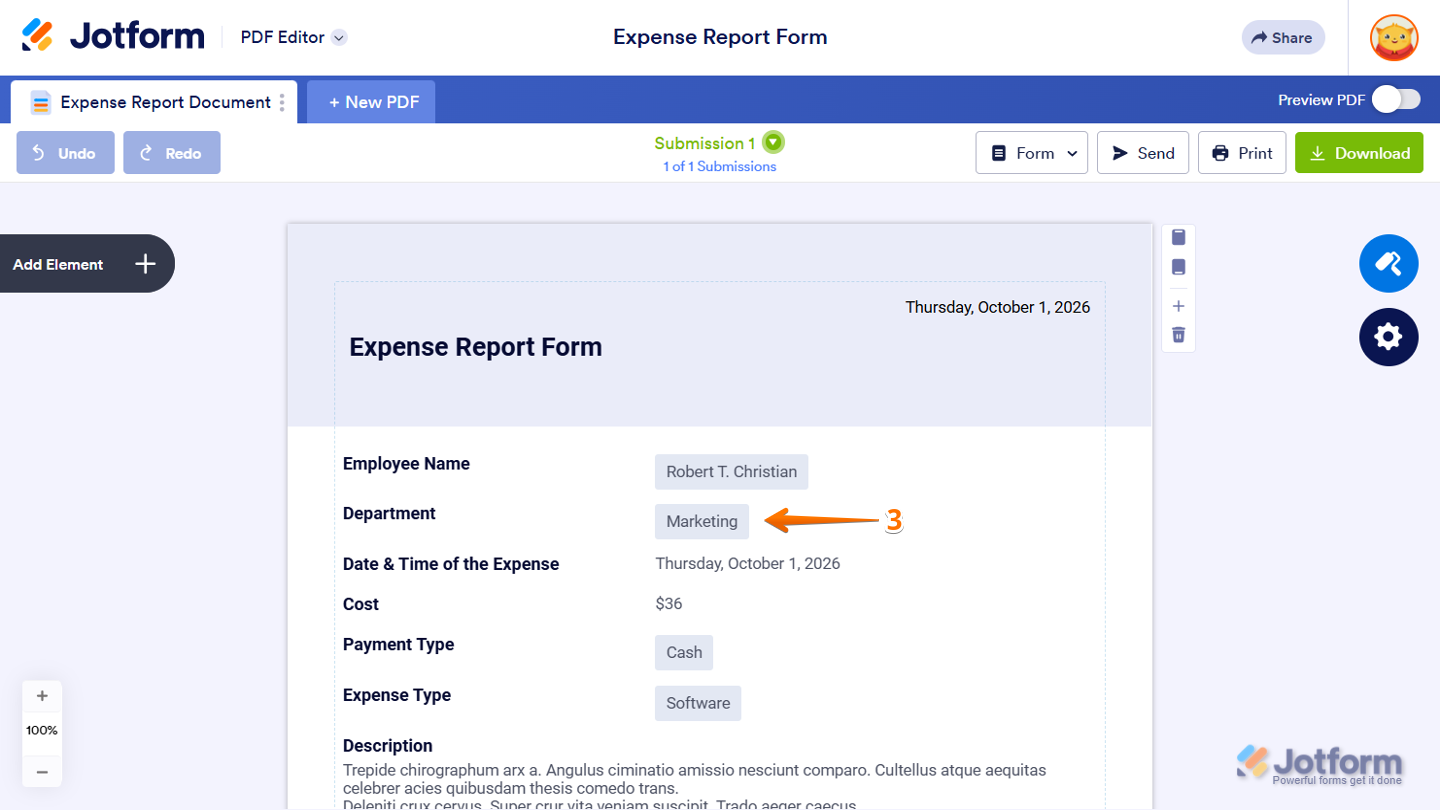
- Next, in PDF Editor, click on the element where you want to add a condition.
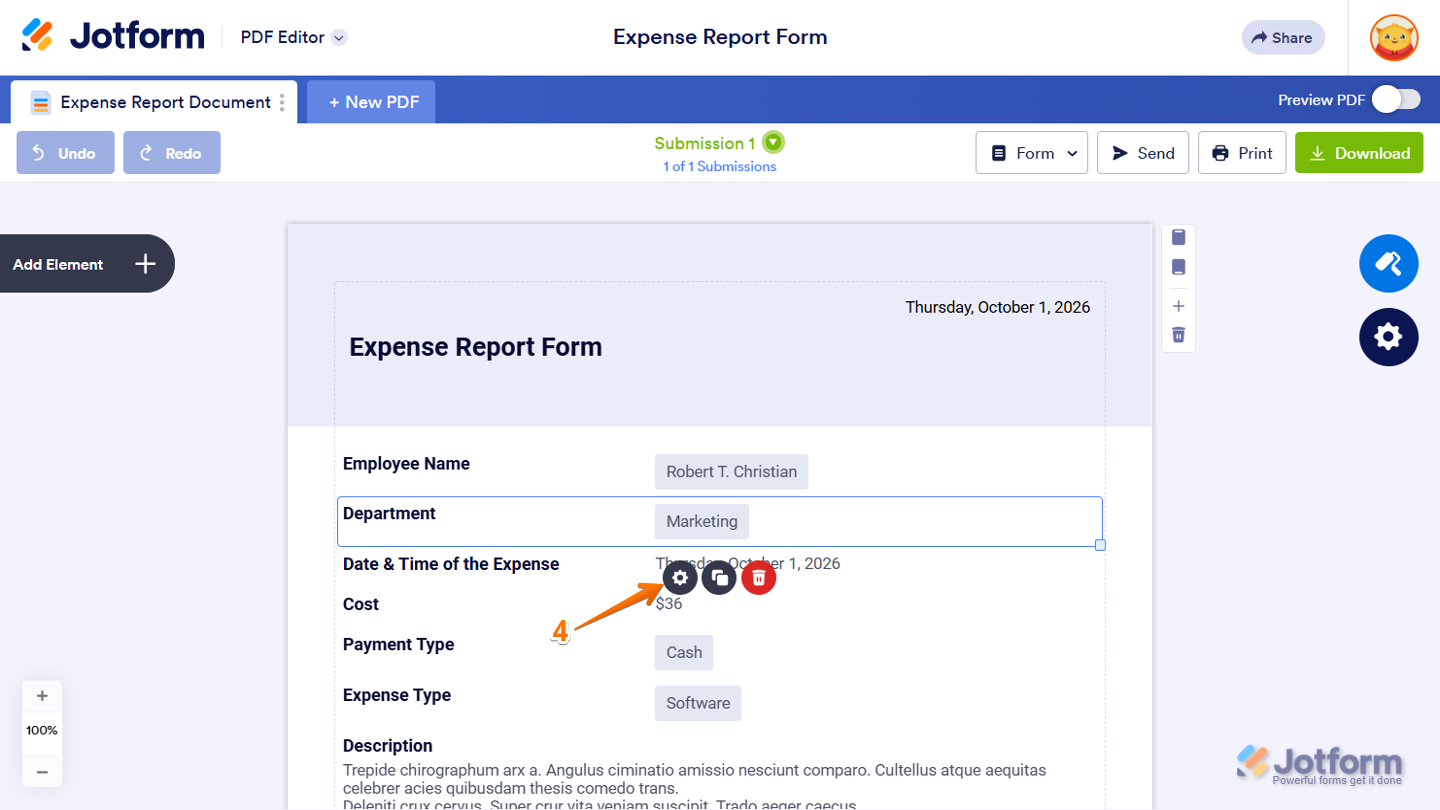
- Now, click on the Gear icon at the bottom of the element.
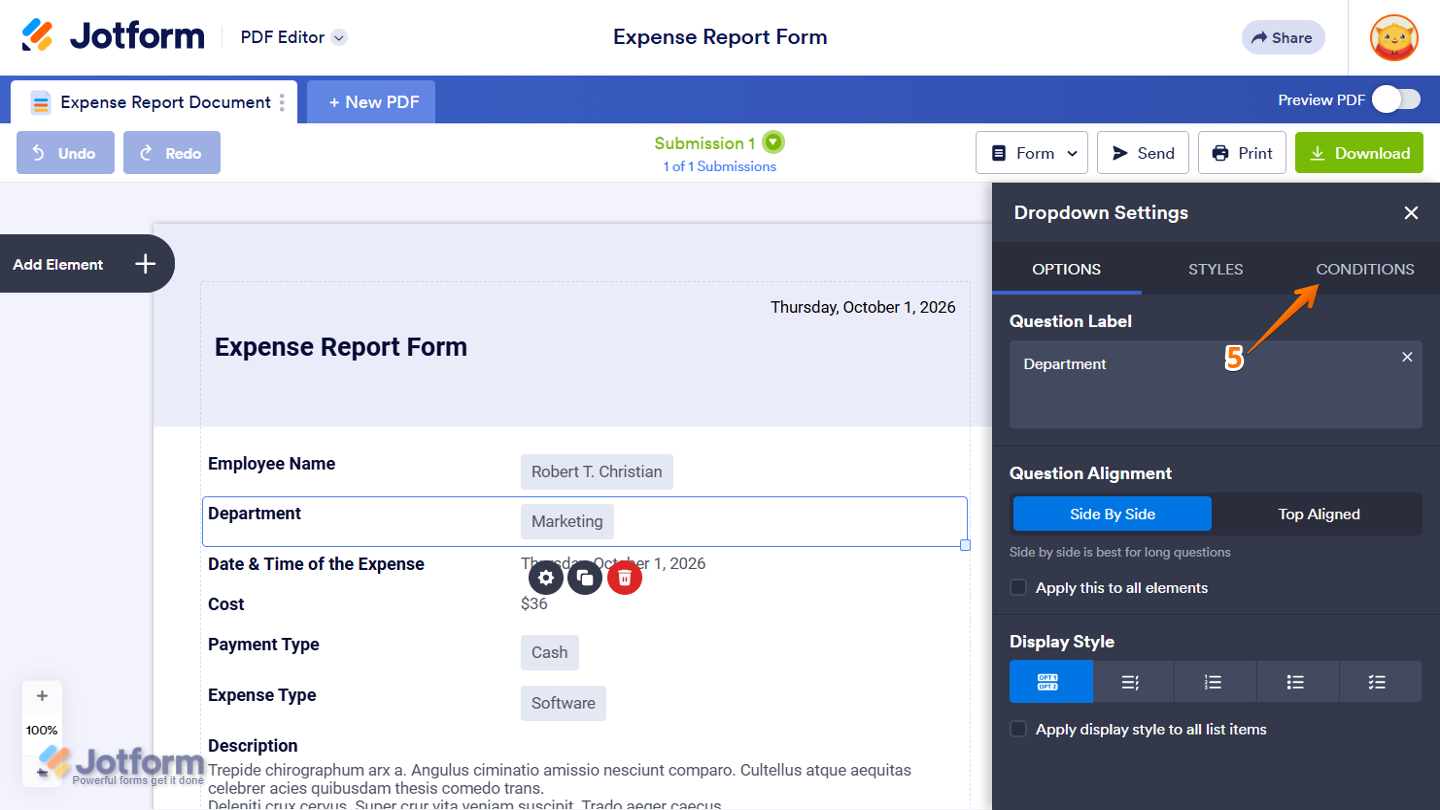
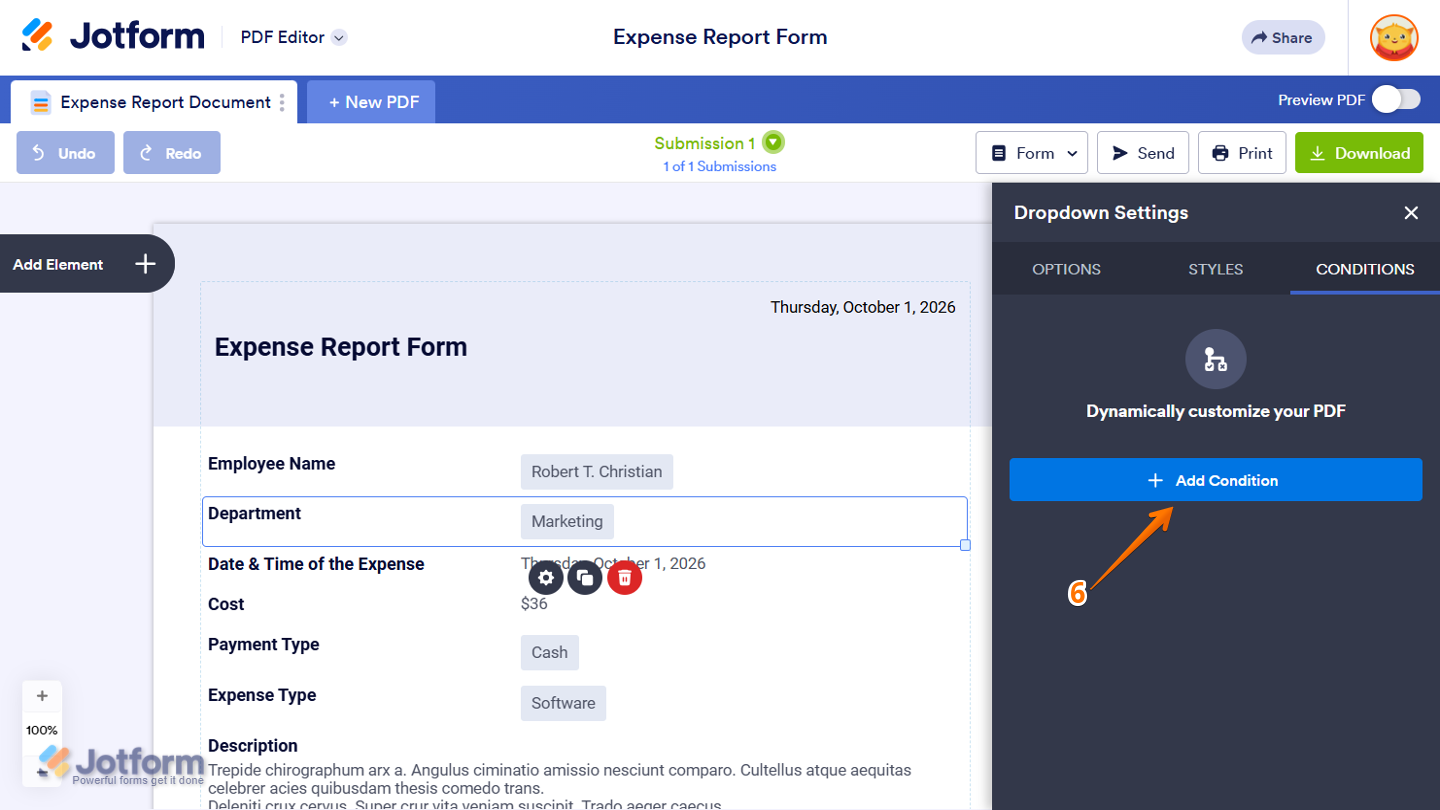
- In the menu on the right side of the page, click on the Conditions tab.
- Then, click on Add Condition.
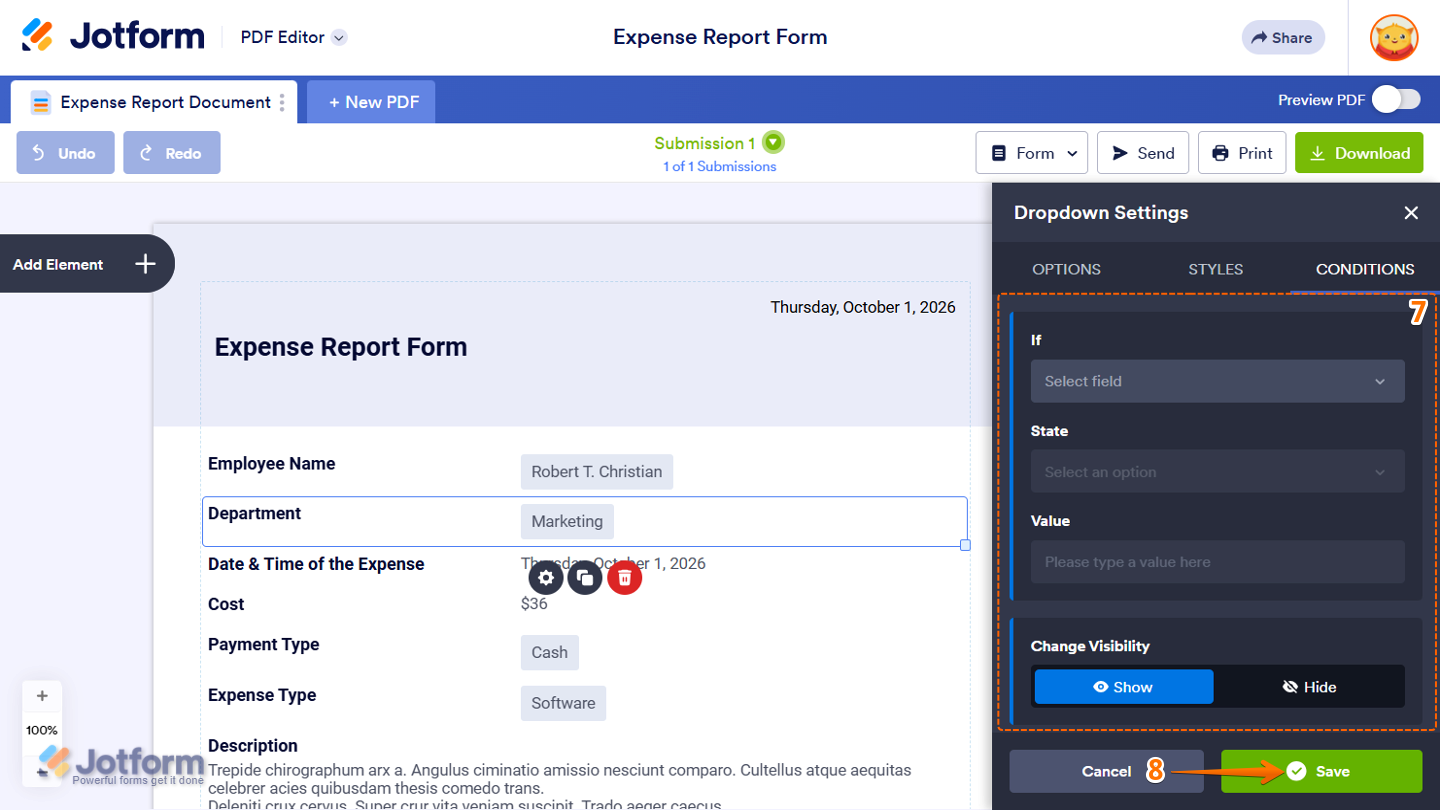
- Next, configure these settings to create a rule for the selected element:
- If — Select the form element whose submitted value you want to use for the condition.
- State — Choose the state that the selected element should meet for the condition to apply.
- Value — Enter the value that the selected element should be compared against.
- Change Visibility — Choose whether to show or hide the selected element when the condition is met.
- Once you’re done, click on Save at the bottom of the page.
That’s it! You’ve successfully added a condition to your PDF Editor element.
Notes
- By default, elements in PDF Editor are visible. When you create a condition to show an element, that element becomes hidden whenever the defined condition is not met.
- Conditions apply only to the element where they are configured.
- You can create multiple conditions for a single element.
Managing a Condition
Once you’ve added a condition, you can manage it in PDF Editor by editing, disabling, cloning, or deleting it. Follow these quick steps to get started:
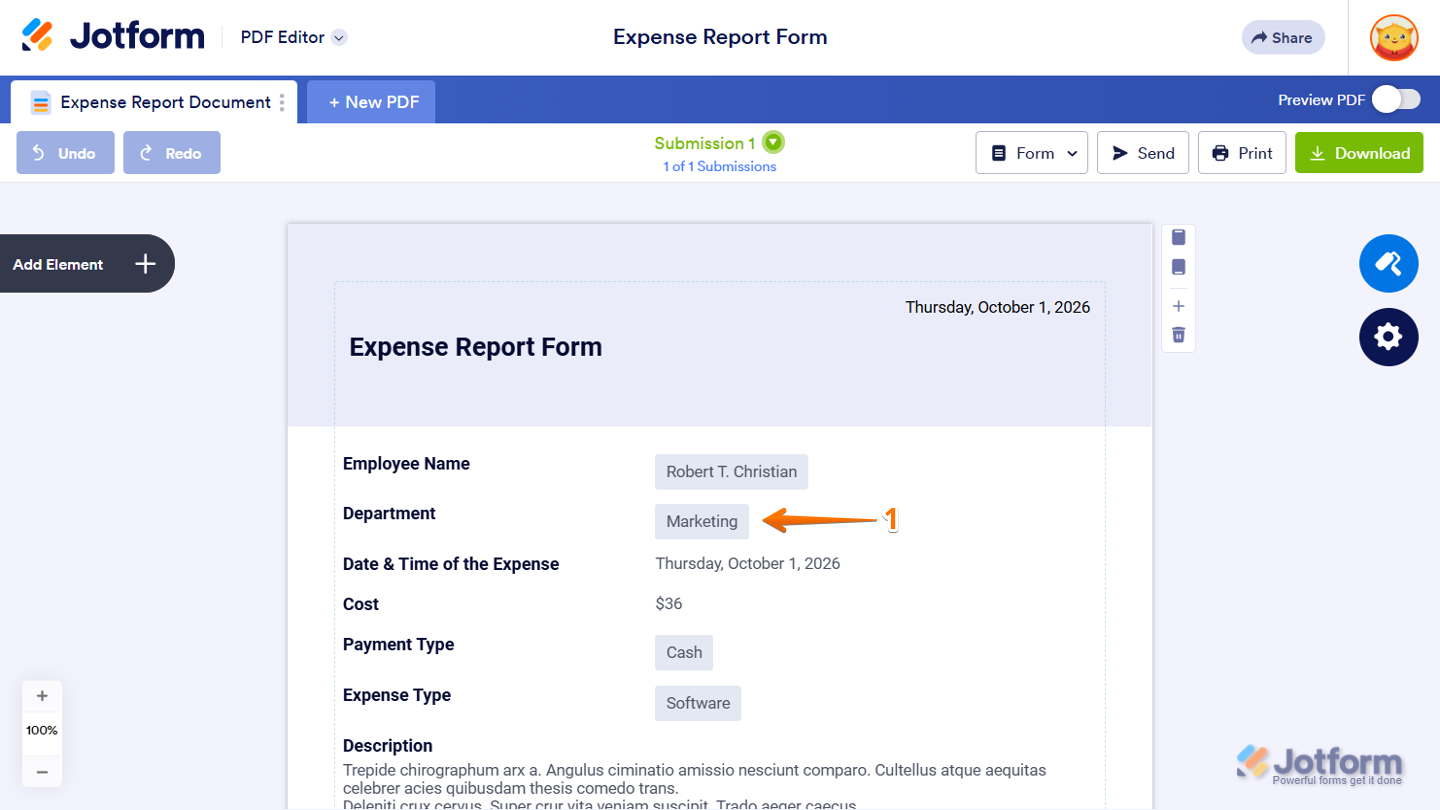
- In PDF Editor, click on the element where you added the condition.
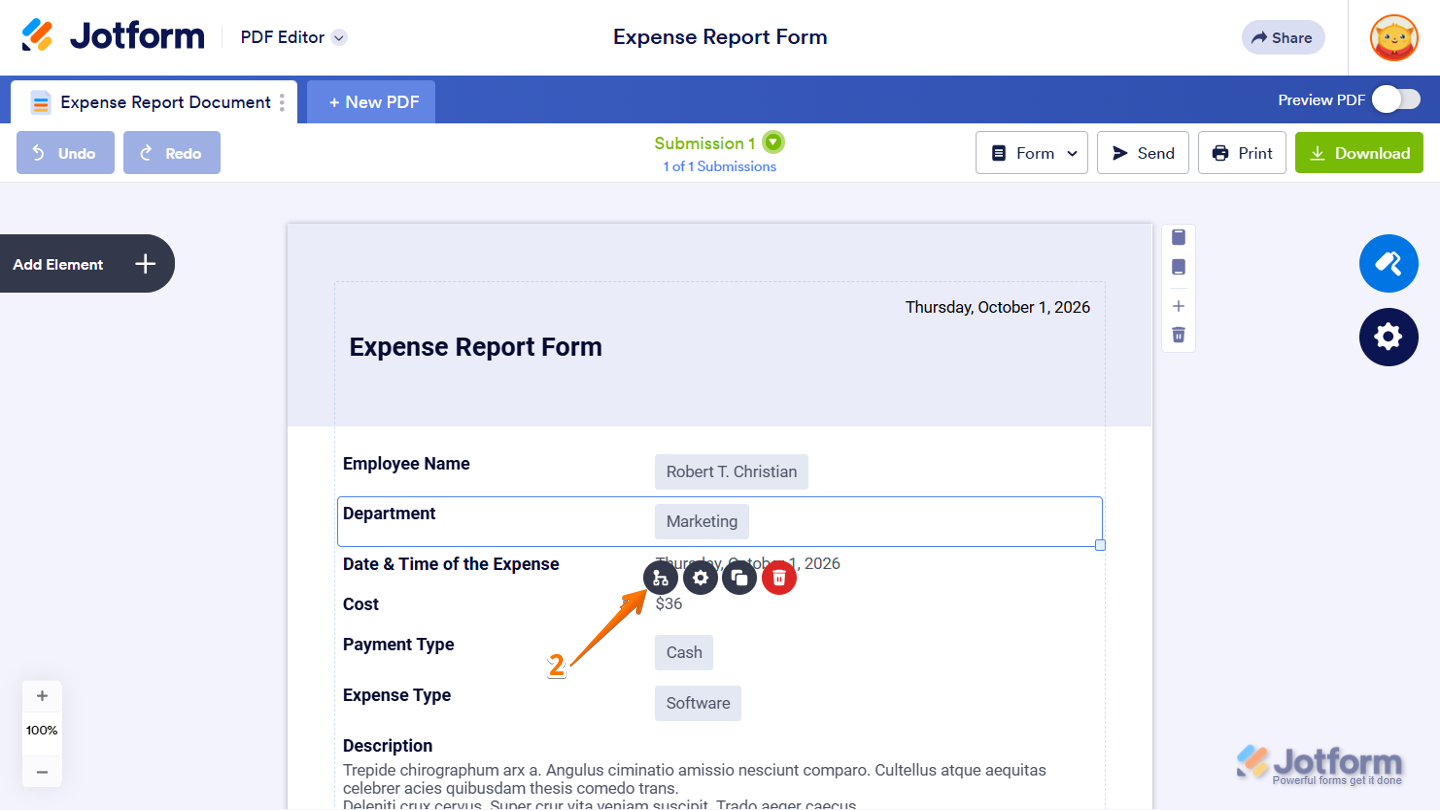
- Then, click on the If/Else Conditional icon at the bottom of the element.
- Next, in the menu on the right side of the page, click on the Three Dots icon next to the condition.
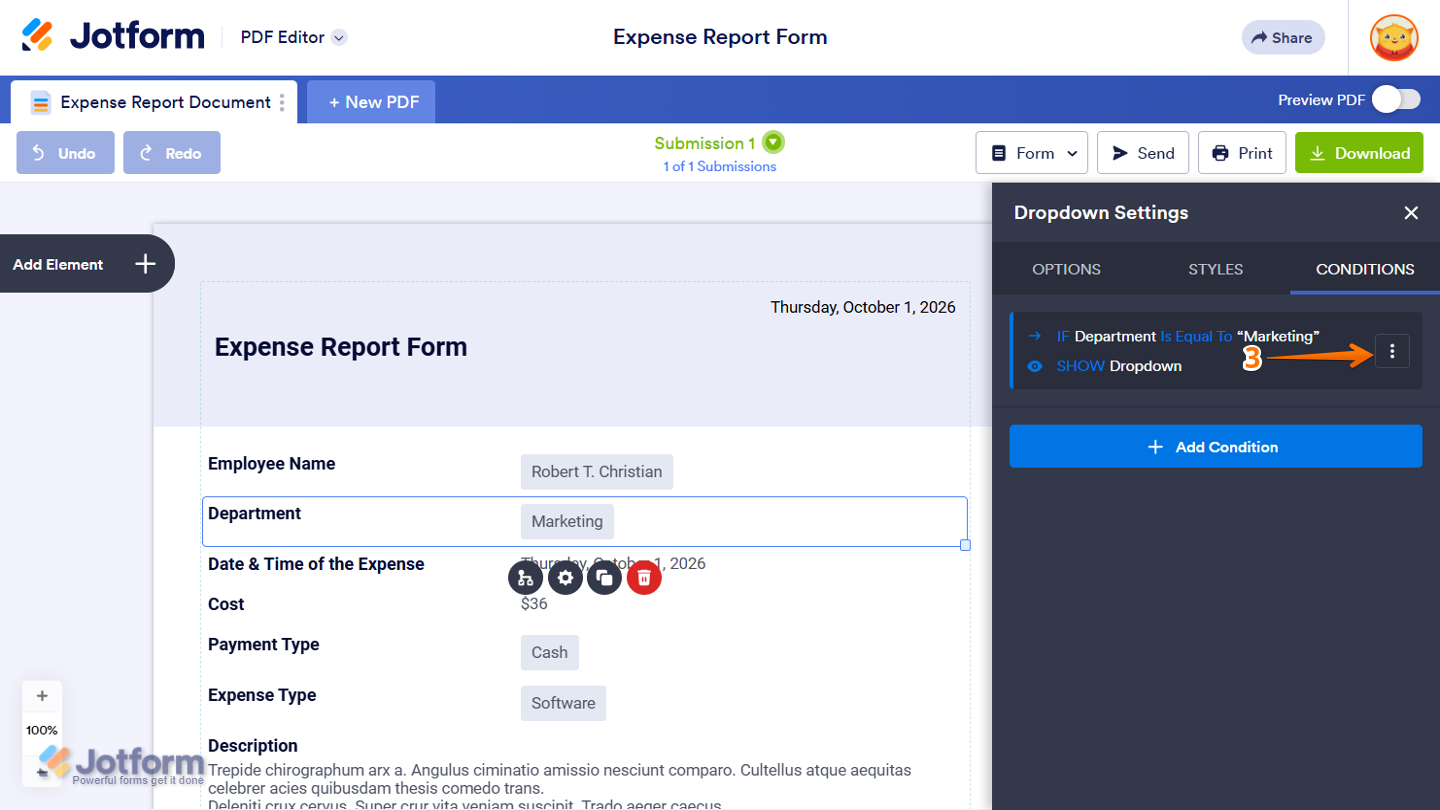
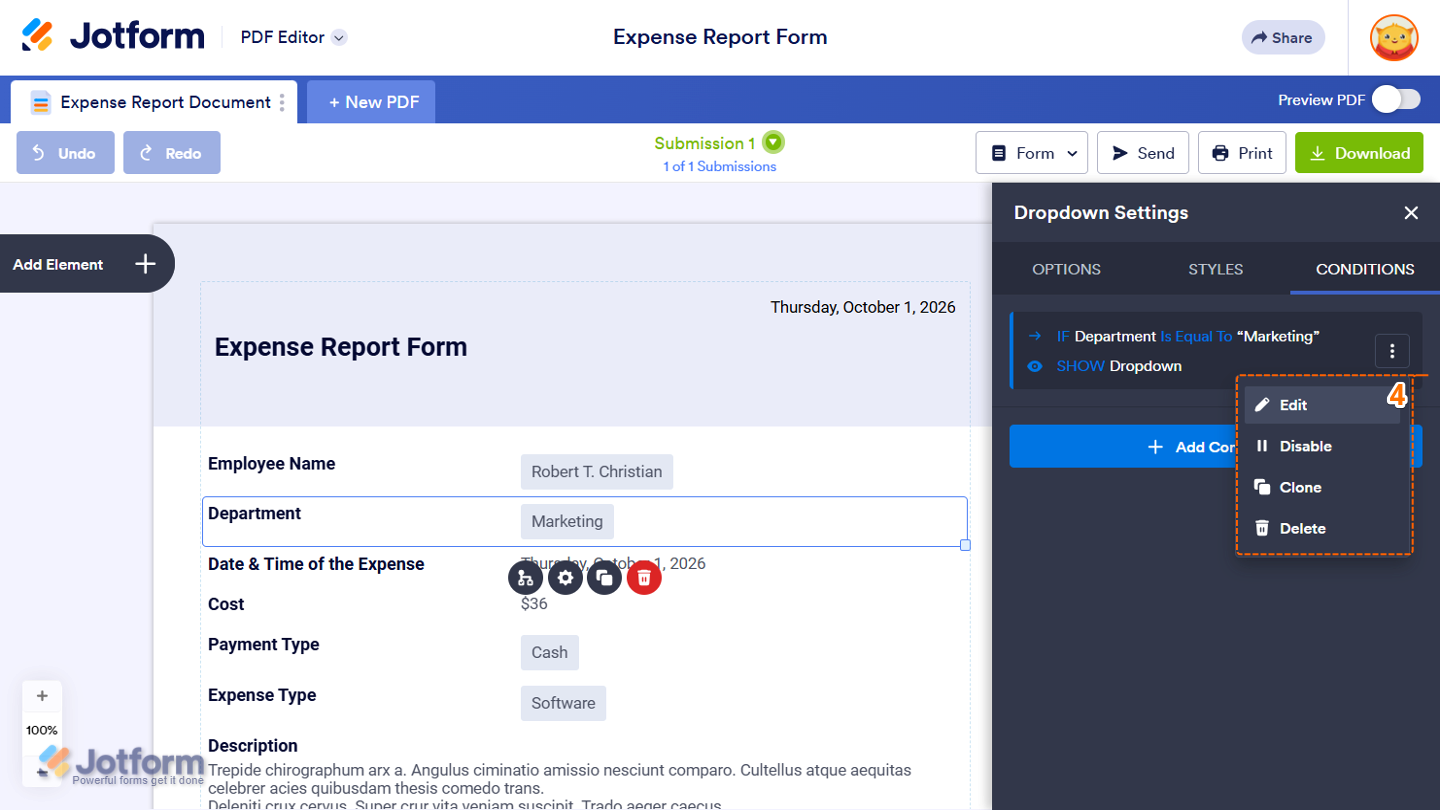
- Now, in the Dropdown menu that opens, manage the condition using the available options:
- Edit — Update the condition’s rules when you need to change when the element is shown or hidden.
- Disable — Stop the condition from being applied without deleting it.
- Clone — Create a copy of the condition so you can use similar rules for another condition.
- Delete — Remove the condition when you no longer need it.
Previewing Conditional Documents
You can preview how the conditions affect the elements in your PDF before finalizing it. The preview uses submission data to apply the conditions, so you can check which elements are shown or hidden before downloading, sending, or sharing the document. Here’s the quick way to do it:
- In PDF Editor, in the blue navigation bar at the top of the page, toggle on Preview PDF.
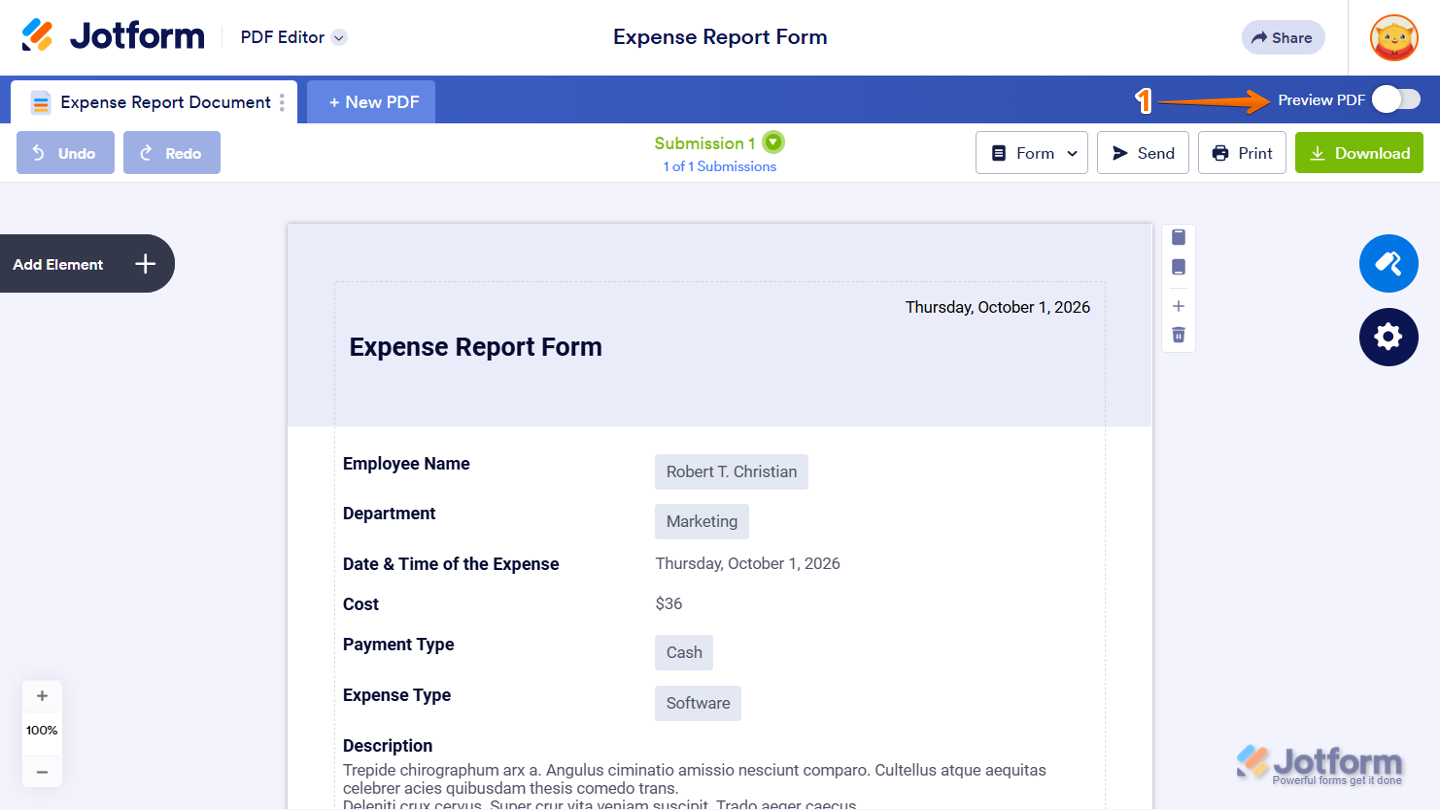
You’re all set! If an element doesn’t appear as expected, check its condition and make sure the submitted value matches the rule you configured.

Send Comment: