Tables allows you to share tables so coworkers or others within your organization can collaborate and help manage your form data. Tables can be public, private, or available only to those within the company. You can set permissions as read-only or collaborator. You can also allow collaborators to print or download submissions or do both.
Sharing or Inviting Collaborators
Clicking the Share button at the top-right side of the Tables will open up the Share Table window. You’ll find two basic options: Invitation Link and Invite By Email.
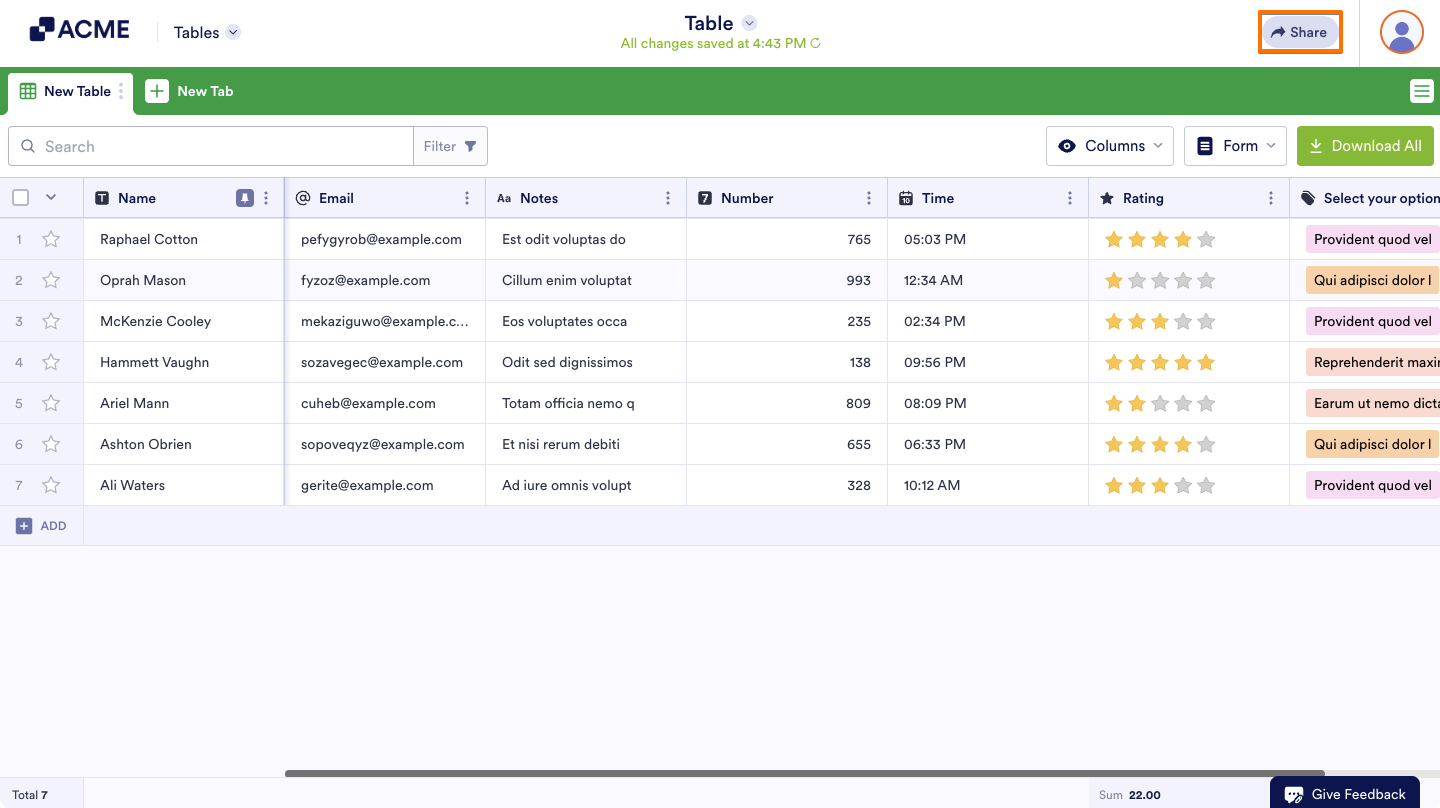
You’ll find two basic options: Invitation Link and Invite By Email.
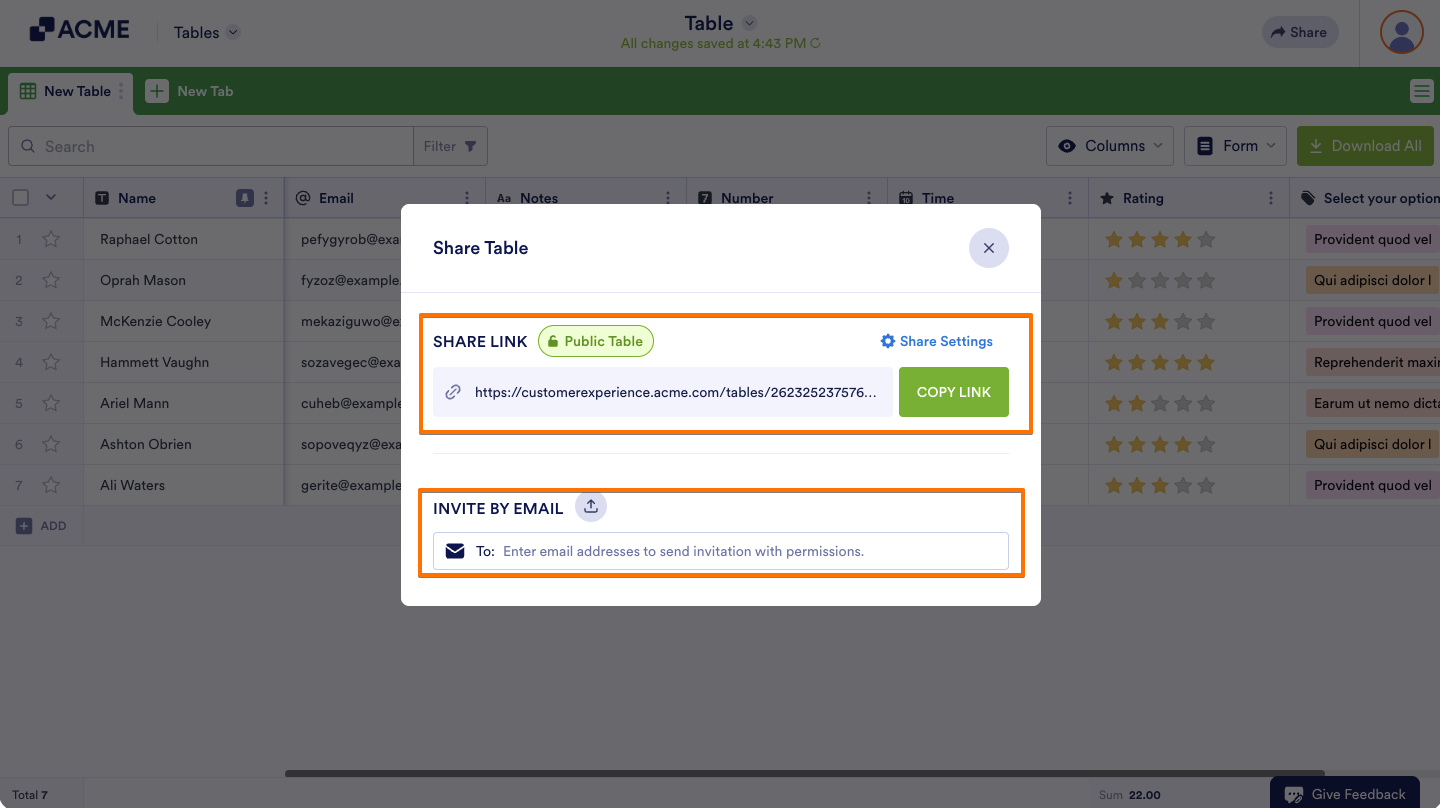
The Invitation Link is relatively straightforward. Copy the link and share it through other mediums. But by default, Table’s Privacy Options is set to Private Table, which means collaborators can only read your form data. If you wish to give collaborators additional permissions, you can do so through the Share Settings panel, which is detailed below.
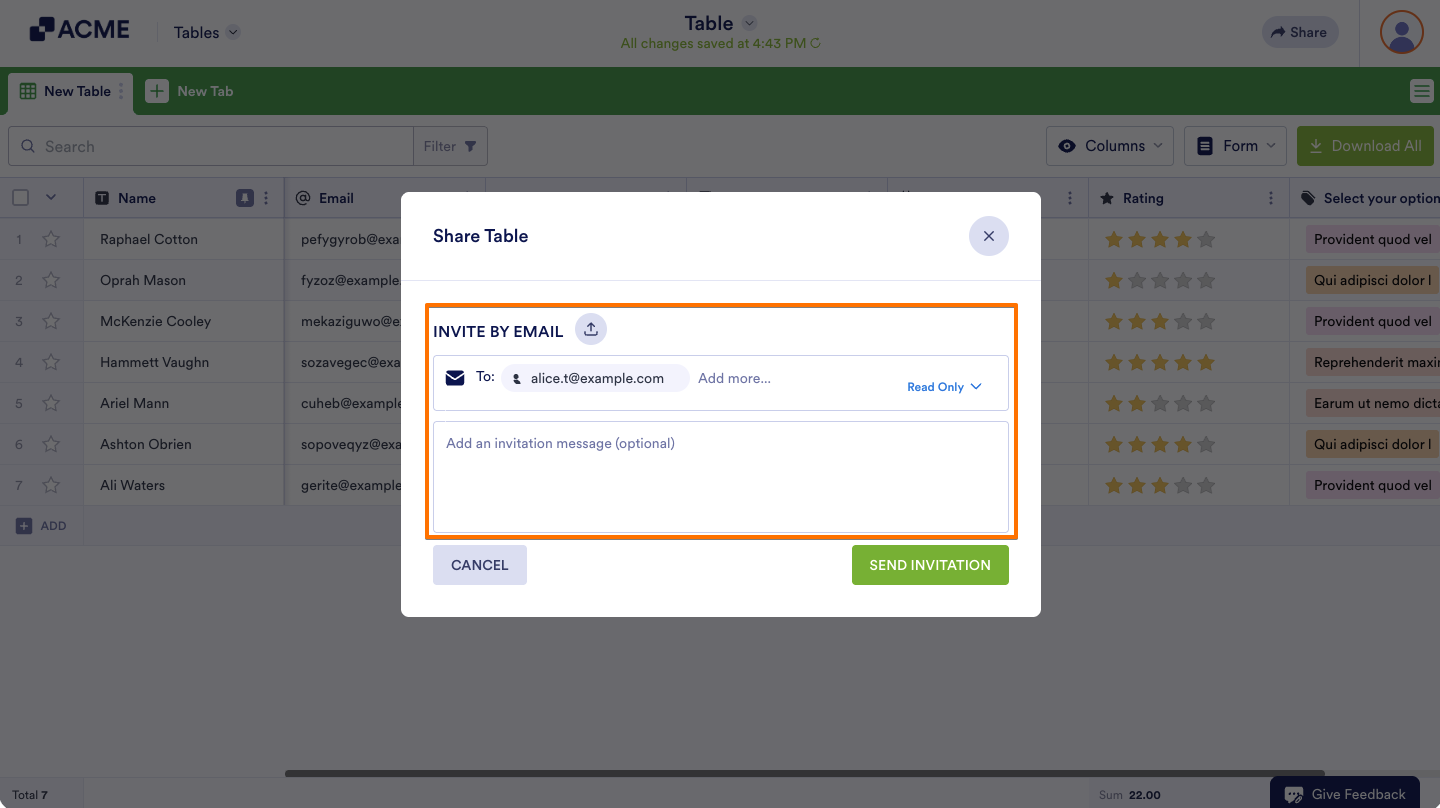
Under the Invite By Email section, add the collaborator’s email addresses to invite them directly. You can change the permission/role before sending the invitation.
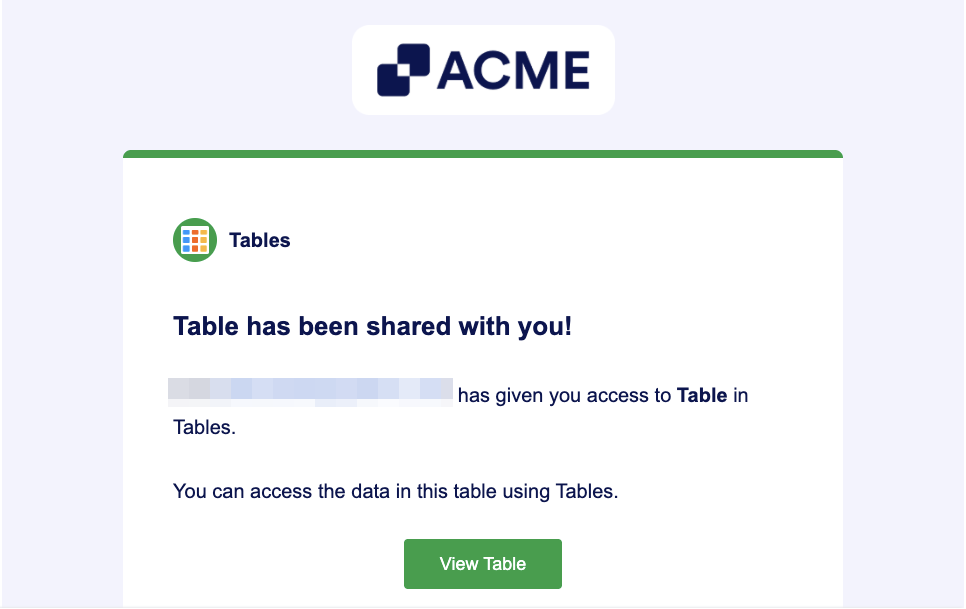
When an invitation is sent, the recipient will receive the following email:
Accessing the Share Settings
Clicking the Share Settings link from the Share Table window will open the settings panel.
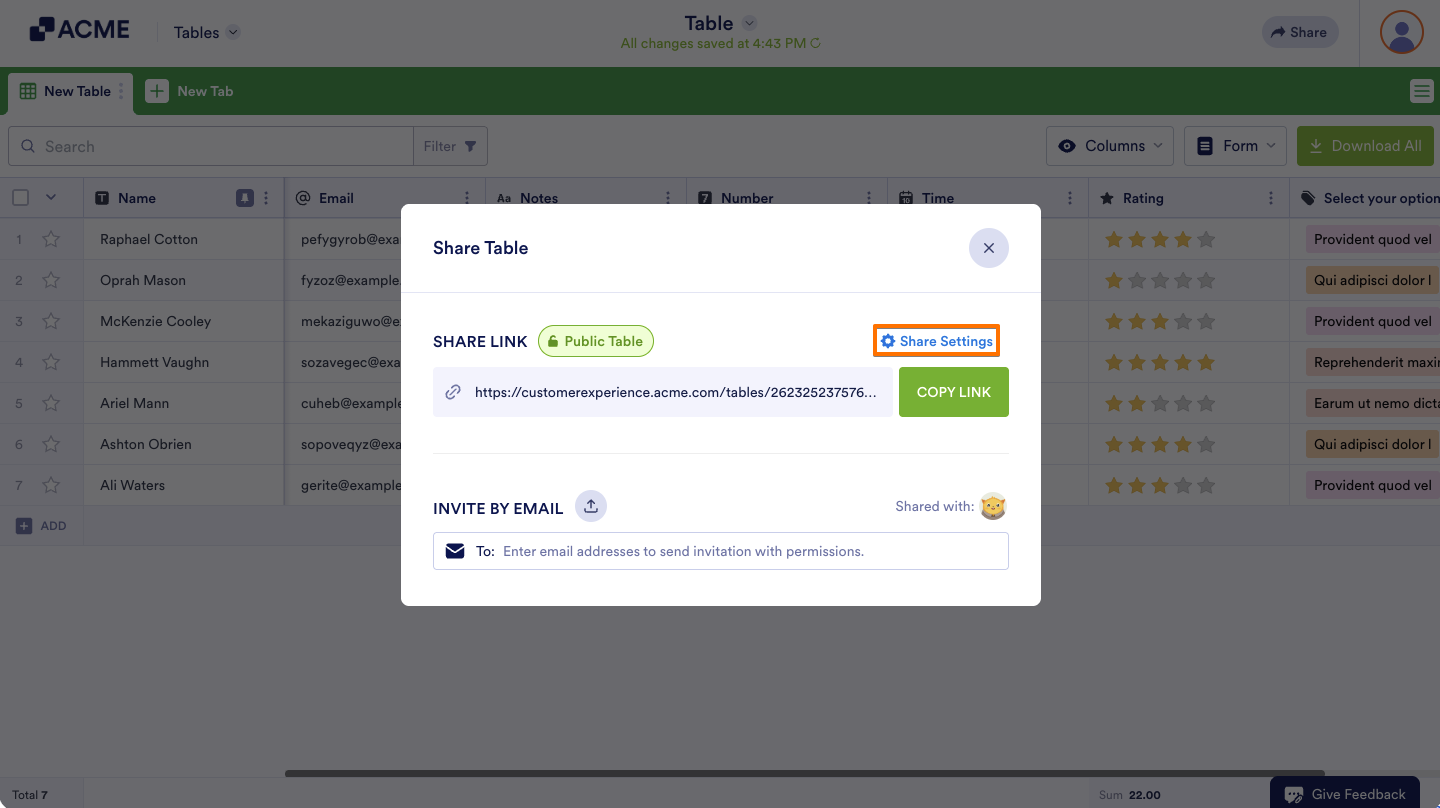
In this panel, you can change the following:
- Privacy Options — There are three choices: Private Table, Public Table, and Company Access.
- Invitation Link Default Role — There are three choices: Read Only, Commenter, and Collaborator.
- Apply Limitations — You can select whether or not to display the print and download buttons and set the expiration date.
Understanding Different Privacy Options
Under Privacy Options, you can change whoever can access your Tables. You have three options:
- Private Table — Private means it’s only available to invited people.
- Public Table — Public means everyone can access and read your form submissions.
- Company Access — Company means that Tables is available to people registered under your organization’s domain name.
Private Table
By default, the table is Private. If you keep it this way, Read Only, Commenter, and Collaborator are available in the Invitation Link Default Role settings. You can also enable the Print and Download buttons and set an Expiration Date under Apply Limitations.
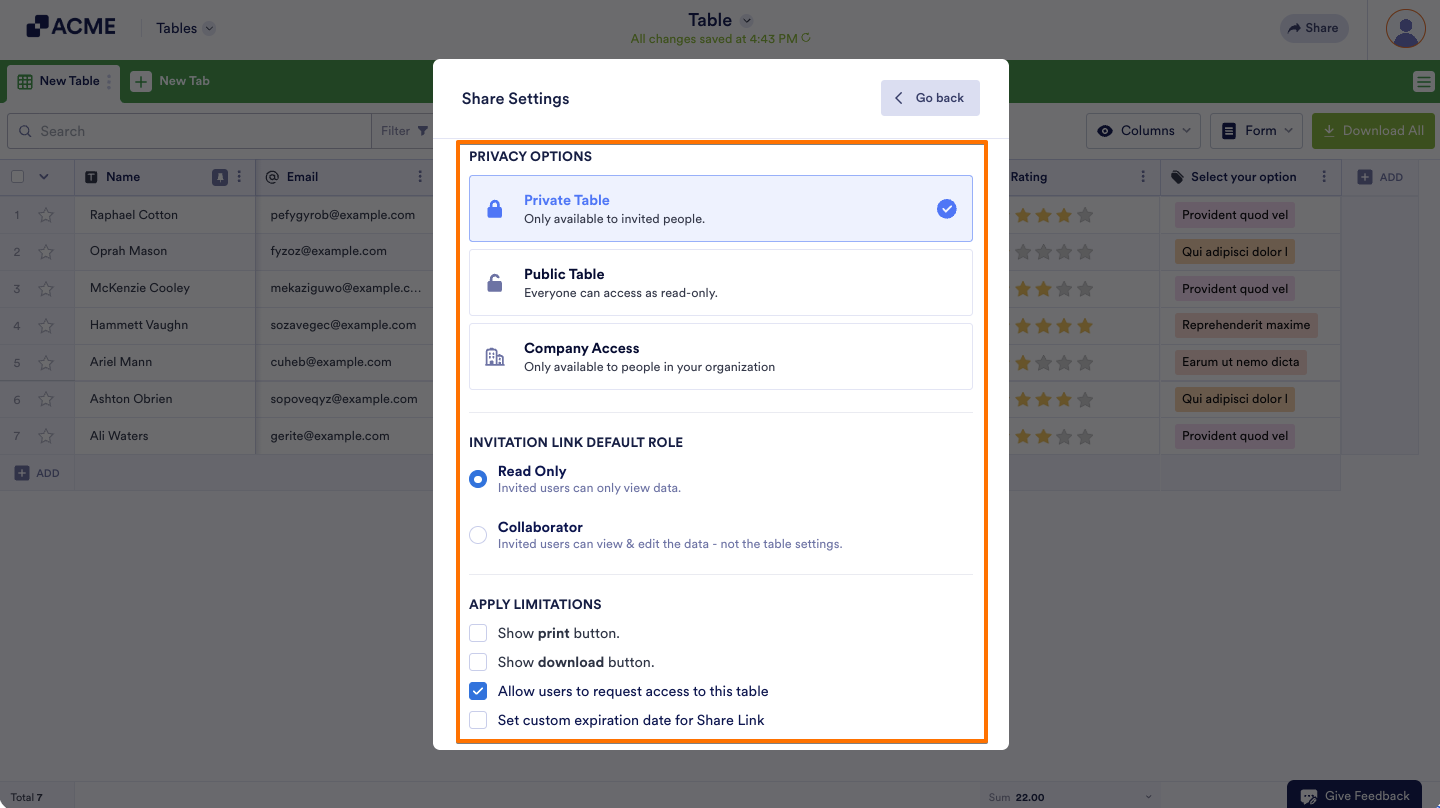
The invitation link of a Private Table will have a unique key in the URL. Make sure to copy the entire URL when sharing the table. If, by any chance, someone accesses a private table using the public link, they’ll get the following login screen.
Public Table
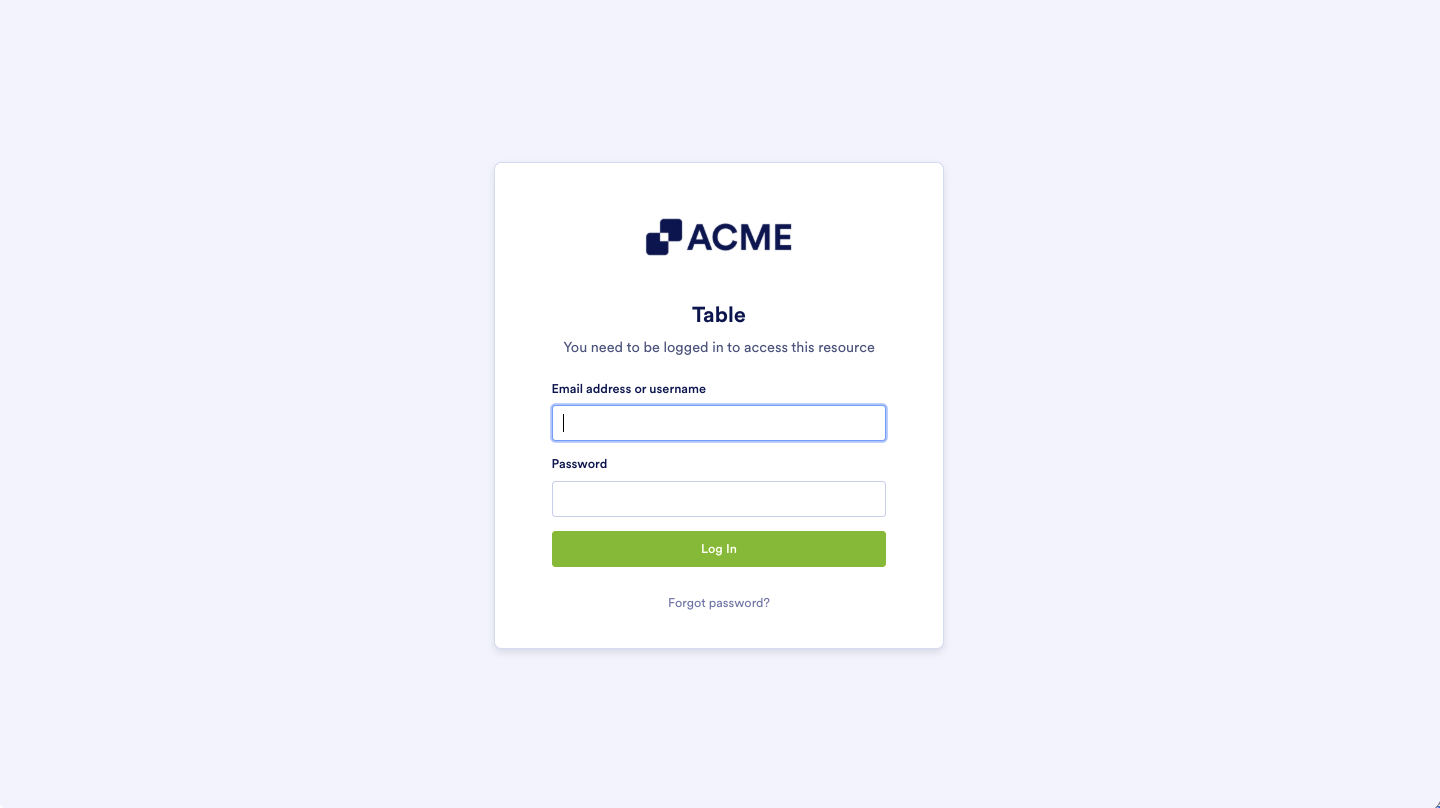
When you choose Public Table, Read Only is the only role available. Under Apply Limitations, you can only enable the Print button. You can’t enable the Download button or set an Expiration Date.
Company Access
When you choose Company Access, you must provide your company’s domain name under the Company Access Permission box. We don’t recommend using this option for free email domains (Gmail, Yahoo, etc.).
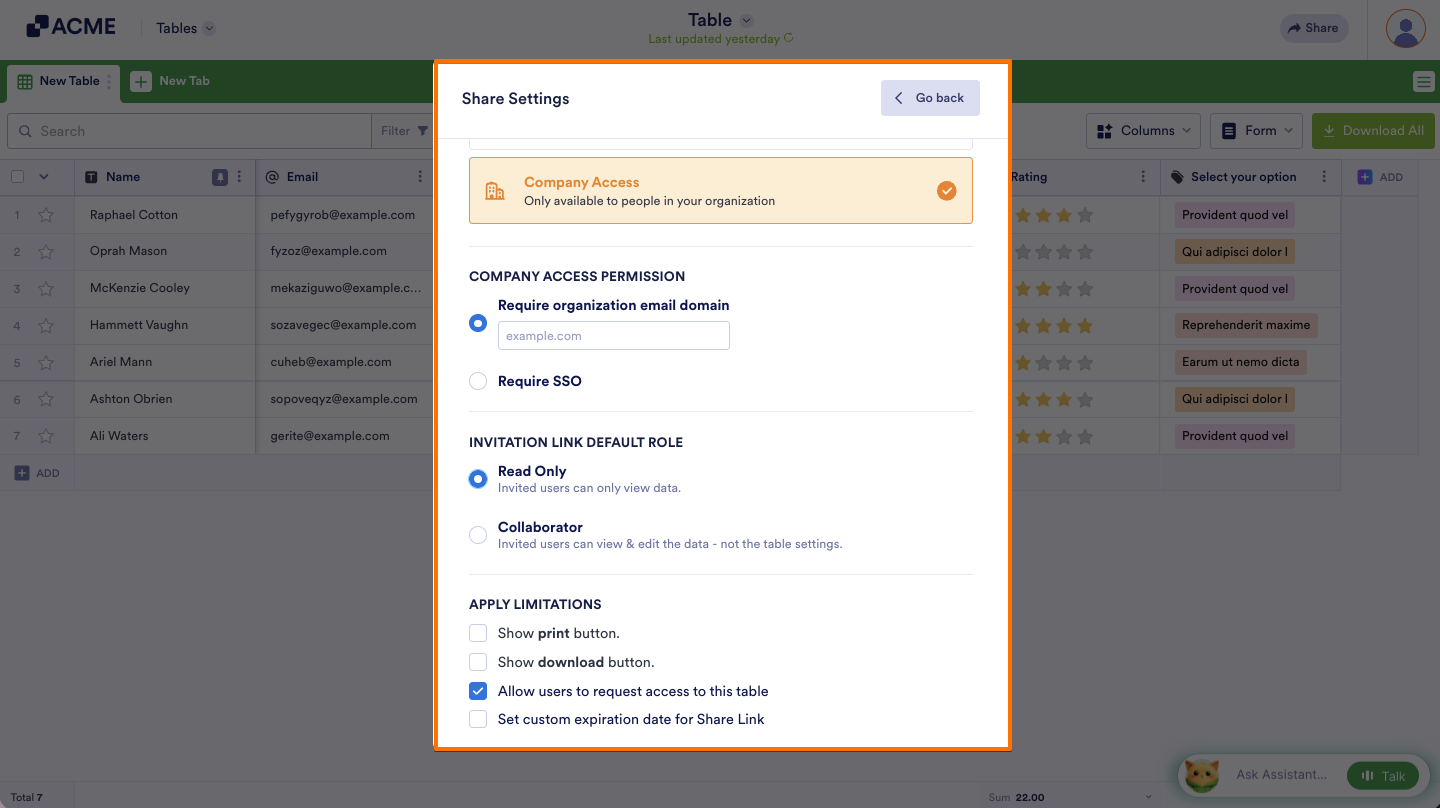
All roles under the Invitation Link Default Role are available for Company Access. The print, download, and expiration options are also available.
Note
The Allow users to request access to this table option is enabled by default on tables with Private or Company Access. This feature allows logged-in users to request access to your table. Uncheck the box next to it to disable this option.
Setting Up Invitation Link Default Role
The Invitation Link Default Role controls how the invited users can interact with the shared Tables. Since it’s the default, it will be the role of every newly invited user. You can choose from the following:
- Read Only — The invited users can only view your form data.
- Collaborator — The invited users can view and edit your form data.
Regardless of the default role, you can change the individual’s role if you want to. You can even set the user’s default role when inviting by email. For existing users, you can change their role by doing the following:
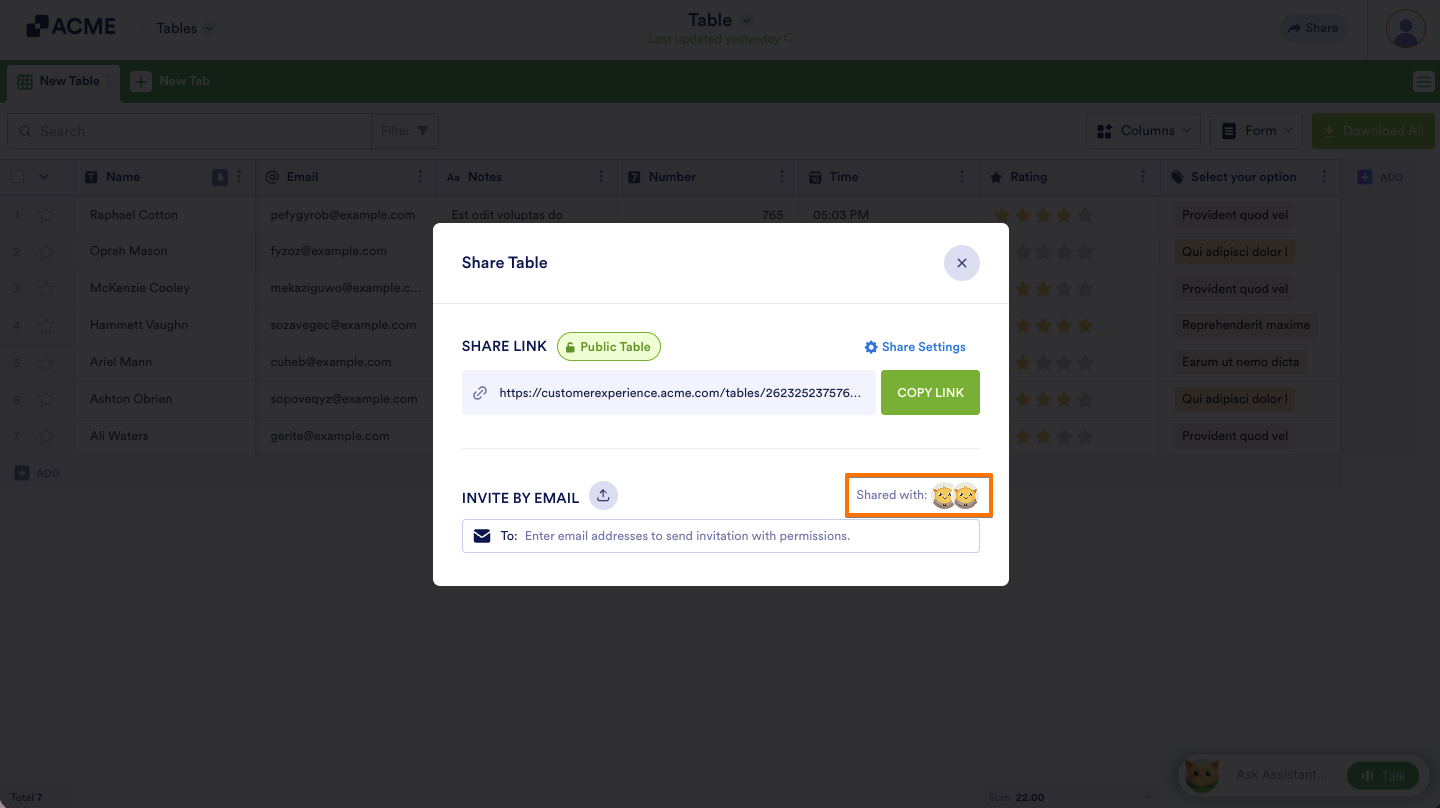
- Click the Shared With under the Invite by Email section on the main Share Table window.
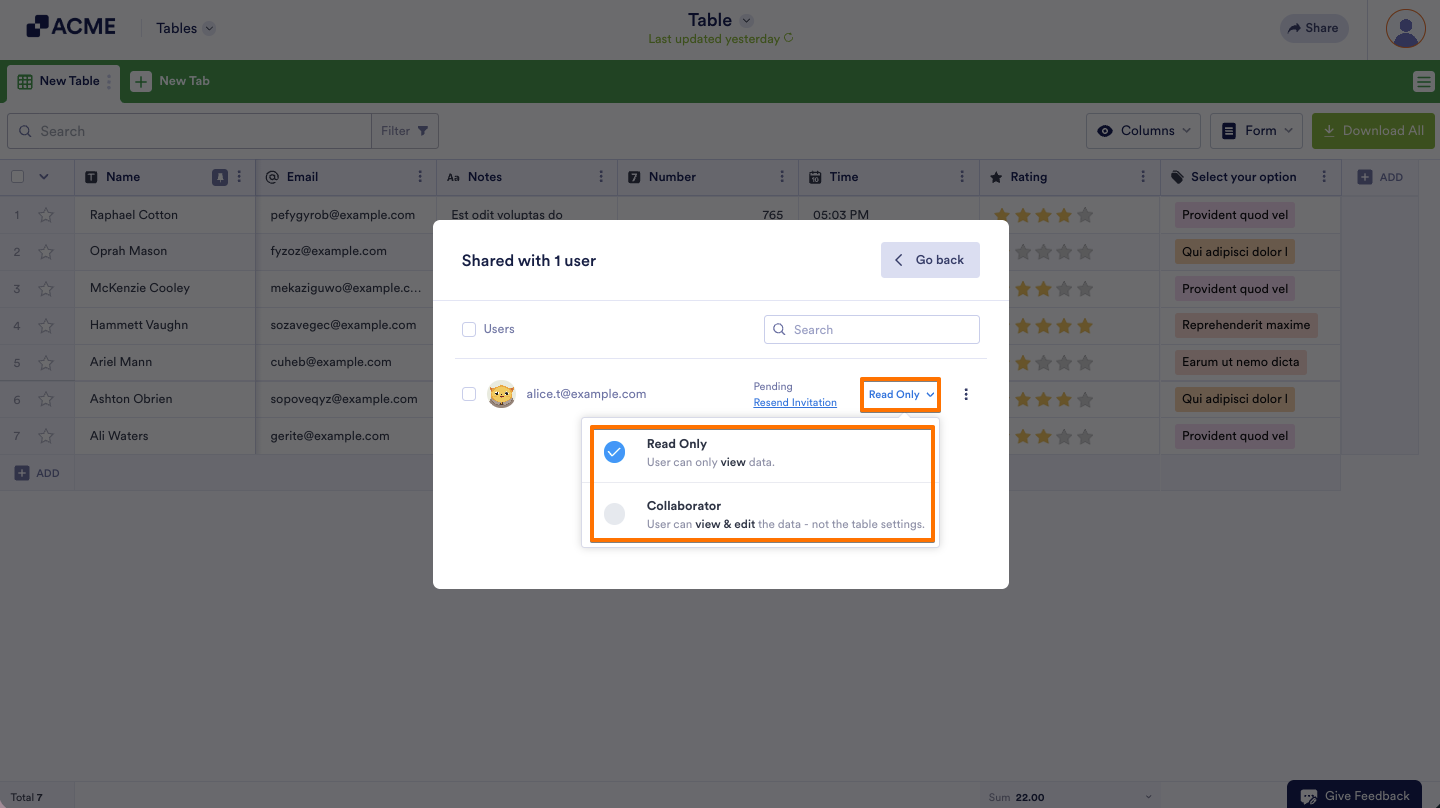
- Click on the user’s current permission, as pointed out in the image below.
- Choose the new role for the user, and that’s it.
Revoking User Access
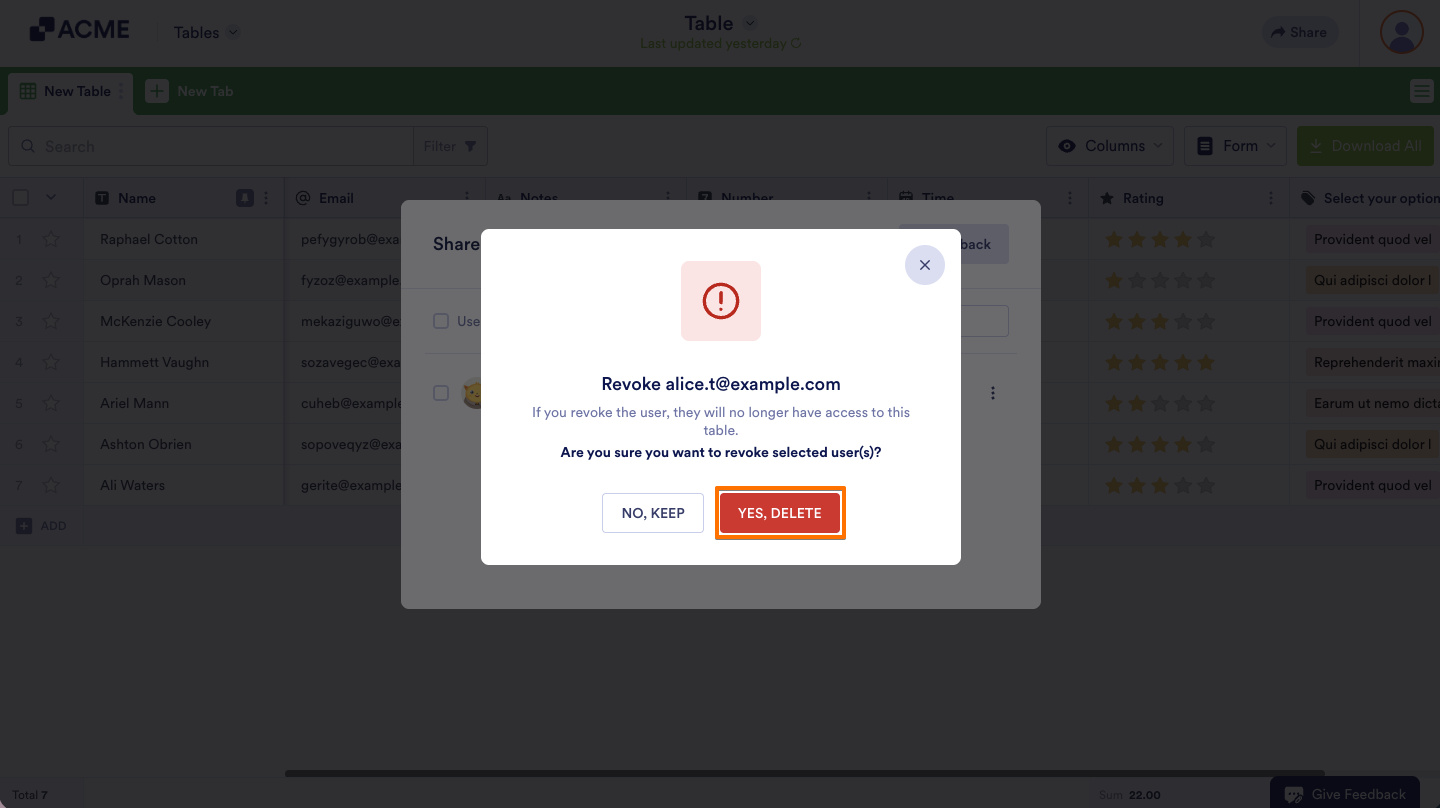
You can also revoke access by clicking on the Three Dots icon and choosing the Revoke User option.
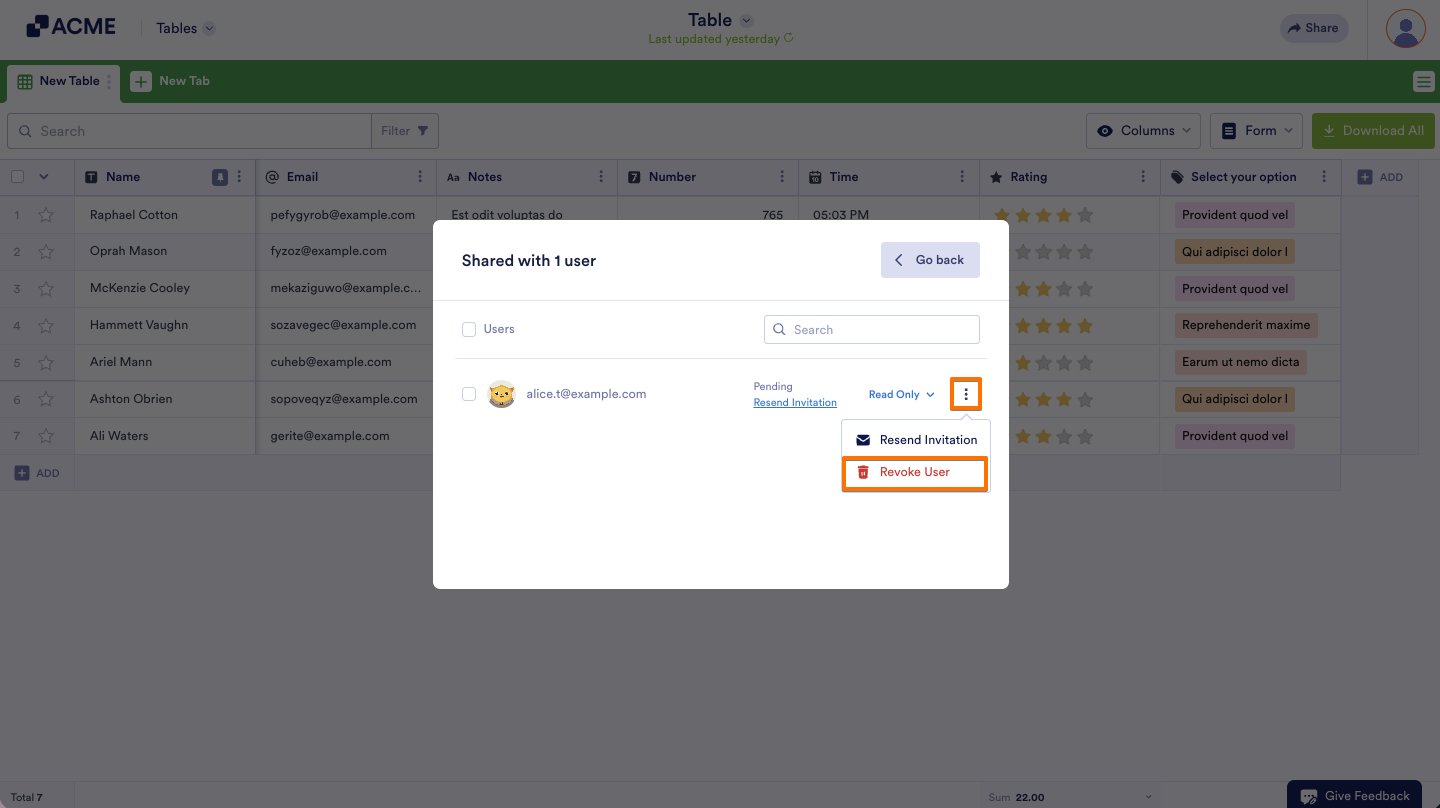
In the confirmation window that appears, click on Yes, Delete to proceed in revoking the user access.
All roles can filter the submissions. To learn more about filters, visit How to Use Different Filters to Easily Manage Your Data in Tables.
Applying Limitations
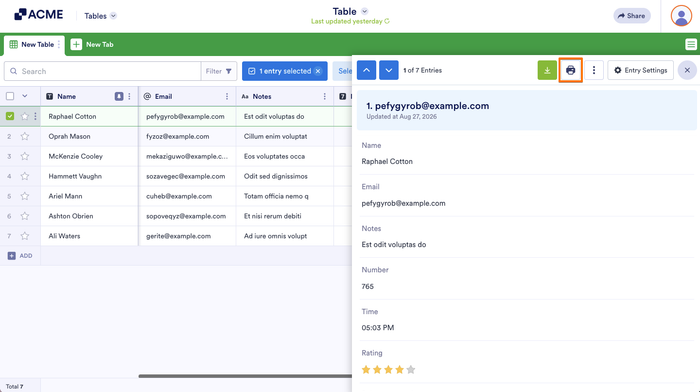
Selecting the Show print button option in Apply Limitations allows users to print each submission from the View window:
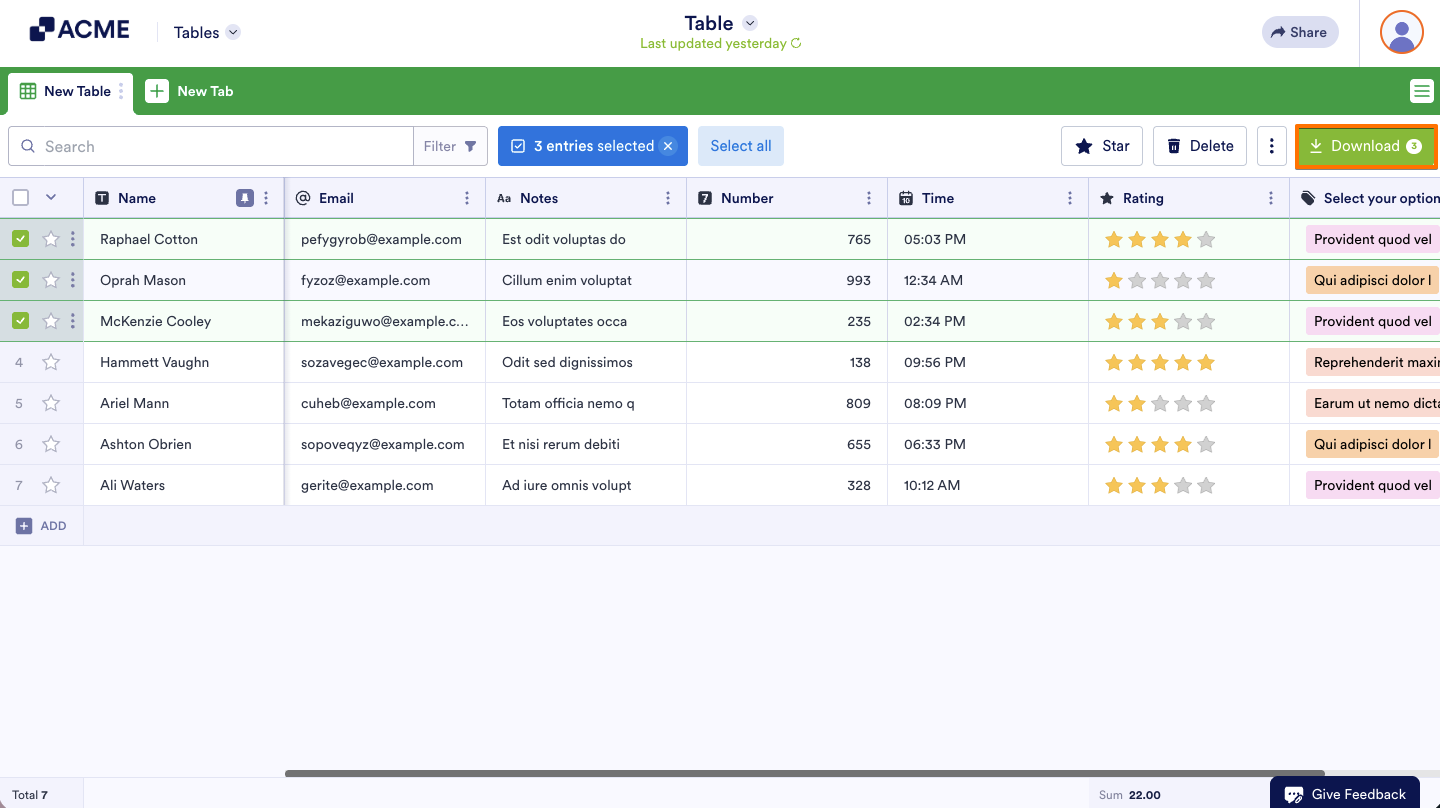
Selecting the Show download button option allows users to download selected submissions or all submissions:
See also:
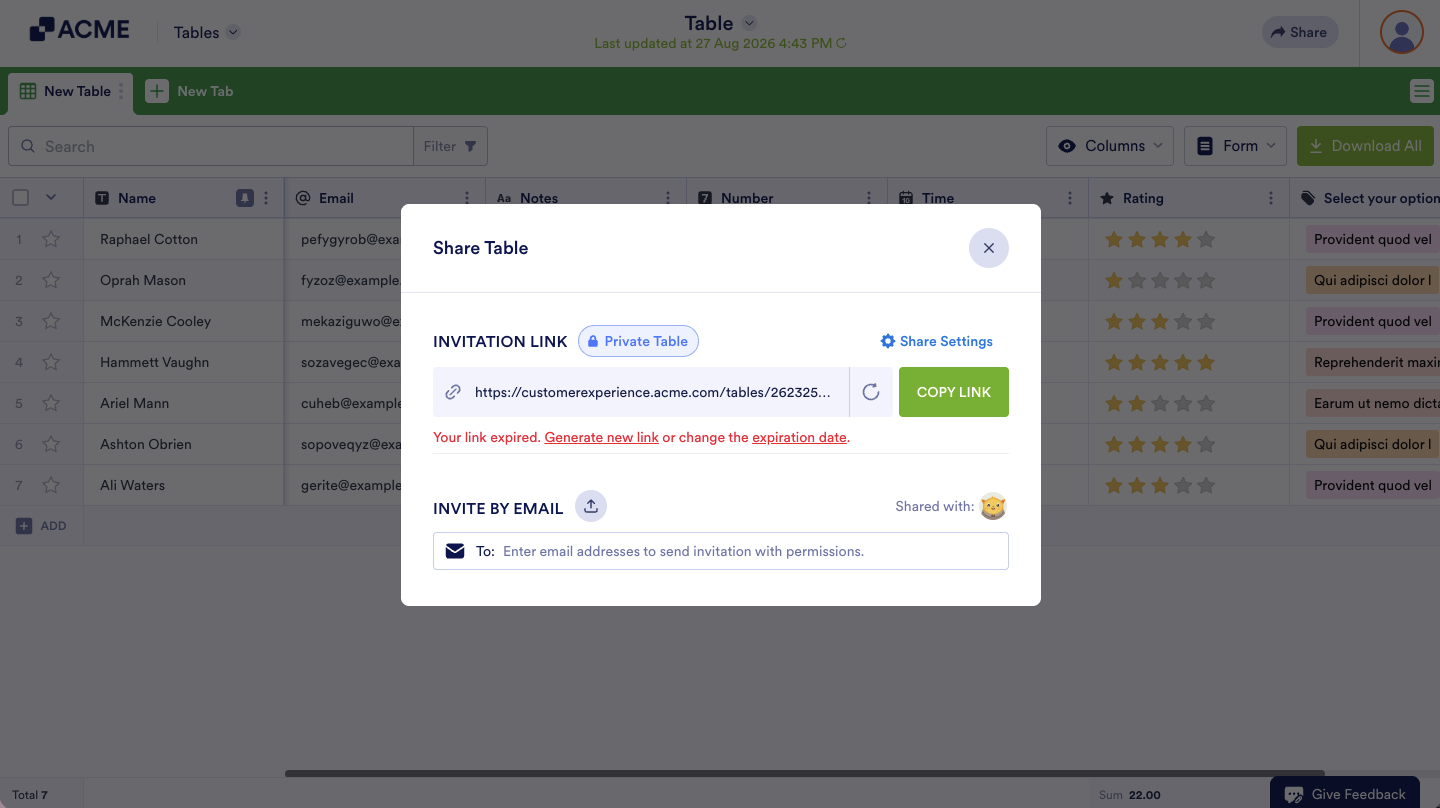
The Set custom expiration date option is straightforward. If you want to limit access to your table, set an expiration date for the invitation link in the main window.
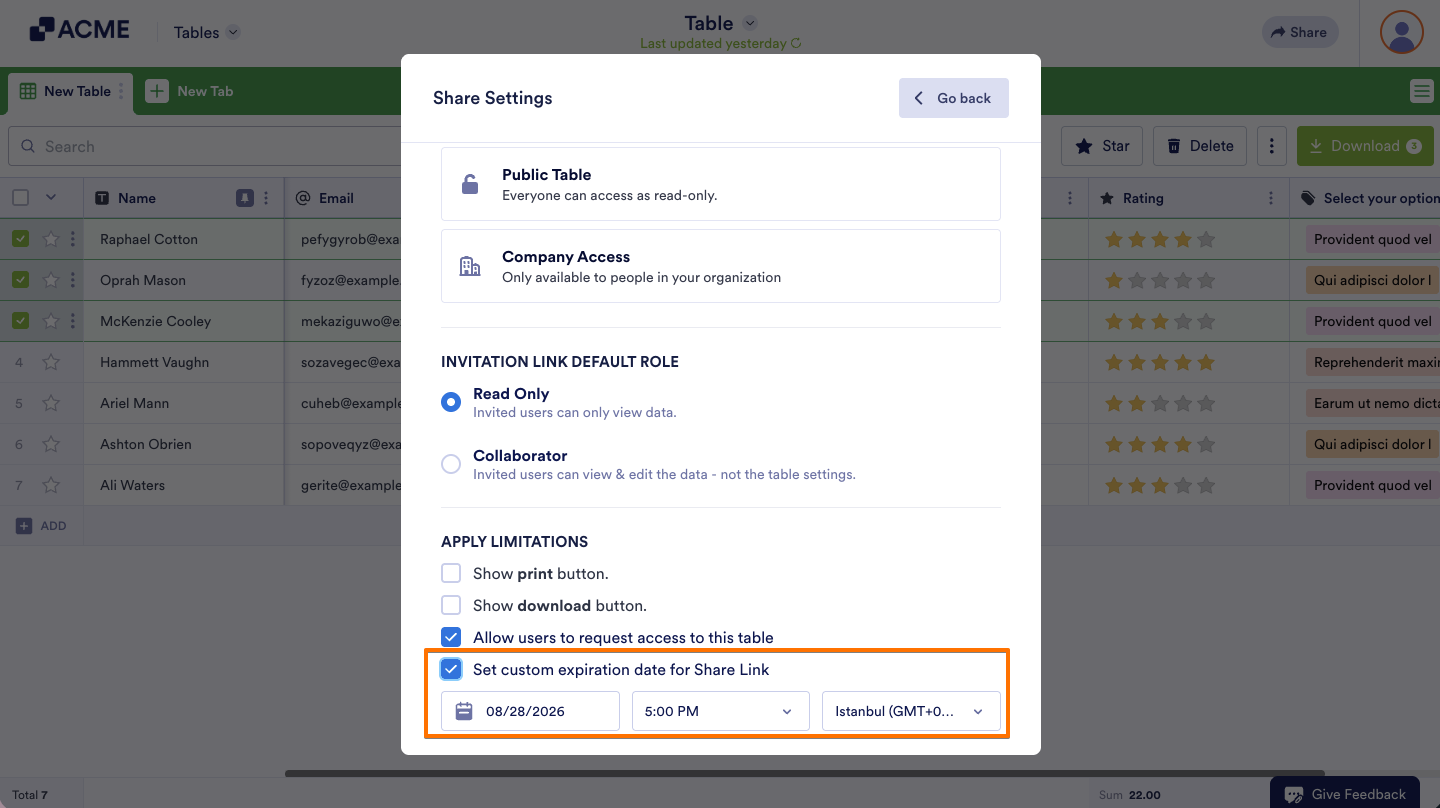
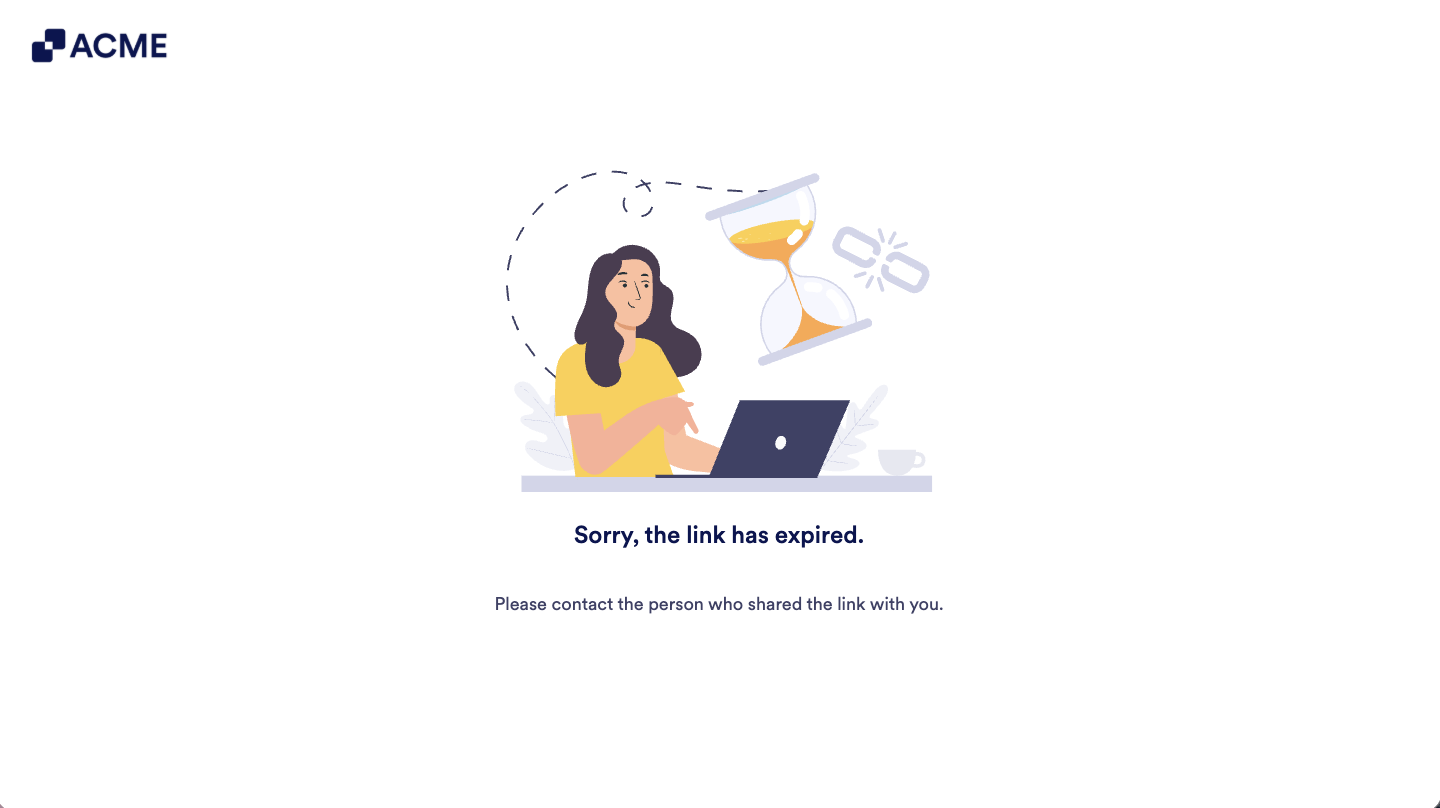
When your Share Link expires, users will see a message when they access it, telling them to contact you, who shared it with them.
You can always adjust the expiration date or generate a new link in the Share Settings of your table if you want to reactivate the link in the future.
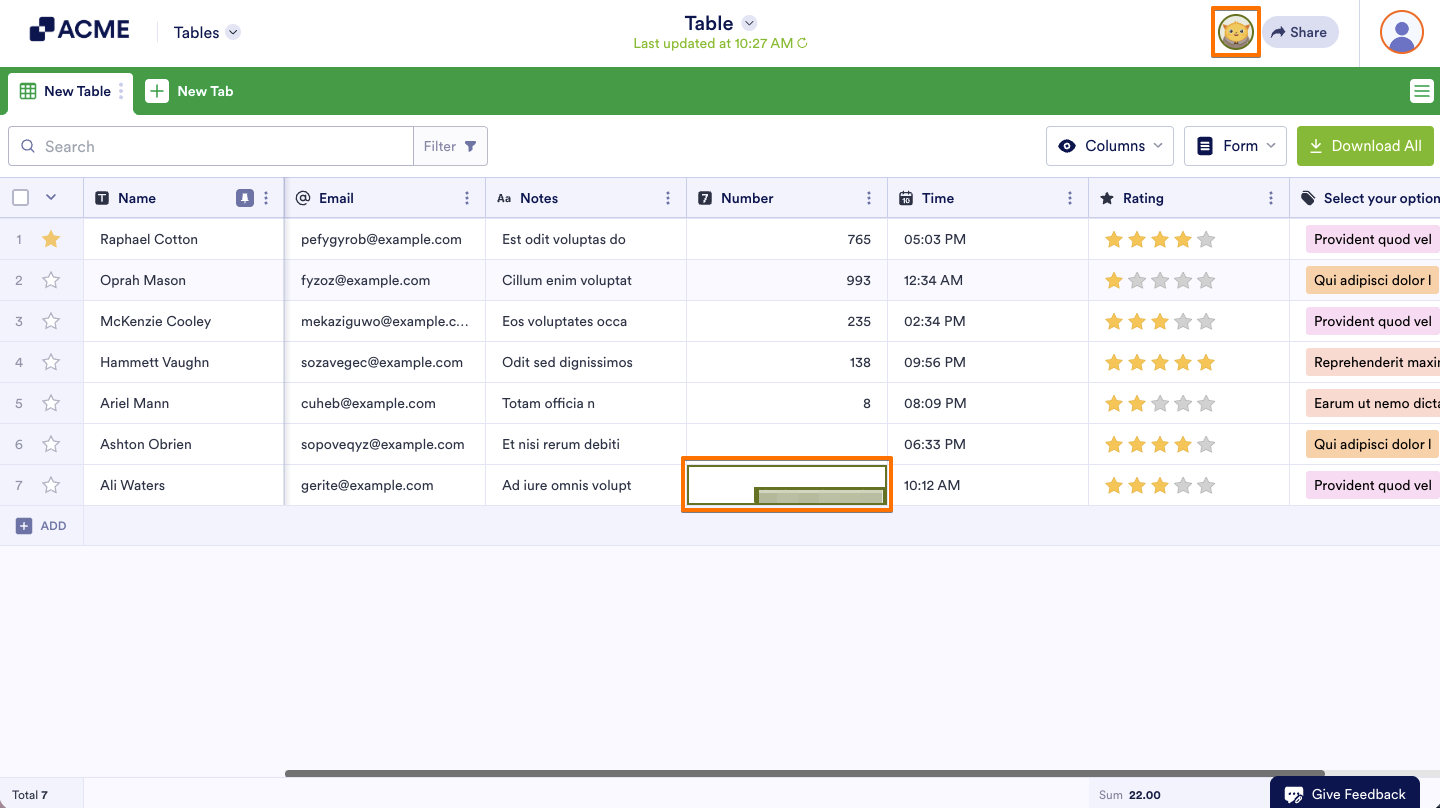
The active collaborators in Tables are visible at the top right corner beside your account menu. You can also see their usernames when they’re working on a specific cell.
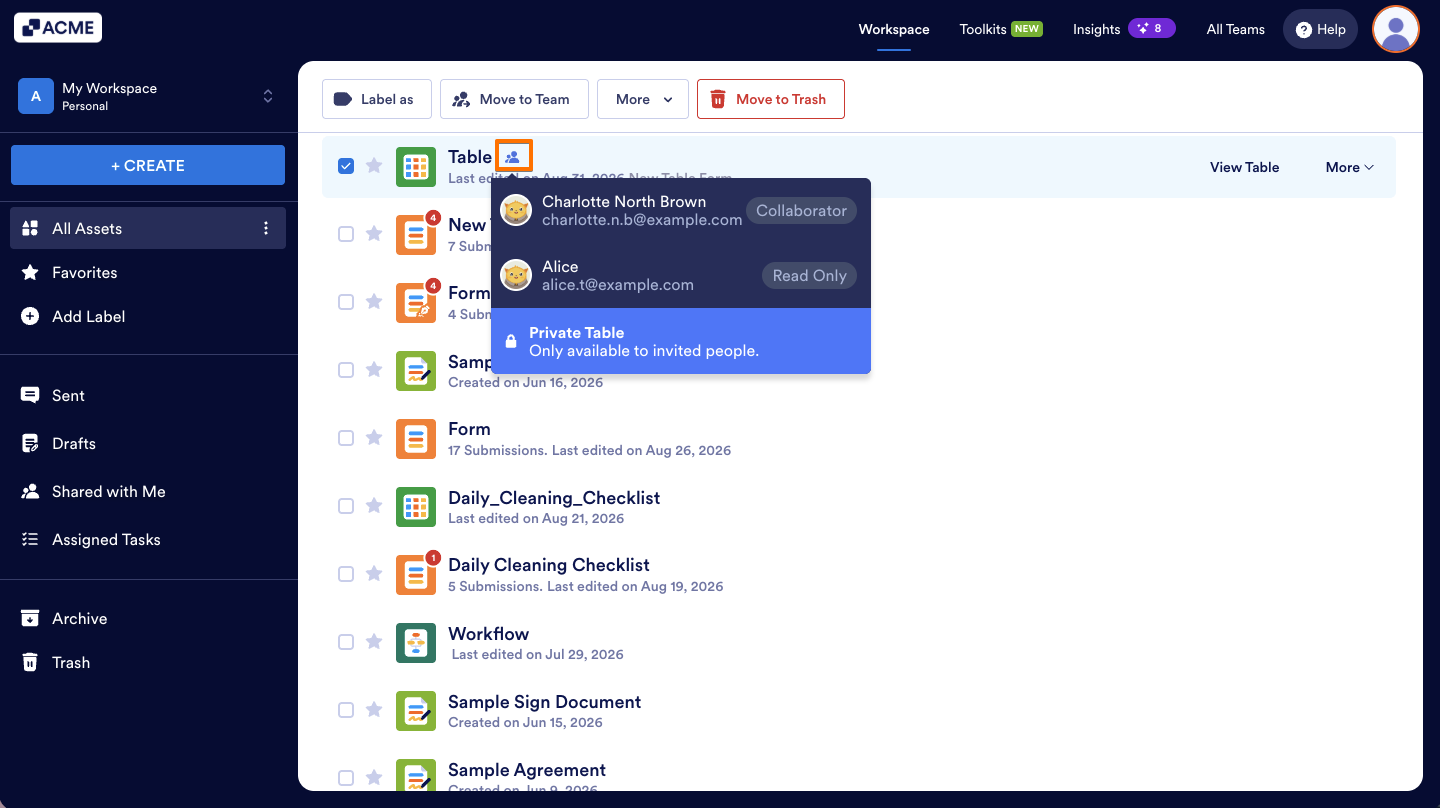
In the My Tables section of your account, you also have a bird’s eye view of who has access to your Tables.

Send Comment: