If you’re running a growing e-commerce store on Shopify, chances are you’re using a few third-party tools to support the customer experience. That can be a great way to scale, but it also means you may need to know how to import orders into Shopify.
Importing orders helps you bring in past transactions or consolidate data from other platforms using a CSV file or integration tool. Once your order data is properly formatted, the process is pretty straightforward — whether you’re switching platforms or syncing orders from marketplaces.
While Shopify provides built-in tools and apps to assist with data migration, you still need to make sure your orders are formatted and validated correctly so that all details make it through.
This guide walks you through how to migrate orders to Shopify step by step, so you can keep your data organized and your operations running smoothly as you grow.
Why import orders into Shopify?
Learning how to sell on Shopify is just the beginning. Importing orders into Shopify is an important next step because it helps you maintain accurate historical data and streamline fulfillment processes. Once you know how to do it, you can also unify order management when migrating from another e-commerce platform.
One common scenario is replatforming. Let’s say you want to move from WooCommerce or another e-commerce system. You’ll need to import previous orders so you can keep transaction history, customer records, and reporting data.
Businesses that use external enterprise resource planning (ERP) platforms or point-of-sale systems also need to import orders into Shopify. If you sell on Amazon or eBay but use Shopify to power your online store, you’ll also need to use these import steps. Consolidating this information within Shopify simplifies operations and improves reporting accuracy.
What’s more, you’ll need historical orders in Shopify to deliver good customer service — if your team needs to quickly look up previous purchases and verify warranties, for example. You can also use this information to evaluate marketing performance and make data-driven decisions that support inventory planning.
Step-by-step: How to import orders into Shopify using CSV
Here’s how to import orders into Shopify using CSV files.
Step 1: Export orders from your source platform
Once you list your products on your website, your store begins generating order data. Eventually, you may need to migrate that information or consolidate it into Shopify. The first step in importing orders is to export them from the source platform as a CSV file, and most e-commerce platforms and ERP systems will allow you to do this.
You’ll likely come across the following export fields:
- Order ID
- Customer name and email
- Product SKU
- Quantity
- Order total
- Payment status
- Shipping details
- Order date
The exported CSV will typically need adjustments before it’s compatible with Shopify’s order importer.
Step 2: Download or create a Shopify-compatible CSV template
Shopify requires you to add specific column headers and formatting before you import orders. Here are some fields you’ll need to include:
- Name (order number)
- Financial status (e.g., paid)
- Fulfillment status
- Currency
- Lineitem name
- Lineitem SKU
- Lineitem quantity
- Lineitem price
- Shipping name
- Shipping address
Using a template makes sure that you’ve included all the fields that Shopify requires, saving time and reducing the risk of errors during the upload process.
Step 3: Format the CSV data correctly
Before you upload your CSV file, review the information and format it to match Shopify’s requirements. Use consistent date formats, such as YYYY-MM-DD. If your products are already added to Shopify, make sure the SKUs from your CSV file match the corresponding products. Variations here can create major headaches during the upload process.
Next, check that you’re using the right currency codes. Confirm that your tax and shipping fields are accurate as well. Your order totals should also match line item calculations.
Formatting errors are one of the most common causes of failed import attempts. If the import is successful but the CSV file contains errors, you’re going to have a huge mess on your hands that could take hours to sort out.
Step 4: Upload the CSV file to Shopify
Once you’ve verified that the CSV file is formatted properly, log into your Shopify admin dashboard and navigate to the order management section. Your next steps should then be to
- Open Shopify admin.
- Navigate to Orders.
- Select Import Orders or use a third-party migration app.
- Upload your CSV file.
- Review the preview and confirm the import.
Shopify will process the file and create orders in your system.
Step 5: Verify imported orders
After the import is finished, review your orders inside Shopify. Check for correct
- Totals
- Product mapping
- Customer information
- Order status
You don’t need to look over every single order, but you should spot-check several different orders and categories to make sure all your data made it through. If you uncover any errors, go back to your source database and identify what went wrong.
Best practices for importing orders
Shopify order data migration can get a bit complicated. To maximize the advantages of Shopify order export features, let’s look at some common best practices.
First, make sure that your data is formatted correctly and matches Shopify’s requirements. Double-check things like currency settings and order statuses to avoid errors during the import process. It’s also a good idea to run validations before and after your upload to catch duplicates and keep your store’s historical data accurate.
Next, take a close look at your CSV file. Shopify expects certain formats for dates, currencies, and product identifiers, so consistency is key. This is especially important if you’re importing orders from an international marketplace.
You’ll also want to carefully review tax and payment information before you import the file. Make sure that tax amounts and tax-inclusive pricing align with Shopify’s tax configuration, and confirm that payment status (e.g., “paid” or “refunded”) match Shopify’s supported values — otherwise, they may behave incorrectly inside your dashboard.
One of the most important steps is preventing duplicate records by checking unique identifiers, such as order IDs, before importing — especially if you’re pulling data from more than one location. Keeping order numbers consistent helps Shopify recognize your records and prevents duplicates from slipping in.
Finally, if you’re working with large datasets, maybe because you’re migrating to Shopify from a different platform, test the process in a staging store. A small trial run lets you confirm that your fields map correctly and that orders display properly in Shopify’s admin panel — without risking a major error in your live environment.
Alternative method: Using Jotform to prepare orders before importing into Shopify
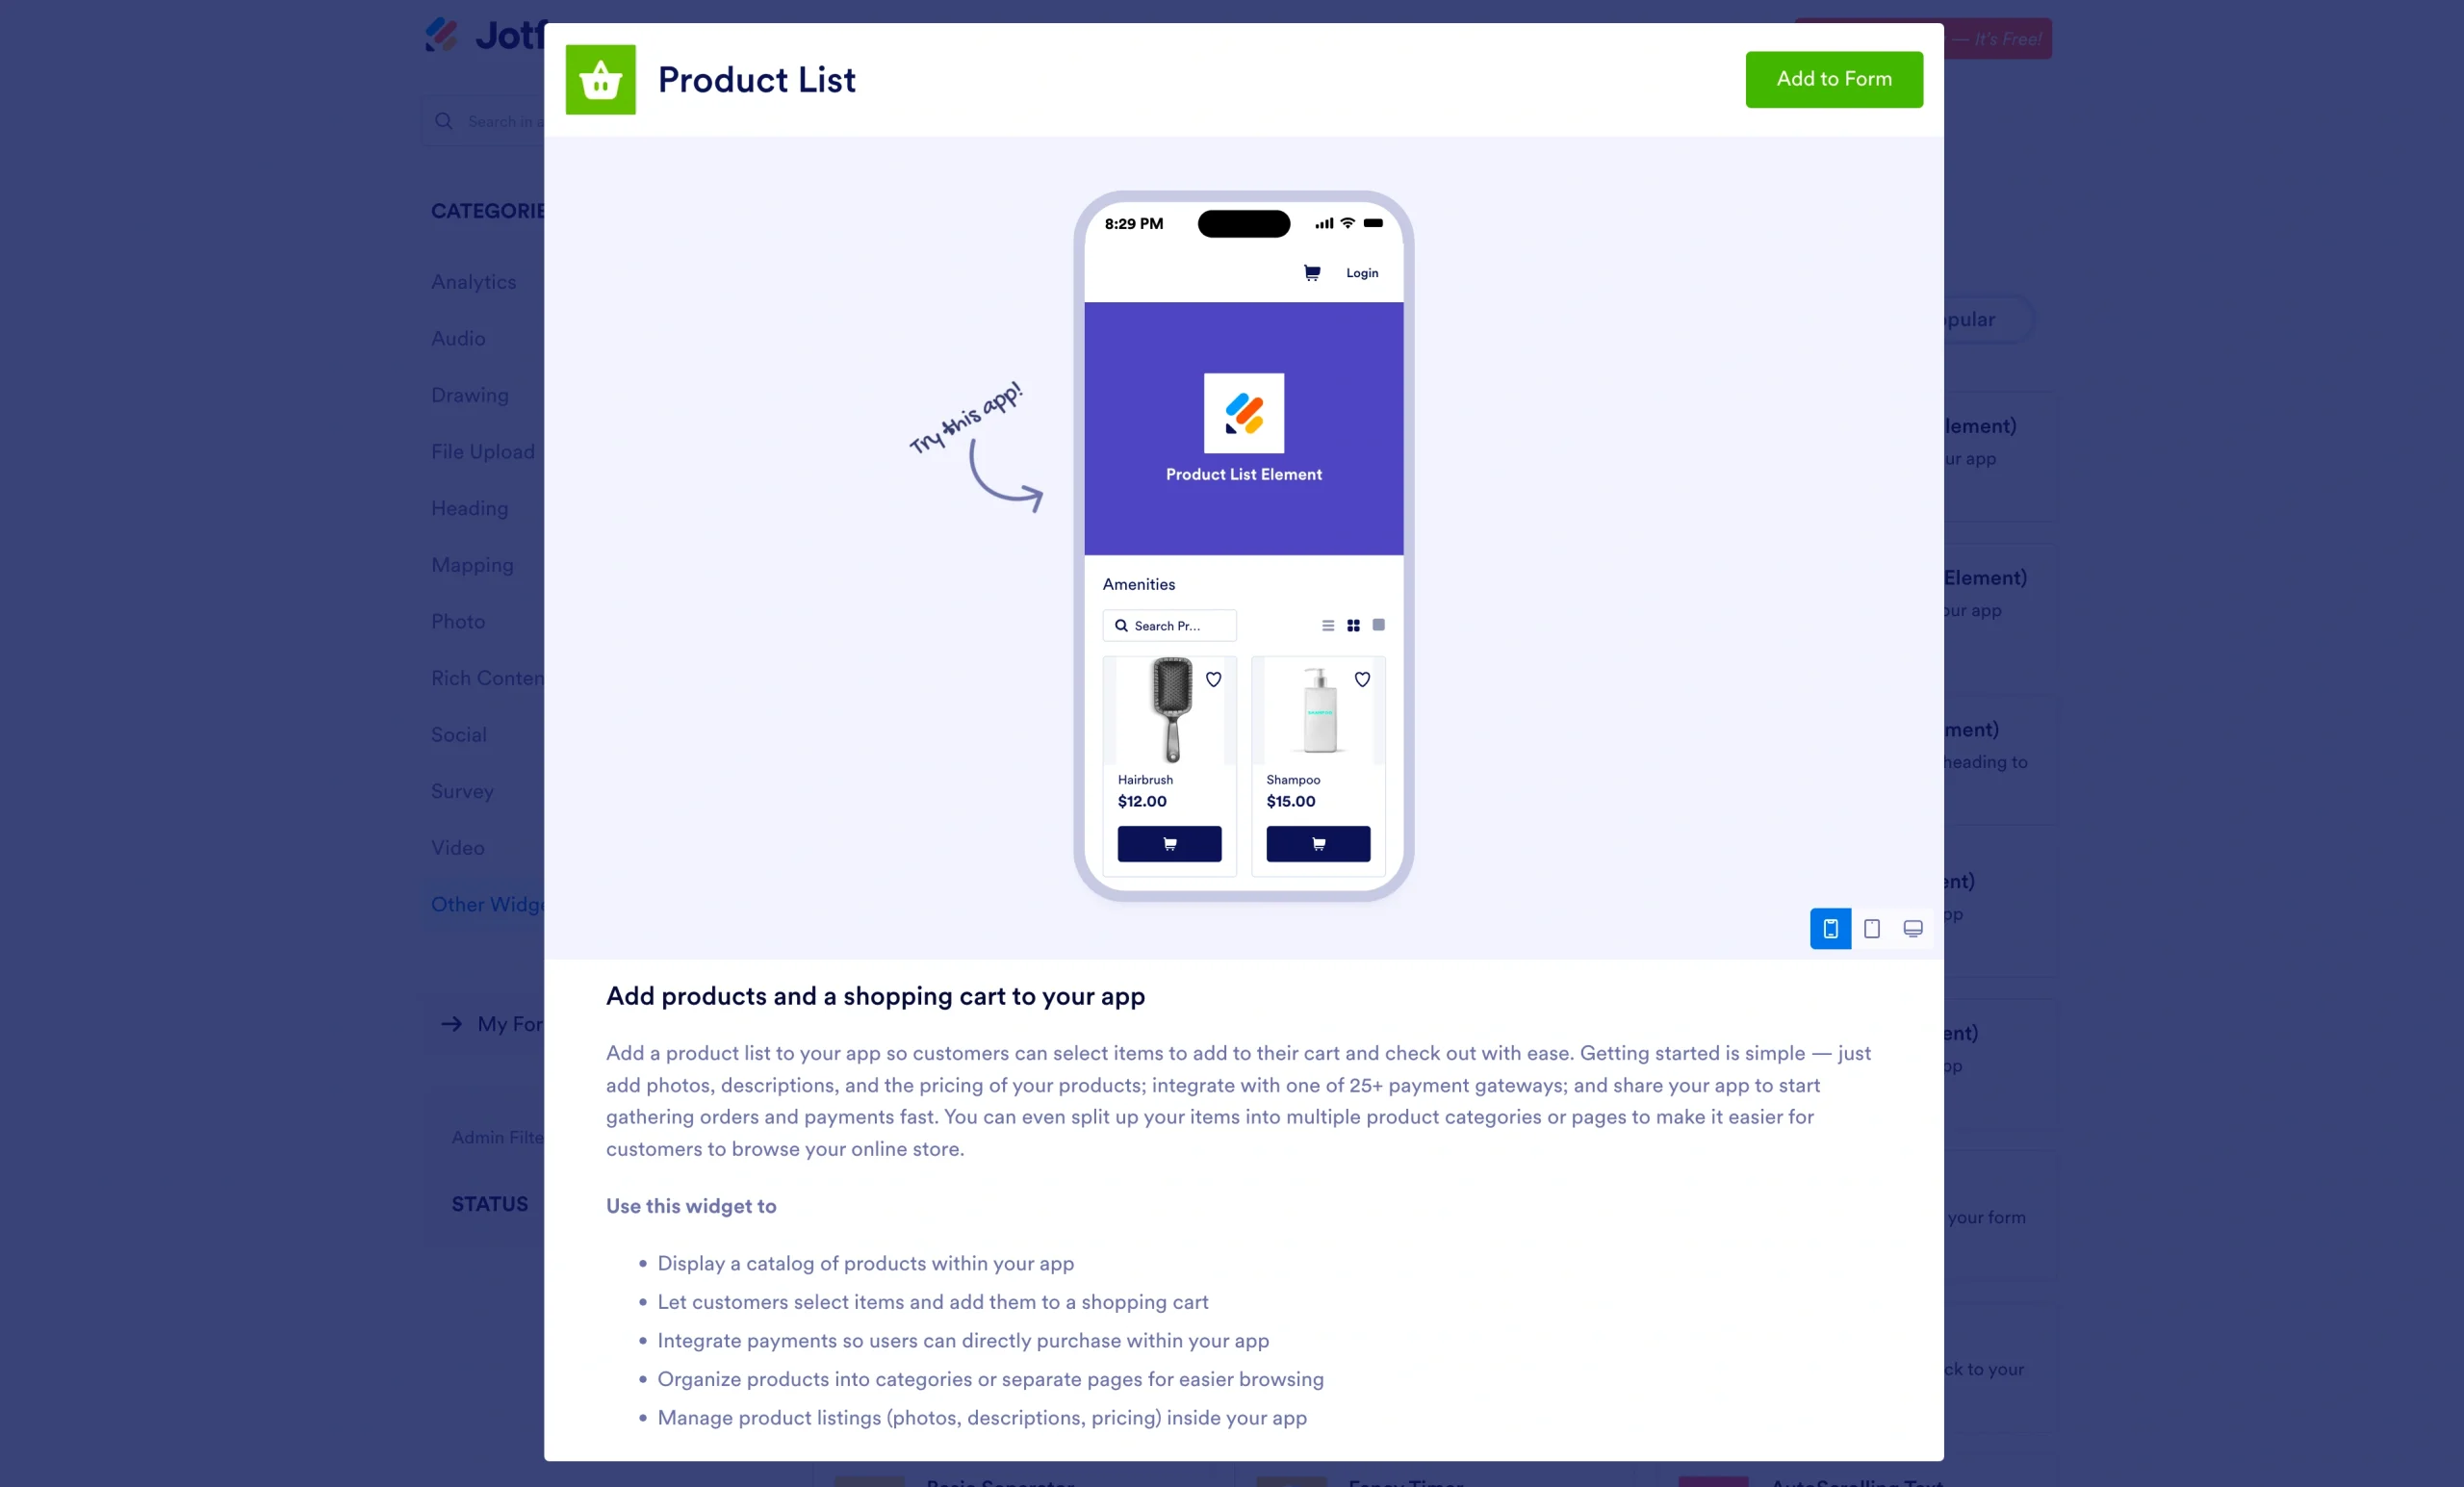
When dealing with Shopify import orders, CSV files are the most common approach. But checking that the raw data is formatted appropriately for Shopify’s importer tool can eat up a lot of time. Enter Jotform’s Product List. When paired with CSV import tools and Shopify support, Product List makes life much easier.
If you upload your CSV into Jotform first, you can
- Clean order fields and standardize them.
- Remove canceled or duplicate orders before they hit your store.
- Adjust payment status and tax fields to match Shopify.
- Repurpose your existing data into reports or custom forms.
Here’s how Jotform’s Product List works:
- Export your orders from the source as a CSV.
- In Jotform’s Form Builder, add a Product List or Table field and click Import.
- Upload your CSV file. Jotform automatically maps fields like order ID, customer info, and totals.
- Review, edit, and clean the information as needed.
- Export the file and upload it directly into Shopify.
Pro Tip
Since Jotform supports imports from Shopify, you can keep your data clean and reduce the need for manual fixes every time you migrate information or consolidate orders. Our guide on how to import products into your form is designed to be a valuable resource to give you control over your Shopify data.
Streamline your Shopify store with clean order data
When your data is properly formatted, importing orders into Shopify becomes quick and hassle-free. Using structured CSV files, along with tools like Jotform, makes the entire process even easier.
With Jotform, you can simplify the Shopify bulk order upload process and keep everything organized from the outset. Looking for more ways to grow your online store? Jotform offers plenty of helpful resources, including our guide on how to sell online. Give the platform a try for free today and see how much simpler managing your store can be.
This article is for Shopify store owners, ecommerce consultants, agencies, and anyone who wants to efficiently migrate or manage historical orders in Shopify for better reporting, fulfillment, and multichannel selling.


Send Comment: