
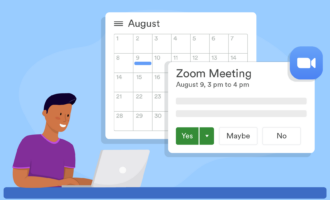
Zoom had over 300 million daily meeting participants in April 2020. As an indicator of its massive recent growth, that number was just 10 million in December 2019. Zoom video conferences are likely to be a part of everyday work and personal life for quite some time, even after social distancing restrictions are relaxed.
One of the benefits of using Zoom for meetings is the ability to record them. It’s not easy to take notes during a meeting. You can miss details, and when it’s a remote meeting, it’s easy for outside distractions, technical issues, or other problems to derail even the most meticulous notetaker.
However, it’s fairly easy to record a Zoom meeting, whether you’re hosting it or not. (If you’re not the host, you’ll have to ask for permission.) You can record the entire meeting and save it locally, or — if you have a paid plan — you can use cloud storage. Here’s how to record a Zoom meeting on various devices and save the recording for later reference.
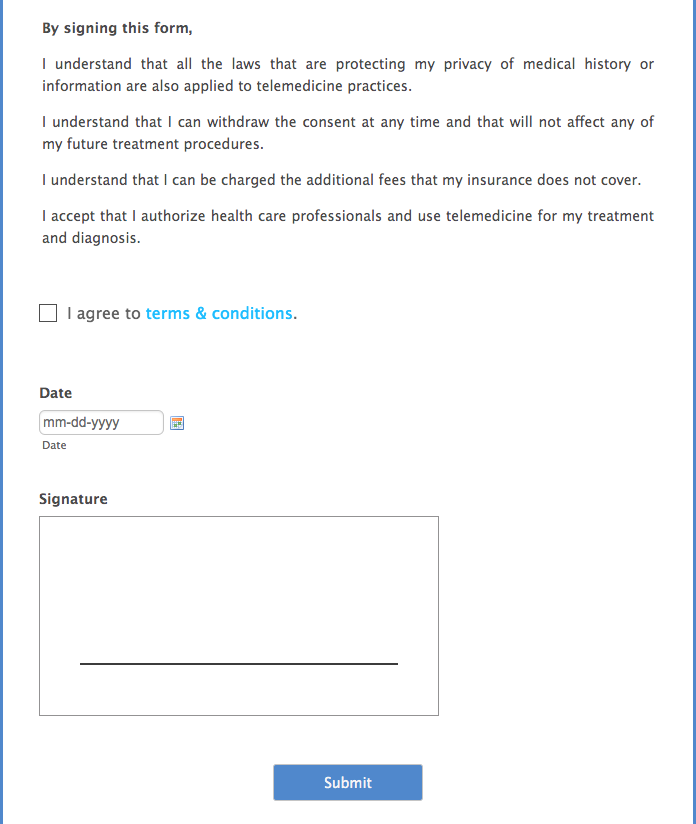
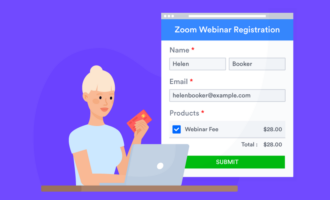
Keep in mind that, if you’re using Zoom for telemedicine, you’ll need to obtain informed consent from your patients before starting the recording. You can use Jotform to create a form for them to sign prior to recording the session.
How to record a Zoom meeting locally
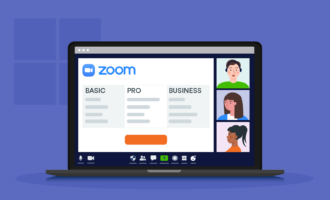
If you’re using a free Zoom account — known as Zoom Basic — you can record your entire meeting. You’ll just have to save it locally to your computer and then upload it to a cloud storage service like Dropbox, Google Drive, or Box if you want to share it with colleagues. This means you won’t be able to use your mobile device to record the meeting.
To turn on local recording, sign into your Zoom web portal as an administrator, then click on Account Settings. In the Recording tab, turn on the Local Recording option if it isn’t already on. (If a verification window pops up, select Turn On.) You’re now ready to record your next Zoom meeting.
If you have a paid account, you can enable local recording for groups of users. To do that, go to the Group Management tab, click on the name of the group, then the Settings tab. Under Recording, find Local Recording, and make sure that it’s toggled to the on position.
To record your meeting, start the Zoom meeting as a host, and then click on the option to record. If there’s a menu, choose Record on this Computer. You’ll see an indicator in the top left corner of your screen while the meeting is recording.
Once you’ve ended the meeting, Zoom will automatically convert your recording. You can pause the conversion if you need to. After Zoom finishes converting the file to video MP4 and audio M4A formats, the folder with the recording will open so that you can rename the files from the default Zoom_0.mp4 and audio_only.m4a.
How to record to the cloud
If you have a paid Zoom account, you can record your Zoom meeting and save it in Zoom’s cloud storage. You can record to the cloud from your desktop computer as well as from an iOS or Android device. Other users will be able to access the file as long as you grant them permission.
To enable cloud recording in Zoom, go to the same menu you used to enable local recording. In the Recording tab, verify that Cloud Recording is enabled. If it’s not, click the toggle to turn it on, and when prompted, click Turn On to verify that you want to allow cloud recording. This will let licensed users record meetings.
With cloud recording, you have more options as to how and what you can record. You can change the recording layouts so that you can record the active speaker view with a shared screen; a gallery view with a shared screen; or the active speaker, gallery view, and shared screen separately. You can also save chat messages and add time stamps to the recording.
During the meeting, start your cloud recording by clicking the Record button in the Zoom toolbar. Then choose Record to the Cloud to begin recording. Once you stop the recording or end the meeting, Zoom will process the recording for viewing using the MP4 and M4A file formats. You’ll receive an email once it’s done and the recording is ready to use.
Whether you use Zoom Basic or a paid plan, you can record your meetings for later use. This can be particularly useful when there are a lot of details being discussed and notetaking isn’t possible, or if you want a backup in case the person responsible for taking notes loses their connection to the meeting.


Send Comment: