Steps to connect Zoom to Calendly
- Log into your Calendly account
- Connect your Zoom account
- Create or edit your Calendly event type
- Set Zoom as the event type location
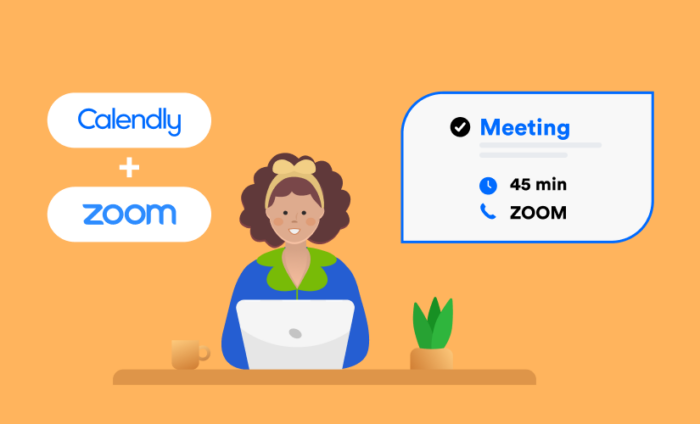
Every professional can agree: 2020 was the year of Zoom.
In April of last year, 300 million people were using Zoom each day, up from only 10 million in December of 2019. With the rise of remote work during the pandemic, we needed a way to connect with our colleagues — and it looks like we should all get comfy with virtual meetings for the foreseeable future.
Calendly is another incredibly useful tool for organizing our countless socially distanced meetups. Calendly’s pricing plans offer a variety of different integrations, though connecting Calendly to Zoom is a great time-saver for people who are scheduling mostly virtual meetings.
As of October 2020, Calendly includes the Zoom integration with all three of its plans (yep, even the free one!), so if you’re hoping to connect these two work-from-home–friendly tools, read on for detailed instructions on the Calendly-Zoom integration and to learn how it can streamline your scheduling.
Pro Tip
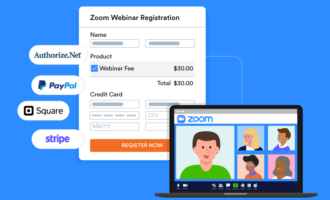
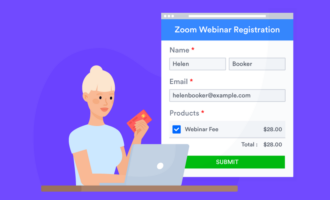
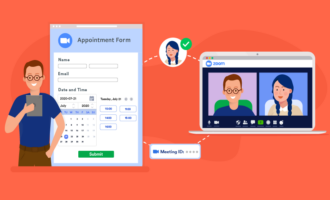
Make it easy for coworkers or clients to book Zoom meetings with you using Jotform’s free Zoom Scheduler.
The benefits of connecting Zoom to Calendly
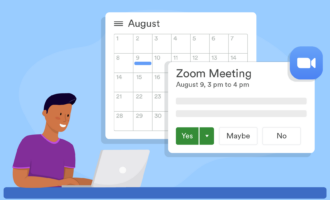
Those of us who only meet virtually these days know that a videoconference link is required for each meeting you set up. With the Calendly-Zoom integration, Zoom will automatically add meeting details to every Calendly invitation if you set Zoom as the meeting location.
This feature takes the guesswork out of figuring out which attendee is going to use their Zoom account to host the meeting, and it prevents confusion when we inevitably forget to manually add the Zoom link to the event details. Let’s face it — we’ve all got a lot on our plates right now, and this little extra help can be a lifesaver.
Calendly-Zoom integration, step by step
If you’re sold on the convenience of integrating Calendly and Zoom, here’s how you can make it happen.
1. Log into your Calendly account
If you already have a Calendly account, the integration process will start from your Calendly homepage. If you need to sign up for a Calendly account, you can do it easily with any email address — or you can connect your Gmail account for easy integration with Google Calendar.
The free plan will support the Calendly-Zoom integration, but it’s worth noting that you can also sign up for a 14-day trial of Calendly’s Pro plan if you’re interested in more features.
The Calendly homepage is your portal for setting up all integrations.
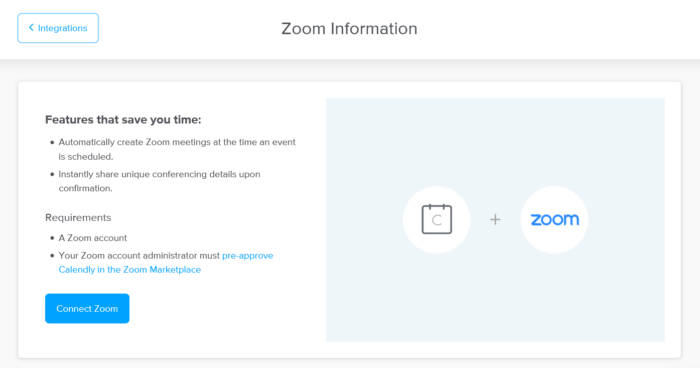
2. Connect your Zoom account
If you’re one of the many people who became a remote worker in 2020, you may have already created a Zoom account. If not, you can easily create a free or paid Zoom account and log in immediately.
From your Calendly homepage, just click the Integrations button at the top right of the task bar. Here’s where you’ll be able to see all of the different tools you can link to your Calendly account, including Zoom.
The process of connecting the two accounts is quick, easy, and virtually seamless. When you click on the Zoom logo, a new page will instruct you to Connect Zoom via a blue button.
Once you click the button and authorize Calendly to connect to your account, you’re all set. Calendly now has permission to add your Zoom details to all invitations you send out via its platform.
3. Create or edit your Calendly event type
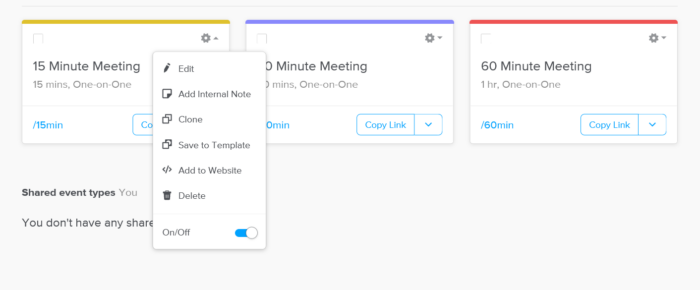
Once you’ve given permission to connect the two apps, you can test the integration by either creating a new Calendly event type or editing an existing event type.
If you haven’t already created an event, just click + New event type from the Calendly homepage; choose a one-on-one, group, collective, or round robin event; and fill out the necessary details from there.
If you’re editing an existing event, just click the gear icon at the top right of the event type box, choose Edit from the dropdown menu, and click on the first option, titled What event is this?
4. Set Zoom as the event type location
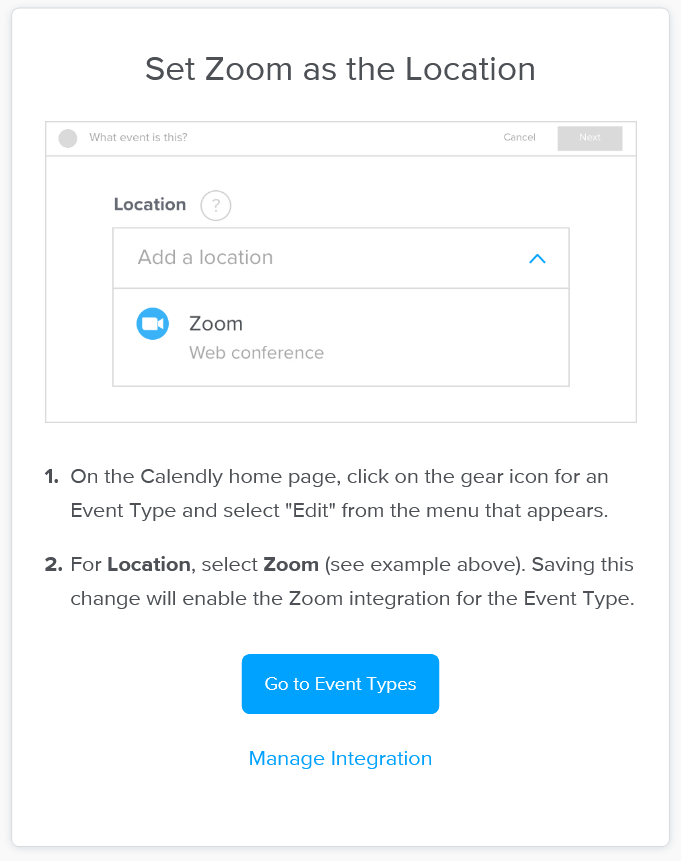
Once you’ve determined which event type you’d like to connect to Zoom, the last step is editing the location. To do this, simply click on the text box to add a location and choose Zoom from the dropdown of location choices.
Now the details for the Zoom meeting will automatically be added to all new events of this type. If you’ll be holding all your meetings online for the foreseeable future, add Zoom as the location for all event types.
If you plan on occasionally holding in-person events of the same event type, just make sure to click Add a location option beneath the Zoom location text box. This feature can be helpful if you’re allowing attendees to choose between an in-person or remote event — or if you’d like to give them the option to speak by phone, use a different conferencing app, or even set the location of their choice.
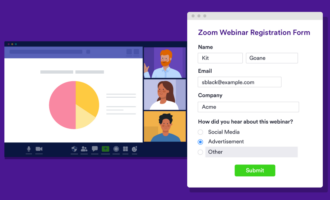
If you’re not a Calendly user or you’re looking for an alternative, Jotform can also assist with Zoom scheduling. With Jotform’s Zoom Scheduler, you can automatically connect appointments submitted through a form to your Zoom account. That way, your appointments will have all of your personal Zoom meeting details right in the calendar invitation.
This feature is really useful if you’re using one of more than 60 Jotform virtual event forms and connecting several guests via one Zoom link. It’s also great for scheduling one-on-one events for anything from online classes to new client meet and greets.
For more tips on how to use Zoom with Jotform and answers to frequently asked questions, check out our Zoom FAQ.


Send Comment: