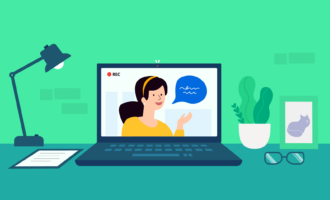
You don’t want the livestream of your webinar to be the last time it’s ever seen or heard. After all, time and effort went into crafting your webinar, so why not record it while it’s being presented and use it as a resource going forward? Luckily, recording your screen while hosting a webinar is a simple way to save your webinar for posterity.
Macs and PCs both come built with fairly powerful screen recording technology. In this guide, we’ll walk through how to make the most of these internal tools and come away with a great screen recording. But keep in mind that there are other tools you can use to record your screen. In short, you have many options. So let’s get started recording.
How to record your screen while hosting a webinar — both Mac and PC methods:
- Choose a screen recorder. There are plenty of powerful, affordable screen recorders on the market, and many of them work on both Mac and PC. In fact, you can even find some completely free screen recorders. Popular Windows versions include Screencast-O-Matic, Screenflow, TinyTake, and SmartPixel. Popular Mac options include Camtasia, Movavi, and SnagIt. Assess the features offered by each screen recorder, determine if the price works for you, and then decide which screen recorder is right for you. Remember that the task you need to complete is fairly simple, so don’t worry about getting a screen recorder with tons of bells and whistles.
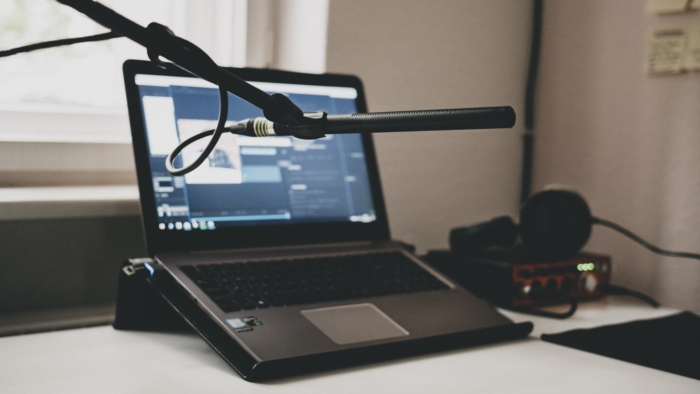
- Download and install your screen recorder. Once you’ve settled on a screen recorder, download and install it. Keep in mind that Macs and PCs come built with a simple screen recorder. For Mac, this tool is called Quicktime player, a fairly useful media program that includes screen recording. And for Windows, there’s a screen recorder included in the “Game bar.” So if you’re using either of these internal tools, you won’t need to download and install new software.
- Record your screen. Now it’s time to actually record your screen. For the purposes of this tutorial, we’ll assume you’re using the internal Mac or Windows tools (Quicktime and the Game bar recorder, respectively). Here’s how to record in each of these programs:
- Mac. Quicktime makes recording very easy. First, go to File > New Screen Recording, then click the red button to record. There is also a dropdown menu next to the record button that lets you choose some important settings, such as the microphone you’ll be using. To record the entire screen, simply click anywhere on the screen after clicking the record button. To record a portion of the screen, drag the cursor over the region you’d like to record. Hit stop when you’re done recording.
- Windows. Go to the Game bar either through the Start menu or by clicking the Windows icon + G. Once you’re in the Game bar, press the red circular record button and press it again to stop recording. Pretty simple, huh?
- Edit your video. Once you’ve recorded your webinar, it’s time to edit it to your heart’s content. But how?
- Mac. Quicktime makes it easy to edit in the Quicktime interface. After you’ve stopped recording, you can trim, split, and flip elements of your video right in the app. And if you want more options, you can always use iMovie to make more advanced edits.
- Windows. The Game bar recorder unfortunately doesn’t offer much in the way of editing, so you’ll need to edit your video (which will save in your Videos folder automatically) with downloaded video editing software. One program we like is Lightworks. In Lightworks you can trim, split, and cut your video however you like.
You also might need to edit on the move, that’s where laptops come in handy. But any ordinary laptop might now cut it when it comes to video editing; so here are some of the best laptops for video editing.
- Share your video. When you have a video you’re proud of, it’s time to share it. Perhaps you want to put it on your website, post it to social media, or email it to prospects. To do this, you’ll simply have to look for your video file in your folders. For Mac, it will likely be in Downloads, while in Windows it will be in your Videos file. You can move these files around as you like. Quicktime also lets you export your videos directly to social media or into your email. You can also change the file format as necessary.
In five simple steps, you can have a high-quality screen recording — and turn your live webinar into an evergreen resource. Find a recording program that fits your needs, learn how to use it to the height of its capabilities, and then share your quality screen recording to your target audience.


Send Comment: