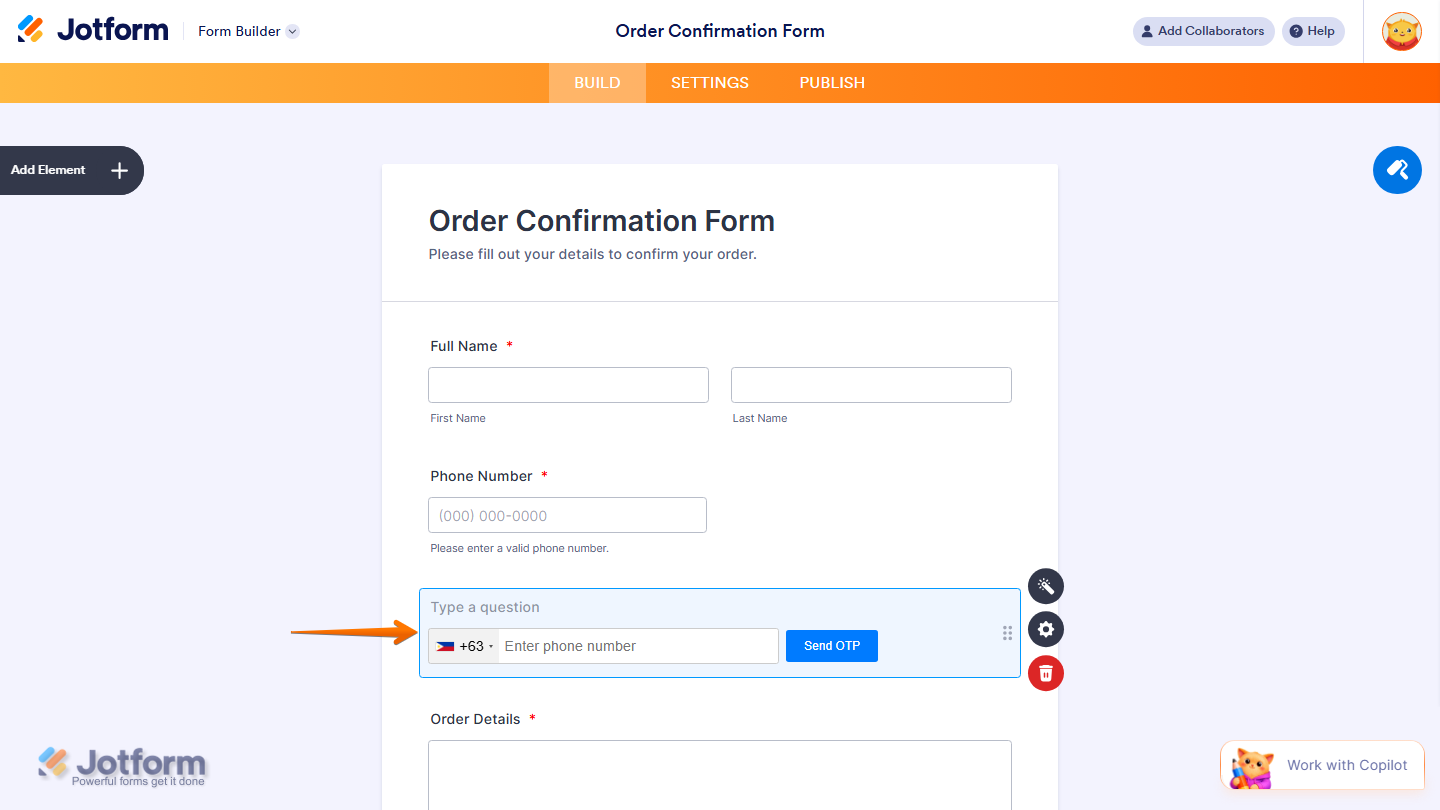
Jotform’s D7 Verification widget helps you verify user phone numbers by sending a confirmation code via SMS during form submission. Once users enter their number, they receive a code they must input to continue, helping you collect accurate and validated contact details.
Here are a few ways to use it:
- Send verification codes for signups or registrations.
- Confirm phone numbers before form submission.
- Customize SMS messages for your form.
- Collect reliable contact information from users.
What You’ll Need to Get Started
You’ll need your D7 Api Token to set up the D7 Verification widget. If you’re not sure how or where to get this, check out this support article from D7 Verification on Create App and Get Auth Token to learn more.
Whether you’re creating a new form or updating an existing one, you can add and set up the D7 Verification widget in a few easy steps. Here’s how to do it:
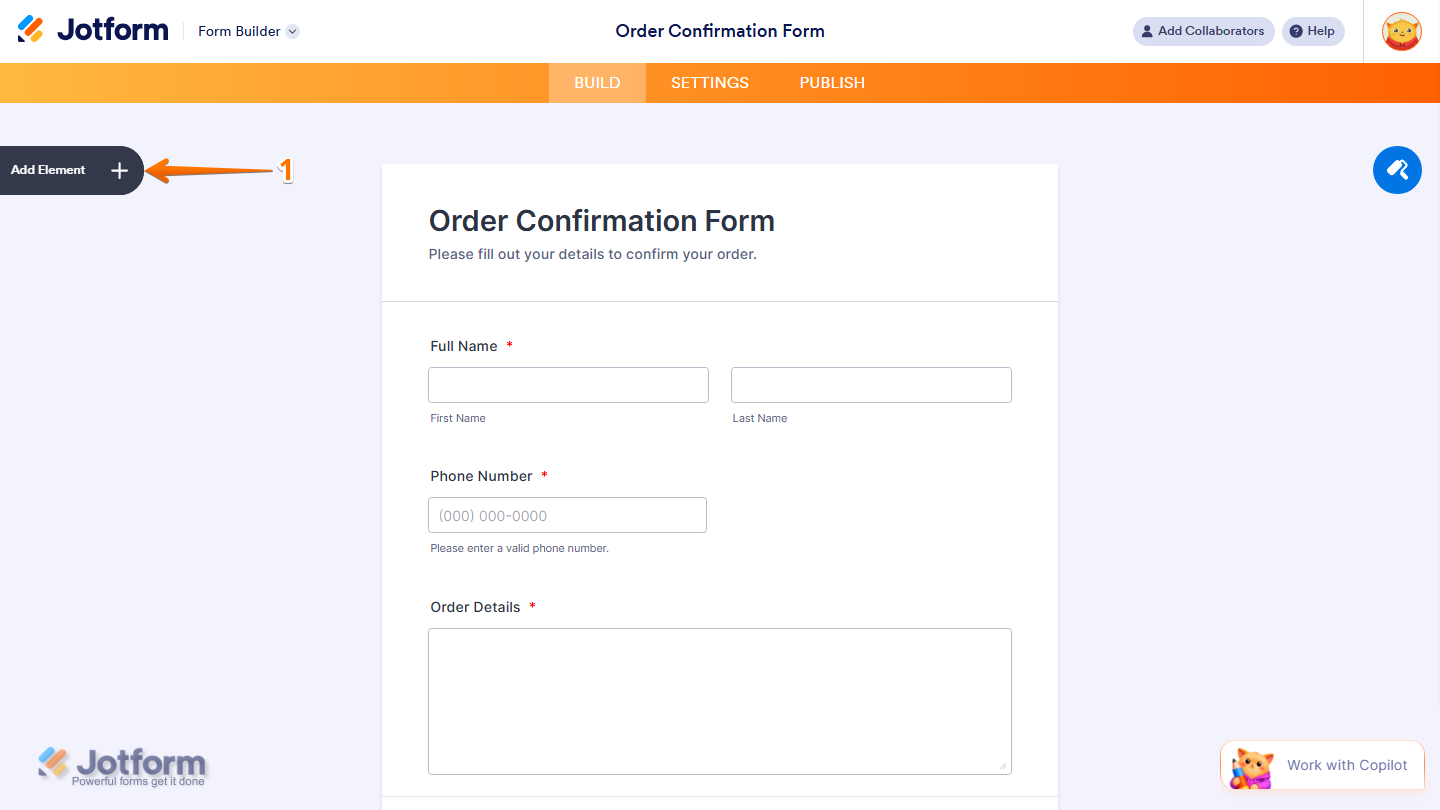
- In Form Builder, click on Add Element on the left side of the page.
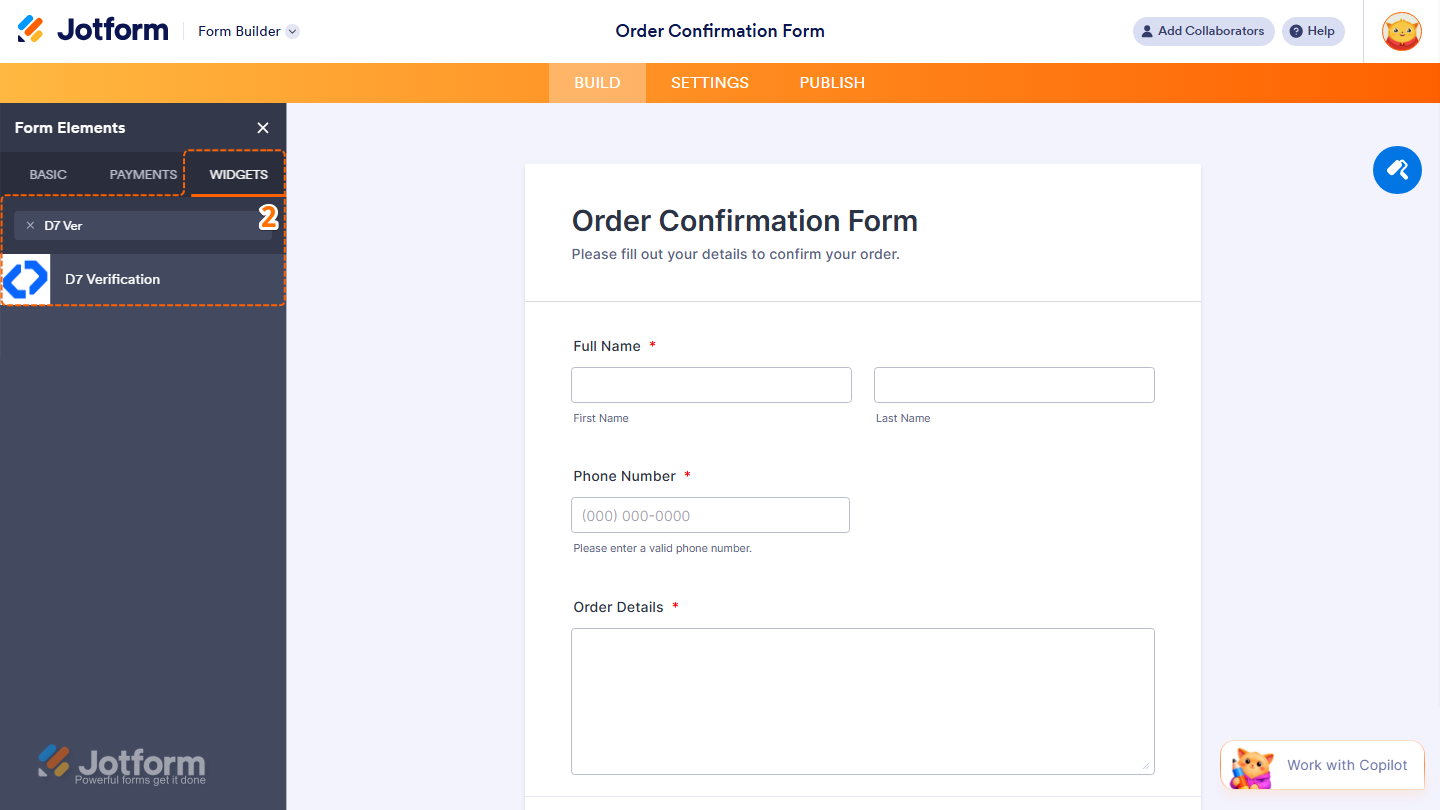
- Now, in the Form Elements menu, under the Widgets tab, search for the D7 Verification widget and click on it. Or, just drag and drop it to where you want it to be on your form.
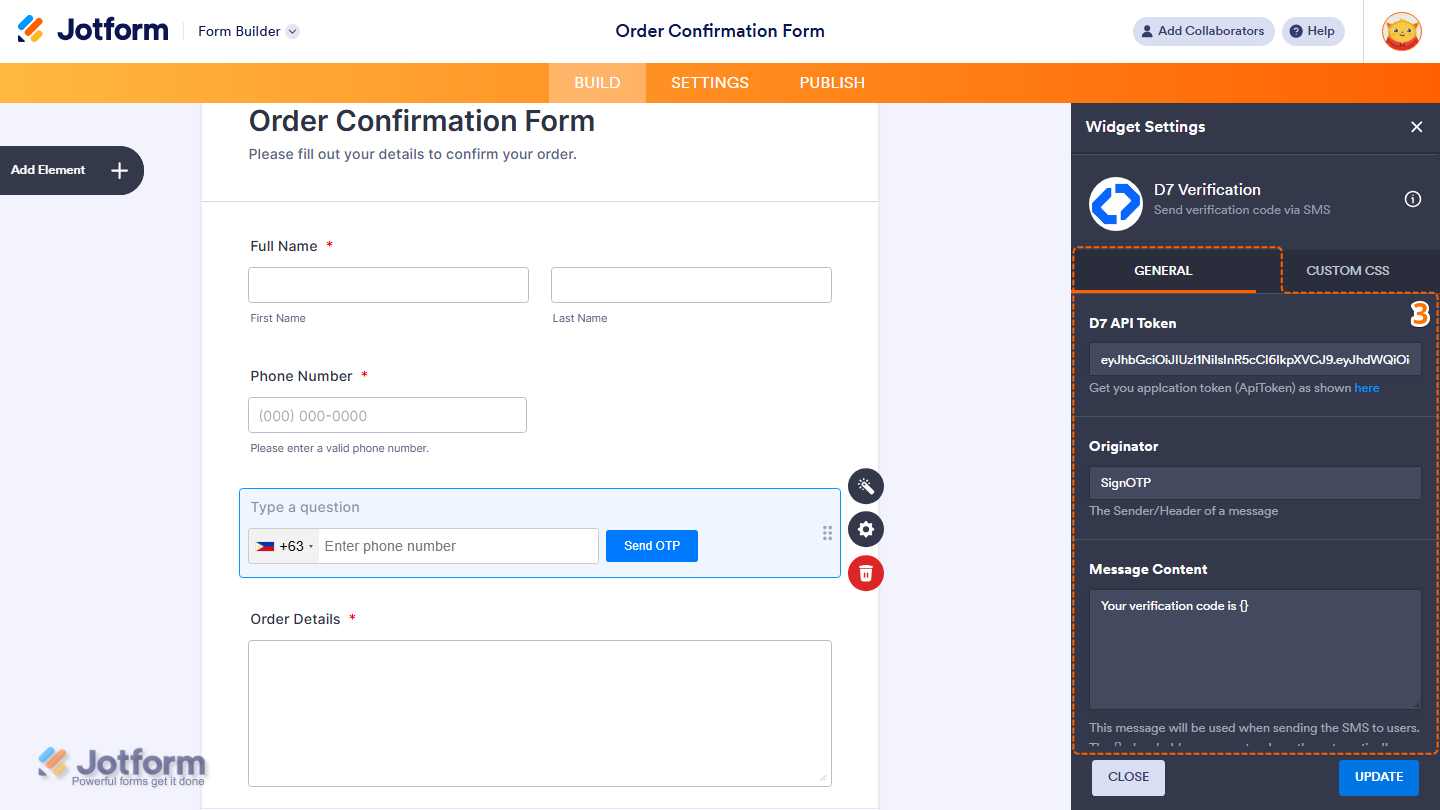
- Next, in the Widget Settings window that opens on the right side of the page, under the General tab, set up these things:
- D7 API Token — Enter your D7 API token to connect your account.
- Originator — Specify the sender ID or name that will appear on the verification message.
- Message Content — Set the SMS message sent to users. Use {} as a placeholder for the automatically generated verification code.
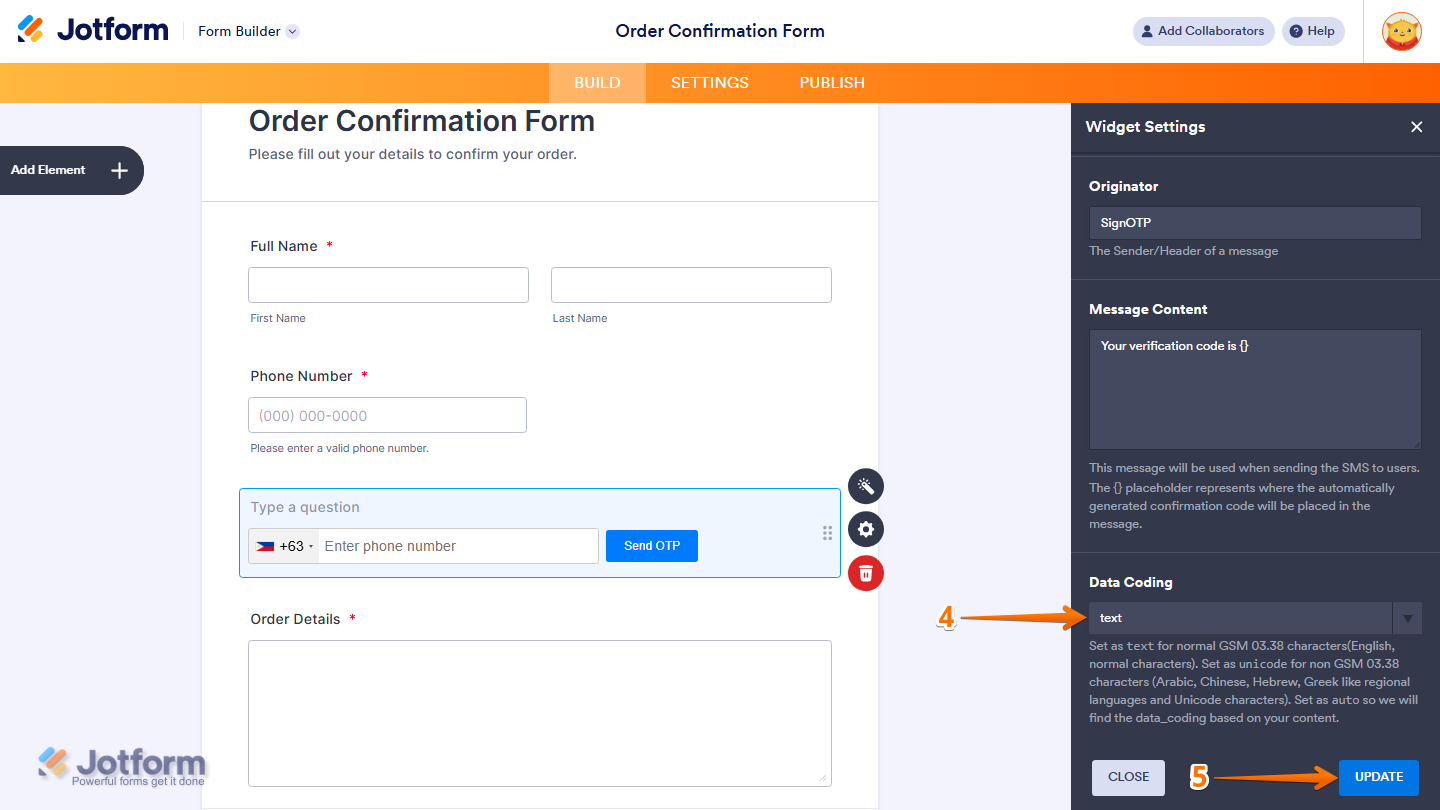
- Then, scroll down to the bottom and continue to set up these things:
- Data Coding — Select an encoding option from the Dropdown menu.
- Text — For standard GSM 03.38 characters (e.g., English and basic characters).
- Unicode — For non-GSM characters (e.g., Arabic, Chinese, Hebrew, Greek, and other special characters).
- Auto — Automatically selects the encoding based on your message content.
- Data Coding — Select an encoding option from the Dropdown menu.
- Once everything’s set, click on Update.
That’s it. You’ve successfully added and set up the D7 Verification widget on your form.
Note
- For advanced styling of the GeoComplete widget, you can add your own custom CSS code under the Custom CSS tab in the Widget Settings. Our guide on How to Inject CSS Codes to Widgets walks you through everything.
- You can also configure the widget properties, like alignment, labels, size, visibility, and more, to control how it looks and behaves in your form. Check out our guide on How to Access and Configure the Question Properties of a Widget to learn more.

Send Comment: