Jotform’s Address Search & Preview widget lets users quickly find and verify addresses with real-time autocomplete and an interactive map preview. It minimizes manual entry, improves data accuracy, and streamlines the address collection experience across both desktop and mobile devices.
Once an address is selected, the widget automatically fills in essential details—such as street address, city, state/province, and postal/ZIP code—ensuring your data remains clean, consistent, and ready for use.
Here are a few ways to use it:
- Collect accurate delivery and shipping addresses
- Speed up registrations and service requests
- Reduce manual address entry in your forms
- Verify customer locations for bookings or on-site services
- Improve data consistency for CRM and database integrations
Note
You can use OpenStreetMap as the default map provider. However, if you require a more advanced experience, the widget also supports Google Maps, but this requires a Google Maps API Key. To get an API Key, take a look at our guide on How to Get Google Maps API Key for Jotform Mapping Widgets for more details.
Whether you’re building a new form or editing an existing one, you can add and configure the Address Search & Preview widget in just a few steps. Here’s how to set it up:
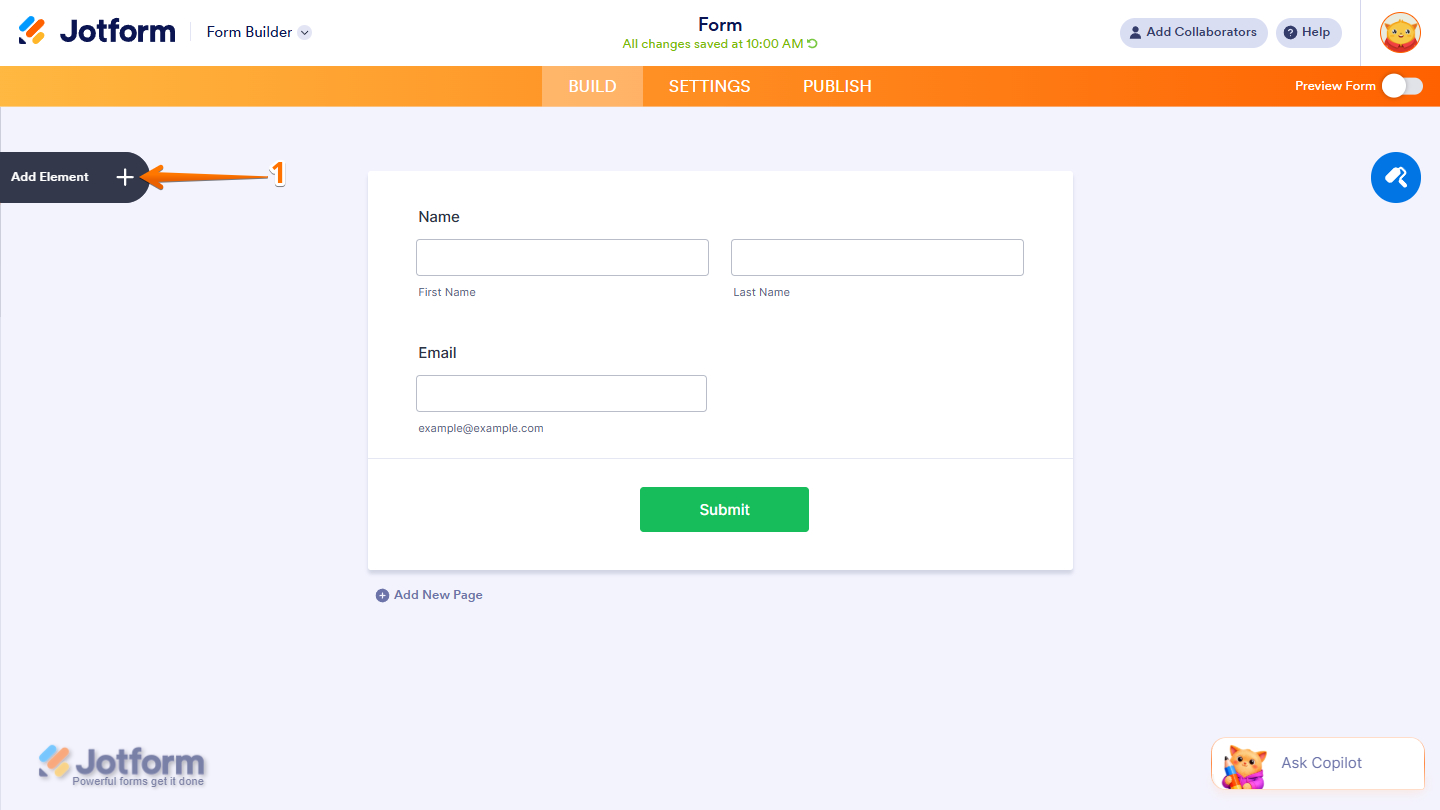
- In Form Builder, click on Add Element on the left side of the page.
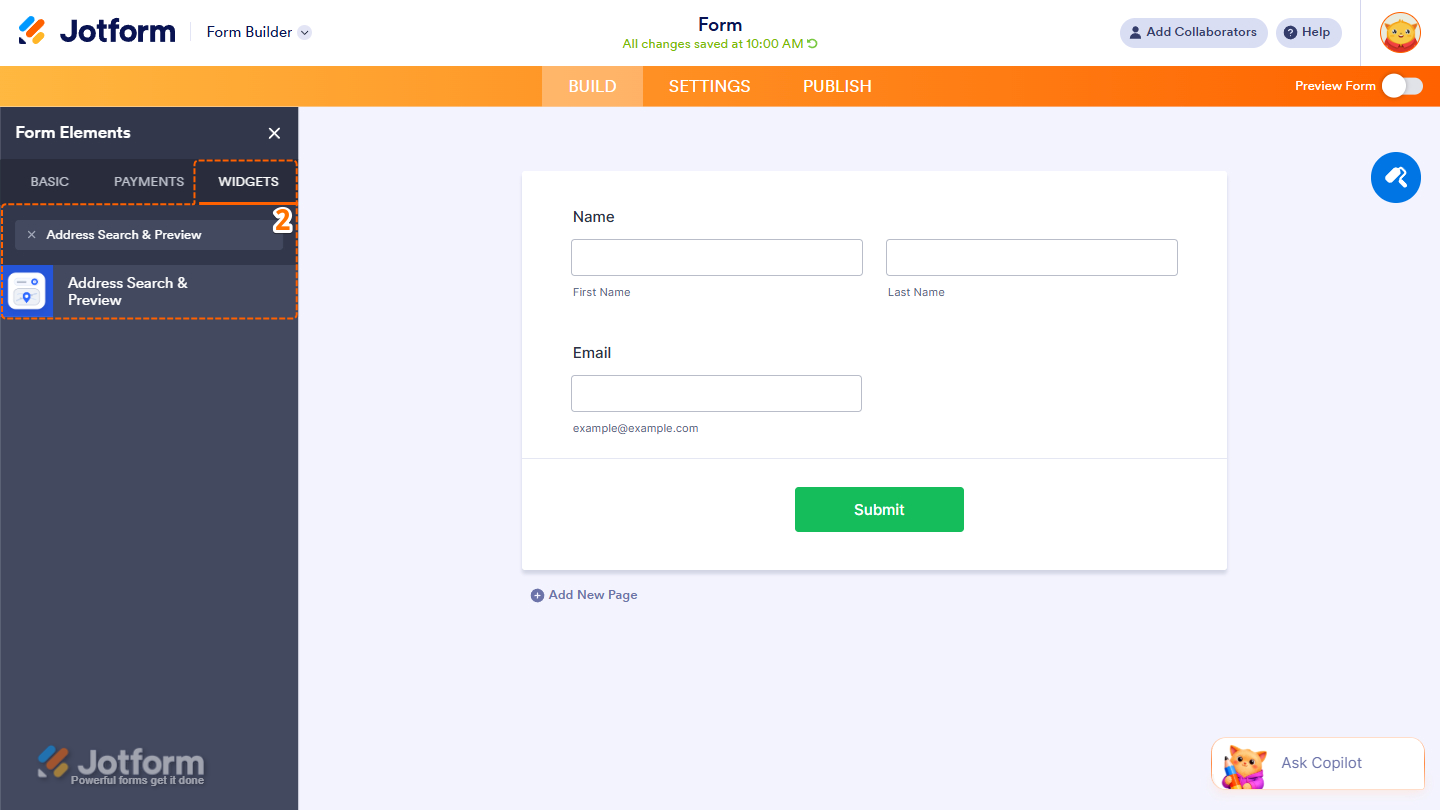
- Now, in the Form Elements menu, under the Widgets tab, search for Address Search & Preview and click on it. Or, just drag and drop it to where you want it to be on your form.
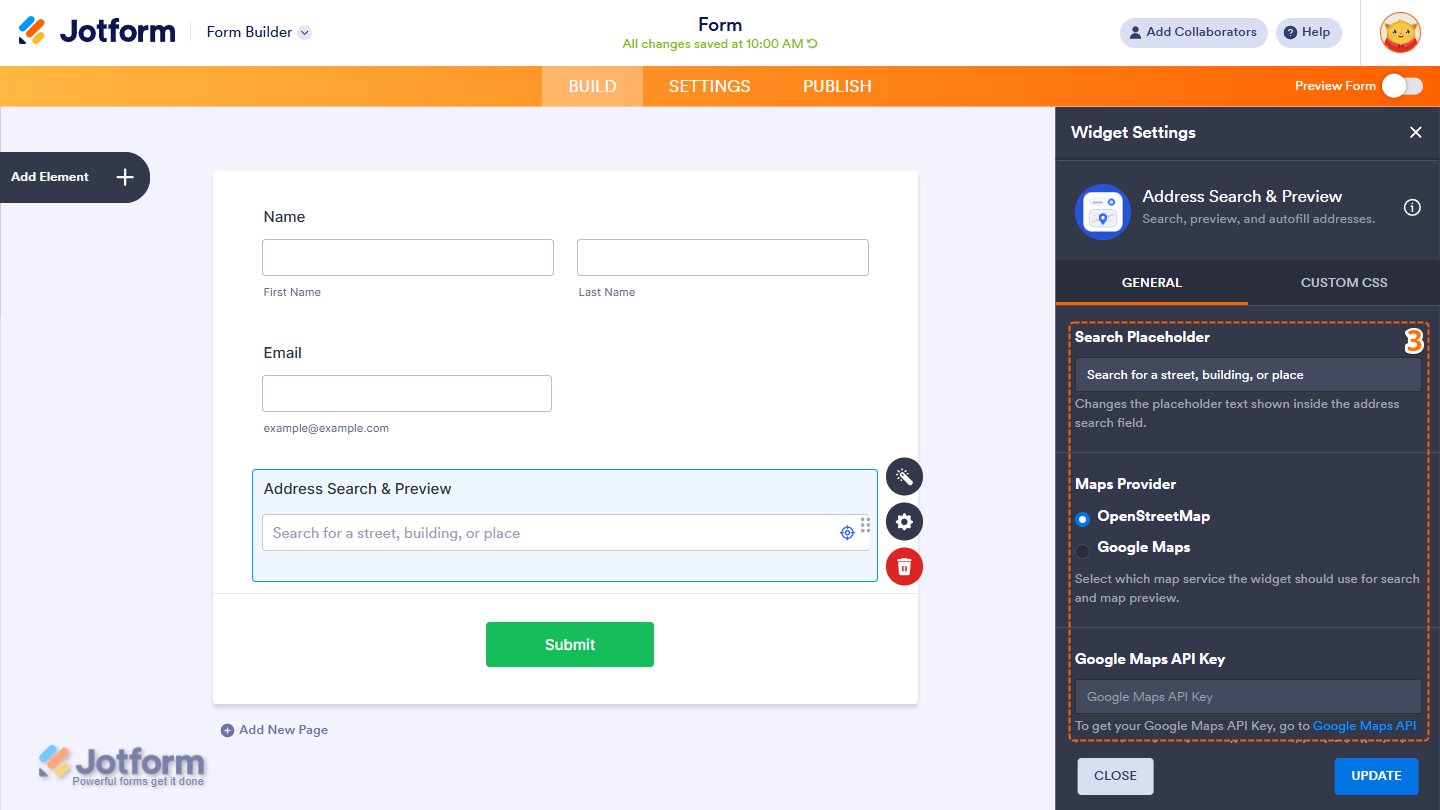
- Next, in the Widget Settings menu that opens on the right side of the page, under the General tab, set up these things first:
- Search Placeholder — Keep the default placeholder text or customize it to guide users on what to enter.
- Maps Provider — Choose between OpenStreetMap and Google Maps for displaying the map preview.
- Google Maps API Key — If you select Google Maps as your provider, you’ll need to enter a valid API key, as mentioned above.
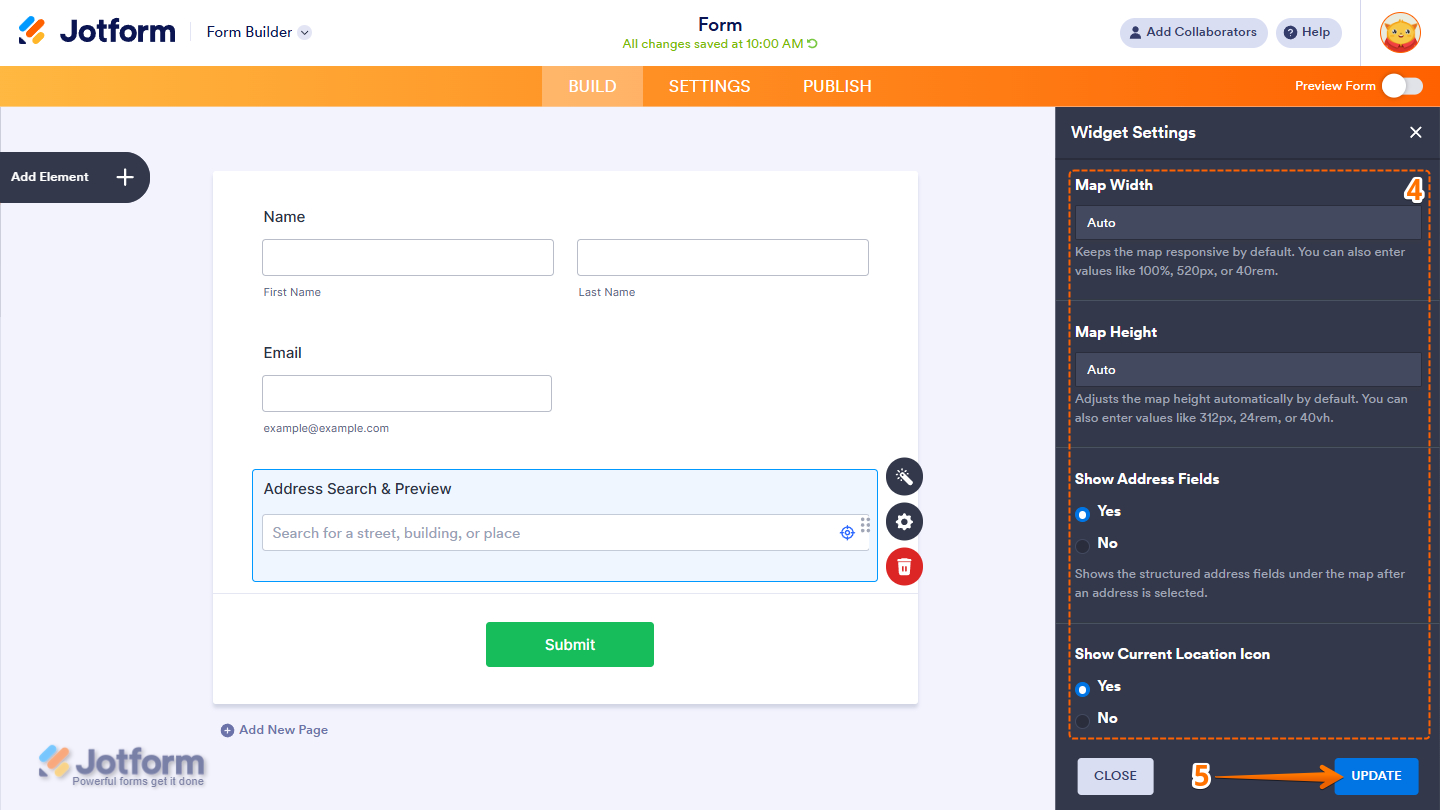
- Next, scroll down to the bottom and set up these final options:
- Map Width — Set the width of the map. Select Auto to keep it responsive across all devices, or specify a custom width.
- Map Height — Set the map’s height. You can also leave this on Auto for a responsive display or define a fixed height.
- Show Address Fields — Choose Yes to display the address fields, or No to hide them after an address is entered.
- Show Current Location Icon — Displays a pin on the selected address. Select Yes to show the marker or No to hide it.
- Once everything’s set, click on Update.
That’s it! You’ve now successfully added and set up the Address Search & Preview widget to your form. Curious how it works on a live form? Check out this demo.
Pro Tips
- To change the appearance of the widget, particularly the address box, you can inject custom CSS into the Custom CSS tab in the Widget Settings. You can check out our guide on How to Inject CSS Codes to Widgets to learn more.
- You can also configure widget properties, such as alignment, labels, size, visibility, and more, to control how it looks and behaves on your form. Check out our guide on How to Access and Configure the Question Properties of a Widget to learn more.

Send Comment: