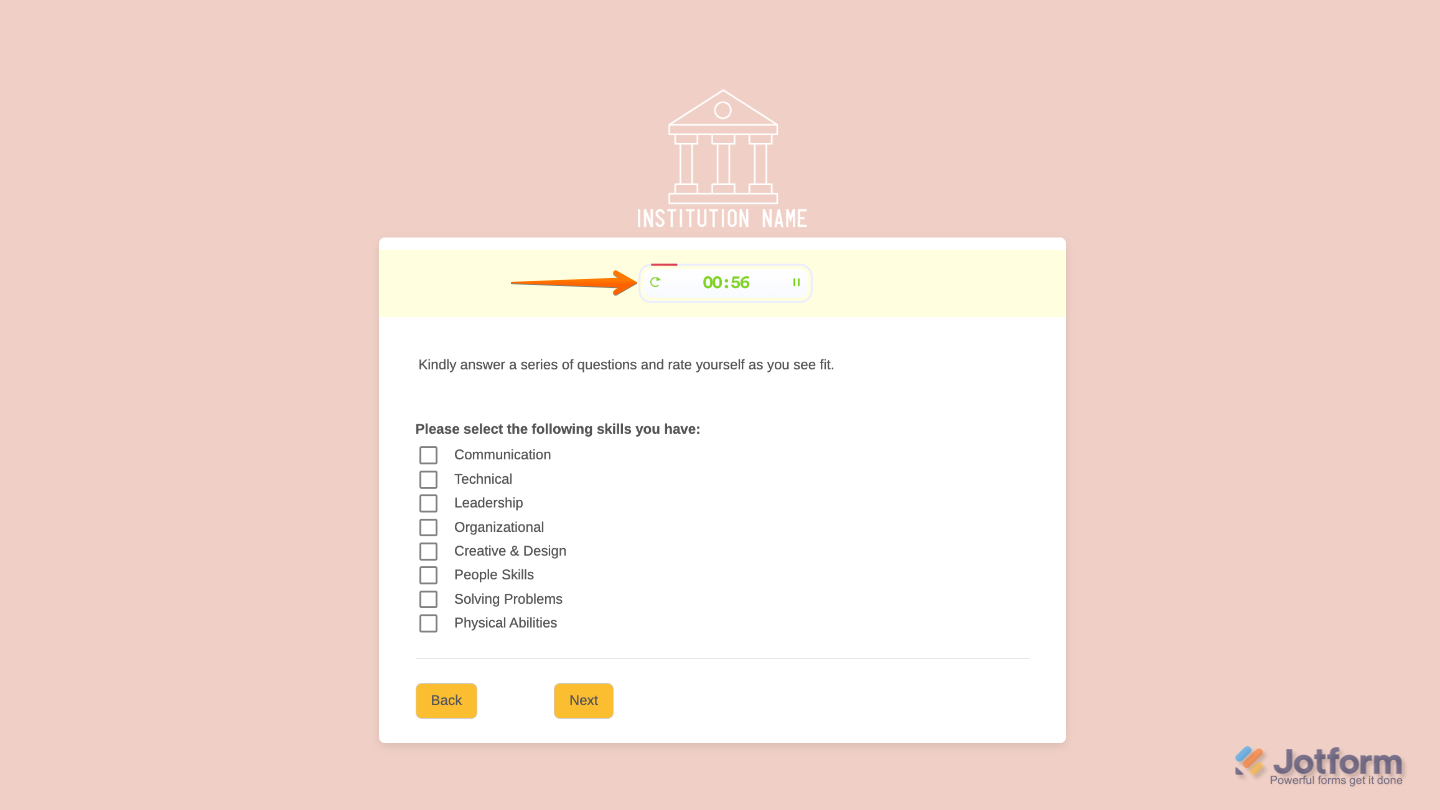
With Jotform’s Auto Page Timer widget, you can add a countdown timer or stopwatch, customize its look and behavior, and decide what happens when time runs out, whether that’s moving to the next page, going back, or automatically submitting the form. It’s a simple way to guide how users move through your form at their own pace or within a set time.
Whether it’s a quiz, assessment, or multi-step form, the timer makes the experience more structured and engaging.
Here are a few ways to use it:
- Limit Time for Each Form Page — You can use the Auto Page Timer widget to set a time limit for each page of your form. This is useful for quizzes, exams, or timed assessments where users must answer within a specific duration.
- Automatically Move Users to the Next Page — The widget can automatically advance users to the next page once the timer runs out. This ensures a smooth flow without requiring manual navigation.
- Enforce Fair Timing in Tests or Surveys — For evaluations or timed surveys, the widget helps ensure that all users have the same amount of time to respond. This creates a fair and controlled environment.
- Prevent Overthinking or Delays — By limiting time per page, the widget encourages users to provide quick and instinctive answers. This is especially useful for personality tests or rapid assessments.
Notes
- You’ll need to add the Auto Page Timer widget to each page individually since it works per page rather than across the entire form. Because of this, you’ll also need to configure it on every page where you want the timer to appear.
- Make sure your form includes proper page breaks so the timer can correctly start and reset for each page. For a full breakdown of how to do it, head over to our guide on How to Add and Set up the Page Break Element on your Form.
Adding and Setting Up the Auto Page Timer Widget
Adding the Auto Page Timer widget to your form makes it easy to manage how users progress through each page and keep submissions on track. Here’s the quick way to do it:
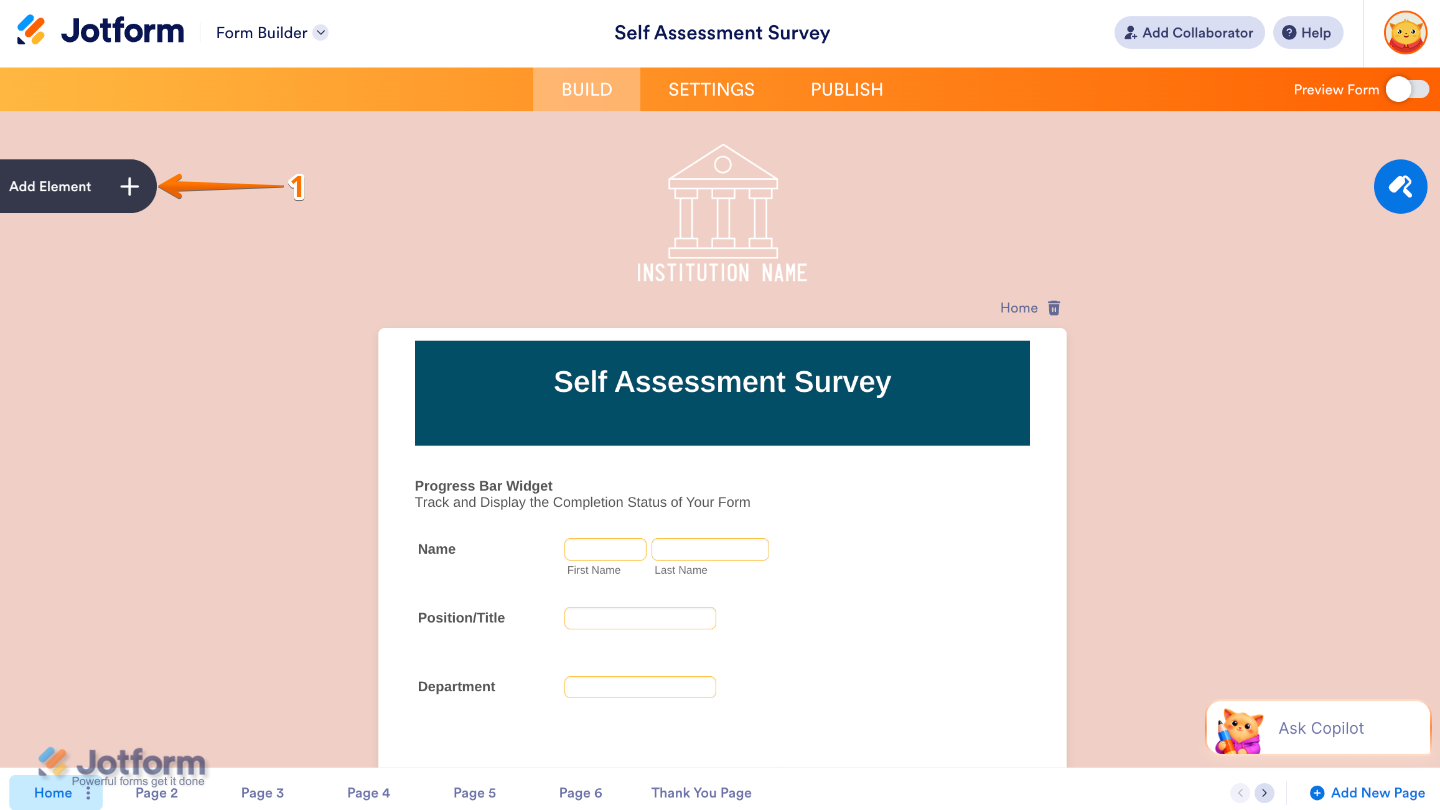
- In Form Builder, click on Add Element on the left side of the page.
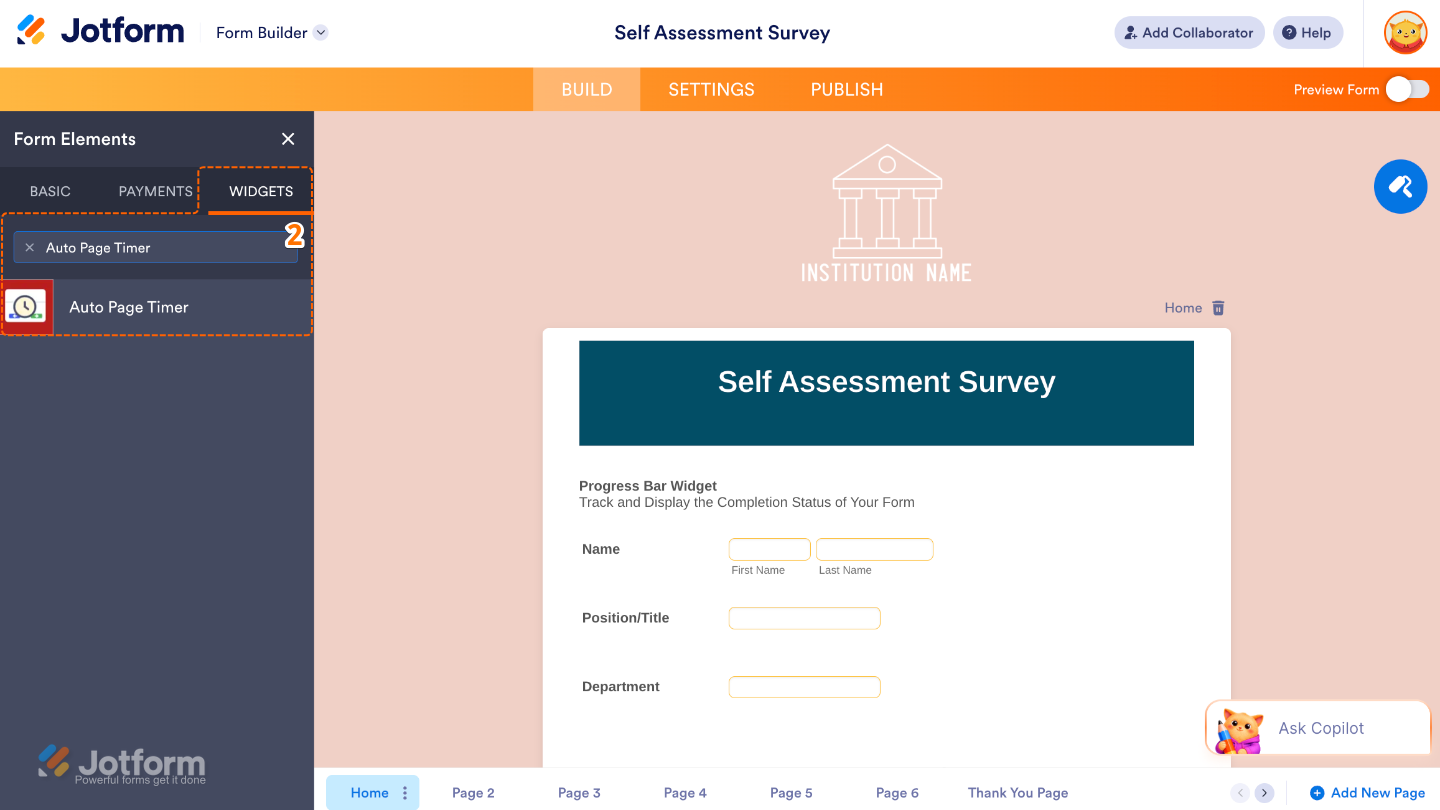
- Now, in the Form Elements menu, under the Widgets tab, search for Auto Page Timer and then click on it. Or, just drag and drop it to where you want it to be on your form.
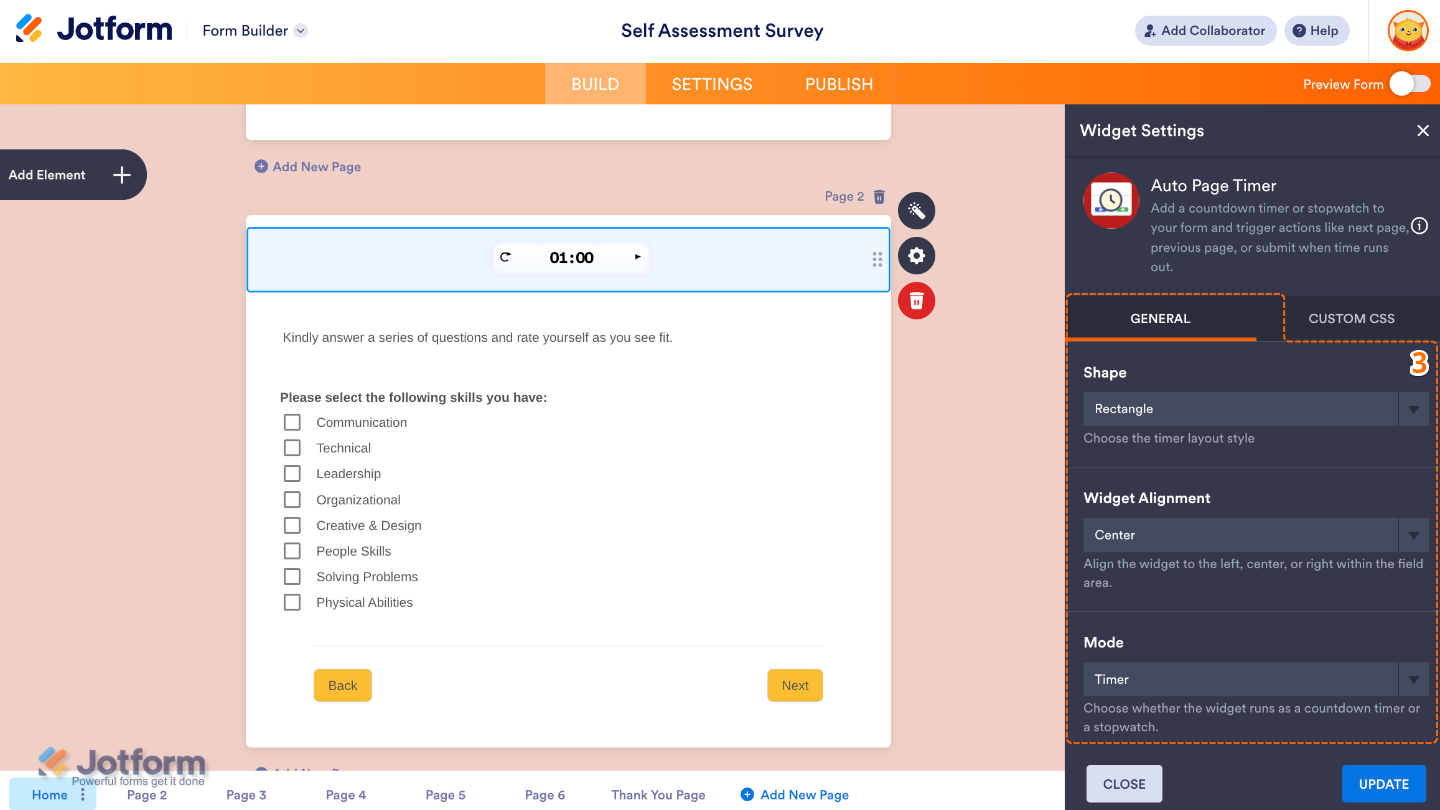
- Next, in the Widget Settings window that opens on the right side of the page, set up the following options:
- Shape — Choose the look of the timer (Circle or Rectangle).
- Widget Alignment — Control where the timer appears on the page, such as left, center, or right.
- Mode — Define how the timer behaves (Timer or Stopwatch).
- Then, scroll down and continue to set up these options:
- Duration (seconds) — Set how long the timer runs for each page (in seconds).
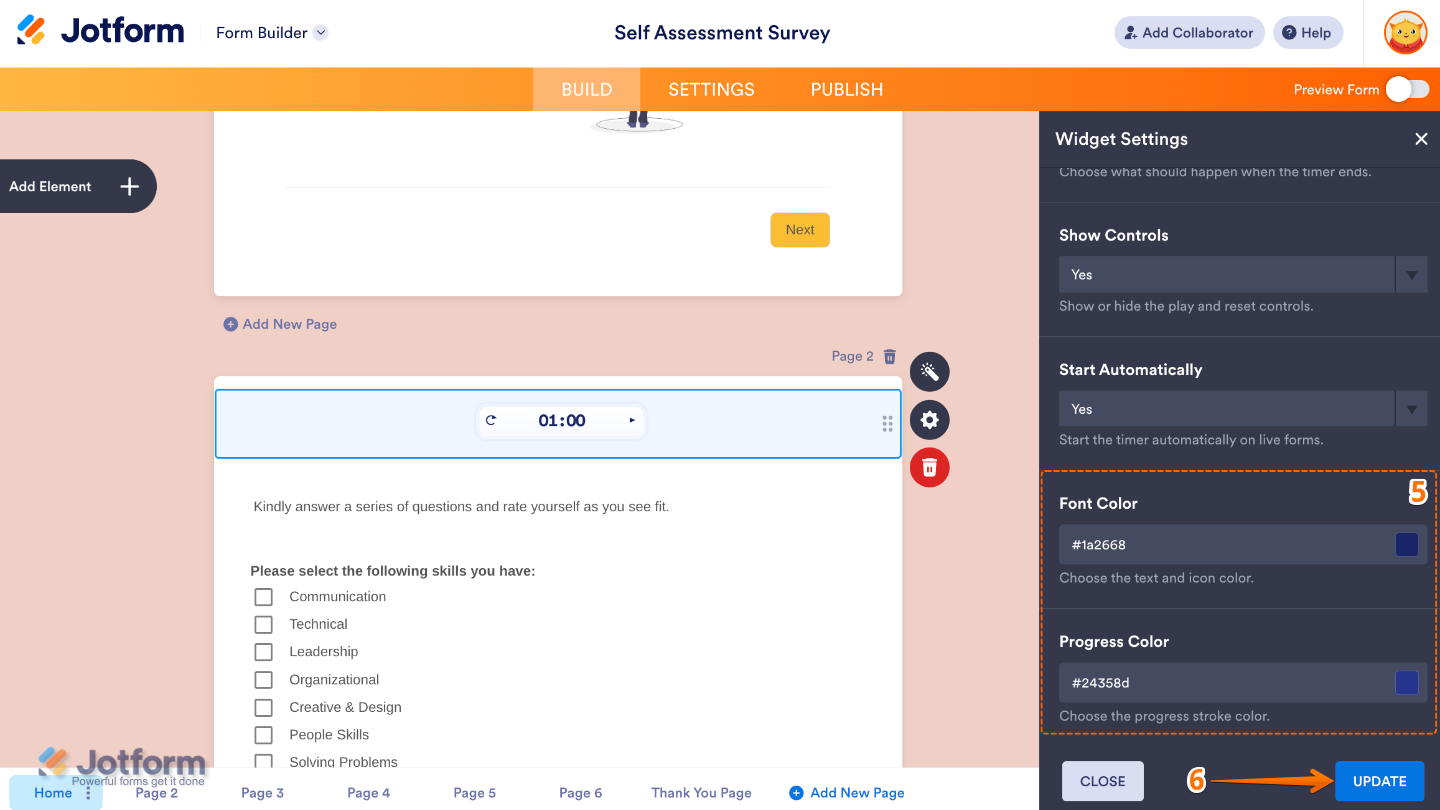
- Add Action — Choose what should happen when the timer ends. You can move users to the next page, send them to the previous page, submit the form automatically, or simply take no action at all.
- Show Controls — If you select the Yes option, the widget will allow users to see and interact with timer controls, such as pause or reset.
- Start Automatically — When enabled, the timer starts on its own as soon as the page loads, without users needing to click anything.

- Lastly, scroll down to the bottom and set up these last two options:
- Font Color — Use this to control the color of the timer text, letting you match it with your form’s theme or improve readability against the background.
- Progress Color — This sets the color of the progress indicator (the part that visually shows time passing). It helps users easily see how much time is left.
- Once you’re done, click on Update.
That’s it. You’ve successfully added and set up the Auto Page Timer widget to your form. Now your form can guide users with timed pages, helping them stay on track as they move through each section. Curious how it works on a live form? Check out this Demo Form.
Notes
- For advanced styling, you can add your own custom CSS under the Custom CSS tab in the widget settings and style the Auto Page Timer widget. Our guide on How to Inject CSS Codes to Widgets walks you through everything.
- To further customize your Auto Page Timer widget appearance, just click on the Gear icon to open its properties. For a full breakdown of how to do it, head over to our guide on How to Access and Configure the Question Properties of a Widget.
Pro Tips
- Set realistic time limits so users have enough time to read and respond comfortably. The timer should guide them through the form, not make them feel rushed.
- Use it for timed experiences like quizzes, assessments, or step-by-step tasks where timing is an important part of the process.
- Keep your instructions clear by letting users know they’re being timed. A simple message like “You have 2 minutes to complete this section” helps set the right expectations from the start.
- Stay consistent across pages by keeping timing balanced throughout your form, unless a specific section needs more or less time.

Send Comment: