Jotform makes it easy to bring powerful media management right into your form with the Cincopa DeepUploader widget. This widget lets your users upload videos, images, audio files, and other media directly to your Cincopa account, giving you a simple and streamlined way to collect and manage content in one place.
With this integration, you can gather media for projects, submissions, orders, and creative requests without switching tools or juggling uploads. It’s a smooth, reliable way to keep your workflow organized while giving users a fast, intuitive upload experience.
Here are a few ways to use it:
- Collect media submissions for creative projects, contests, or client requests.
- Let customers upload product photos, reference files, or demo videos on order or service forms.
- Gather audio, video, or image files for applications, registrations, or onboarding workflows.
- Streamline file collection for support requests, incident reports, or troubleshooting forms.
- Make it easier for users to upload large or multiple files directly to your Cincopa account without extra steps.
What You Need for This Setup
You’ll need your Cincopa API Token to set up the Cincopa DeepUploader widget. If you’re not sure where to find it, check out Getting Your Cincopa API Token below.
Adding and Setting Up the Widget
Whether you’re building a new form or editing an existing one, you can add and configure the Cincopa DeepUploader widget in just a few steps. This is how it’s done:
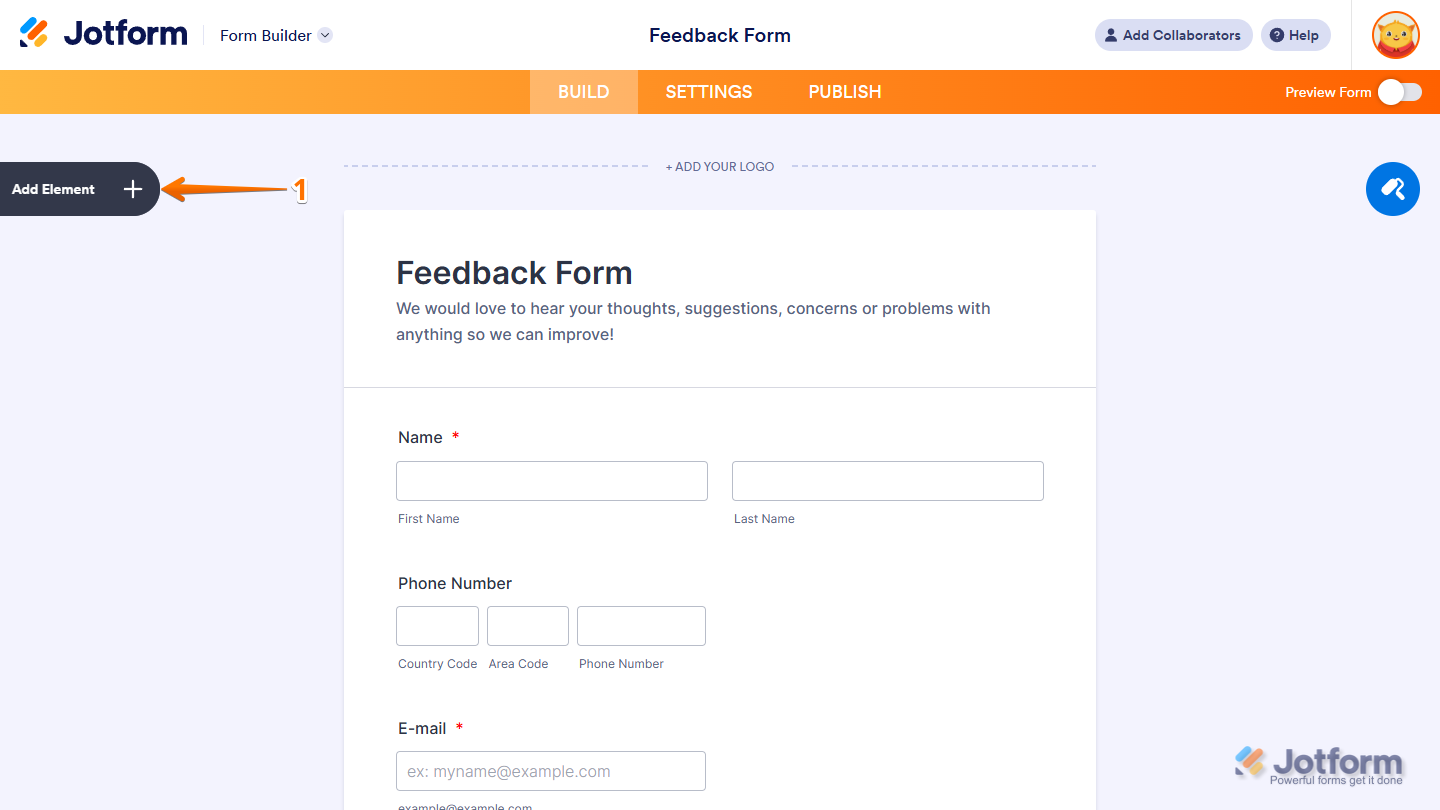
- In Form Builder, click on Add Element on the left side of the page.
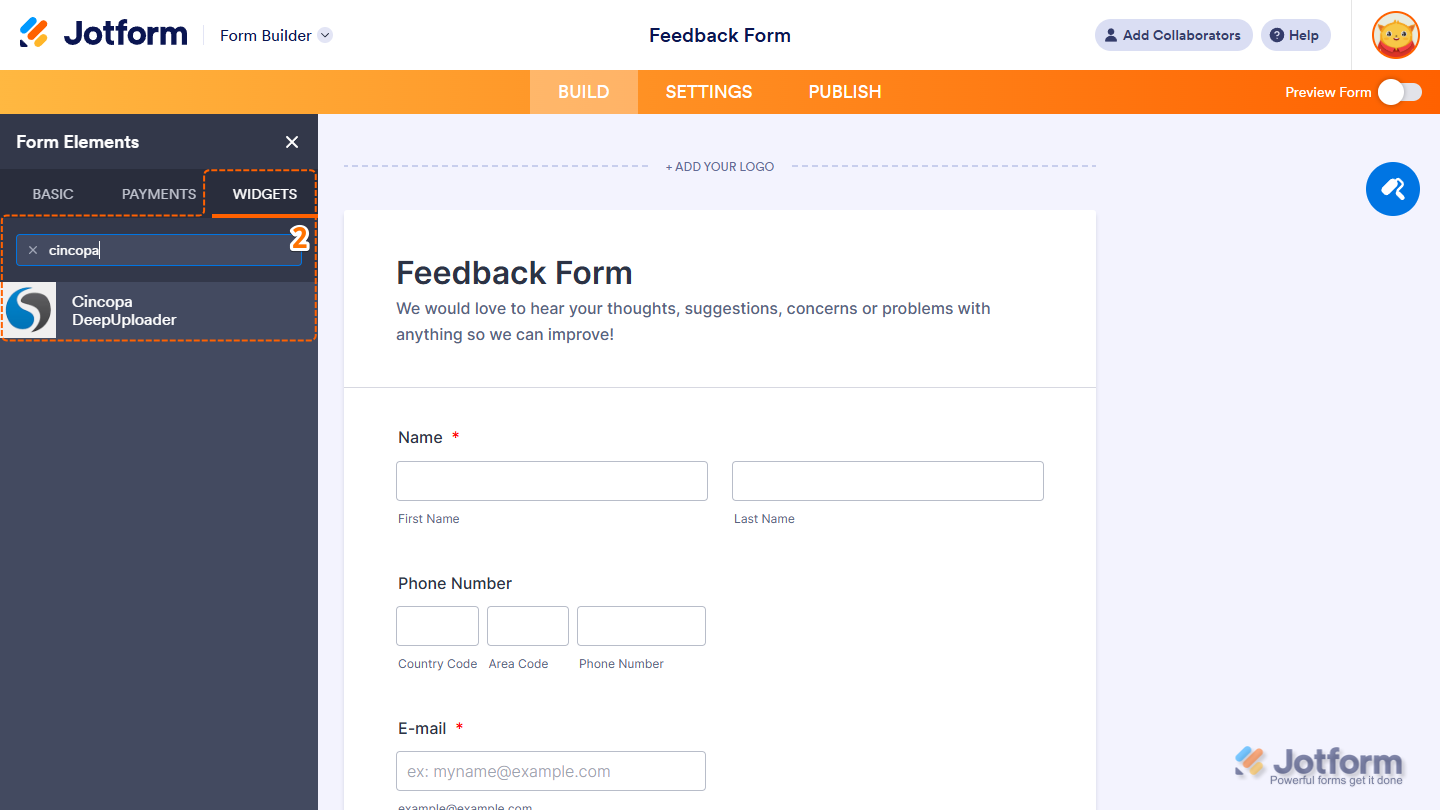
- Now, in the Form Elements menu, under the Widgets tab, search for Cincopa DeepUploader and click on it. Or, just drag and drop it to where you want it to be on your form.
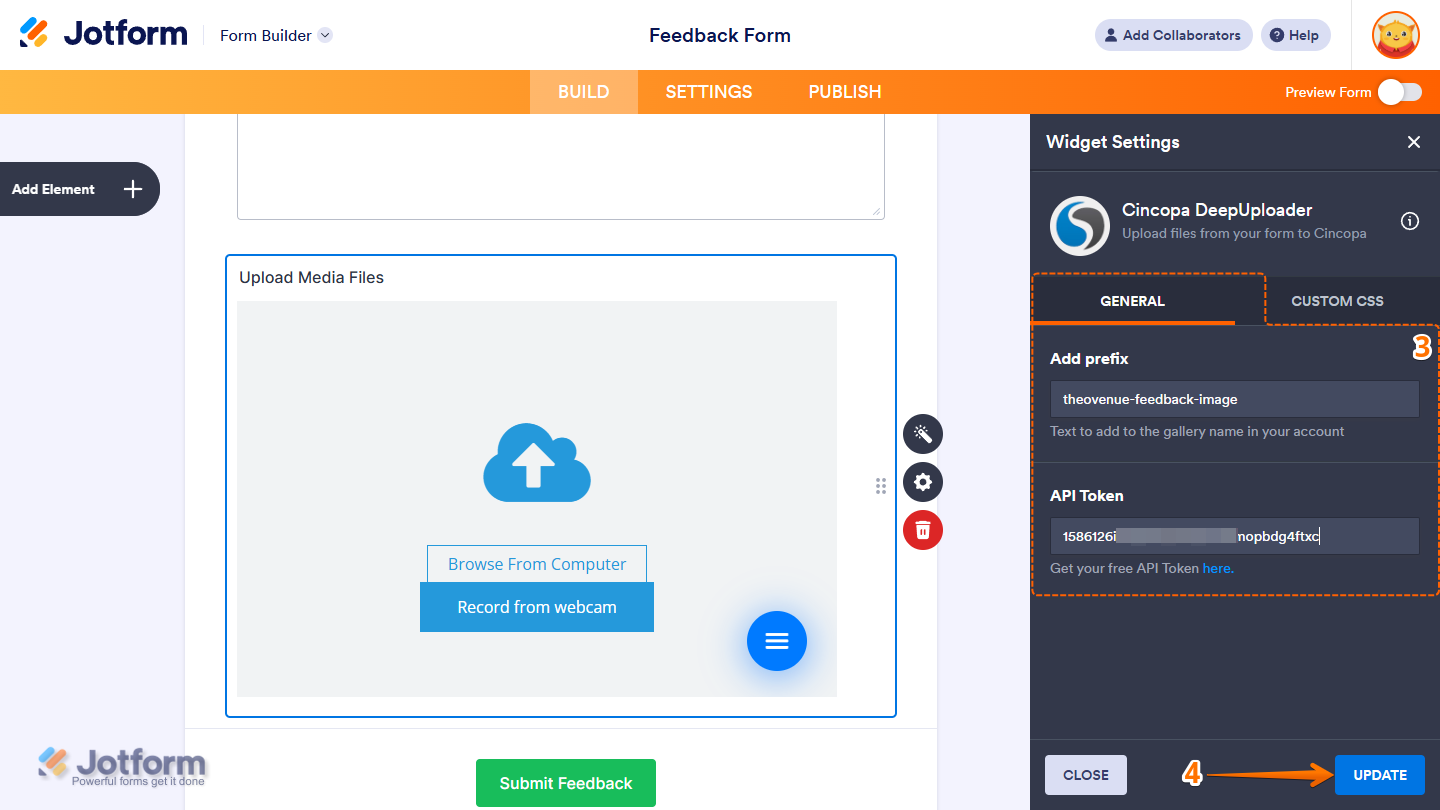
- Next, in the Widget Settings menu that opens on the right side of the page, under the General tab, you’ll see this list of settings you can configure:
- Add Prefix — Enter a custom prefix that will be added to the beginning of each file name uploaded through the widget.
- API Token — Paste the API Token from your Cincopa account into the input box.
- When everything looks correct, click on Update.
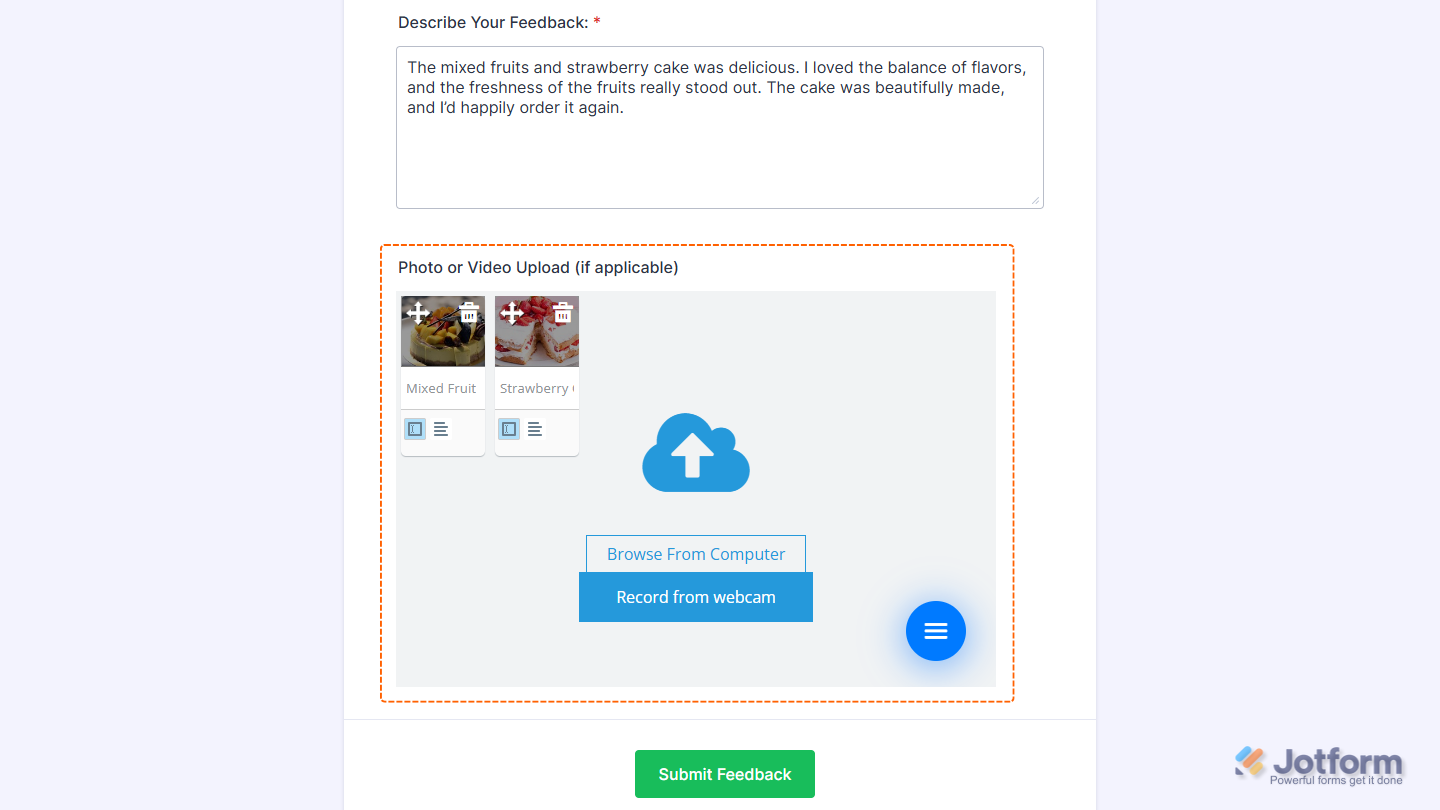
That’s it. Now you’ve added and set up the Cincopa DeepUploader widget on your form. Wondering how it looks in action? Check out this demo form.
Notes
- For advanced styling of the Cincopa DeepUploader widget, you can add your own custom CSS code under the Custom CSS tab in the Widget Settings. Our guide on How to Inject CSS Codes to Widgets walks you through everything.
- You can also configure the widget properties, like alignment, labels, size, visibility, and more, to control how it looks and behaves on your form. Check out our guide on How to Access and Configure the Question Properties of a Widget to learn more.
Getting Your Cincopa API Token
To set up the widget, you’ll need your Cincopa API Token. Here’s how to get it:
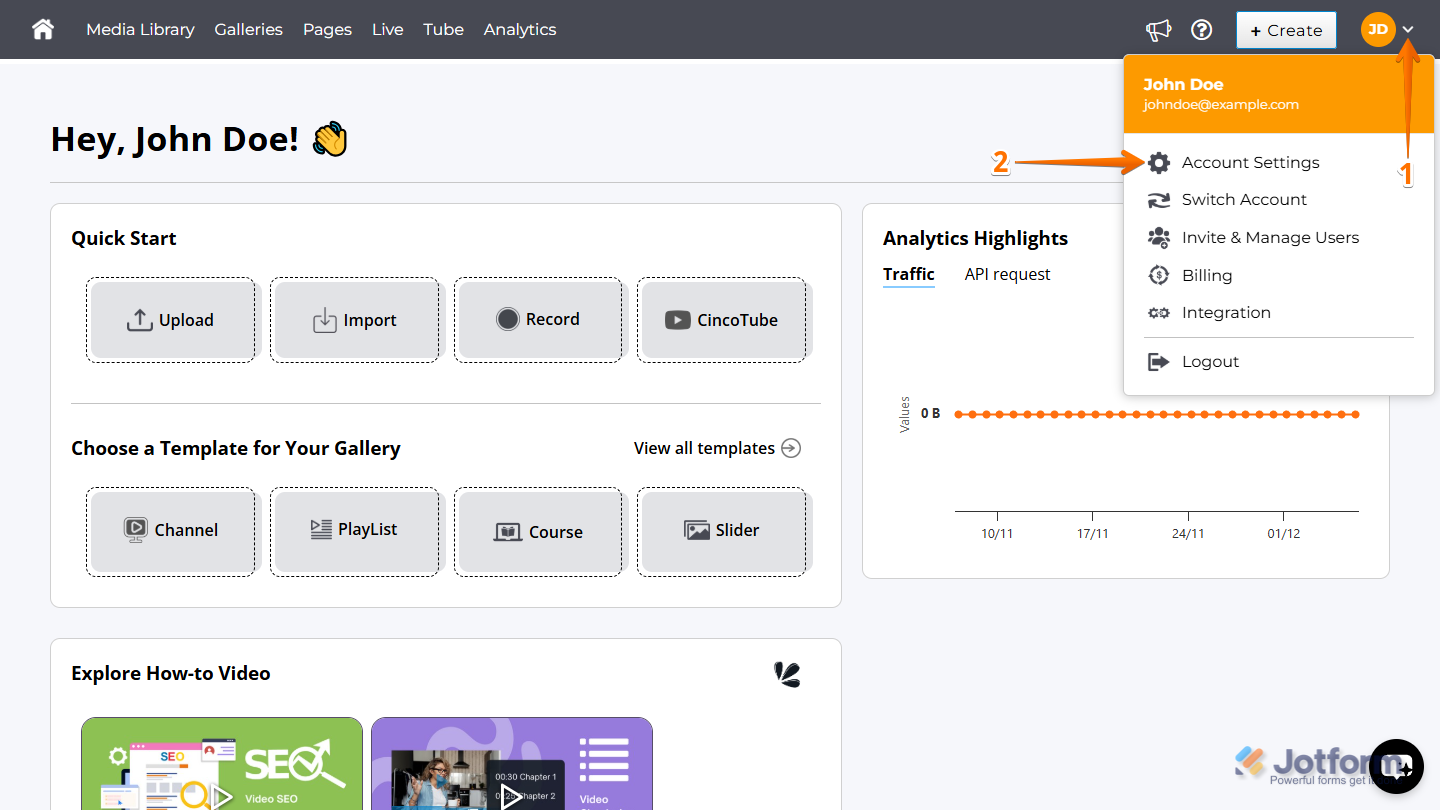
- Log in to Cincopa and, on the top-right side of your Account Dashboard, click on the Downward Arrow icon.
- Then, in the menu that comes up, click on Account Settings to open it.
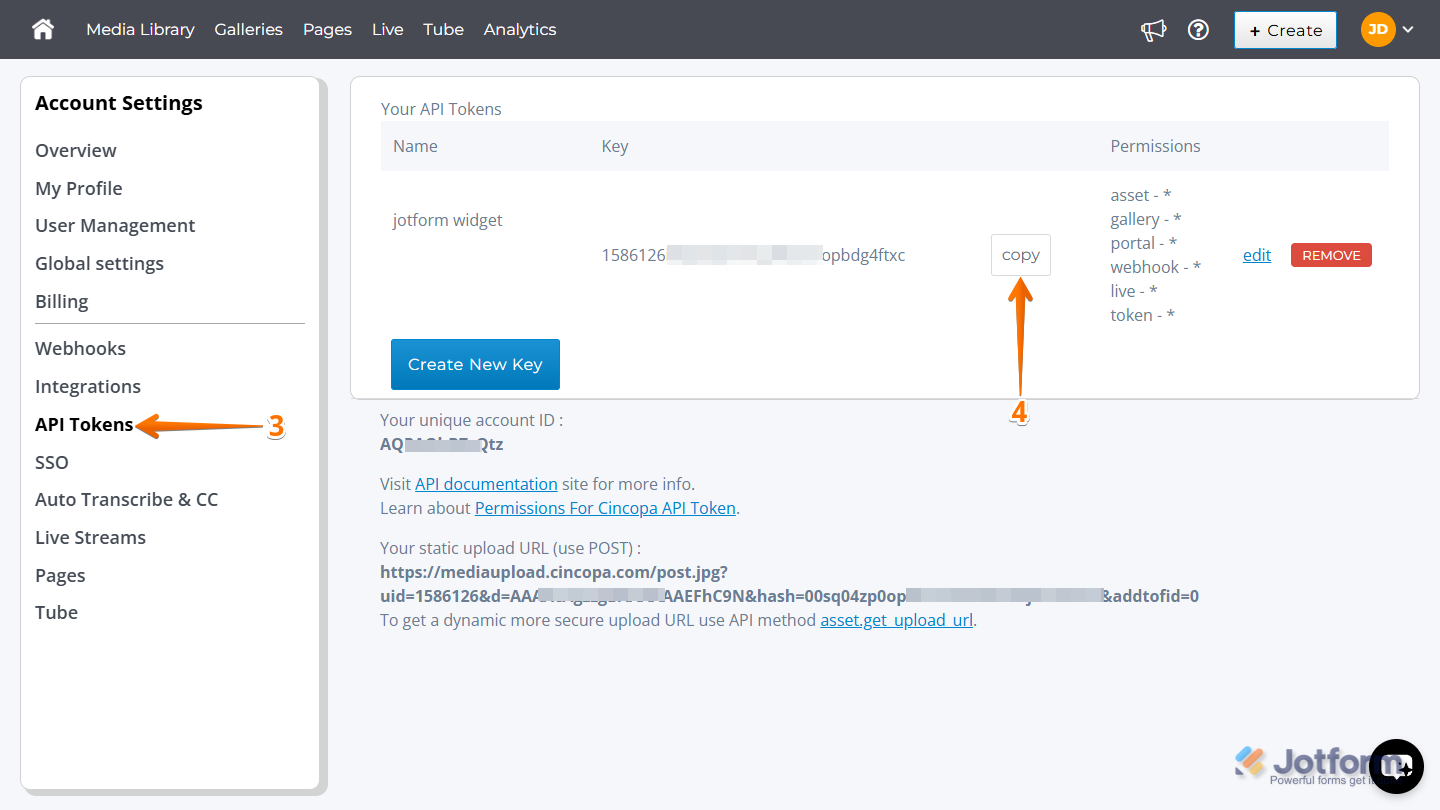
- Now, on the left side of the Account Settings page, click on API Tokens.
- Then, in the Your API Tokens section on the right, click on Copy next to the token you want to use. If you don’t have one yet, check out this support article from Cincopa on How Can I Create an API Token to learn more.
That’s all it takes to get your API token. Now you’re ready to add and set up the widget.

Send Comment: