With Jotform’s Comparison Slider widget, you can display two images layered on top of each other and let users slide between them to see the differences. This creates an interactive way to compare visuals directly inside your form. It works well for surveys, idea pitches, and feedback forms where visual comparison matters.
Here are a few ways to use it:
- Add an interactive comparison slider to your form.
- Show before-and-after images clearly.
- Compare product designs or concepts.
- Collect feedback based on visual differences.
Whether you’re building a new form or editing an existing one, you can add and configure the Comparison Slider in just a few steps. This is how it’s done:
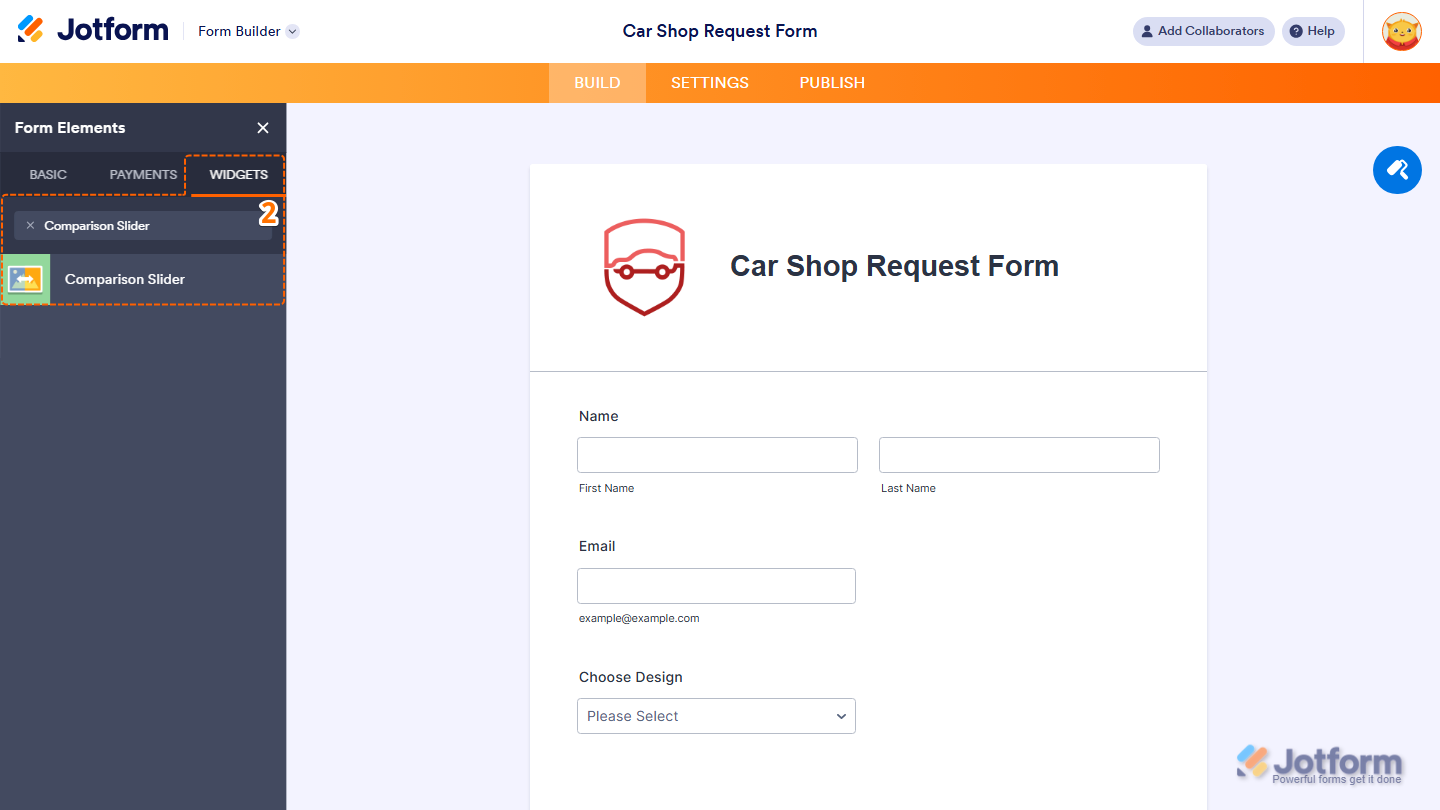
- In Form Builder, click on Add Element on the left side of the page.

- Now, in the Form Elements menu, under the Widgets tab, search for the Comparison Slider and click on it. Or, just drag and drop it to where you want it to be on your form.
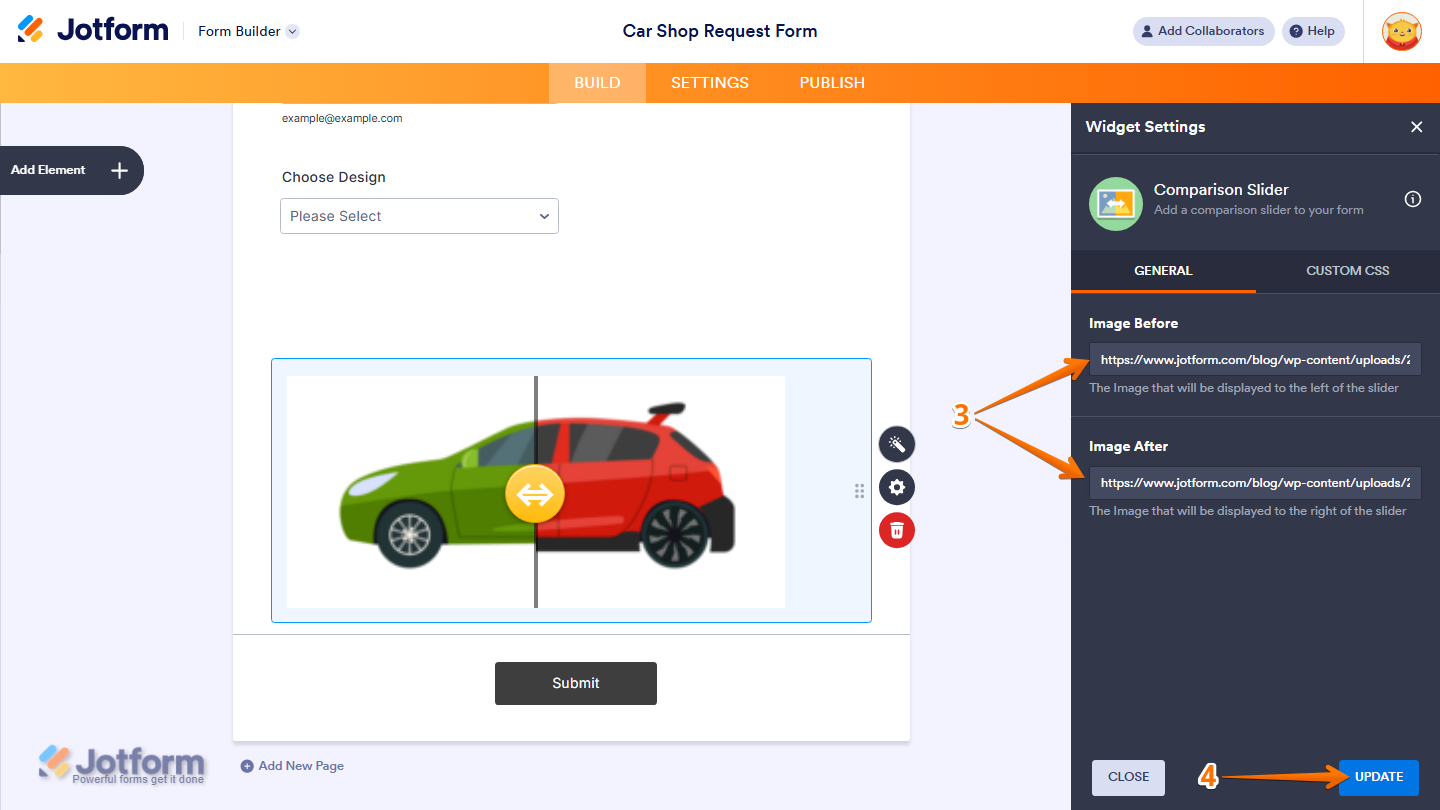
- Next, in the Widget Settings window that opens on the right side of the page, under the General tab, setup these things:
- Image Before — Enter the URL of the image you want to display as the “before” image.
- Image After — Enter the URL of the image you want to display as the “after” image.
- Once everything’s set, click on Update.
That’s it. You’ve successfully added and set up the Comparison Slider widget on your form.
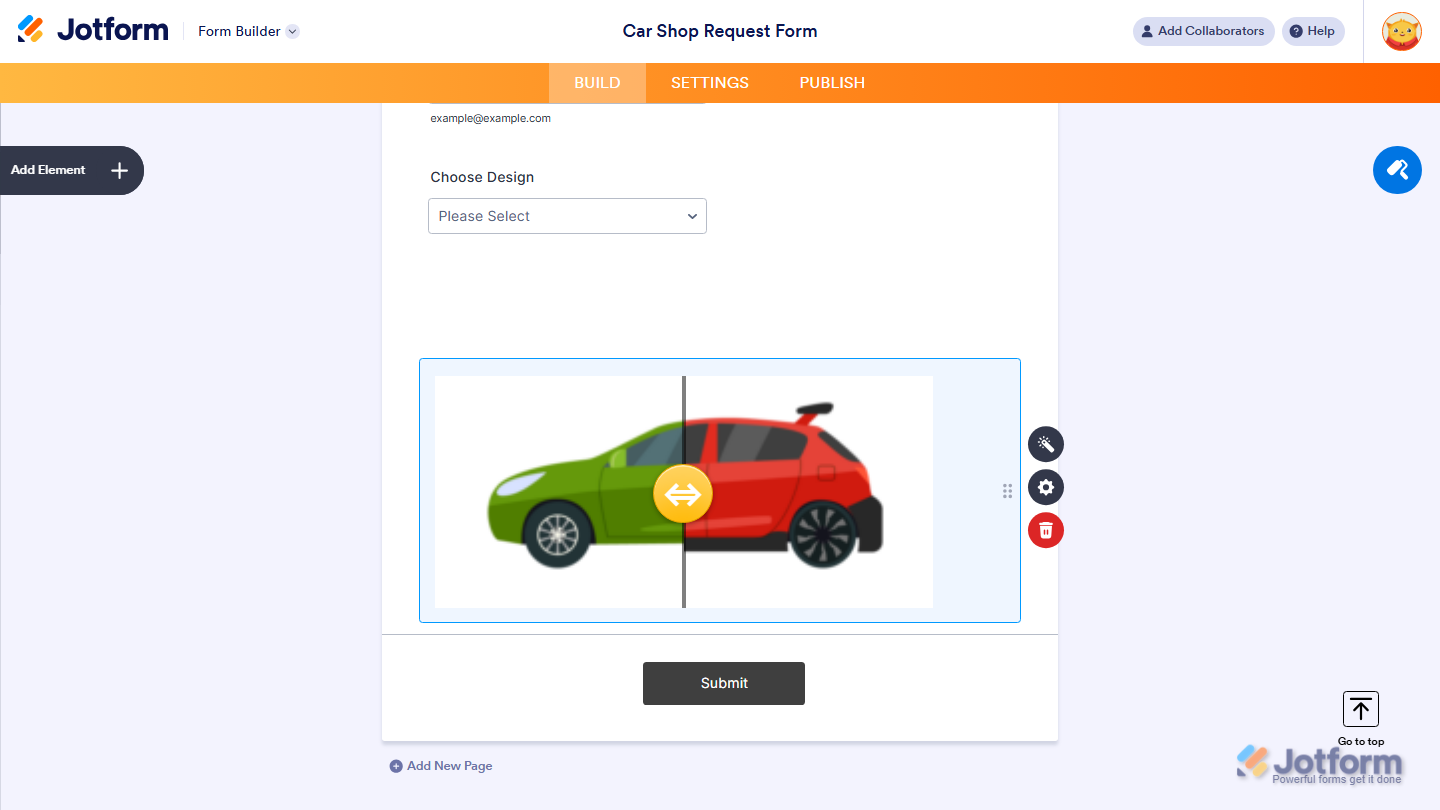
Wondering how it looks in action? Check out this demo form.
Note
- For advanced styling of the Comparison Slider widget, you can add your own custom CSS code under the Custom CSS tab in the Widget Settings. Our guide on How to Inject CSS Codes to Widgets walks you through everything.
- You can also configure the widget properties, like alignment, labels, size, visibility, and more, to control how it looks and behaves in your form. Check out our guide on How to Access and Configure the Question Properties of a Widget to learn more.

Send Comment: