With Jotform’s Converted Selector widget, you can easily turn user-selected choices into the exact values you want to work with. It gives you full control over how each option in your dropdowns or radio buttons is translated, helping you keep your data clean, consistent, and tailored to your workflow. Whether you’re standardizing inputs or organizing information behind the scenes, this widget makes the process simple — no coding needed.
Here are a few ways to use it:
- Convert selected options into standardized or custom values.
- Keep your submission data clean and consistent across forms.
- Simplify downstream processes that rely on uniform inputs.
- Organize information behind the scenes without adding extra steps for users.
- Make data easier to review, sort, and work with after submission.
Whether you’re creating a new form or updating an existing one, you can add and set up the Converted Selector widget in a few easy steps. Here’s how to do it:
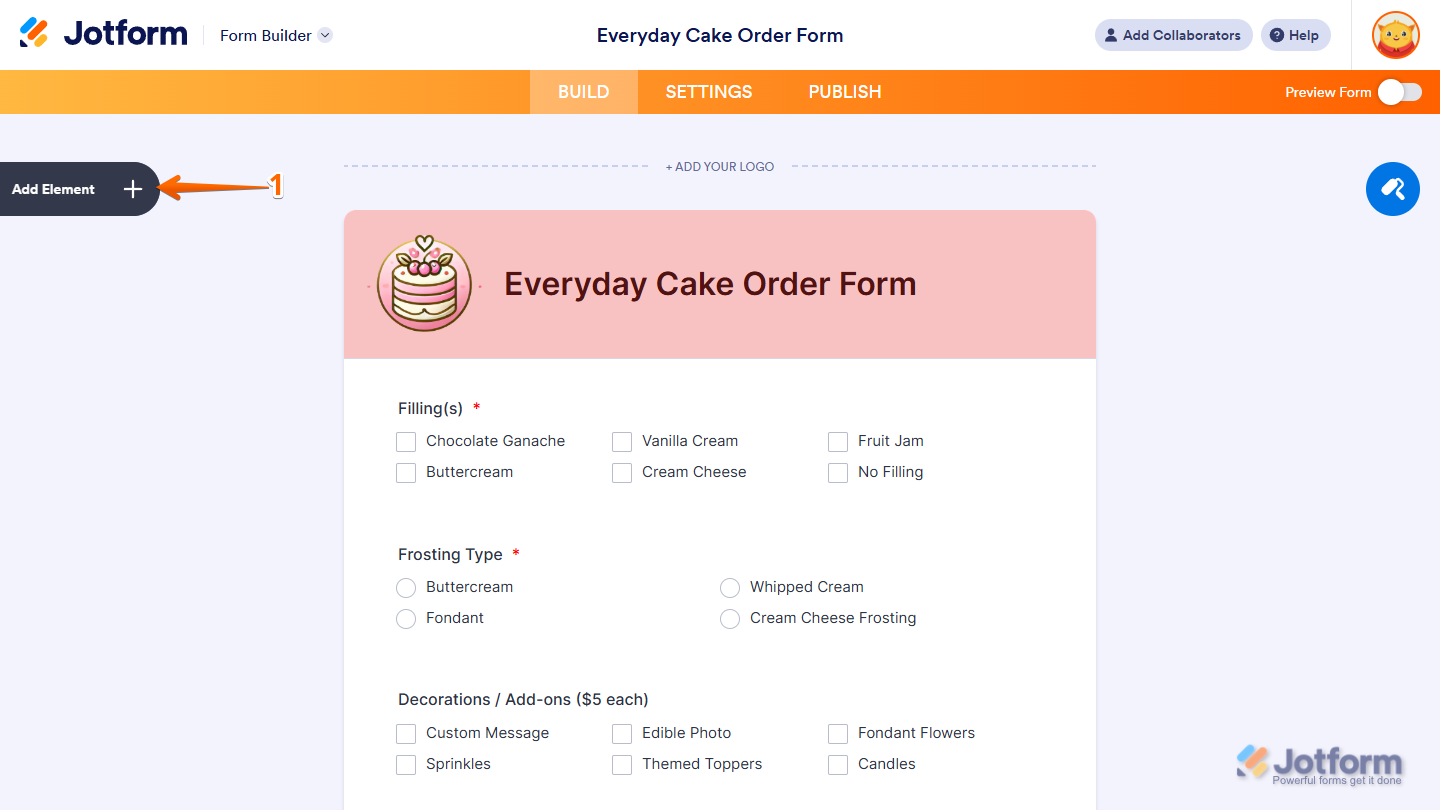
- In Form Builder, click on Add Element on the left side of the page.
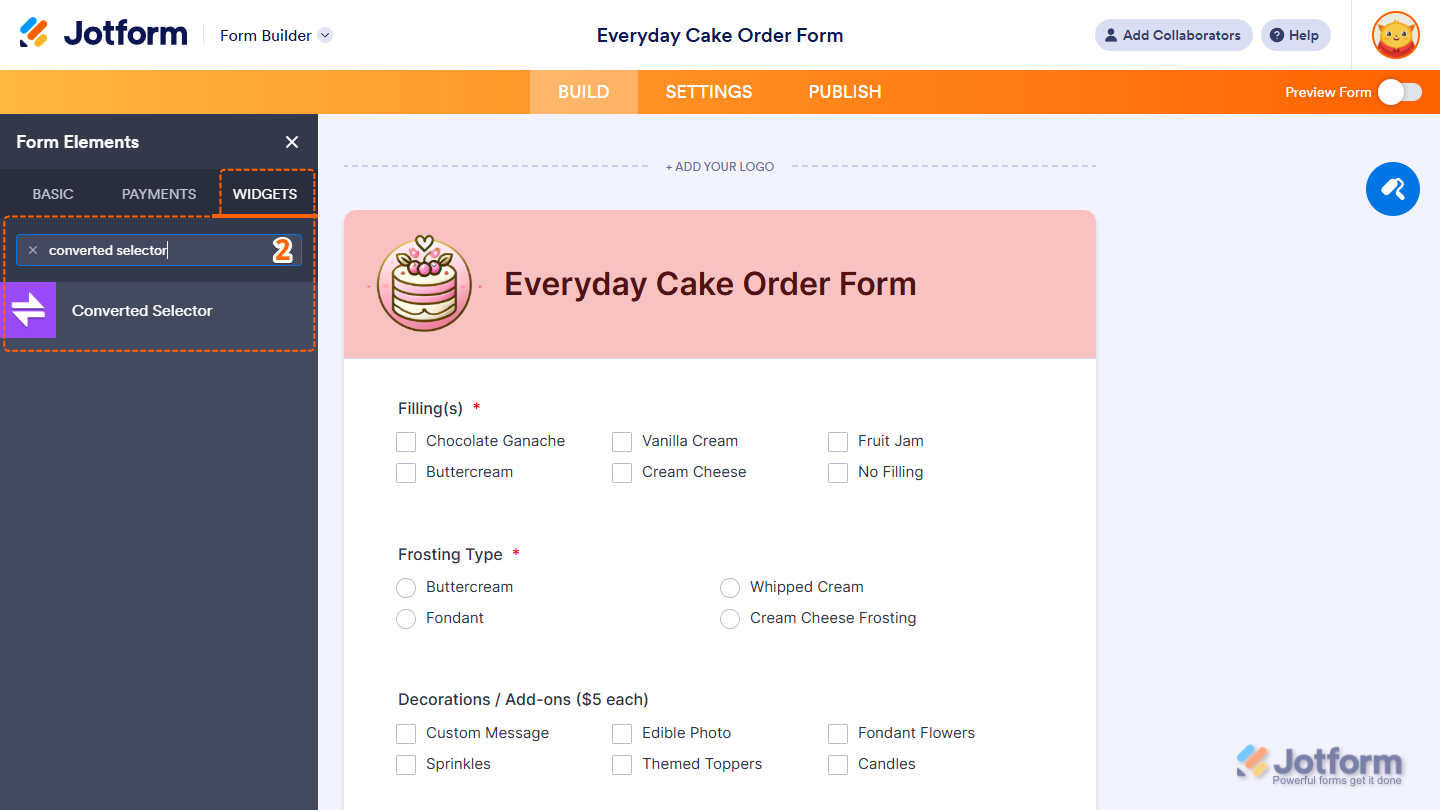
- Now, in the Form Elements menu, under the Widgets tab, search for Converted Selector and click on it. Or, just drag and drop it to where you want it to be on your form.
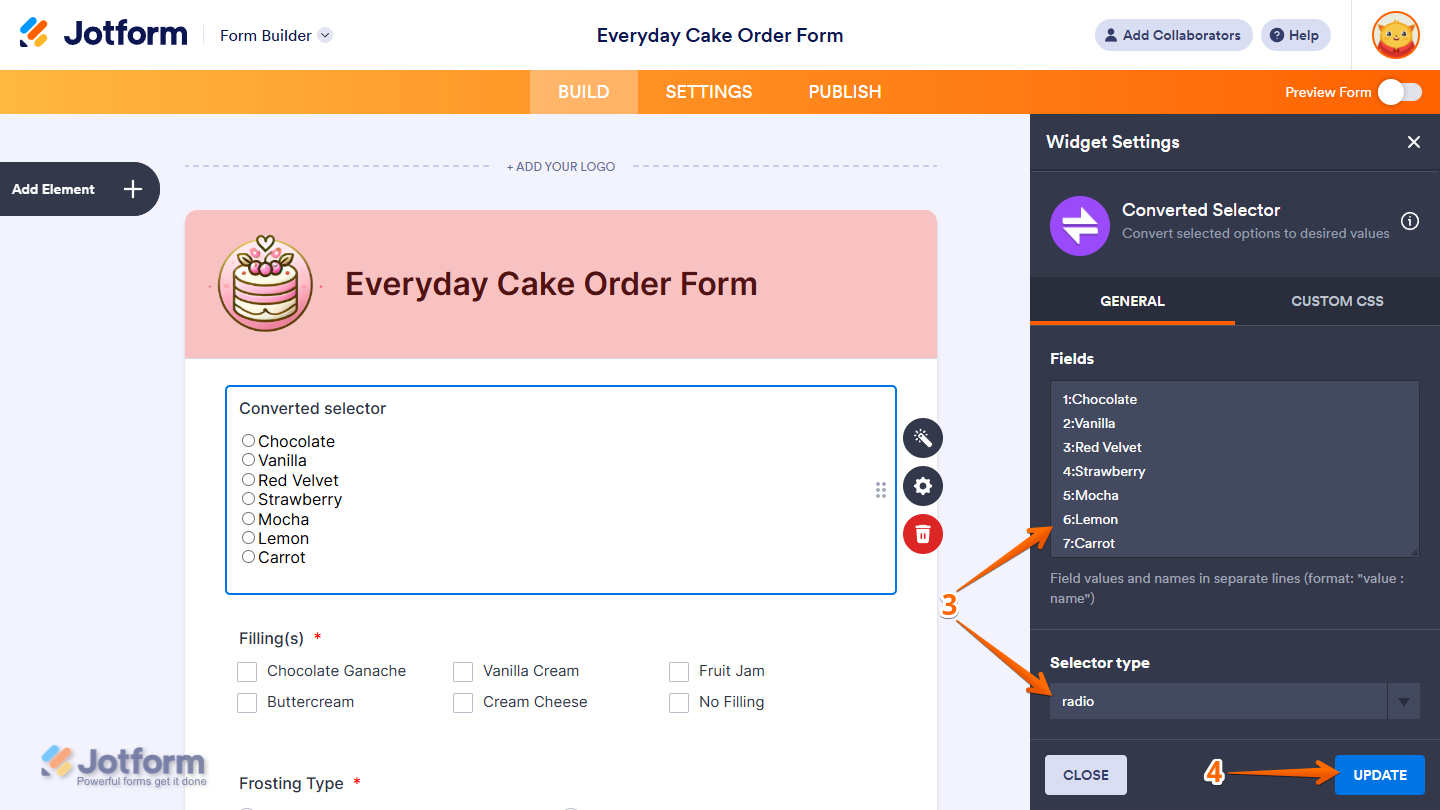
- Next, in the Widget Settings menu that opens on the right side of the page, under the General tab, you’ll see this list of settings you can configure:
- Fields — Delete the default values in the input box and enter each value–name pair on a new line (format:
value : name). This defines how each selected option will be converted. - Selector Type — Select an option in the dropdown menu to choose whether the widget displays your options as a dropdown list or a set of radio buttons.
- Fields — Delete the default values in the input box and enter each value–name pair on a new line (format:
- When everything looks correct, click on Update.
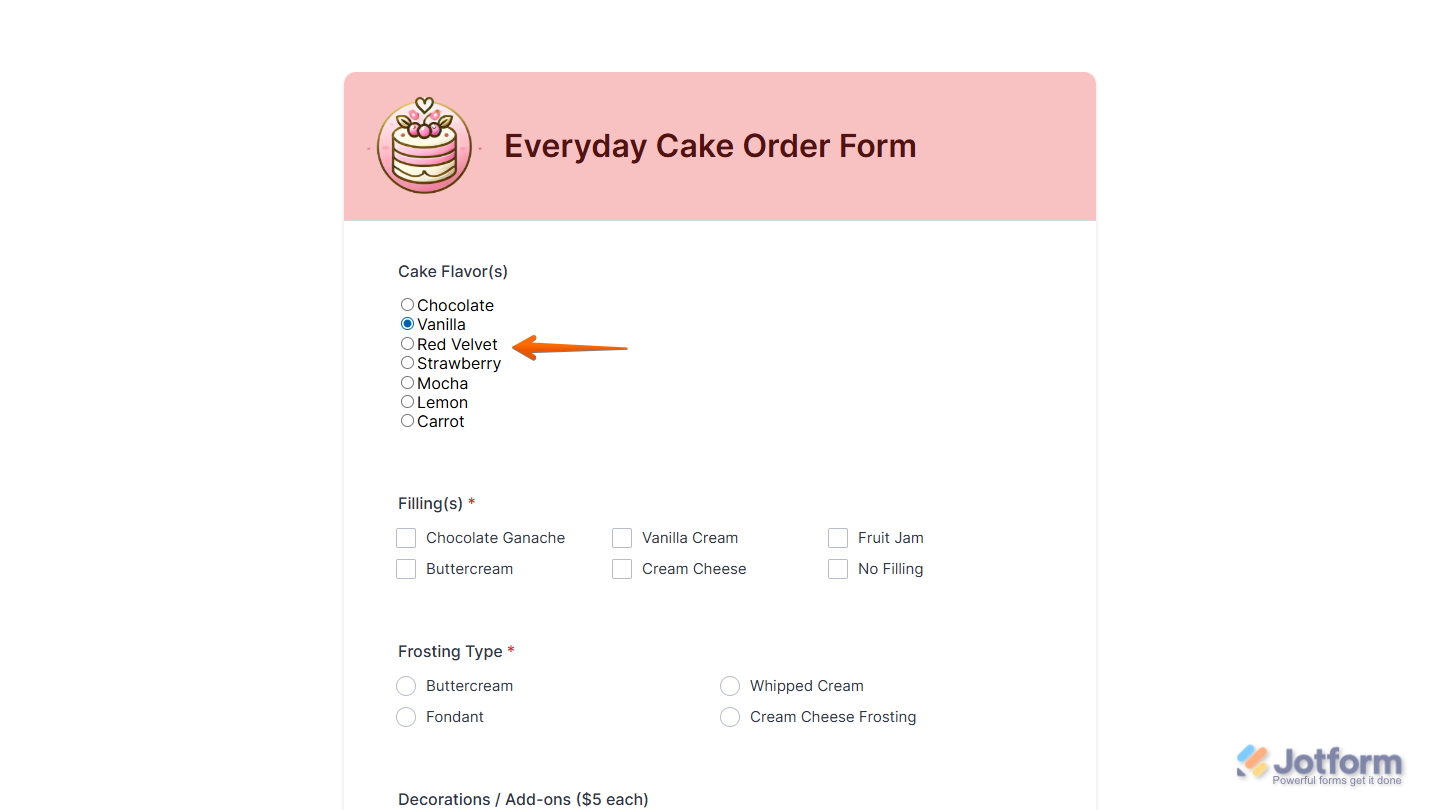
That’s it. Now you’ve added and set up the Converted Selector widget on your form.
Notes
- To style the fields and labels in the Converted Selector widget, you can inject custom CSS into the Custom CSS tab in the Widget Settings. Need help getting started? Our guide on How to Inject CSS Codes to Widgets shows you how to do it.
- You can also configure the widget properties, like alignment, labels, size, visibility, and more, to control how it looks and behaves on your form. Check out our guide on How to Access and Configure the Question Properties of a Widget to learn more.

Send Comment: