Jotform’s Date Picker widget makes it simple for users to select a date right from your form. It’s clean, easy to use, and helps prevent manual entry errors. Whether you’re scheduling appointments, collecting event RSVPs, or just need to know when something happened, the Date Picker widget keeps things straightforward.
Here are a few ways to use it:
- Perfect for RSVPs — Make it easy for guests to choose the exact day they plan to attend, so you know who’s coming and when.
- Great for reservations — From tables and rooms to services and appointments, people can quickly select the date that works best for them.
- Ideal for schedules — Collect timelines for projects, rentals, or vacations in one go—no follow-ups or back-and-forth needed.
- Adds a personal touch — Gather birthdays or anniversaries to create thoughtful experiences, special offers, or memorable celebrations.
Notes
- You can customize the date format to match your region or preference, whether it’s Month-Day-Year, Day-Month-Year, or Year-Month-Day.
- The widget works smoothly on both desktop and mobile devices. Which means the calendar adjusts to different screen sizes for a better user experience.
Adding and Setting Up the Date Picker Widget
Adding the Date Picker to your form is a breeze, and you can easily tweak it to match exactly what you need. You can do it in a few simple steps:
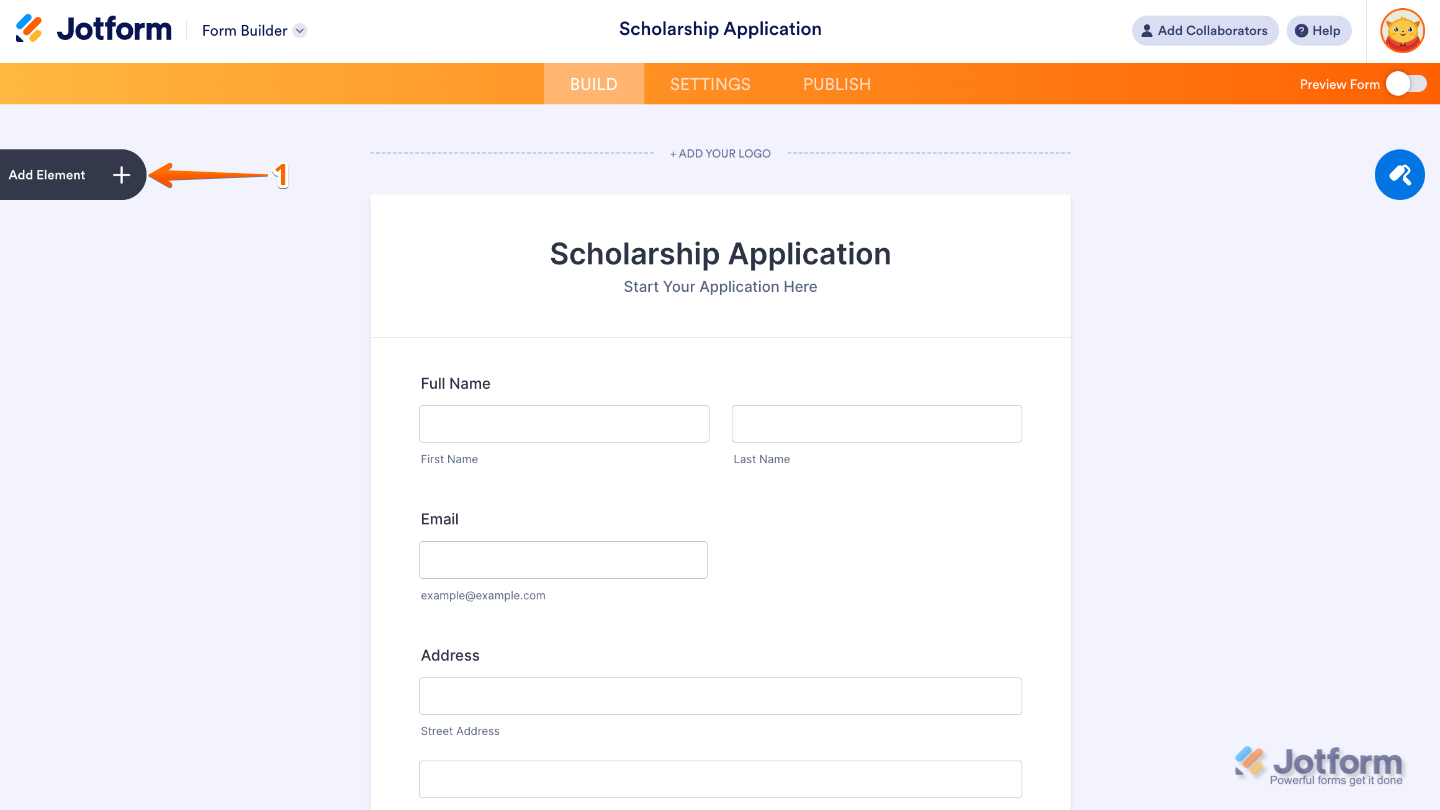
- In Form Builder, click on Add Element on the left side of the page.
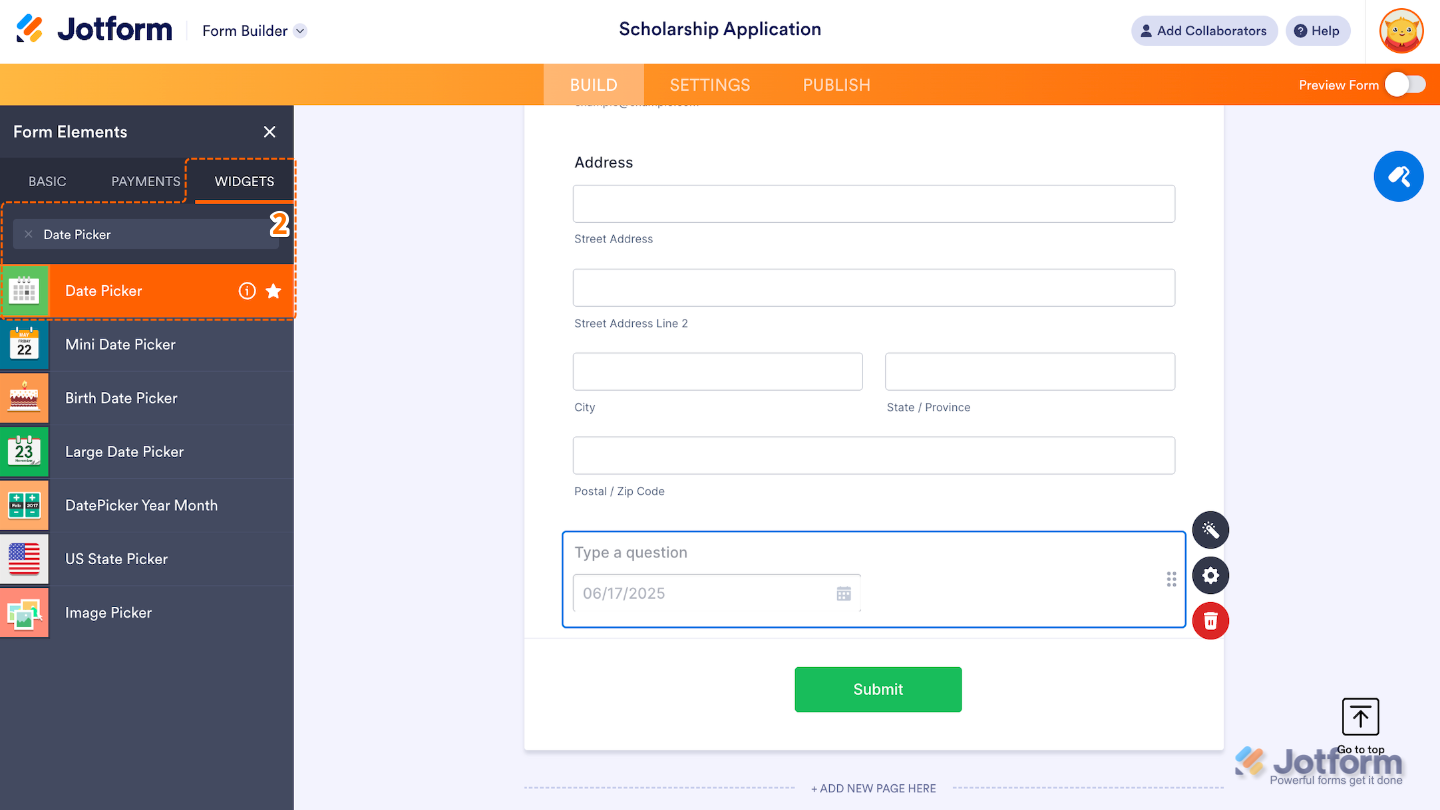
- Now, in the Form Elements menu, under the Widgets tab, search for Date Picker and then click on it. Or, just drag and drop it to where you want it to be on your form.
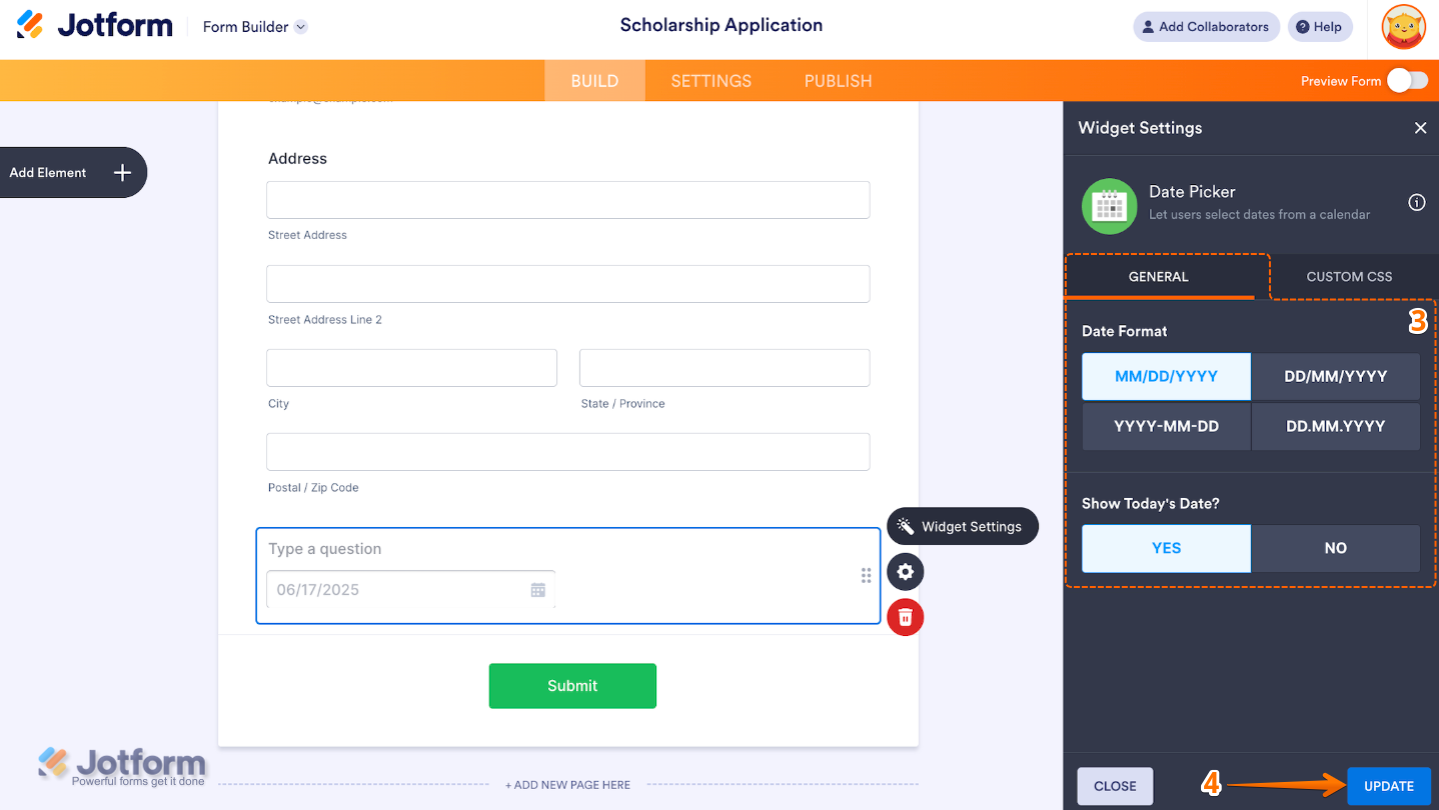
- Next, in the Widget Settings window that opens on the right side of the page, under the General tab, set up the following options:
- Date Format — Choose how the date will be displayed. You can set it to different formats like:
- MM-DD-YYYY (e.g., 06-14-2025)
- DD-MM-YYYY (e.g., 14-06-2025)
- YYYY-MM-DD (e.g., 2025-06-14)
- Show Today’s Date? — When enabled, the widget will automatically prefill with the current date when the form loads.
- Date Format — Choose how the date will be displayed. You can set it to different formats like:
- Once you’re done, click on Update.
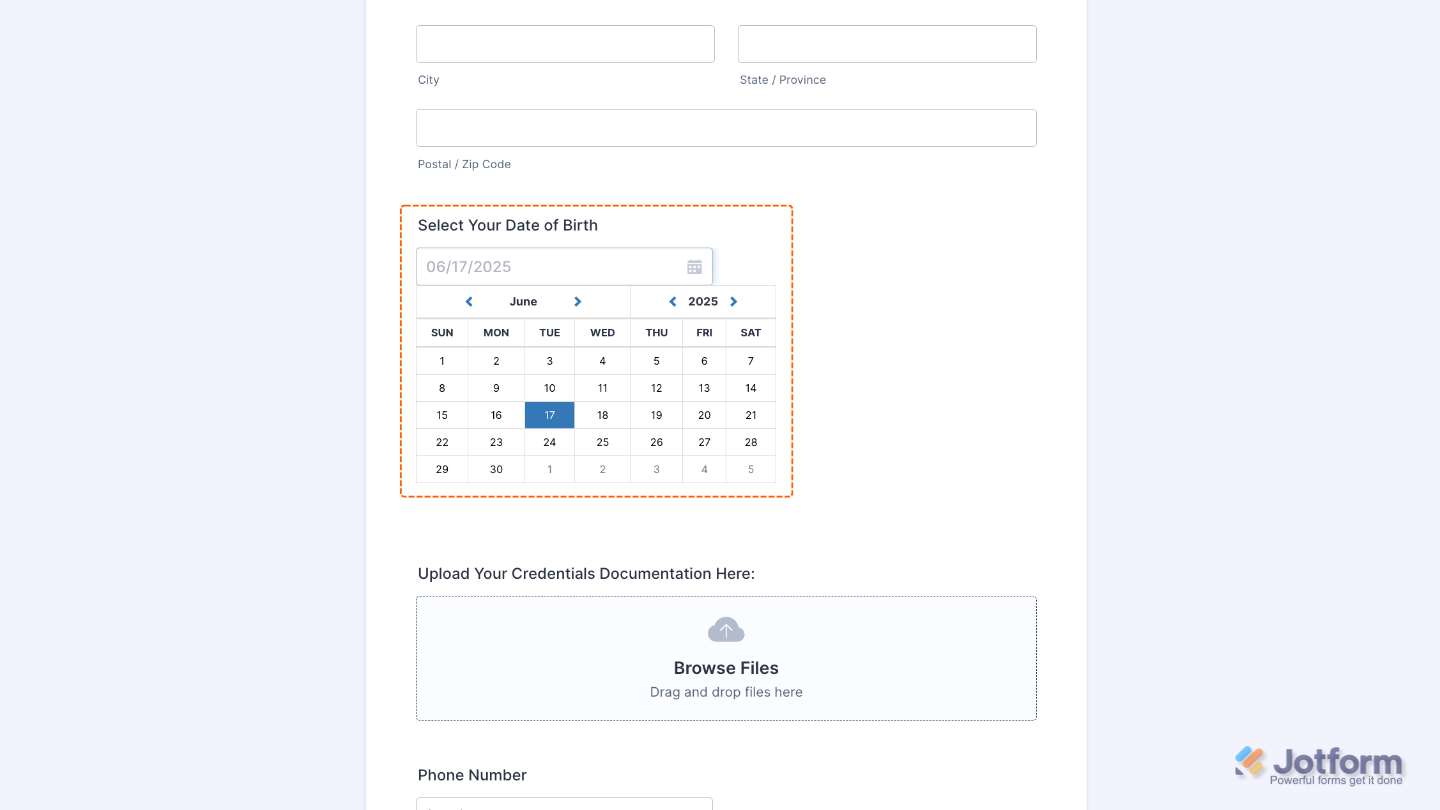
That’s it. You’ve successfully added and set up the Date Picker widget to your form. Now, your users can select a date from a calendar dropdown, which helps reduce errors from manual input. Try it out and see what it looks like on this Demo Form.
To personalize how your Date Picker field looks, simply click the Gear icon to open its settings.
Note
For advanced styling, you can add your own custom CSS under the Custom CSS tab in the widget settings and style the Date Picker field. Our guide on How to Inject CSS Codes to Widgets walks you through everything.
Pro Tips
- Turn on Show Today’s Date to automatically fill in the current date, great for check-ins, daily logs, or timestamped submissions.
- Use the Required option so users don’t accidentally skip the field, especially helpful for applications, bookings, or attendance forms.
- Add a clear label or sub-label like Select your appointment date to guide users and make things even easier.

Send Comment: