With Jotform, you can easily add a modern, eye-catching checkbox to your forms using the Futurico Checkbox widget. It’s a simple way to make your form look more interactive while still keeping everything clean, lightweight, and fast. Since it doesn’t rely on injected CSS or images, you get a stylish checkbox that blends smoothly with any design — no extra work required.
Jotform’s Futurico Checkbox gives you the tools to collect quick input, confirmations, or feedback in a more engaging way. Just customize the labels to fit your form’s purpose, and you’re all set with a sleek element that helps users respond with confidence and clarity.
Here are a few ways to use it:
- Add a stylish checkbox to any form that needs quick confirmation or agreement.
- Make feedback, preference, or opt-in questions easier for users to answer.
- Give order, request, or booking forms a cleaner and more modern feel.
- Help respondents clearly indicate choices in surveys, polls, or multi-step workflows.
- Add a simple, visually engaging element to registration, inquiry, or application forms.
Whether you’re building a new form or editing an existing one, you can add and configure the Futurico Checkbox widget in just a few steps. This is how it’s done:
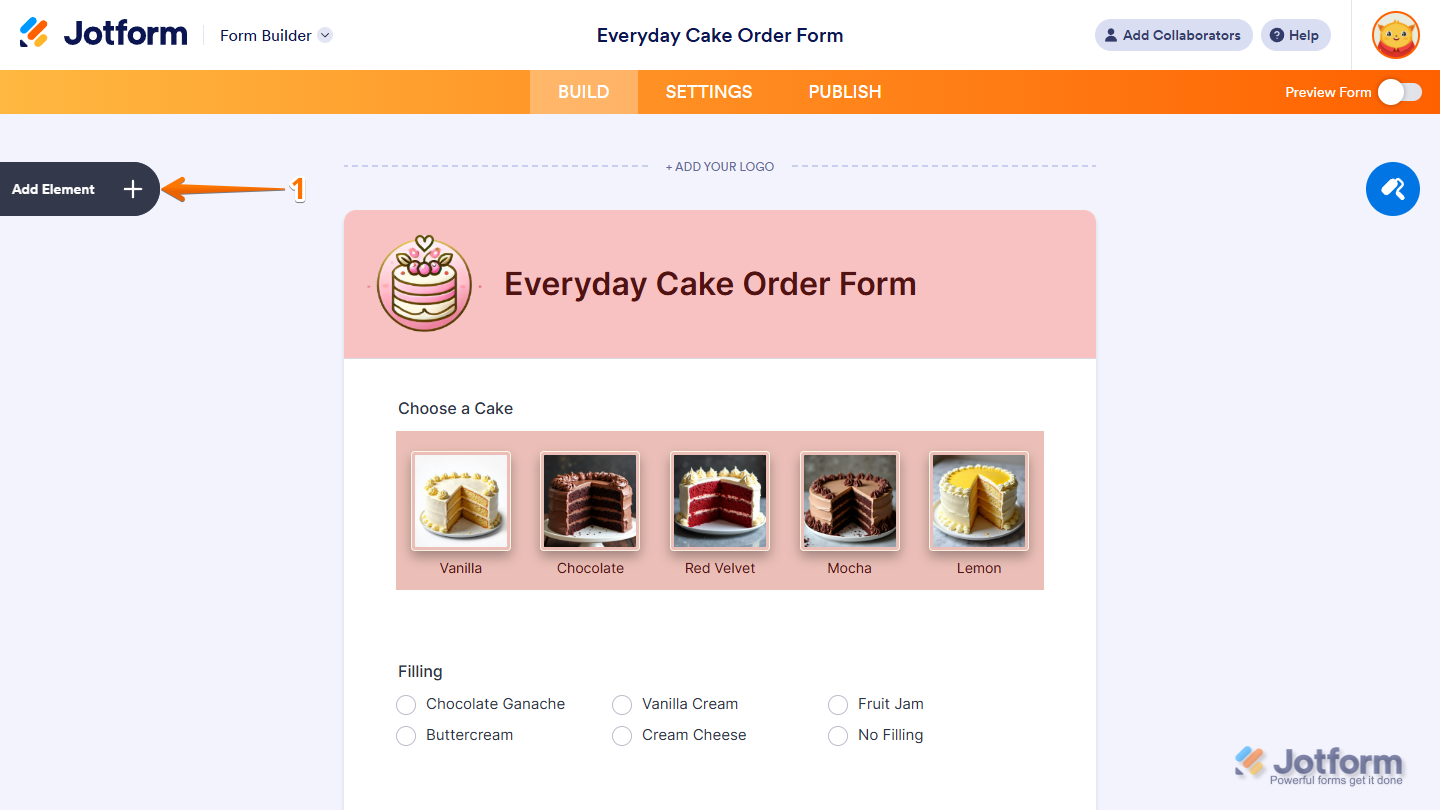
- In Form Builder, click on Add Element on the left side of the page.
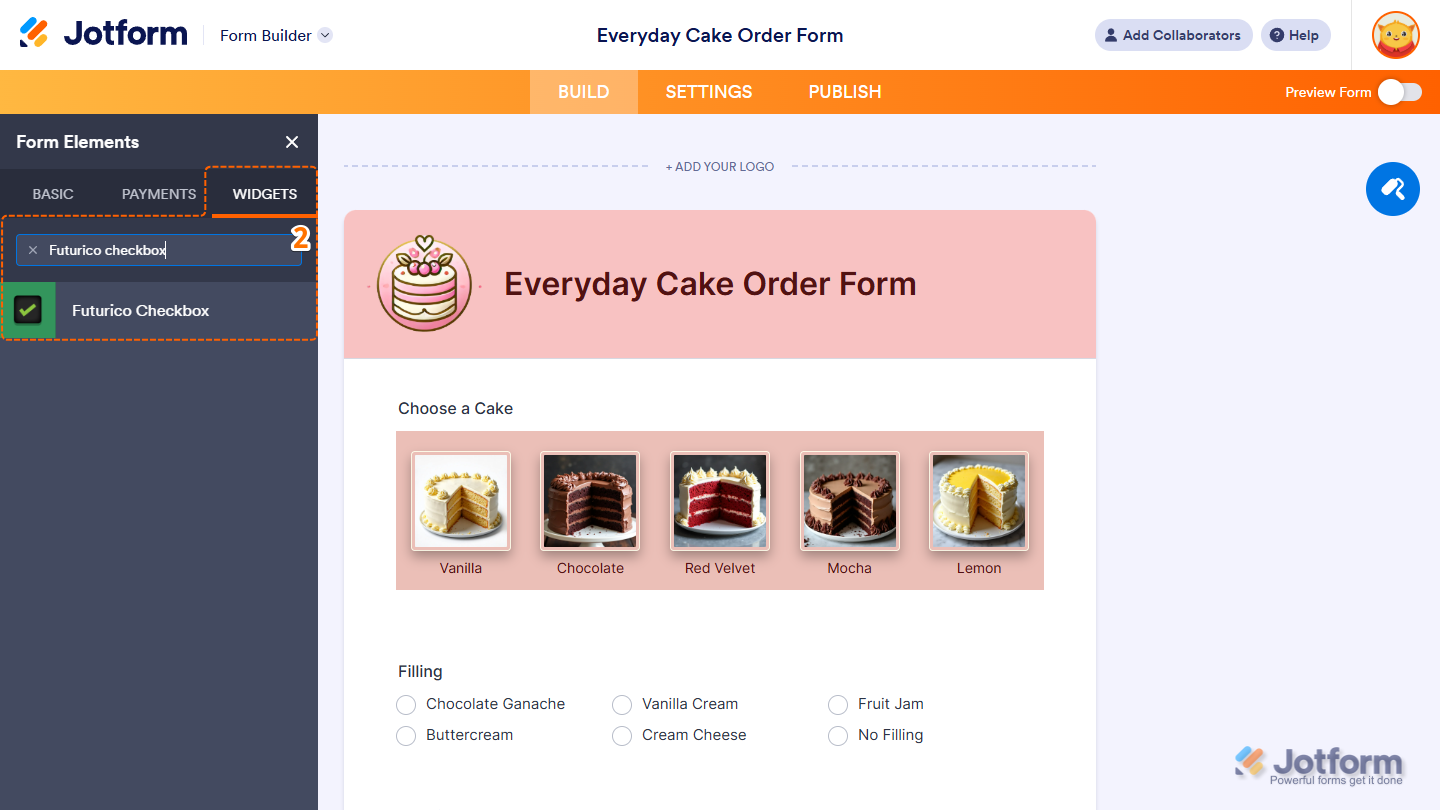
- Now, in the Form Elements menu, under the Widgets tab, search for Futurico Checkbox and click on it. Or, just drag and drop it to where you want it to be on your form.
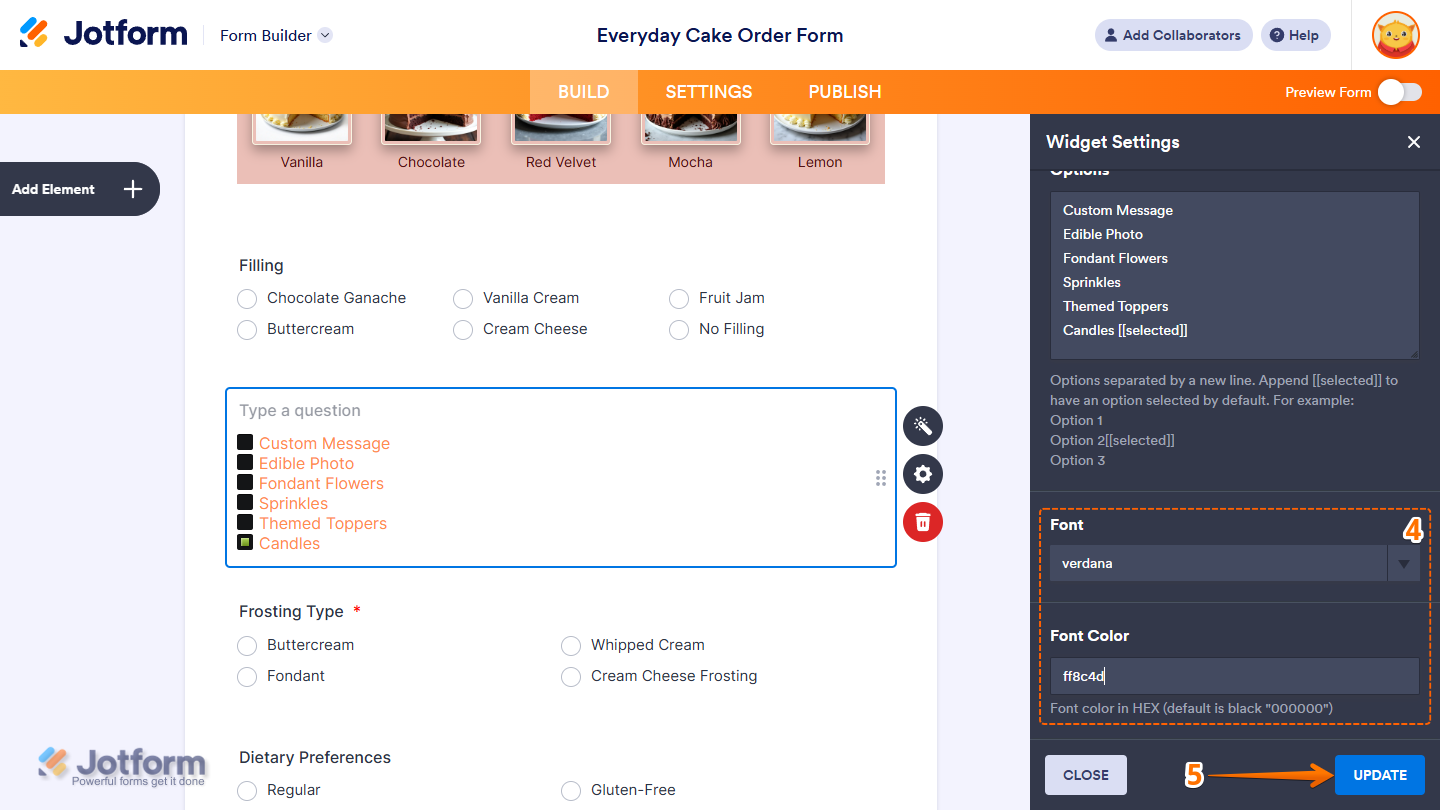
- Next, in the Widget Settings menu that opens on the right side of the page, under the General tab, enter the label of the options you want to add to the widget in the Options input box, each on a new line. You can mark an option as selected by default by adding [[selected]] after it.

- Then, scroll down to the bottom and continue to set up these settings:
- Font — Select one of the available fonts in the dropdown menu to change how the checkbox label text appears on your form.
- Font Color — Delete the default value in the input box and enter the HEX color code you want for the label text without the #. Leaving this field blank will keep the text black.
- Once everything’s set, click on Update.
That’s it. Now you’ve added and set up the Futurico Checkbox widget on your form. Wondering how it looks in action? Check out this demo form.

Notes
- For advanced styling of the Futurico Checkbox widget, you can add your own custom CSS code under the Custom CSS tab in the Widget Settings. Our guide on How to Inject CSS Codes to Widgets walks you through everything.
- You can also configure the widget properties, like alignment, labels, size, visibility, and more, to control how it looks and behaves on your form. Check out our guide on How to Access and Configure the Question Properties of a Widget to learn more.

Send Comment: