Jotform’s Geolocation widget lets you capture your form respondents’ locations on Google Maps, making it ideal for delivery services, field inspections, and other location-based workflows. By automatically detecting and displaying the user’s coordinates and placing a marker on the map, the widget enhances data accuracy and simplifies location verification. Whether you’re collecting service addresses, managing mobile teams, or tracking event check-ins, this tool ensures you receive reliable, real-time geographic information.
Here are a few ways to use it:
- Automatically capture a user’s current location for service requests.
- Collect precise delivery or pickup locations.
- Enable customers to share their exact address during emergency requests.
- Improve data accuracy for surveys or reports that rely on location context.
- Record location data for incident or maintenance reports.
- Simplify address entry by instantly detecting coordinates.
- Support logistics forms that require accurate mapping details.
- Track event check-ins with real-time location capture.
- Validate service availability based on geographic location.
- Verify on-site visits for field staff or technicians.
Note
The Geolocation widget requires a Google Maps API Key to work. Take a look at our guide on How to Get Google Maps API Key for Jotform Mapping Widgets for more details.
Whether you’re creating a new form or updating an existing one, adding and setting up the User Geolocation widget only takes a second—here’s what you’ll do:
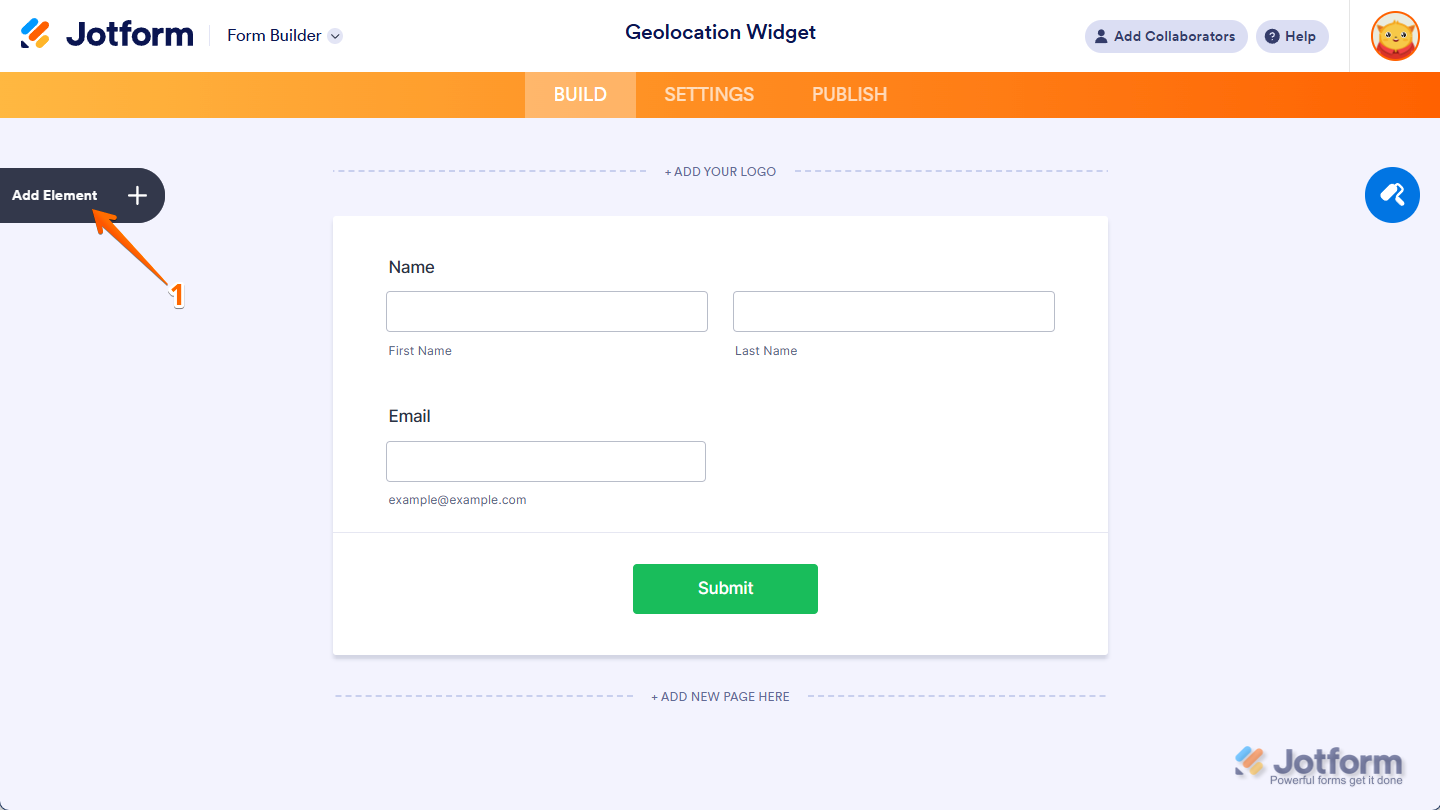
- In Form Builder, click on Add Element on the left side of the page.
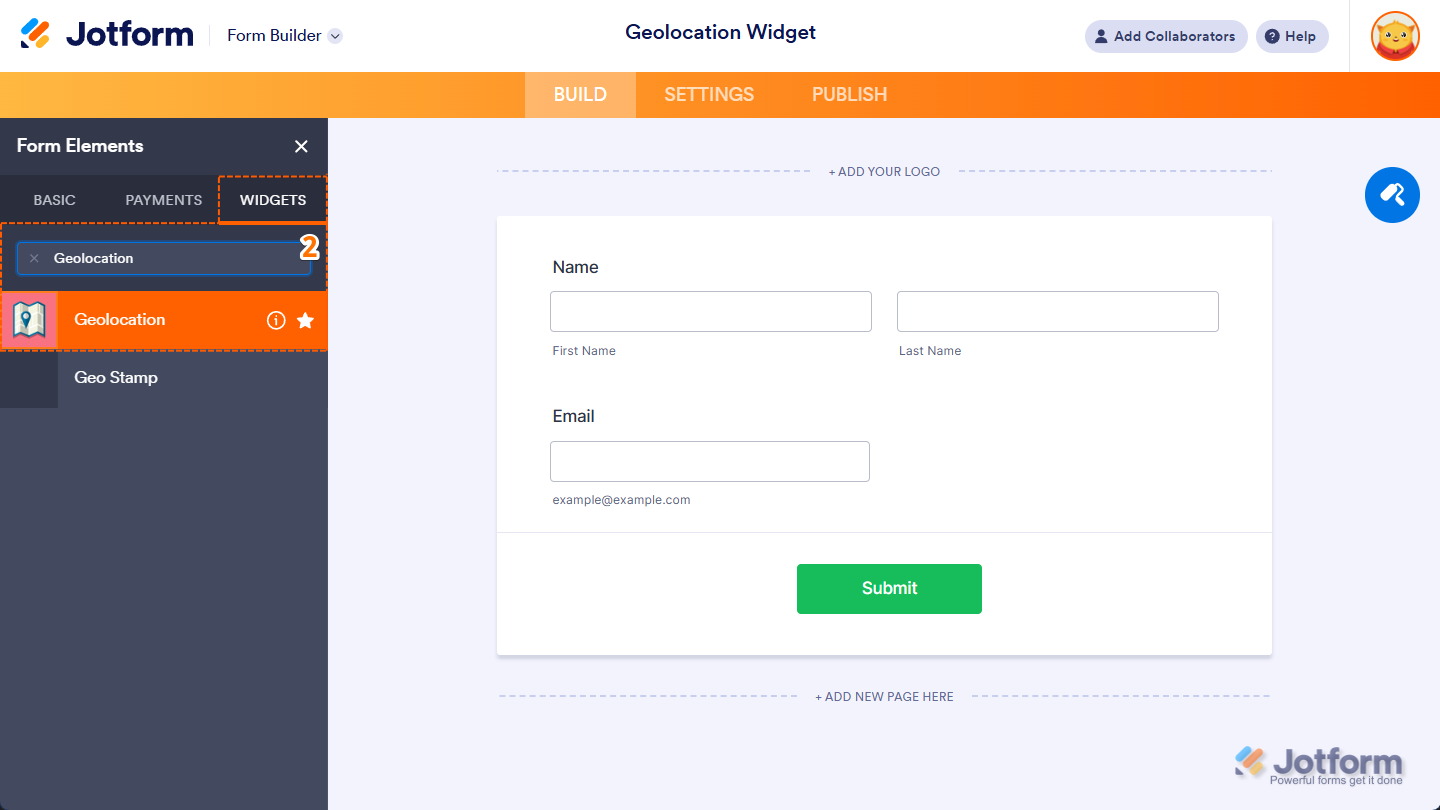
- Now, in the Form Elements menu, under the Widgets tab, search for Geolocation and click on it. Or just drag and drop it to where you want it on your form.
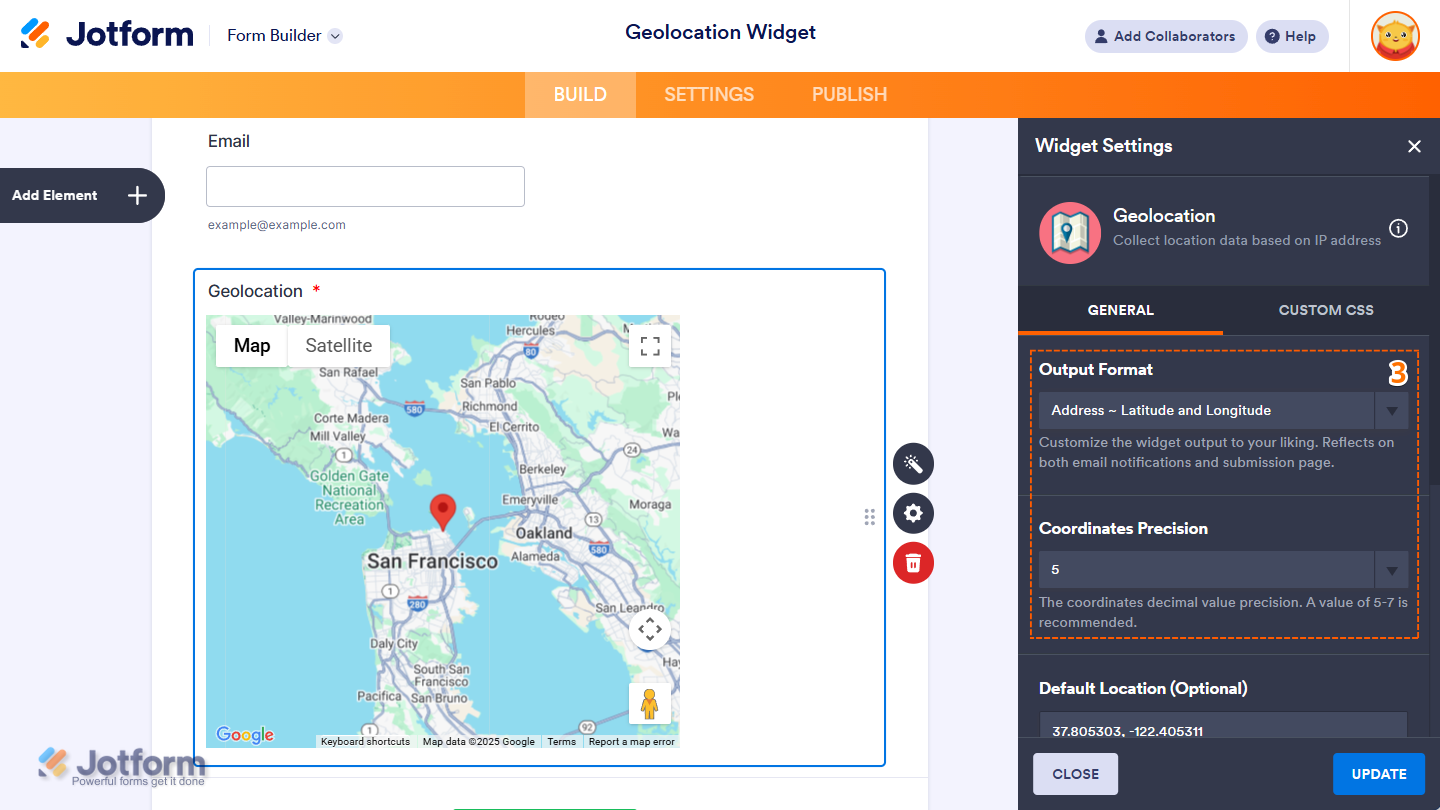
- Next, in the Geolocation Widget Settings menu that opens on the right side of the page, under the General tab, set up the following options:
- Output Format — Select how the location data is submitted: as a full address, latitude and longitude coordinates, or both.
- Coordinates Precision — Set the number of decimal places for latitude and longitude values. A precision of 5 to 7 digits is recommended for optimal accuracy.
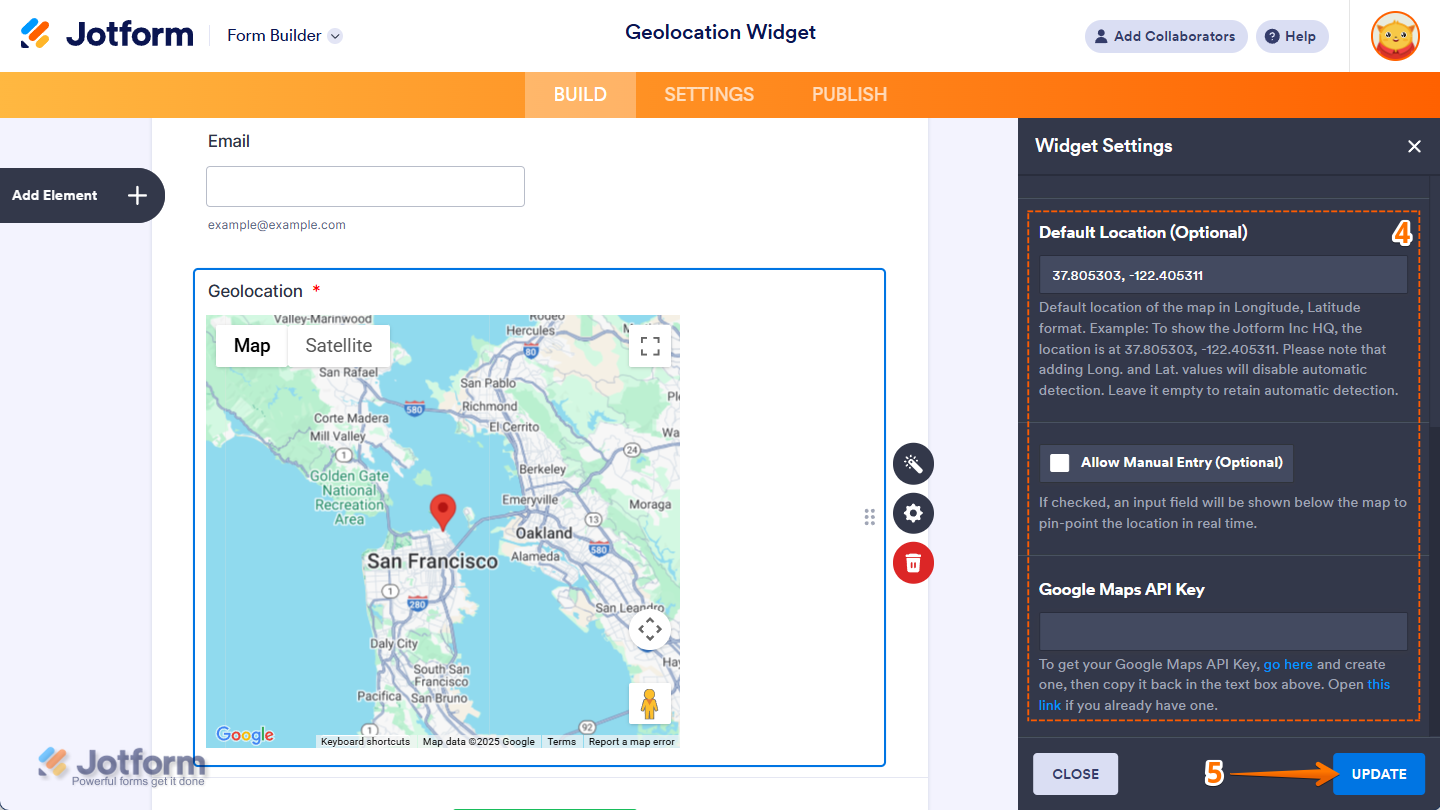
- Then, scroll down to the bottom and continue to set up these settings:
- Default Location — Set the map’s default position using Longitude and Latitude. However, entering coordinates disables automatic location detection. Leave blank to keep auto-detection enabled.
- Allow Manual Entry — When checked, an input field appears below the map, allowing users to manually enter and update the location in real time.
- Google Maps API Key — This API key is required for the widget to function properly. Without it, the map will not load or display on the form.
- Once your changes are complete, click on Update.
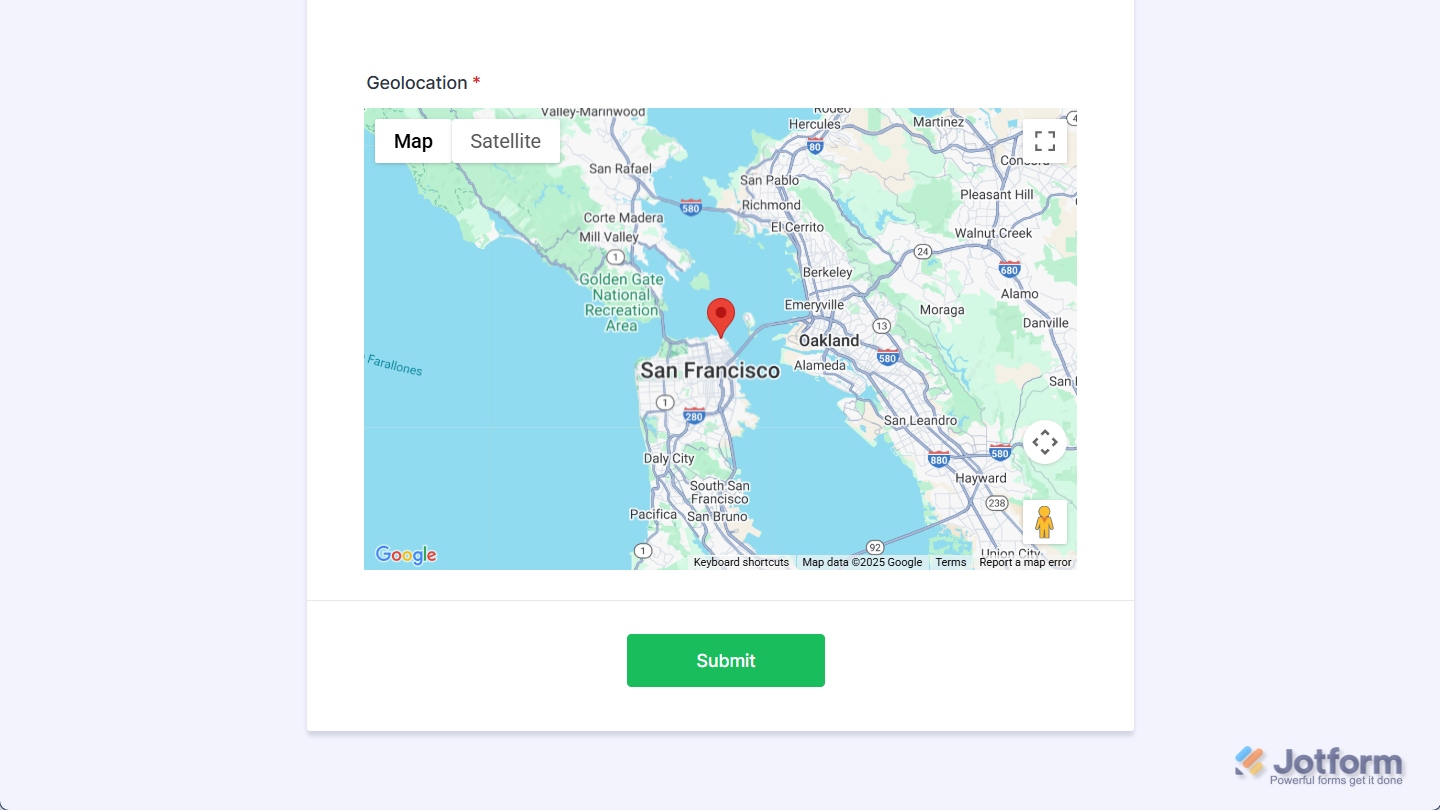
That’s it! You’ve now successfully added and set up the Geolocation widget to your form. Below is a screenshot of how the widget looks on your form:
Pro Tip
- You can use a Google Map URL(
https://maps.google.com/maps?q={tag}) to add the location link to your notification email — replace {tag} with your Geolocation’s Unique Name. You can copy the Unique Name through your widget’s properties panel. You’ll find more info in our guide on How to Find Field IDs and Unique Names. - For advanced styling of the widget, you can add your own custom CSS code under the Custom CSS tab in the Widget Settings. Our guide on How to Inject CSS Codes to Widgets walks you through everything.
- You can also configure the widget properties, like alignment, labels, size, visibility, and more, to control how it looks and behaves on your form. Check out our guide on How to Access and Configure the Question Properties of a Widget to learn more.

Send Comment: