With Jotform’s GPS Directions widget, users can enter two locations and instantly see the route between them directly in your form. This makes it easier to gather accurate location details for deliveries, reservations, pick-ups, or any situation where clear directions are needed.
Here are a few ways to use it:
- Show directions between two locations.
- Collect accurate pick-up or drop-off points.
- Help users confirm routes to a residence or restaurant.
- Gather precise location details for service-based forms.
What You’ll Need to Get Started
You’ll need your Google Maps API Key to set up the GPS Directions widget. If you’re not sure where to find these, check out our guide on How to Get Google Maps API Key for Jotform Mapping Widgets to learn more.
Whether you’re starting fresh or updating a form, adding and setting up the GPS Directions takes only a few steps. Here’s a quick how-to:
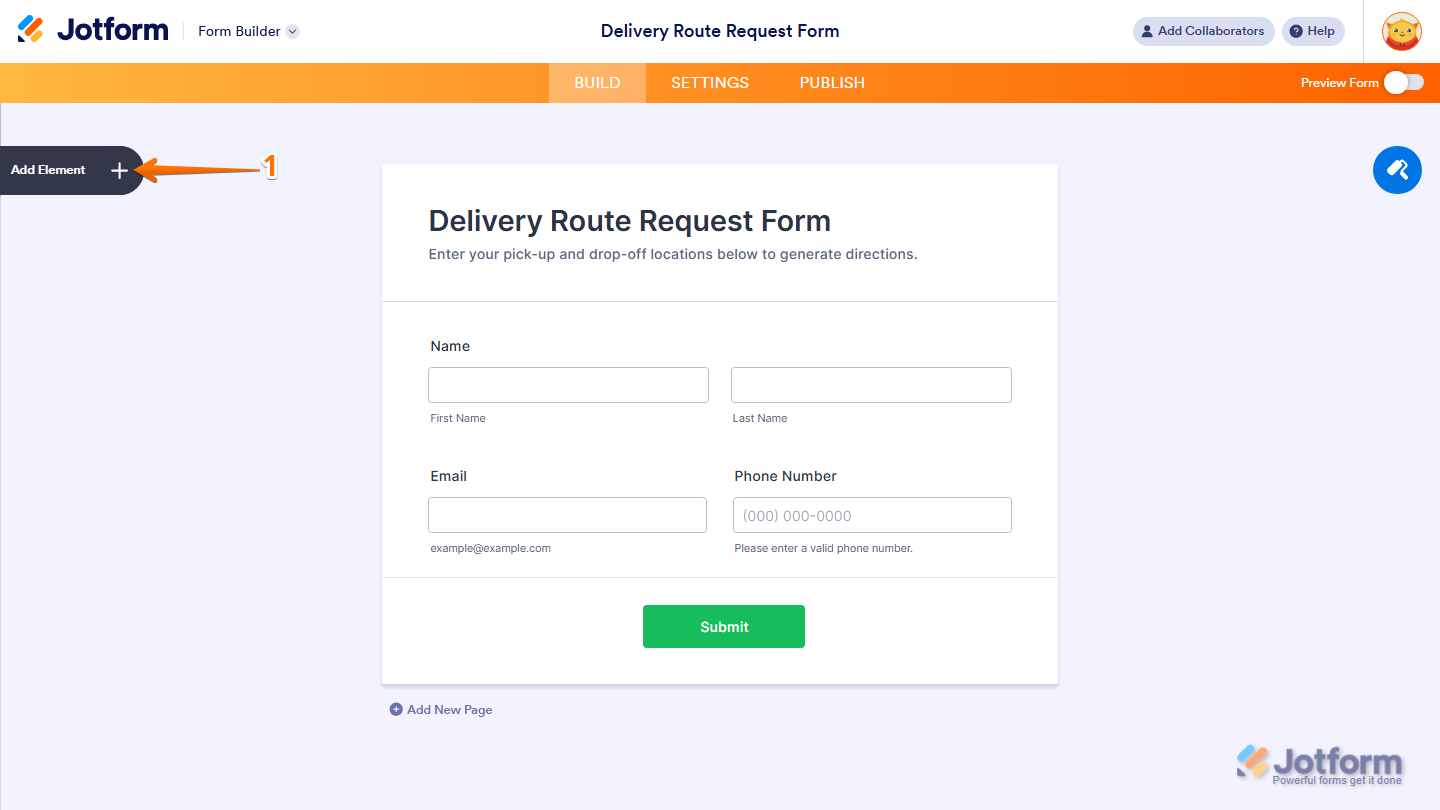
- In Form Builder, click on Add Element on the left side of the page.
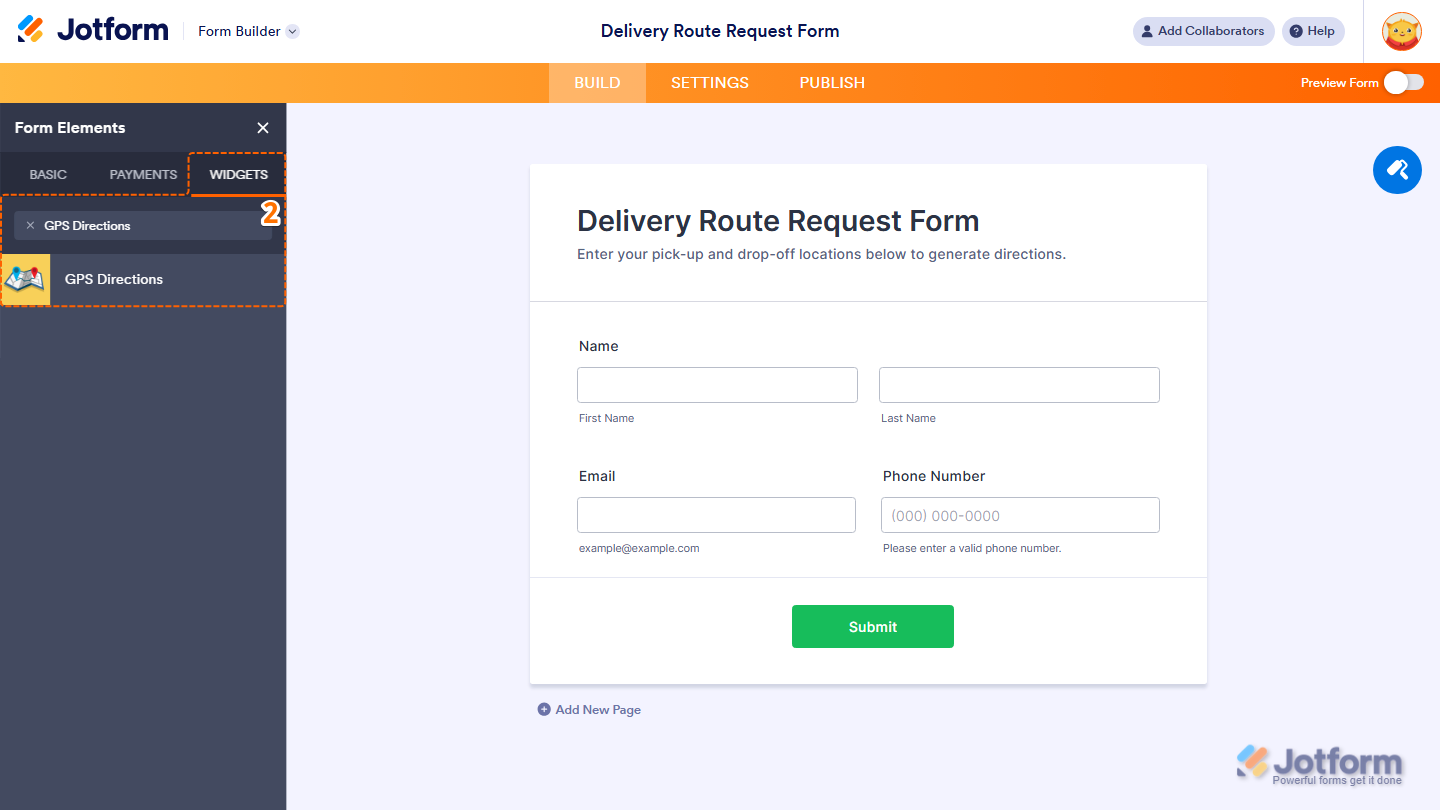
- Now, in the Form Elements menu, under the Widgets tab, search for GPS Directions and click on it. Or, just drag and drop it to where you want it to be on your form.
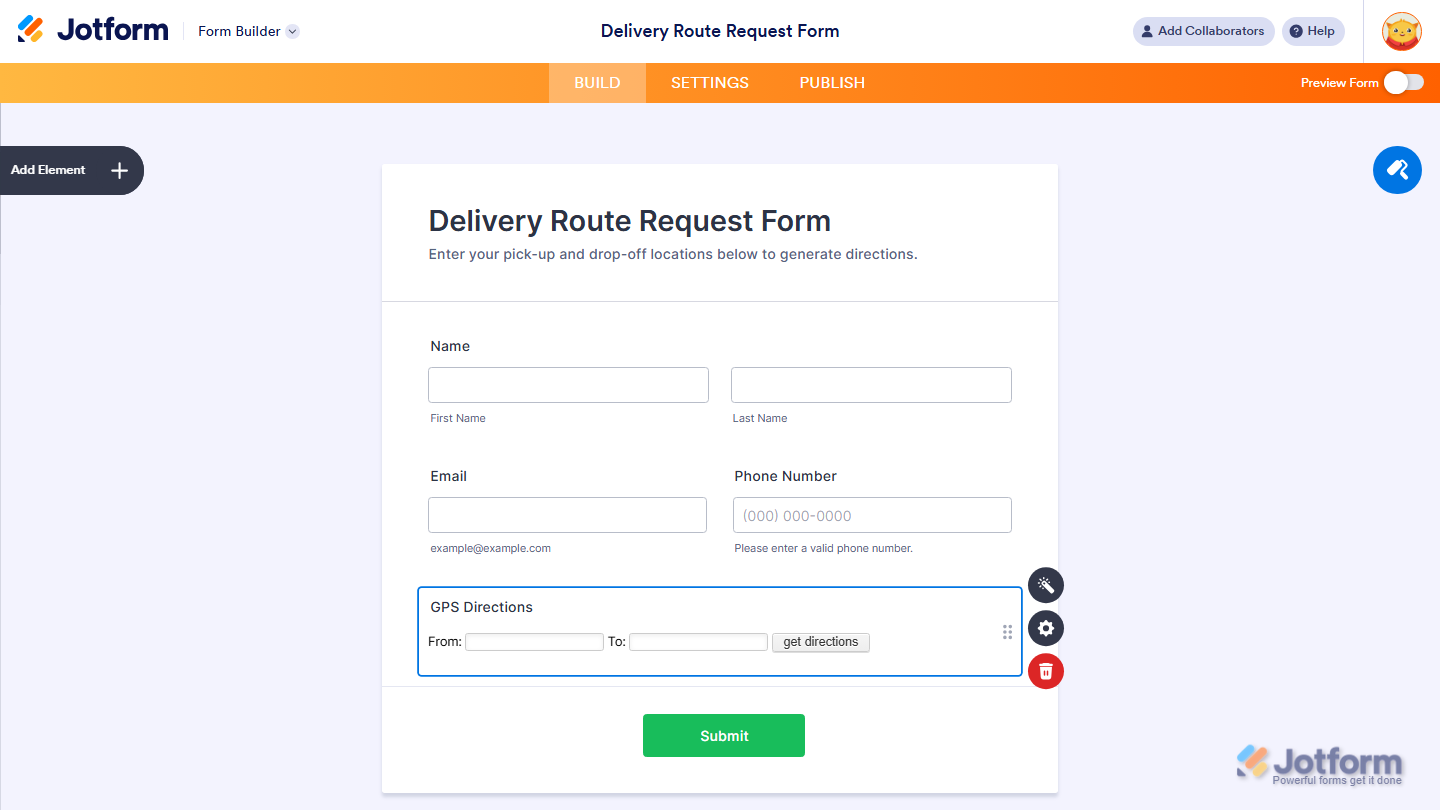
- Next, in the Widget Settings window that opens on the right side of the page, under the General tab, enter your Google Maps API Key in the Google Maps API Key Input box.
- Once you’re done, click on Update.

That’s it. Now you’ve added and set up the GPS Directions widget on your form.
Want to see how it works? Check out this live demo form.
Note
- For advanced styling of the GPS Coordinator widget, you can add your own custom CSS code under the Custom CSS tab in the Widget Settings. Our guide on How to Inject CSS Codes to Widgets walks you through everything.
- You can also configure the widget properties, like alignment, labels, size, visibility, and more, to control how it looks and behaves in your form. Check out our guide on How to Access and Configure the Question Properties of a Widget to learn more.

Send Comment: