Jotform’s MultiSelect Grid widget is ideal for forms that require users to select multiple options from a visual matrix of rows and columns. It’s commonly used in scheduling, surveys, or any scenario where cross-referencing two categories is needed—such as assigning tasks to team members, choosing available time slots, or selecting product features across models. With its intuitive layout, this widget simplifies complex choices and ensures data is structured and easy to interpret. It also prevents duplicate selections, making it perfect for collaborative or resource-limited setups.
Here are a few ways to use it:
- Let users select multiple options across different categories in a table format.
- Collect availability by allowing users to choose multiple days and times.
- Gather preferences across multiple items (e.g., skills vs. proficiency levels).
- Enable survey responses that allow multiple answers per row.
- Allow users to select applicable options across multiple criteria in a single structured grid.
Whether you’re creating a new form or updating an existing one, adding and setting up the MultiSelect Grid widget only takes a second—here’s how to get going:
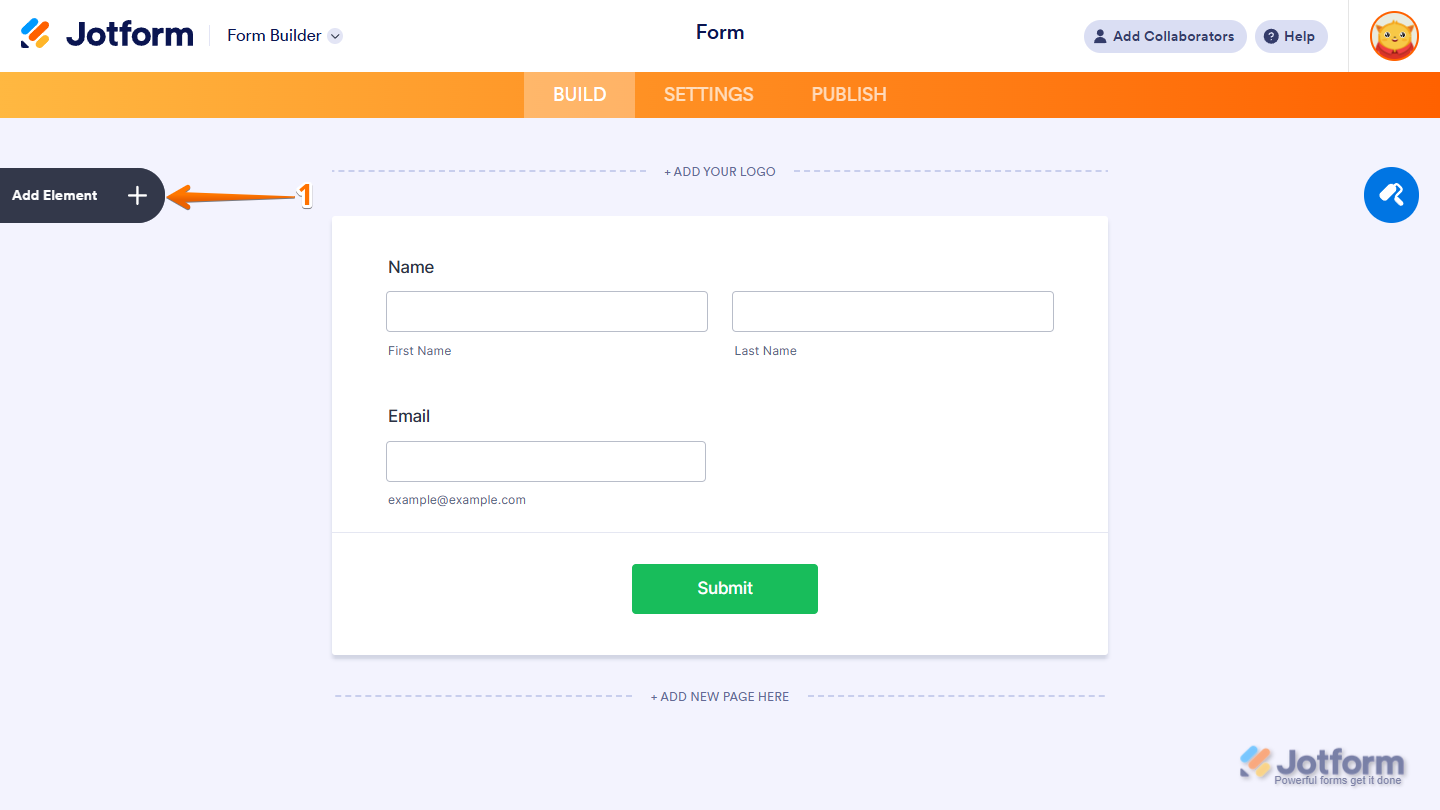
- In Form Builder, click on Add Element on the left side of the page.
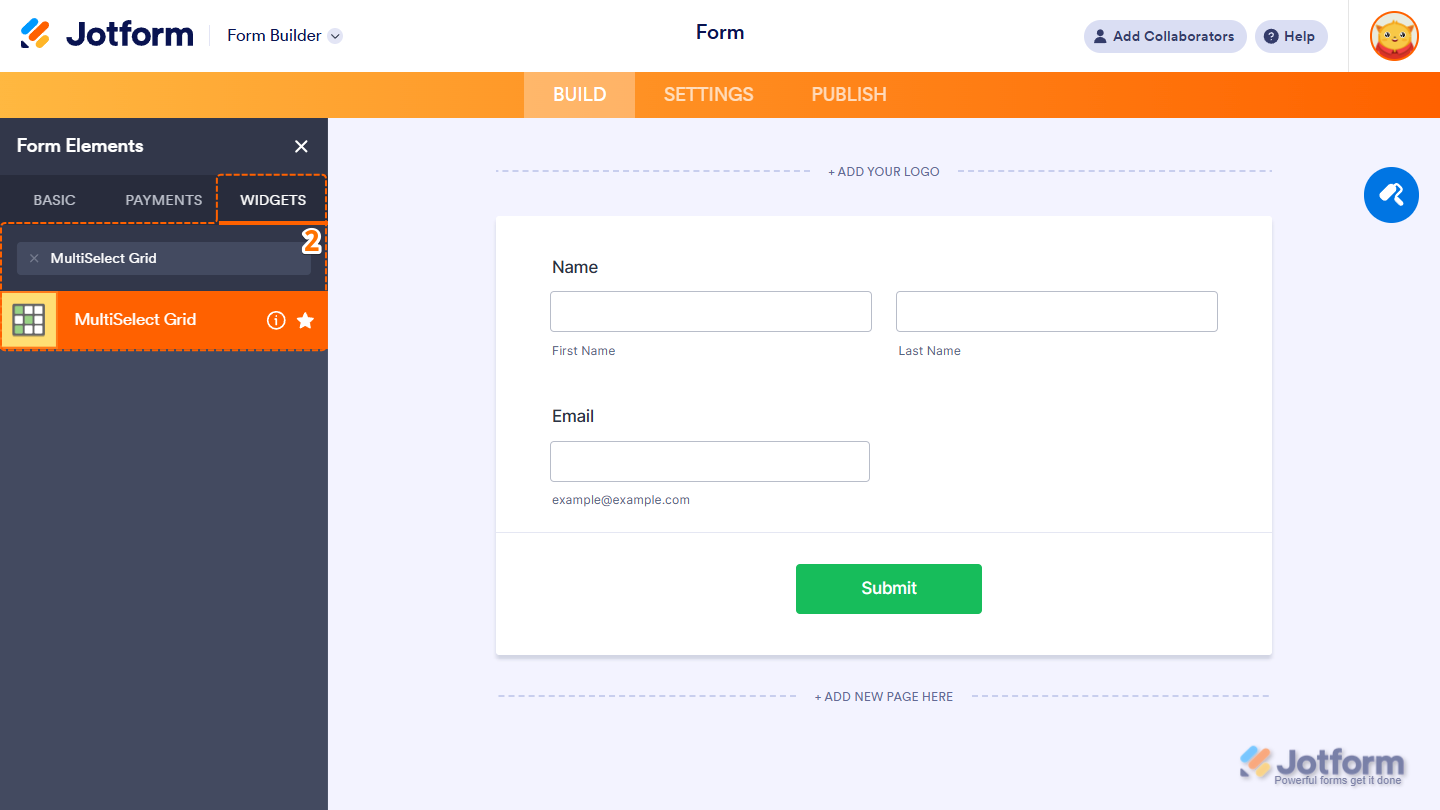
- Now, in the Form Elements menu, under the Widgets tab, search for MultiSelect Grid and click on it. Or just drag and drop it to where you want it on your form.
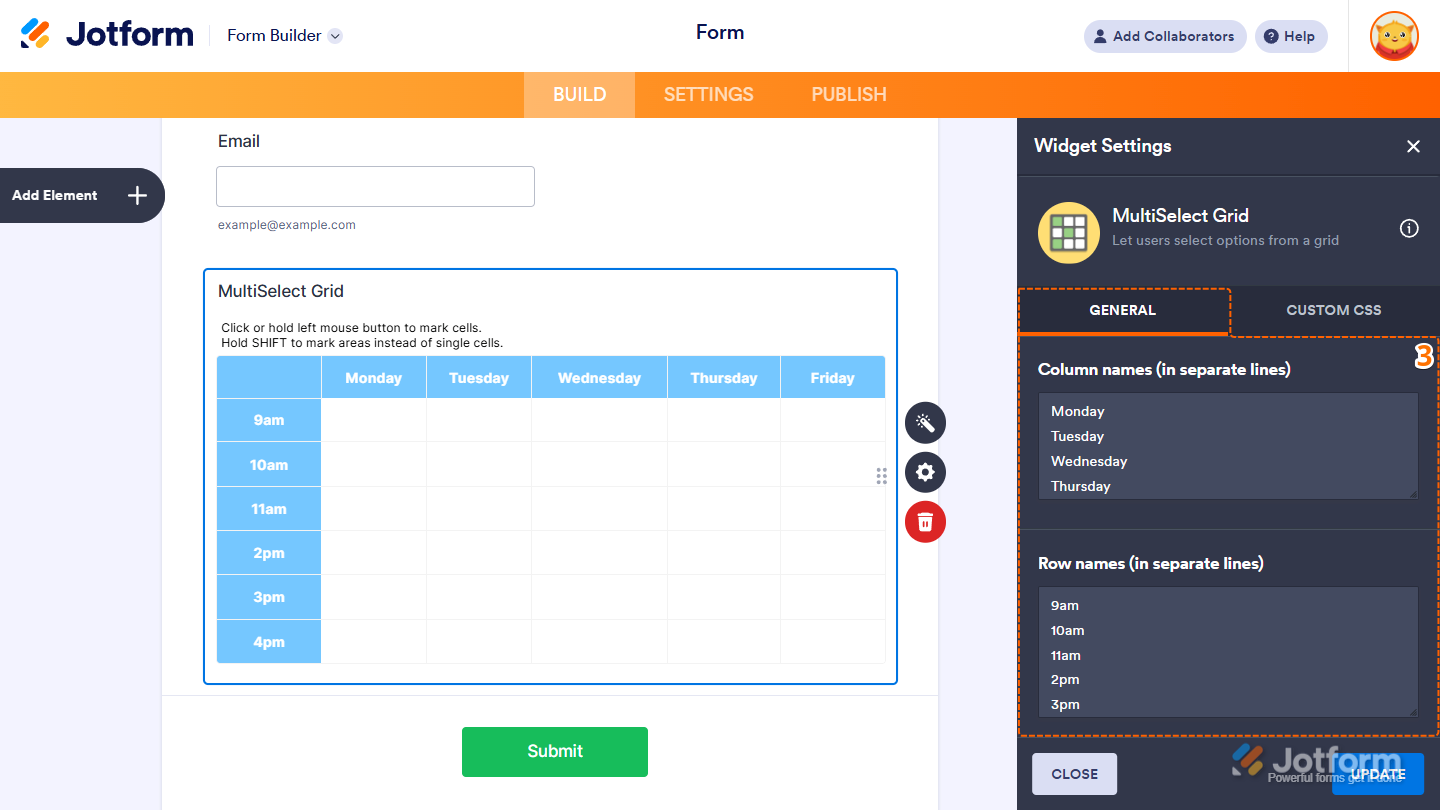
- Next, in the MultiSelect Grid Widget Settings menu that opens on the right side of the page, under the General tab, set up these things first:
- Column Names — List each column title on a new line.
- Row Names — Specify each row name individually on its own line.
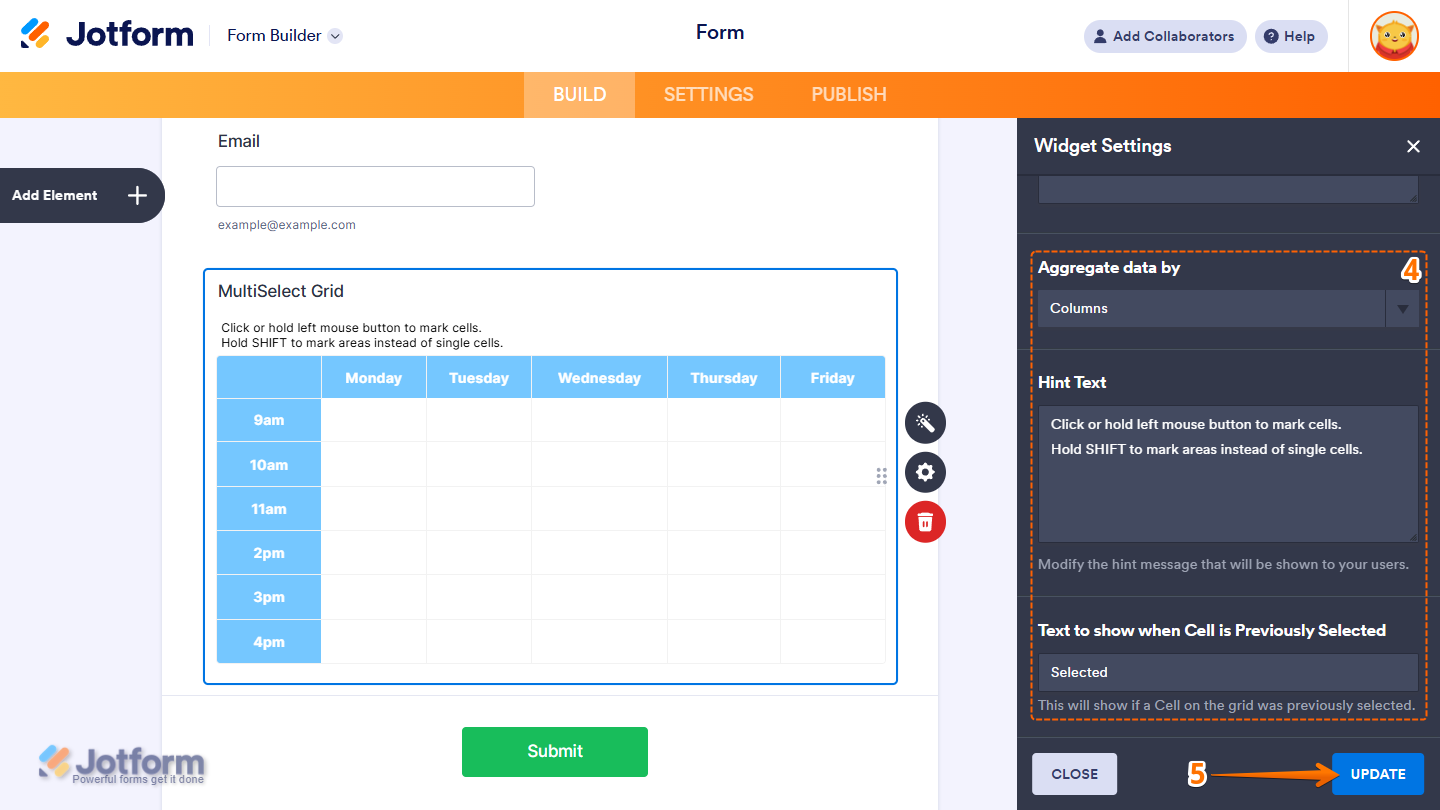
- Then, scroll down to the bottom and continue to set up these settings:
- Aggregate Data By — Decide whether to summarize the data by rows or columns.
- Hint Text — Provide guidance to help users understand how to complete the widget.
- Text to Show When Cell is Previously Selected — Displays a custom message when a grid cell has already been selected by the user.
- Once you’re done, click on Update.
That’s it! You’ve now successfully added and set up the Image MultiSelect Grid widget to your form. Take a peek at this Demo Form to see it in action.
Notes
- To make the cell available again, delete the associated submission and permanently purge it from the form. You can check out our guide on How to Delete Form Submission Data to learn more.
- For advanced styling of the widget, you can add your own custom CSS code under the Custom CSS tab in the Widget Settings. Our guide on How to Inject CSS Codes to Widgets walks you through everything.
- You can also configure widget properties, such as alignment, labels, size, visibility, and more, to control how it looks and behaves on your form. Check out our guide on How to Access and Configure the Question Properties of a Widget to learn more.

Send Comment: