With Jotform, you can easily enhance your forms with location details using the Open Street Map widget. Powered by OpenStreetMap, it gives your audience a quick, interactive way to understand where your event, office, store, or destination is located — all without leaving the form. It’s a simple, helpful addition for any form that benefits from clearer place information.
Whether you’re collecting registrations, scheduling visits, arranging pickup locations, or organizing activities, this widget adds helpful context that makes your form more engaging and informative.
Here are a few ways to use it:
- Add an interactive map to your form so users can quickly understand where an event or location is.
- Highlight the exact spot of your office, venue, campsite, or business.
- Help applicants, attendees, or customers visualize where they need to go.
- Make registration, booking, and inquiry forms more informative with built-in location context.
- Support workflows that rely on clear directions, site visits, or on-site appointments.
Whether you’re creating a new form or updating an existing one, you can add and set up the Open Street Map widget in a few easy steps. Here’s how to do it:
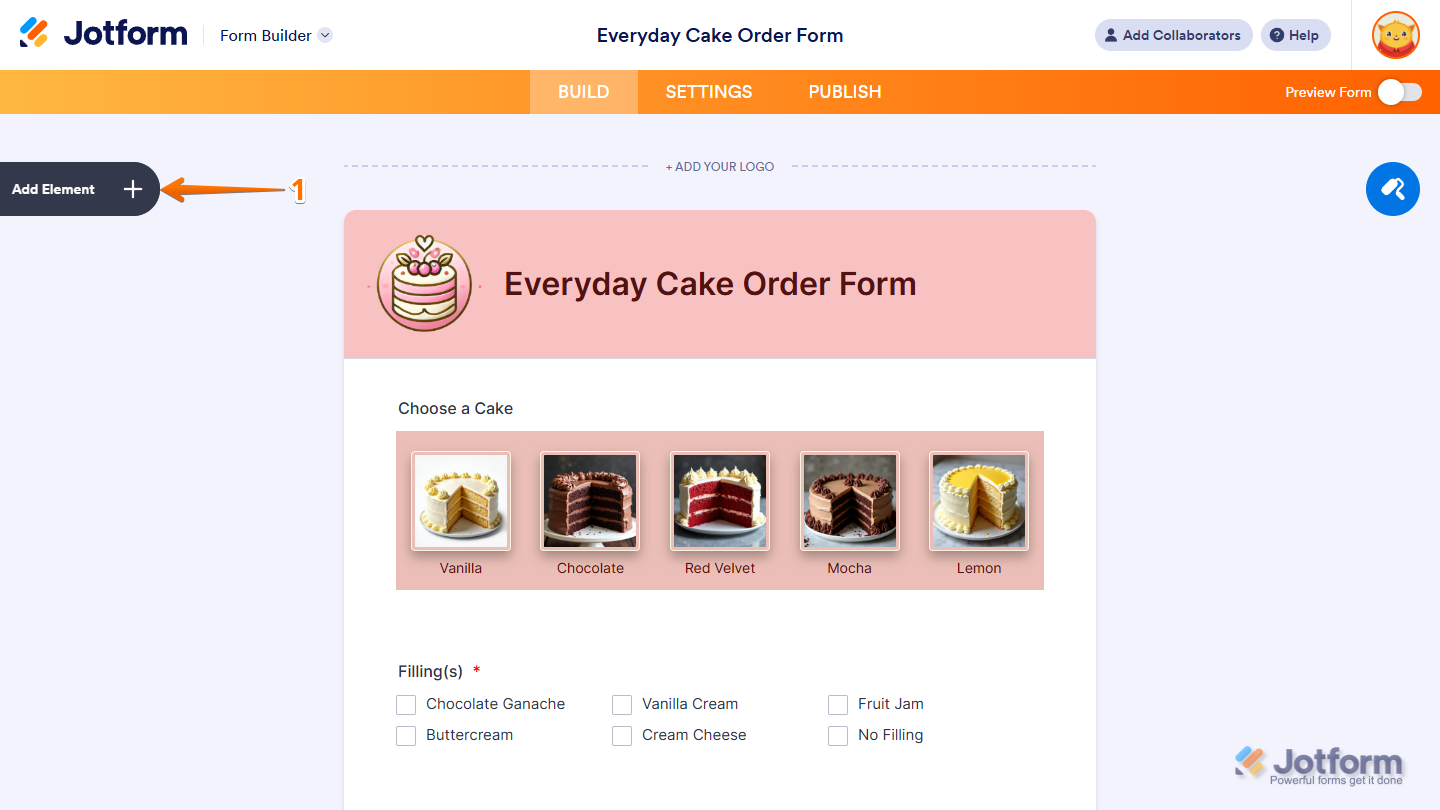
- In Form Builder, click on Add Element on the left side of the page.
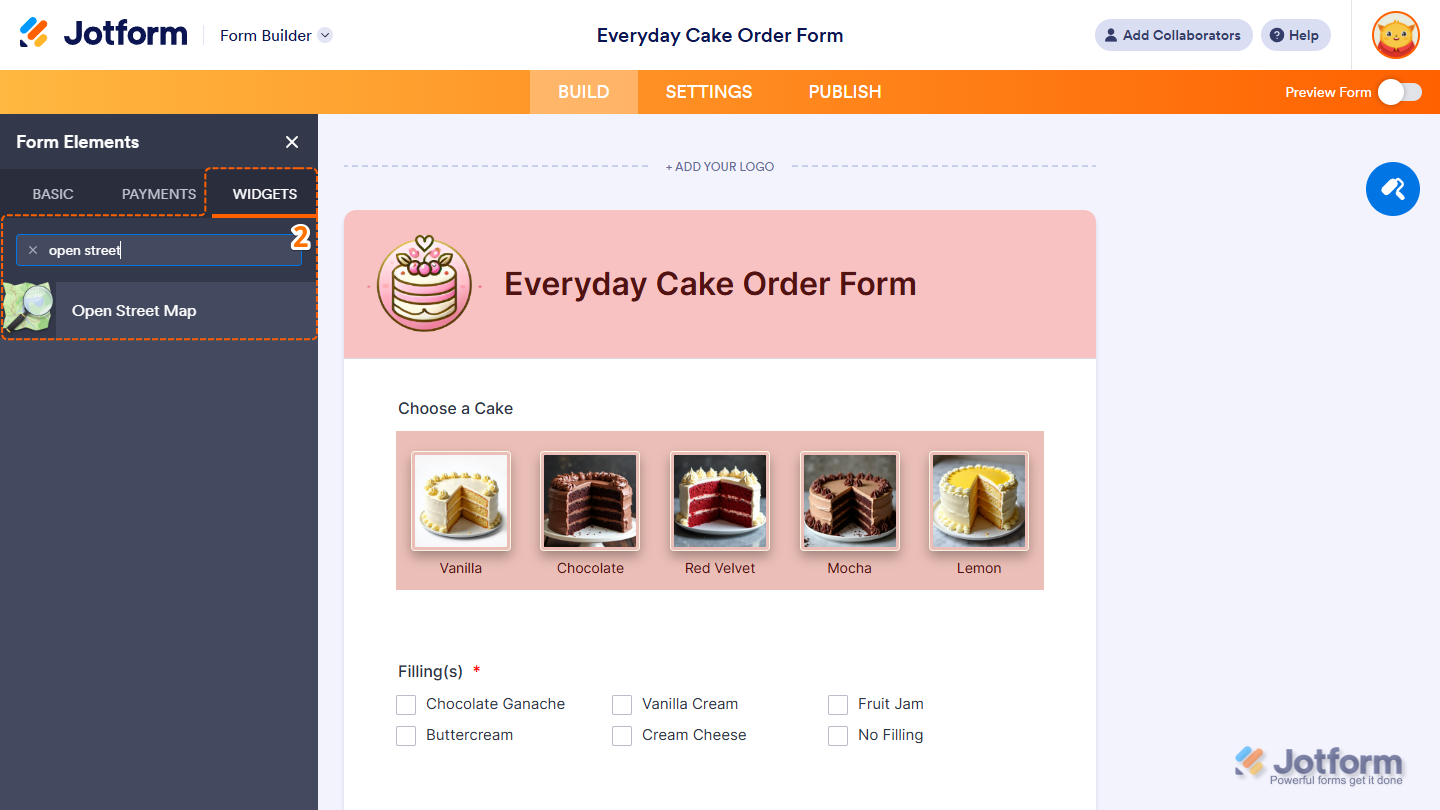
- Now, in the Form Elements menu, under the Widgets tab, search for Open Street Map and click on it. Or, just drag and drop it to where you want it to be on your form.
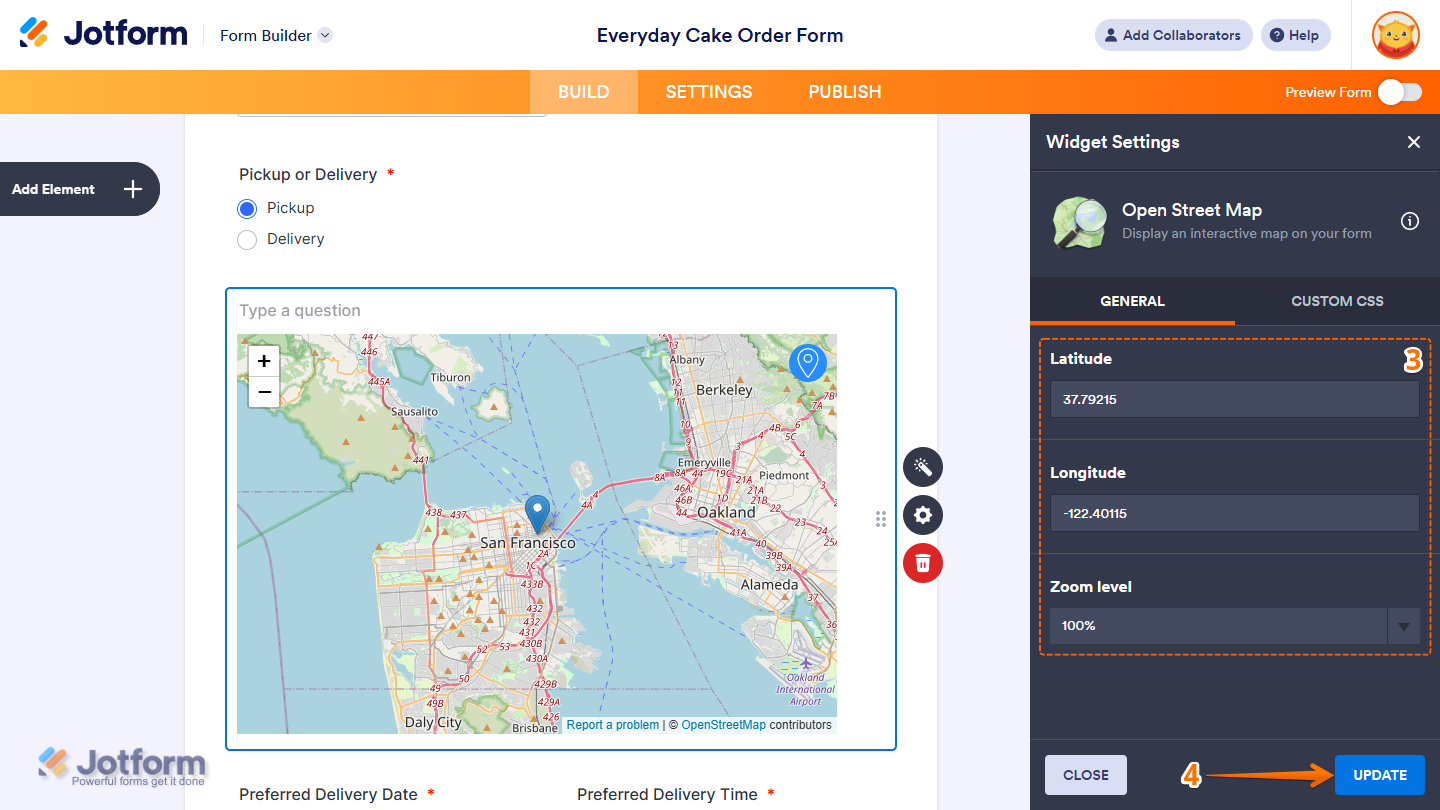
- Next, in the Widget Settings menu that opens on the right side of the page, under the General tab, you’ll see this list of settings you can configure:
- Latitude — Delete the default value in the input box and enter the latitude coordinate of your location. This sets the exact point the map will center on.
- Longitude — Delete the default value in the input box and enter the longitude coordinate of your location. This works together with the latitude value to pinpoint your spot on the map.
- Zoom Level — Select an option in the Zoom Level dropdown menu to choose how close or far the map appears by default. This adjusts the initial zoom level of the map shown on your form.
- Once everything’s set, click on Update.
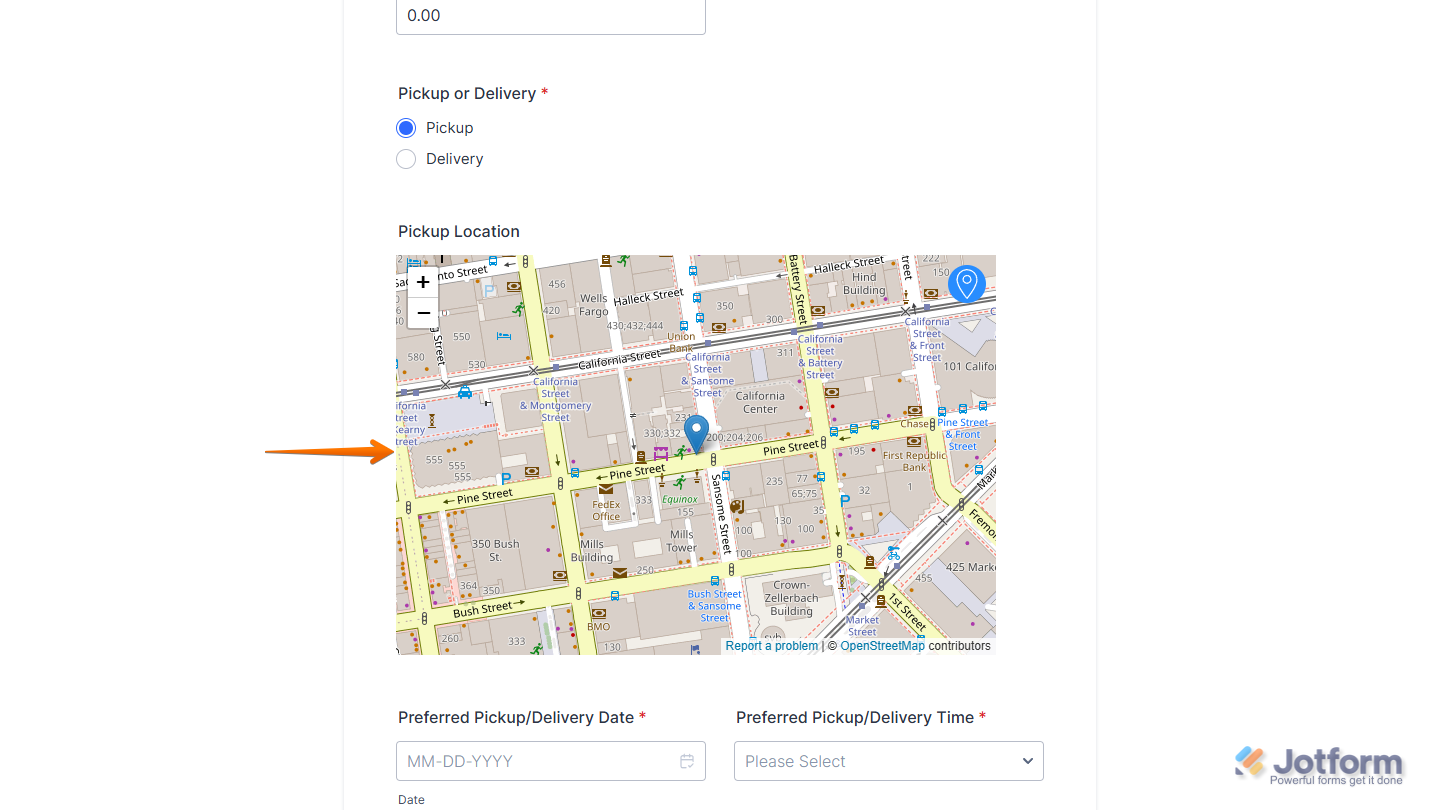
That’s it. Now you’ve added and set up the Open Street Map widget on your form. Wondering how it looks in action? Check out this demo form.
Notes
- For advanced styling of the Open Street Map widget, you can add your own custom CSS code under the Custom CSS tab in the Widget Settings. Our guide on How to Inject CSS Codes to Widgets walks you through everything.
- You can also configure the widget properties, like alignment, labels, size, visibility, and more, to control how it looks and behaves on your form. Check out our guide on How to Access and Configure the Question Properties of a Widget to learn more.

Send Comment: