With Jotform, you can easily capture photos directly from your forms while adding useful context to each submission. The Photo Watermark widget automatically applies details like the date and time, custom text, GPS location, or even values entered in your form fields as dynamic watermarks, helping make each image more reliable and informative.
It’s a simple way to collect verified visual data while keeping everything organized in one place. Whether you’re documenting on-site work, confirming deliveries, or logging assets, this widget helps ensure every photo submission is clear, traceable, and ready to review.
Whether you’re building a new form or editing an existing one, you can add and configure the Photo Watermark widget in just a few steps. This is how it’s done:
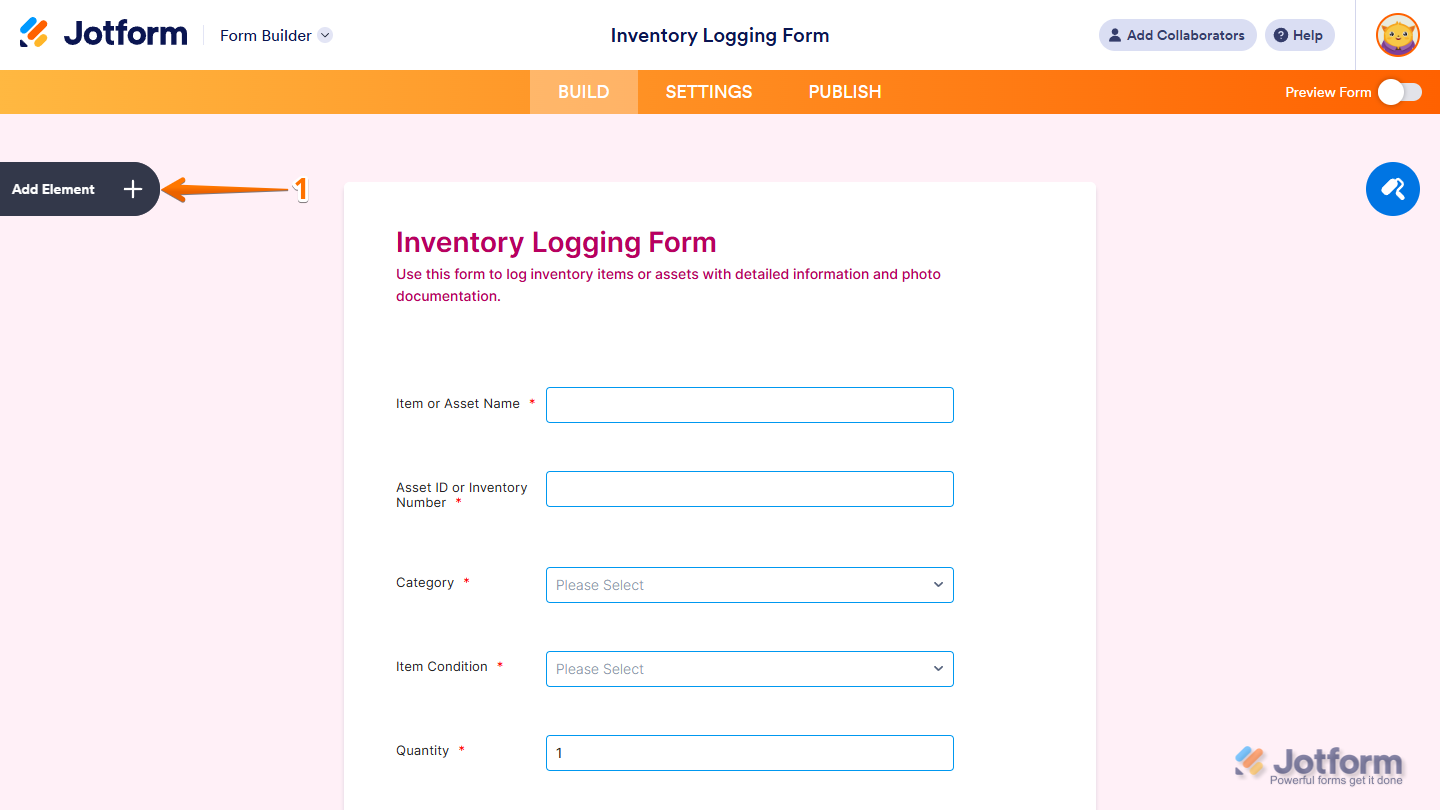
- In Form Builder, click on Add Element on the left side of the page.
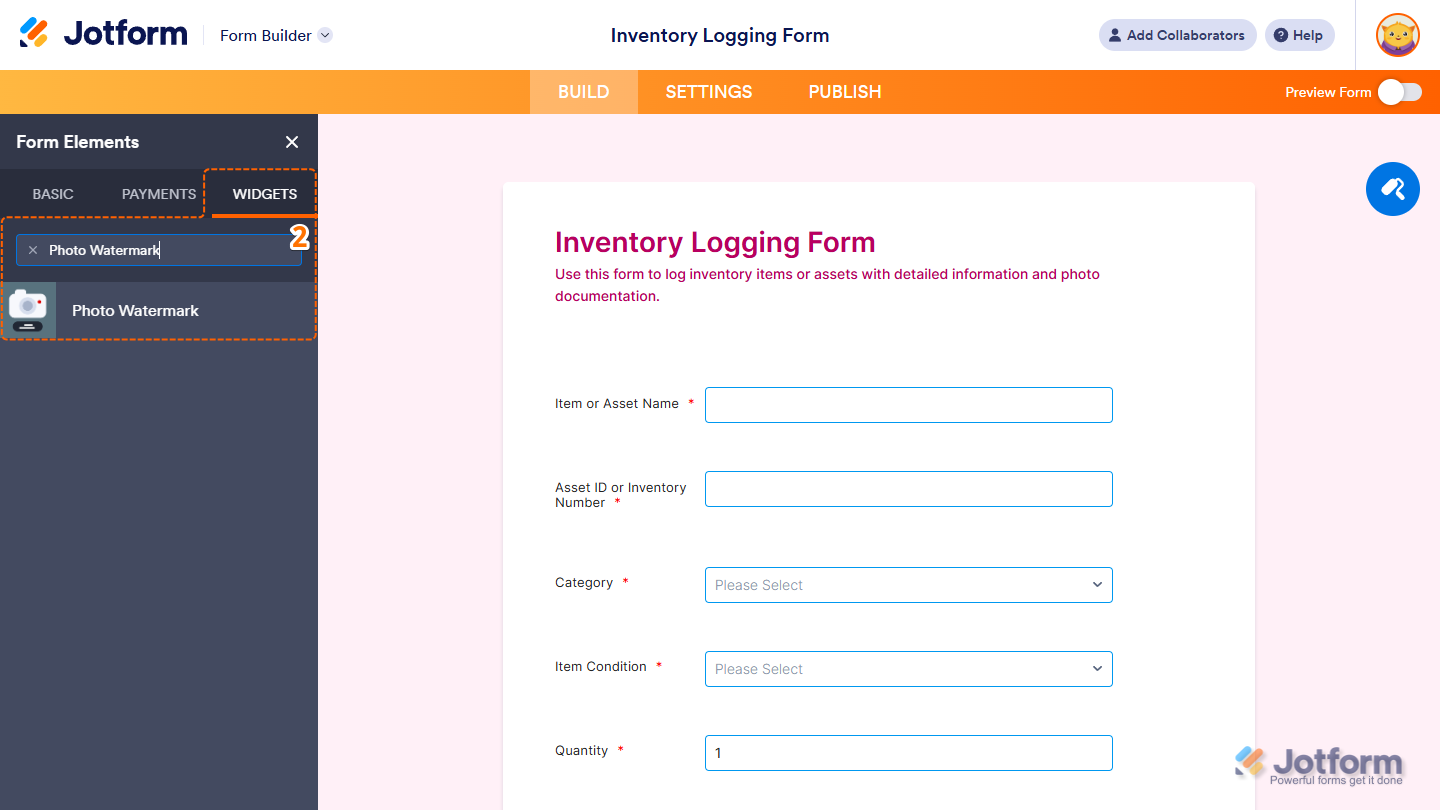
- Now, in the Form Elements menu, under the Widgets tab, search for Photo Watermark and click on it. Or, just drag and drop it to where you want it to be on your form.
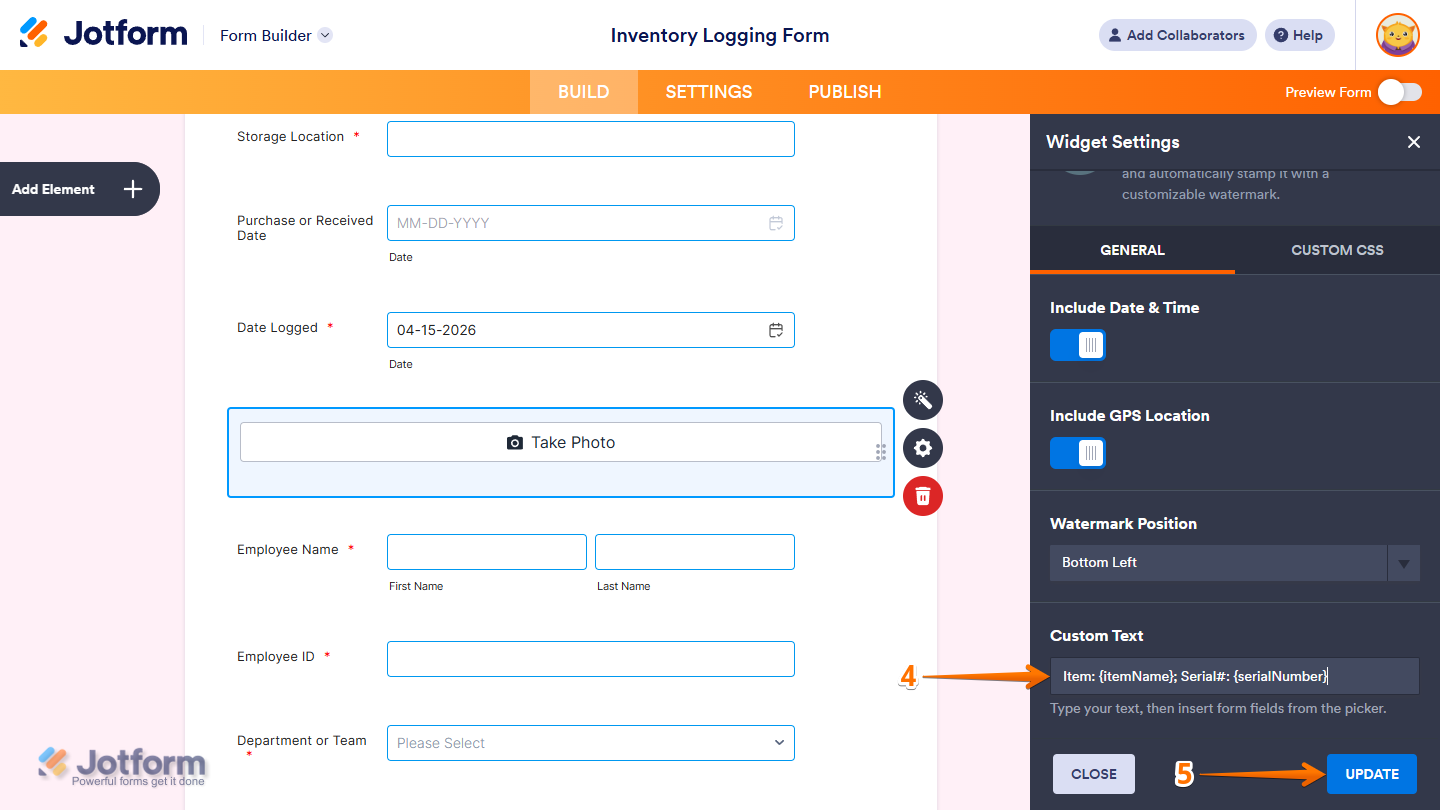
- Next, in the Widget Settings menu that opens on the right side of the page, under the General tab, you’ll see this list of settings you can configure:
- Include Date & Time — Toggle this on if you want to automatically add the current date and time to the watermark on each captured photo.
- Include GPS Location — Toggle this on if you want to include the user’s location as part of the watermark, helping provide more context for where the photo was taken.
- Watermark Position — Click on the dropdown menu to choose where the watermark will appear on the image. You can place it in any corner, along the top, middle, or bottom, or display it diagonally across the center of the photo.

- Then, scroll down to the bottom and, in the Custom Text Input box, enter the text you want to include in the watermark. You can also insert dynamic values from your form using field unique names to reflect user selections or answers. If you’re not sure where to find it, see our guide on How to Find Field IDs and Unique Names to learn more.
- When everything looks correct, click on Update.
That’s it. You’ve now set up the Photo Watermark widget. Users can click on the Take Photo button on the widget to start taking photos.

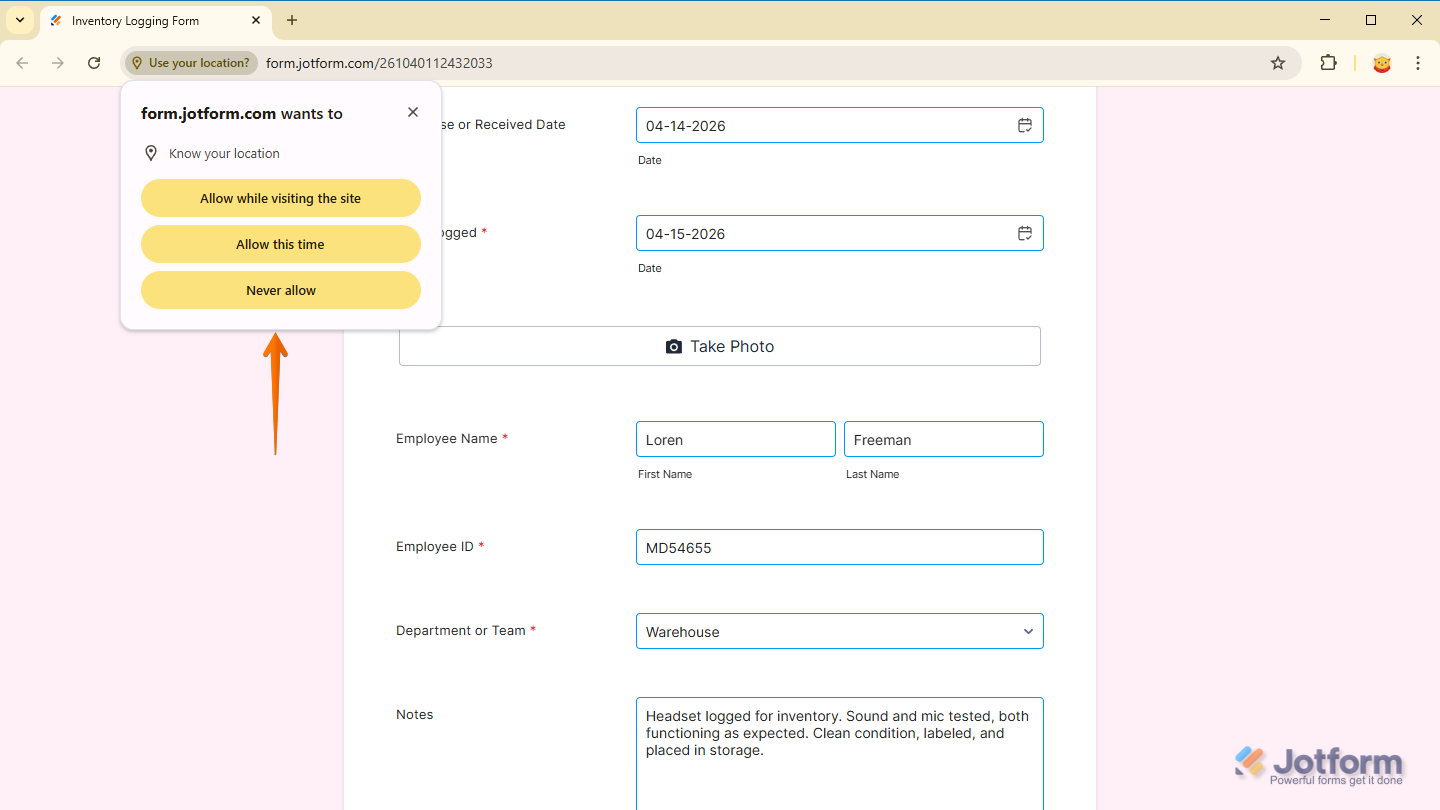
When users open the form with the widget for the first time on their device, they’ll be prompted to allow camera access through their web browser. Once permission is granted, they won’t see the same prompt again on that device.
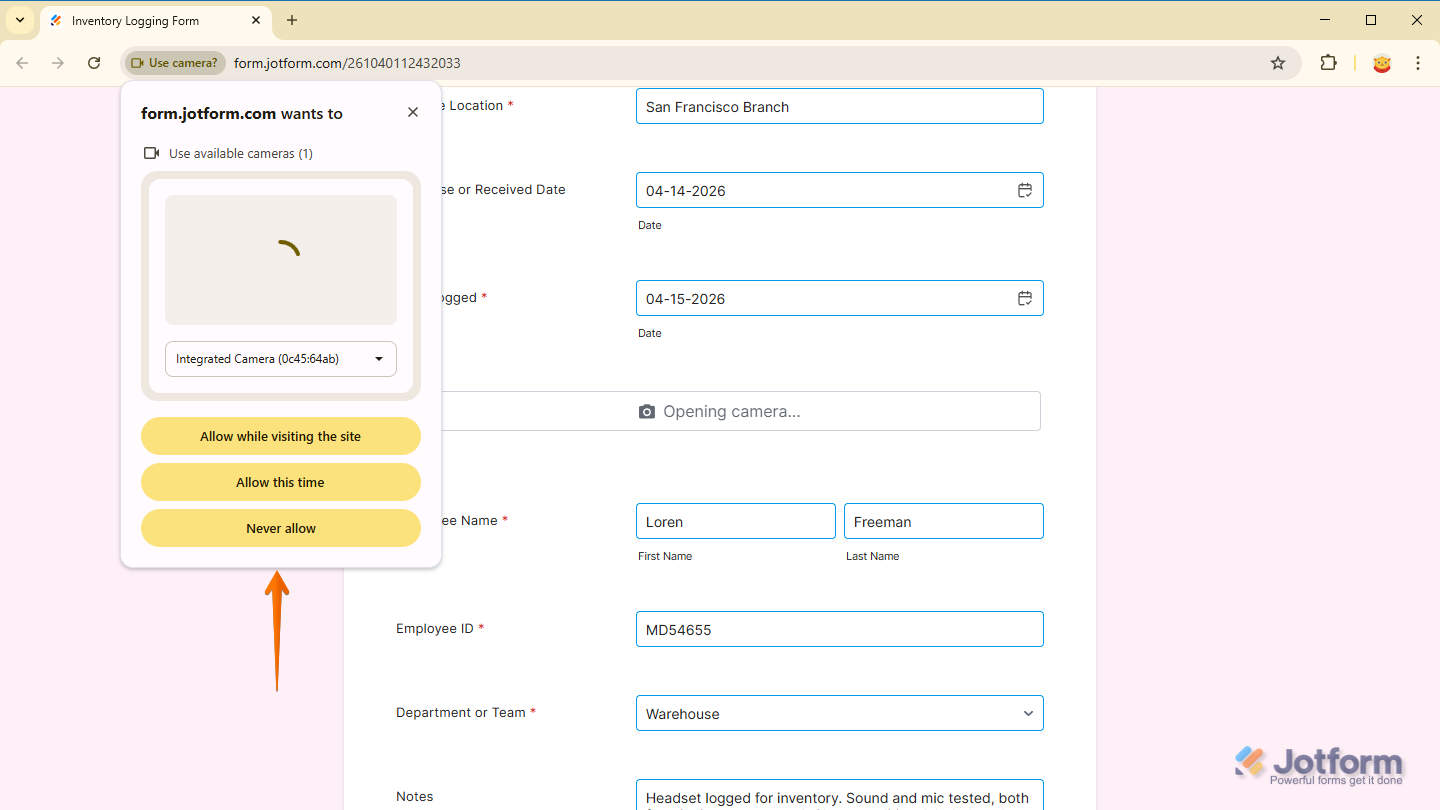
If you enable the Include GPS Location setting for your Photo Watermark widget, users will be prompted to allow location access on their device and through their browser.
Once everything’s set, users can click on the Capture Photo button on the widget to take a photo.
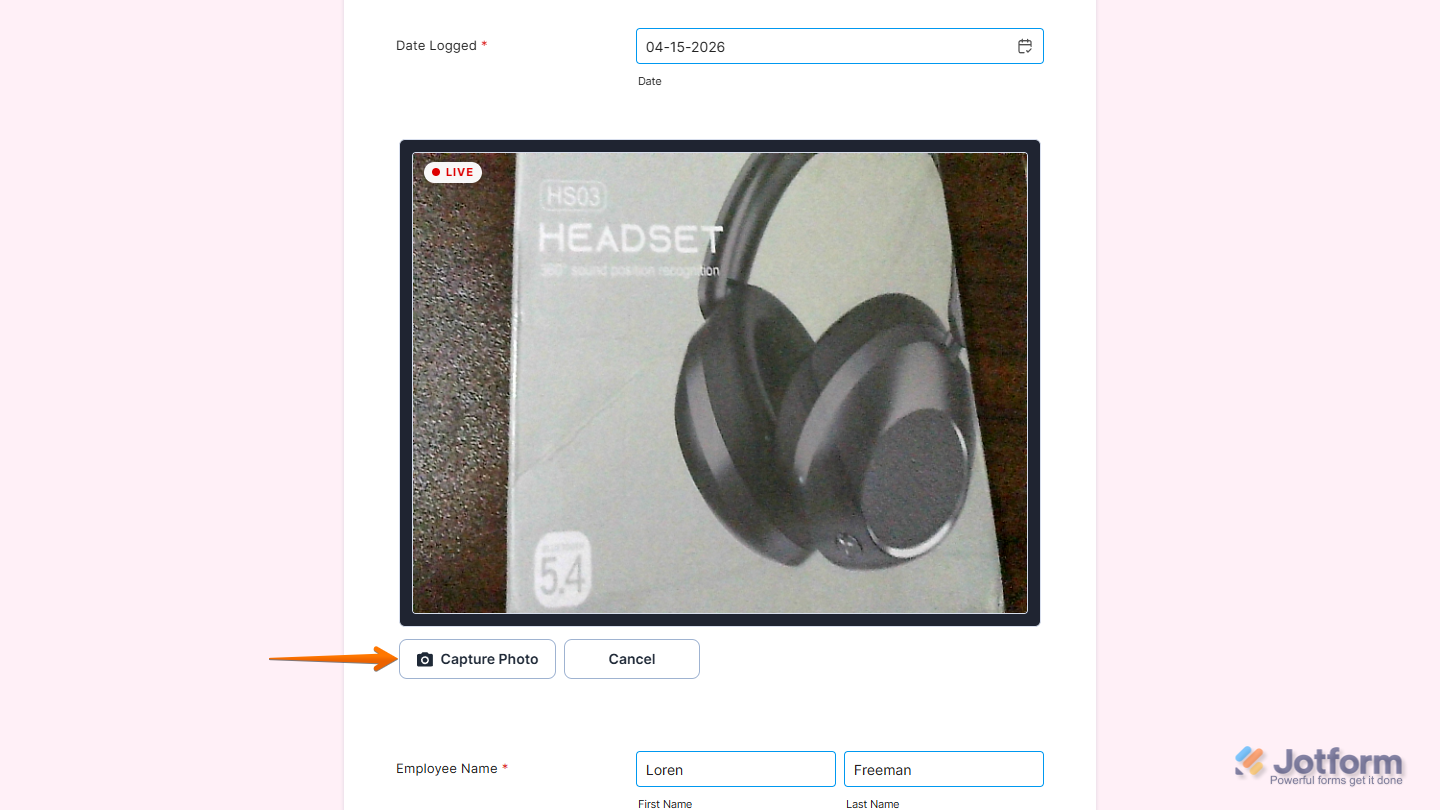
Users can also click on the Retake Photo button if they need to take the photo again.

Wondering how it looks in action? Check out this demo form.
Notes
- For advanced styling of the Photo Watermark widget, you can add your own custom CSS code under the Custom CSS tab in the Widget Settings. Our guide onHow to Inject CSS Codes to Widgets walks you through everything.
- You can also configure the widget properties, like alignment, labels, size, visibility, and more, to control how it looks and behaves on your form. Check out our guide on How to Access and Configure the Question Properties of a Widget to learn more.

Send Comment: