With Jotform, you can easily collect organized, user-generated information on your form using the Tag Input widget. It lets people quickly add or remove tags, making it perfect for anything from listing skills and qualifications to categorizing items or leaving structured feedback.
The widget keeps things flexible for your users and fully customizable for you—so you can match your brand, keep entries consistent, and make your data easier to sort and review. It’s a simple, intuitive way to help your audience share the details that matter most.
Here are a few ways to use it:
- Let users add tags that describe their skills, preferences, or categories.
- Help evaluators or reviewers organize information more clearly.
- Collect customizable tag inputs for surveys, applications, or feedback forms.
- Keep entries consistent while still giving users flexibility.
- Create a more interactive and user-friendly form experience.
Whether you’re starting fresh or updating a form, adding and setting up the Tag Input widget takes only a few steps. Here’s a quick how-to:
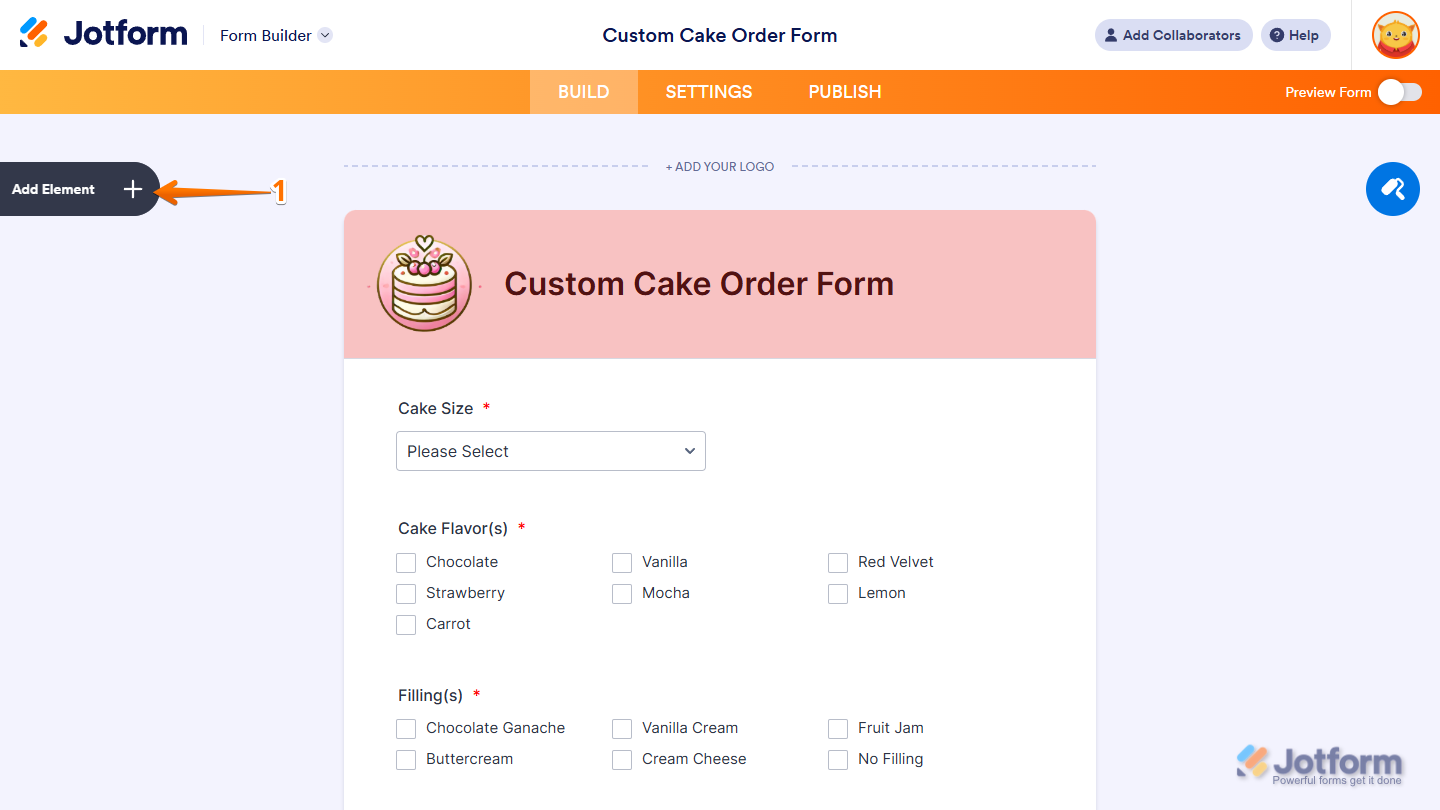
- In Form Builder, click on Add Element on the left side of the page.
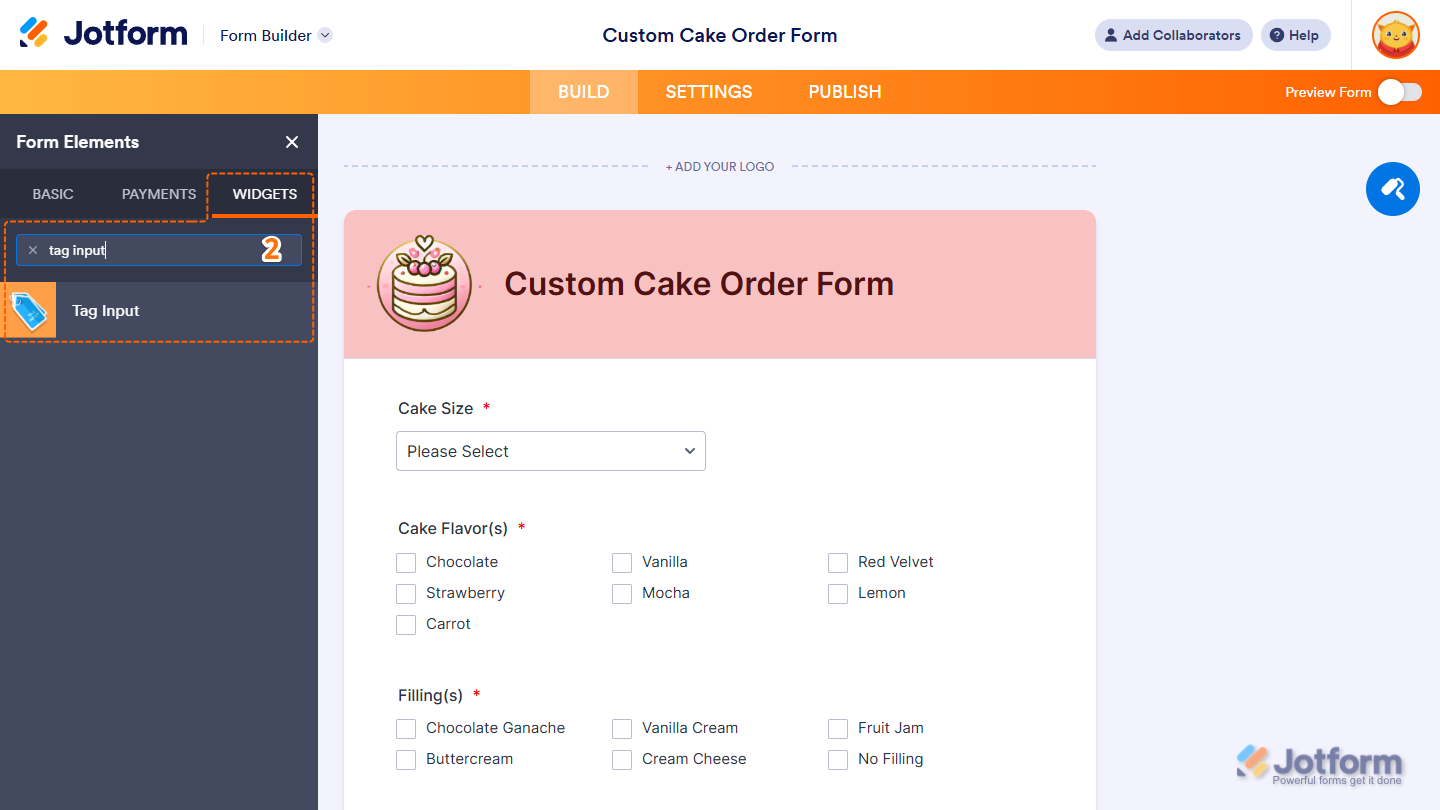
- Now, in the Form Elements menu, under the Widgets tab, search for Tag Input and click on it. Or, just drag and drop it to where you want it to be on your form.
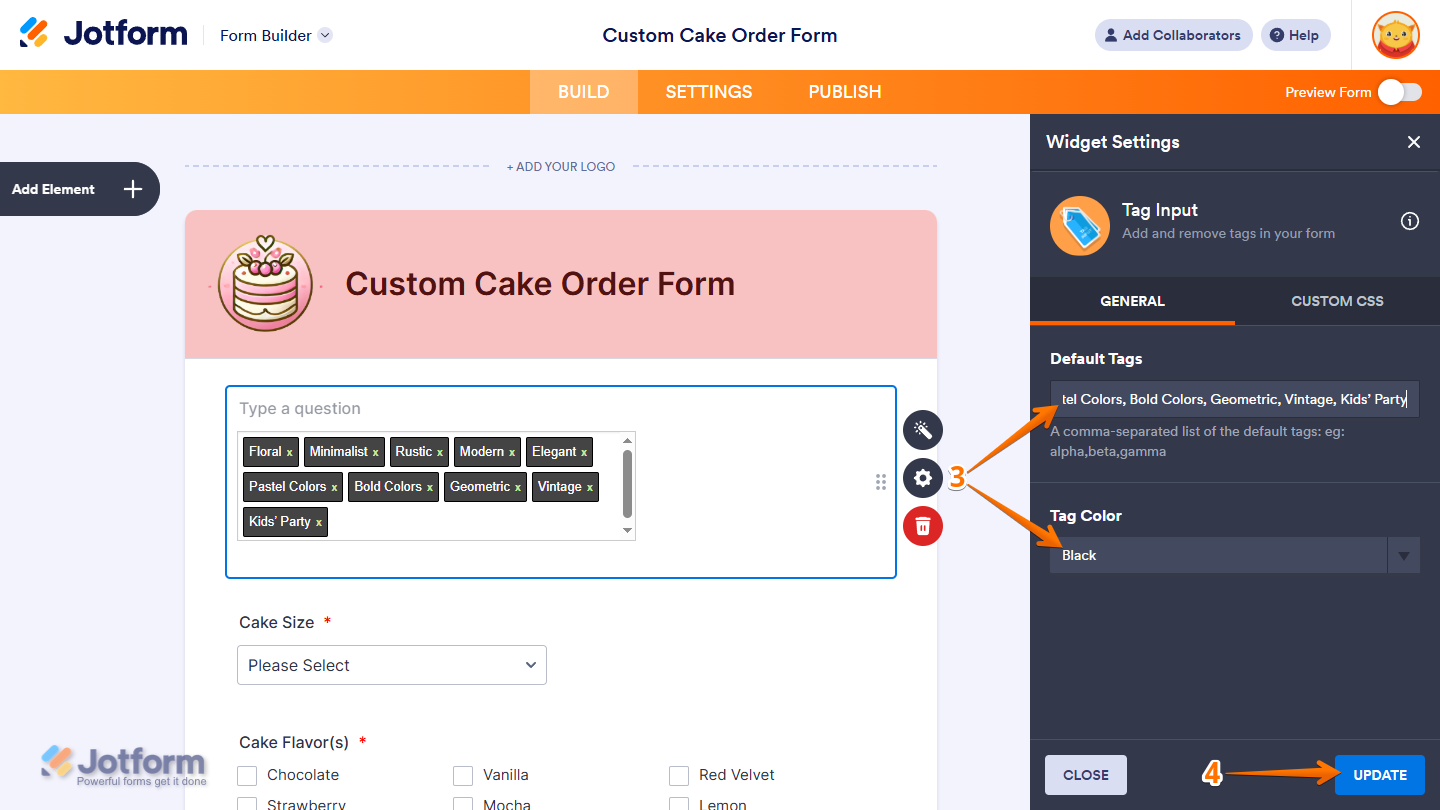
- Next, in the Widget Settings menu that opens on the right side of the page, under the General tab, you’ll see this list of settings you can configure:
- Default Tags — Enter a comma-separated list of the tags you want to appear by default in the tag field on your form in the input box. These tags will show up automatically, and users can keep them, remove them, or add their own.
- Tag Color — Select an option in the dropdown menu to set the color of the tags on your form. This helps you match the widget’s appearance to your branding or overall form design.
- Once everything’s set, click on Update.
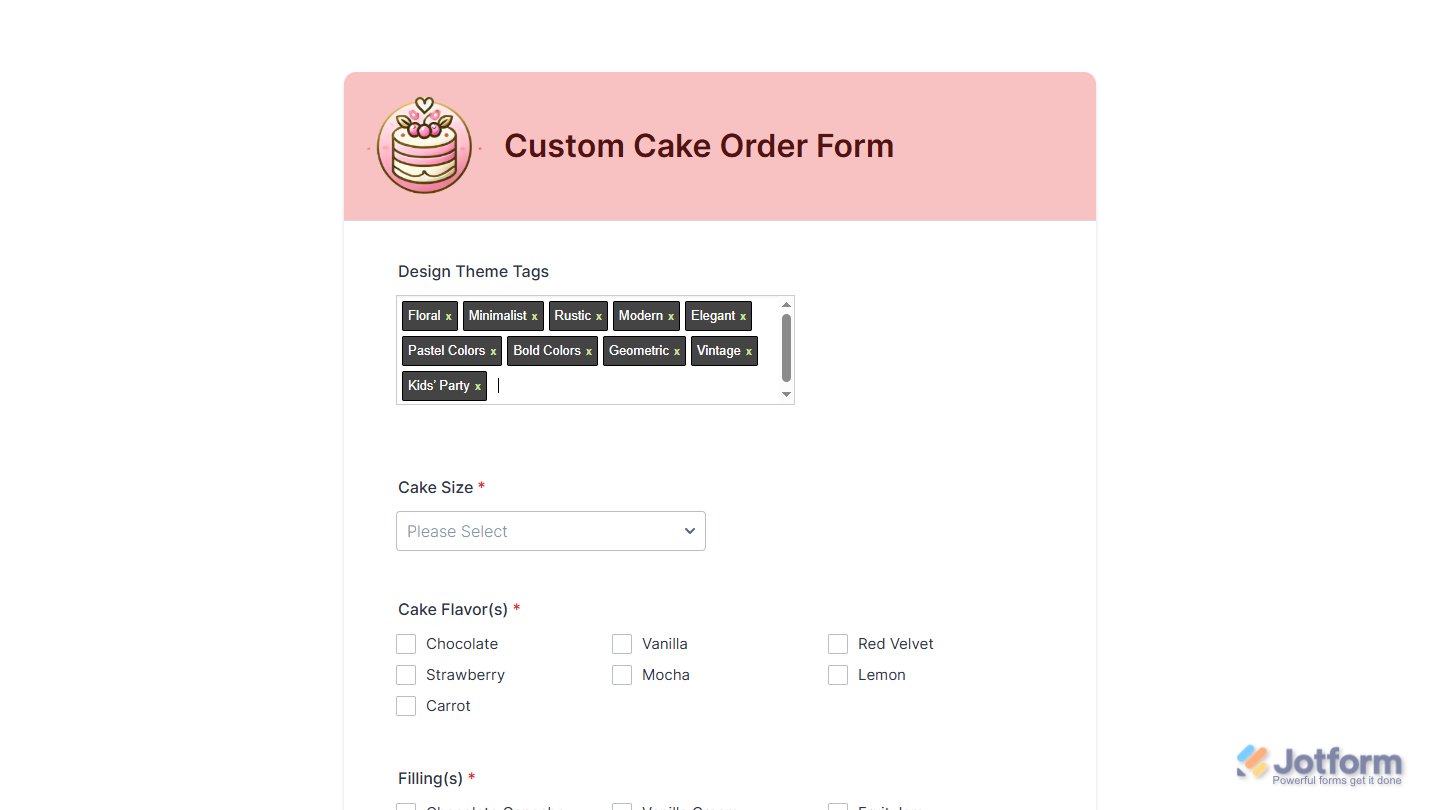
That’s it. You’ve successfully added and set up the Tag Input widget on your form. You can test it on this demo form.
Notes
- For advanced styling of the Tag Input widget, you can add your own custom CSS code under the Custom CSS tab in the Widget Settings. Our guide on How to Inject CSS Codes to Widgets walks you through everything.
- You can also configure the widget properties, like alignment, labels, size, visibility, and more, to control how it looks and behaves on your form. Check out our guide on How to Access and Configure the Question Properties of a Widget to learn more.

Send Comment: