Jotform’s Transloadit widget makes it easier to handle and process file uploads on your form. It can help resize images, convert file formats, and process other uploaded files behind the scenes, so you don’t have to worry about the technical details. Simply connect your form to Transloadit and configure how you want uploaded files to be handled.
Here are a few ways to use it:
- Accept and Process Large or Complex Files — Whether you’re collecting videos, high-resolution photos, or heavy documents, Transloadit can manage and optimize them in the background so everything stays fast and organized.
- Resize or Compress Images Automatically — If you’re collecting photos for IDs, profiles, or product listings, the widget can instantly resize or compress them. This ensures you get consistent, web-friendly files every time—no more huge uploads or mismatched dimensions.
- Convert Files Into Other Formats — Transloadit can convert videos, audio files, and documents to the format you prefer, saving you tons of manual work later.
- Great for Creative or Media-Heavy Forms — If your form is used for casting calls, photography submissions, multimedia projects, or job applications where portfolios are required, this widget keeps everything streamlined.
Adding and Setting Up the Transloadit Widget
Adding the Transloadit widget to your form gives your users a smooth, reliable way to upload and process files. Here’s the quick way to do it:
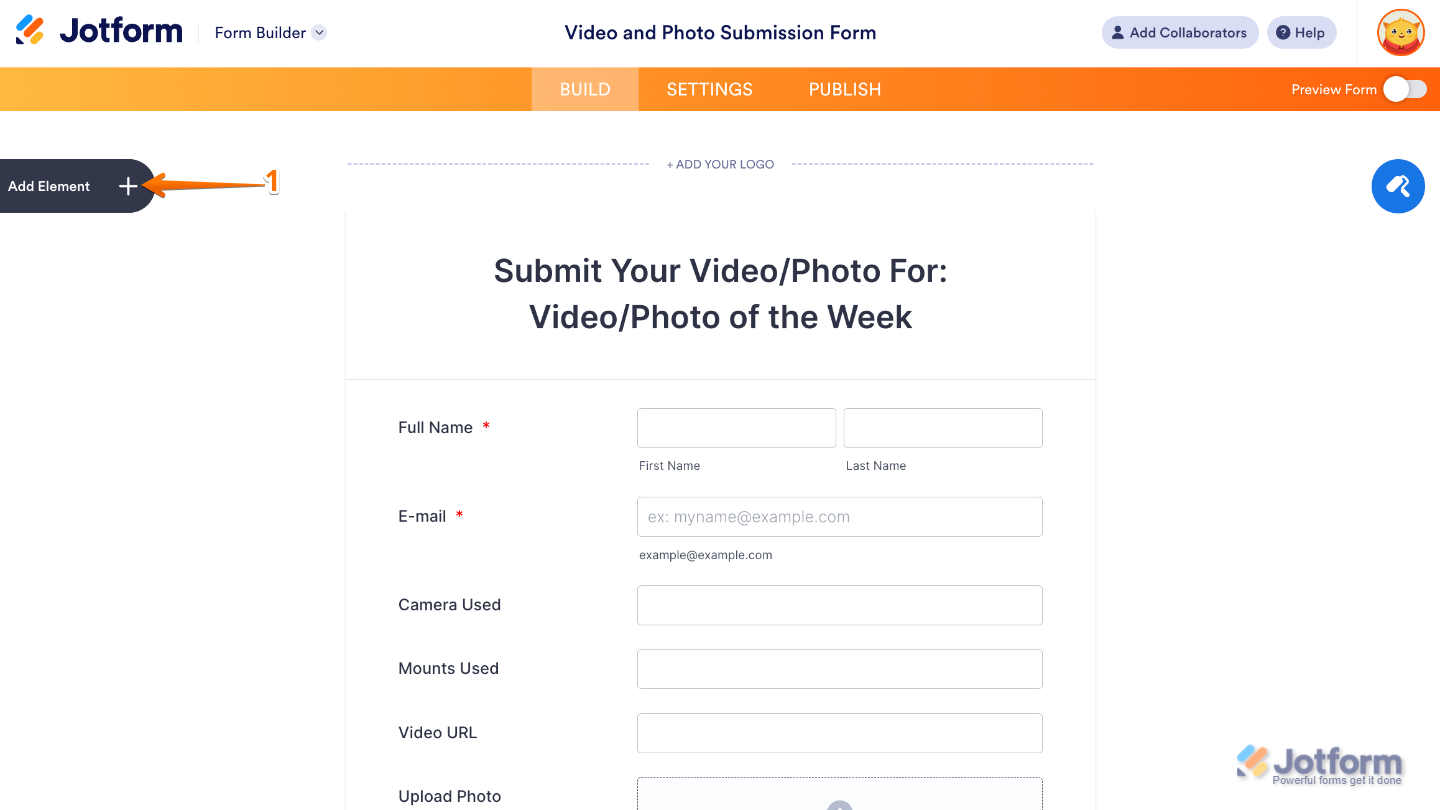
- In Form Builder, click on Add Element on the left side of the page.
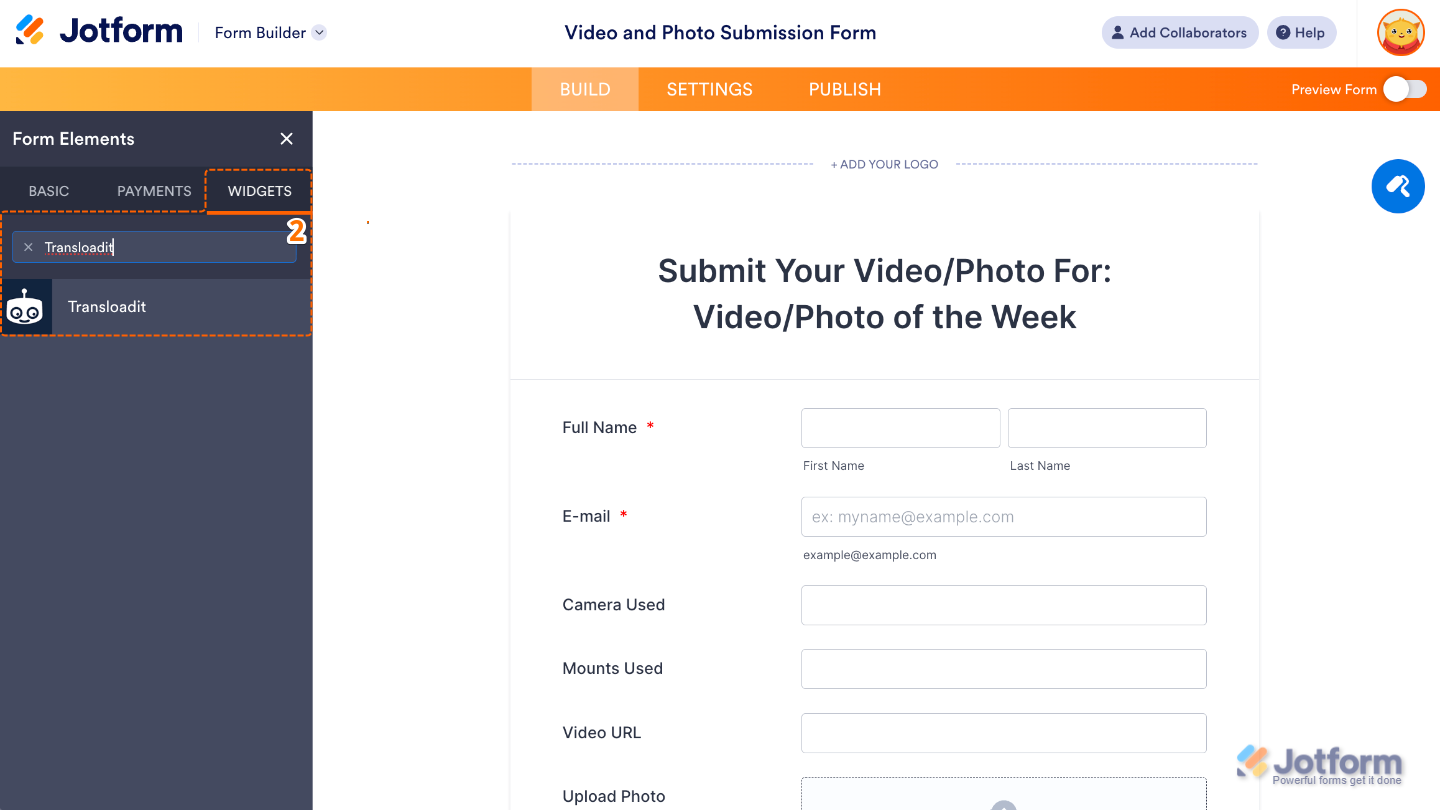
- Now, in the Form Elements menu, under the Widgets tab, search for Transloadit and then click on it. Or, just drag and drop it to where you want it to be on your form.
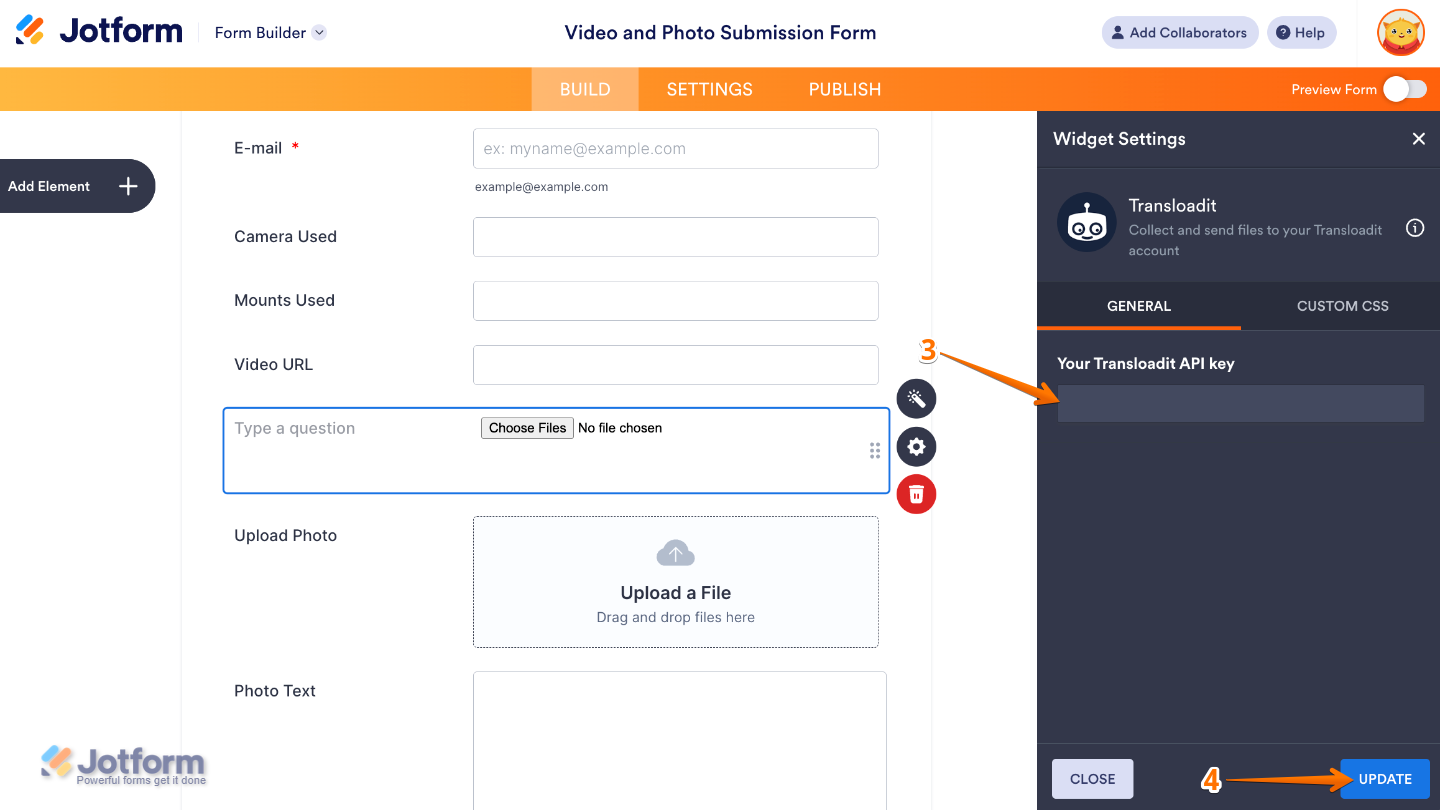
- Next, in the Widget Settings menu that opens on the right side of the page, set up the Your Transloadit API Key option and enter the unique key from your Transloadit account so the widget can connect to Transloadit’s file-processing service.
- Once you’re done, click on Update.
That’s it! You’ve successfully added and set up the Transloadit widget on your form. Now your users can upload and process files seamlessly, giving you a faster, more efficient way to handle media and document submissions. Curious how it works on a live form? Check out this Demo Form.
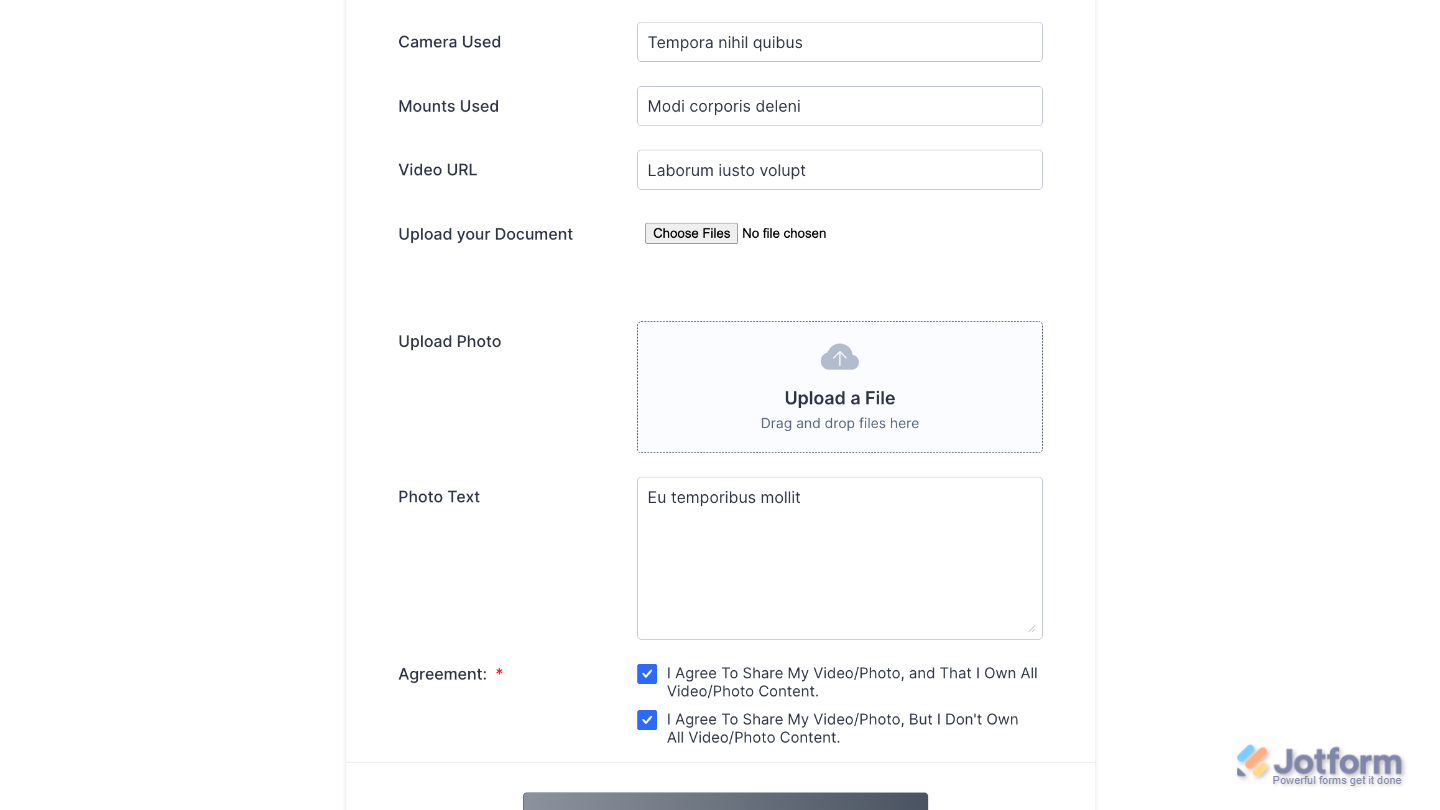
You can also configure the widget properties, like alignment, labels, size, visibility, and more, to control how it looks and behaves on your form. To learn how it’s done, see our guide on How to Access and Configure the Question Properties of a Widget.
Note
For advanced styling of the Transloadit widget, you can add your own custom CSS code under the Custom CSS tab in the Widget Settings. Our guide on How to Inject CSS Codes to Widgets walks you through everything.
Pro Tips
- Your Transloadit template is the “recipe” for how your files are handled. Make sure it’s set up with the exact steps you need—whether you’re resizing images, converting videos, or extracting audio.
- The widget shows real-time progress, so users know their files are processing. This reduces confusion and keeps them engaged while the upload finishes.
- Transloadit is powerful, but your users’ upload speeds may vary. Setting practical file size limits helps keep the experience smooth for everyone.

Send Comment: