Jotform’s Image Upload with Notes widget lets you collect images from respondents along with notes or additional details about each upload. You can use it to gather photos, screenshots, or other visual information while giving respondents space to add comments or descriptions.
Here are a few ways to use it:
- Document issues or progress — Upload photos and add notes to explain findings, repairs, or updates.
- Collect supporting images — Let respondents submit screenshots, damage photos, receipts, or other visual evidence with additional details.
- Review products or properties — Gather images with comments about conditions, quality, or specific areas of concern.
- Share visual feedback — Allow users to upload an image and explain what they want reviewed, changed, or addressed.
In a few quick steps, you can add and set up the Image Upload with Notes widget in your form. Here’s how to get started:
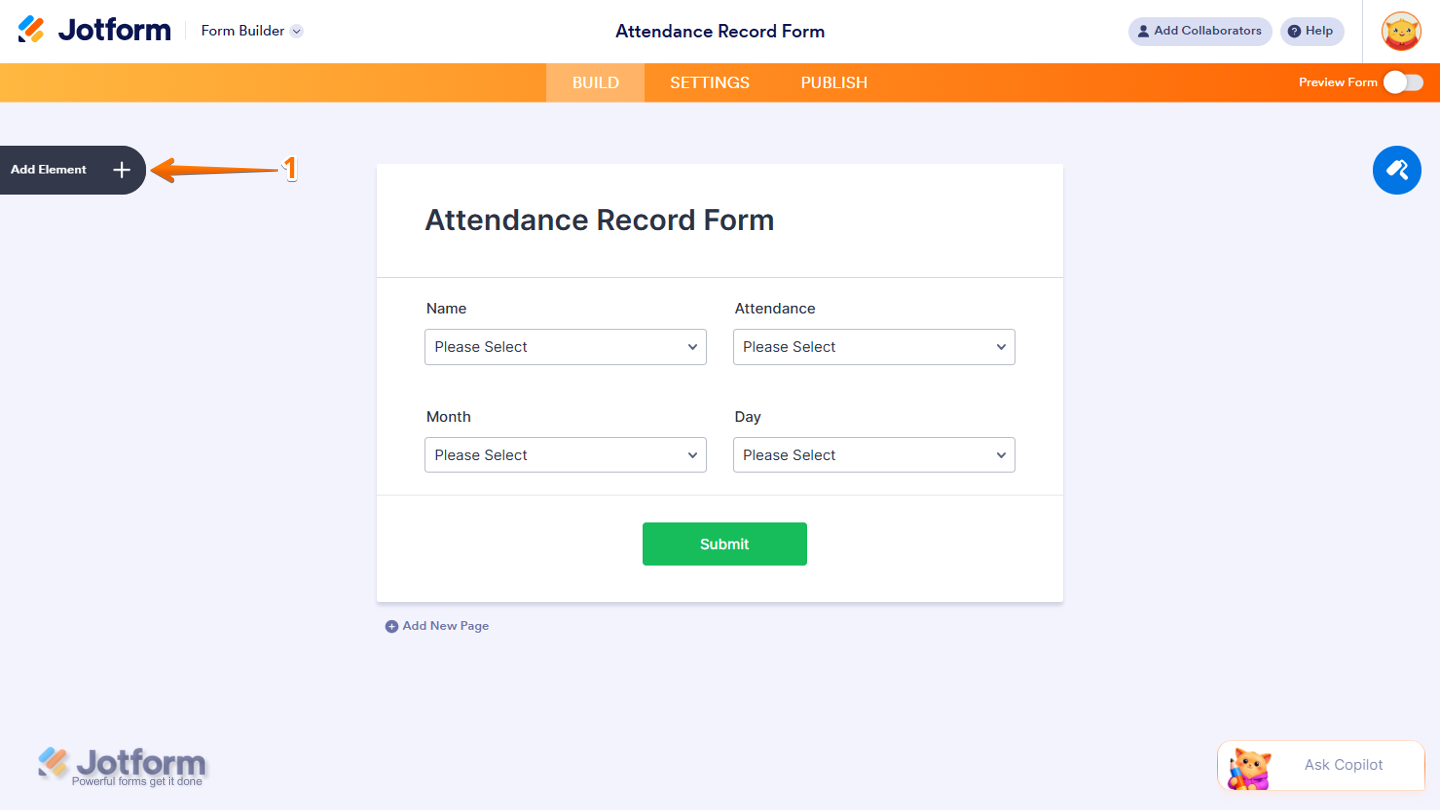
- In Form Builder, click on Add Element on the left side of the page.
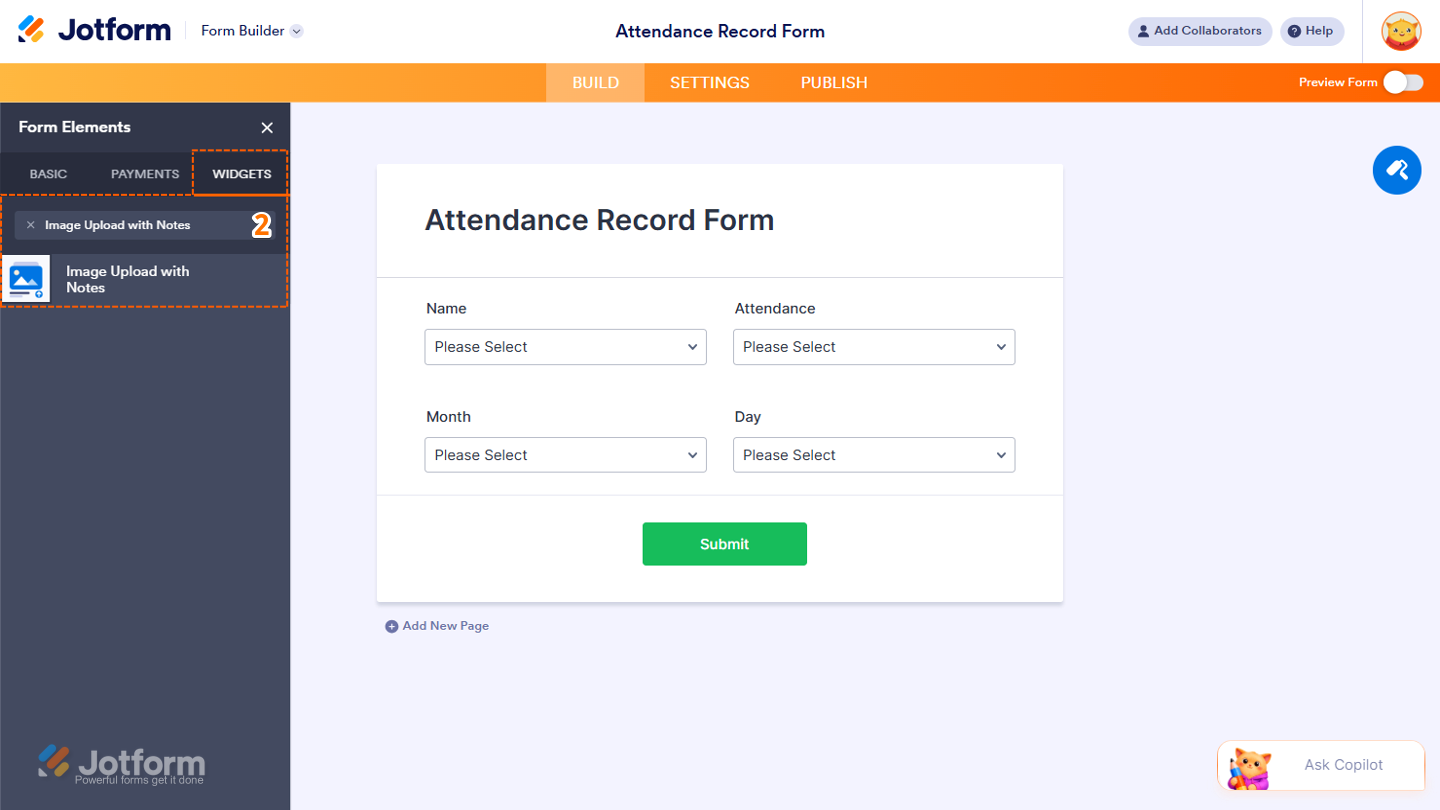
- Then, in the Form Elements menu, under the Widgets tab, search for Image Upload with Notes and then click on it. Or, drag and drop it to where you want it to be on your form.
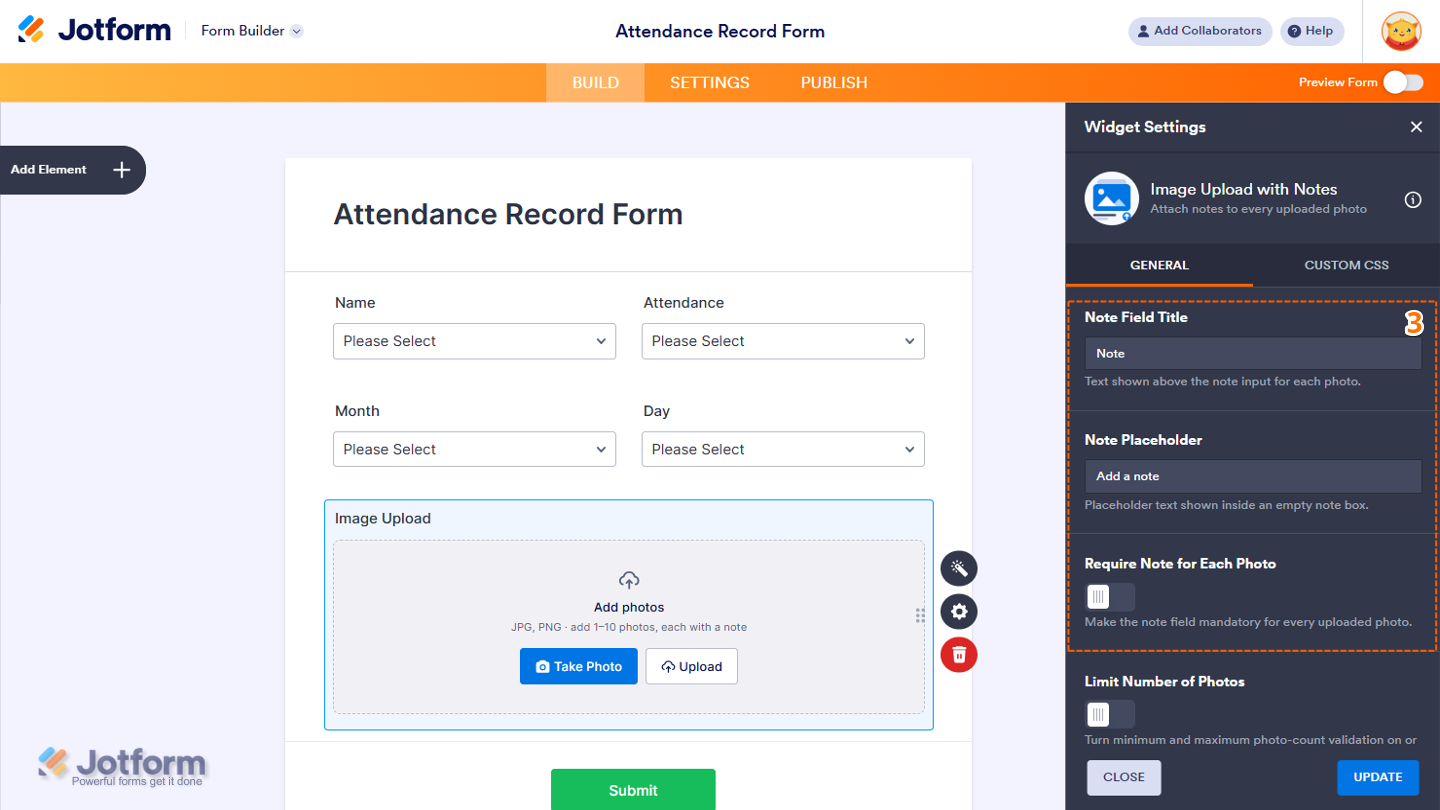
- Next, in the Widget Settings menu that opens on the right side of the page, configure these settings:
- Note Field Title — Add text to display above the note input for each photo.
- Note Placeholder — Add placeholder text to be shown inside an empty note box.
- Require Note for Each Photo — Make the note field required for every uploaded photo.
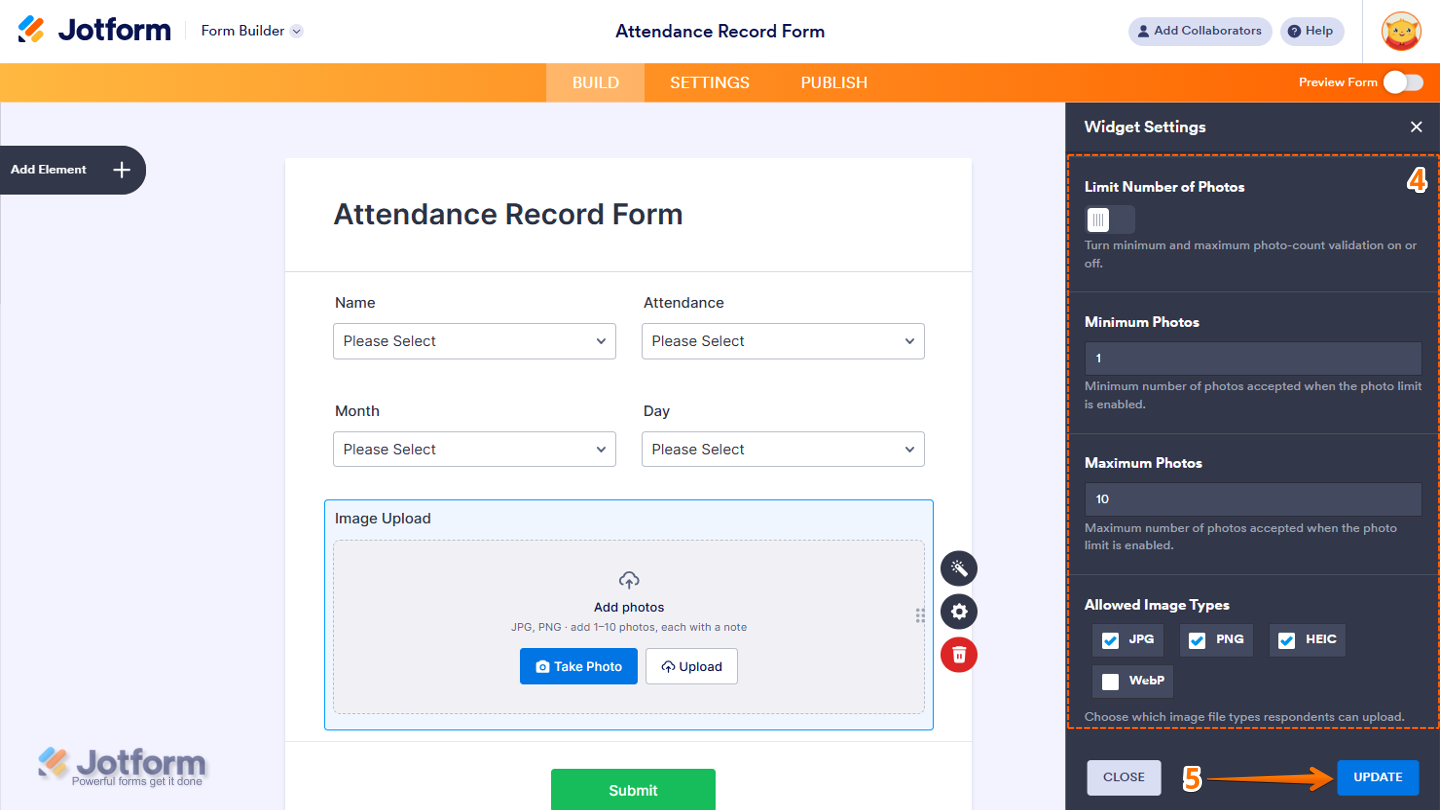
- Now, scroll down to the bottom and then continue setting up these options:
- Limit Number of Photos — Toggle this on to enable minimum and maximum photo count validation.
- Minimum Photos — Enter the minimum number of photos users need to upload.
- Maximum Photos — Set the maximum number of photos users can upload.
- Allowed Image Types — Select the image file types users can upload, such as JPG, PNG, HEIC, or WebP.
- Once you’re done, click on Update at the bottom of the page.
That’s it. You’ve successfully added and set up the Image Upload with Notes widget on your form. To see how it works on a live form, check out this demo.

Notes
- For advanced styling of the Image Upload with Notes widget, you can add your own custom CSS code under the Custom CSS tab in the Widget Settings. Our guide on How to Inject CSS Codes to Widgets walks you through it.
- You can also configure the widget properties, like alignment, labels, size, visibility, and more, to control how it looks and behaves on your form. Check out our guide on How to Access and Configure the Question Properties of a Widget to learn more.

Send Comment:
1 Comment:
October 1, 2026
The widget has great features. However, when we use many photos in the PDF Editor, it does not allow us to resize the images, which limits the ability to optimize the available space and improve the document layout.