In Insights, key data can be grouped and organized in one place – Dashboards! This flexible workspace is a place where you can structure your information, group it into tabs, and adjust the appearance to match your brand.
In this guide, we’ll talk about the overall management of custom dashboards, including how to create new dashboards, customize their look and layout, and organize them.
Creating a New Dashboard
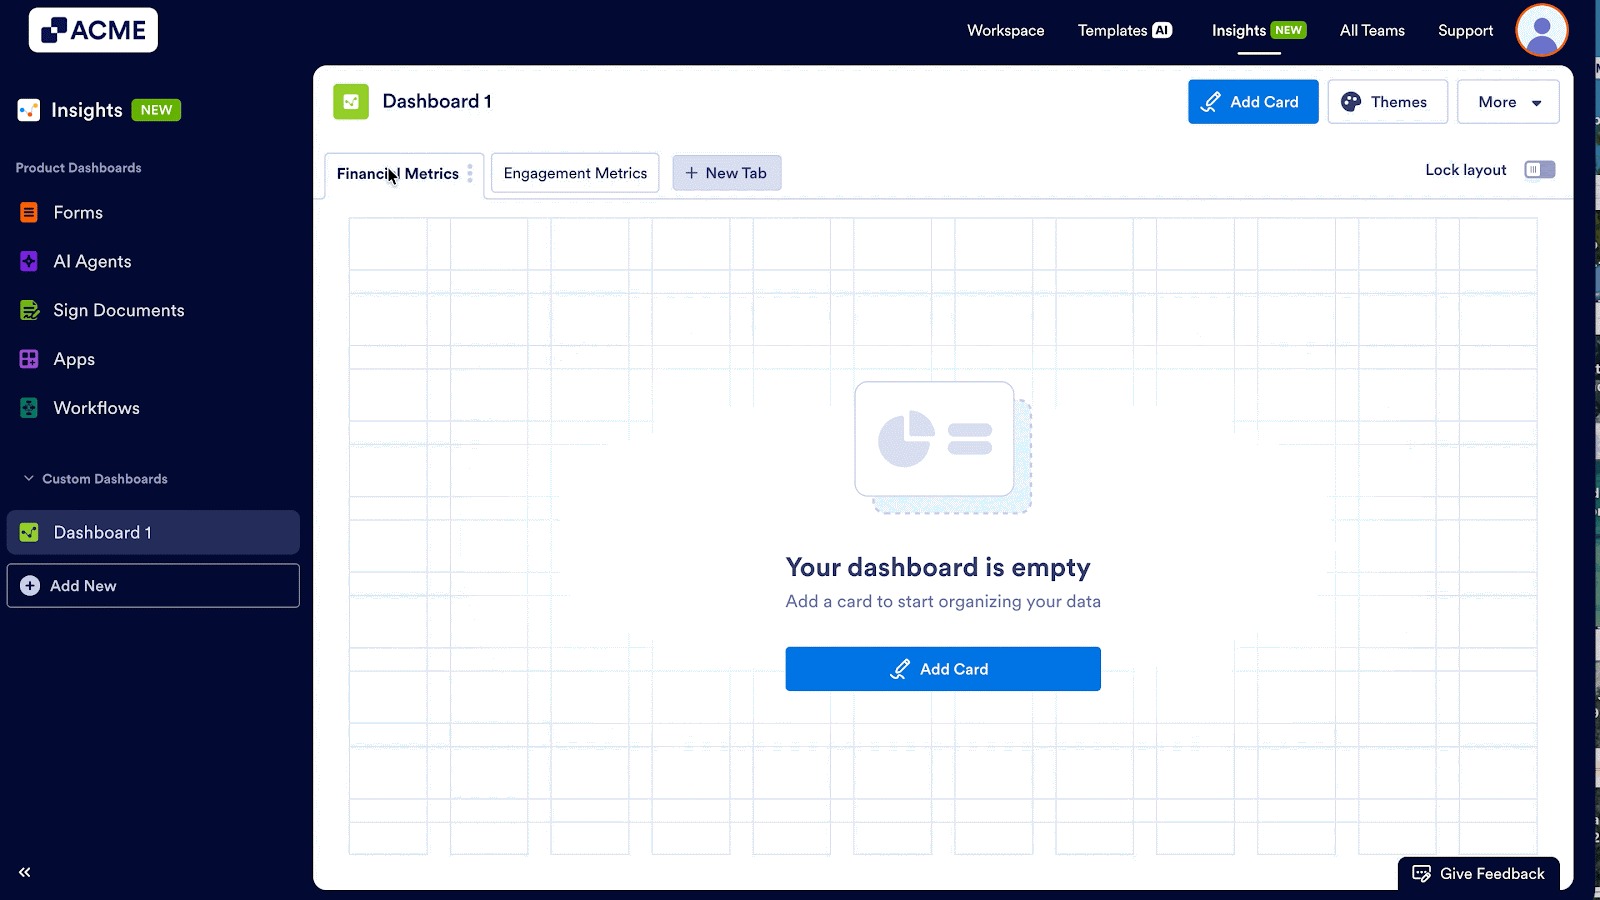
Custom Dashboards are a blank slate for your data and visualizations. Here, you can organize multiple cards—or data visuals—into a cohesive layout for tracking and analysis. Let’s walk through creating a custom Dashboard together:
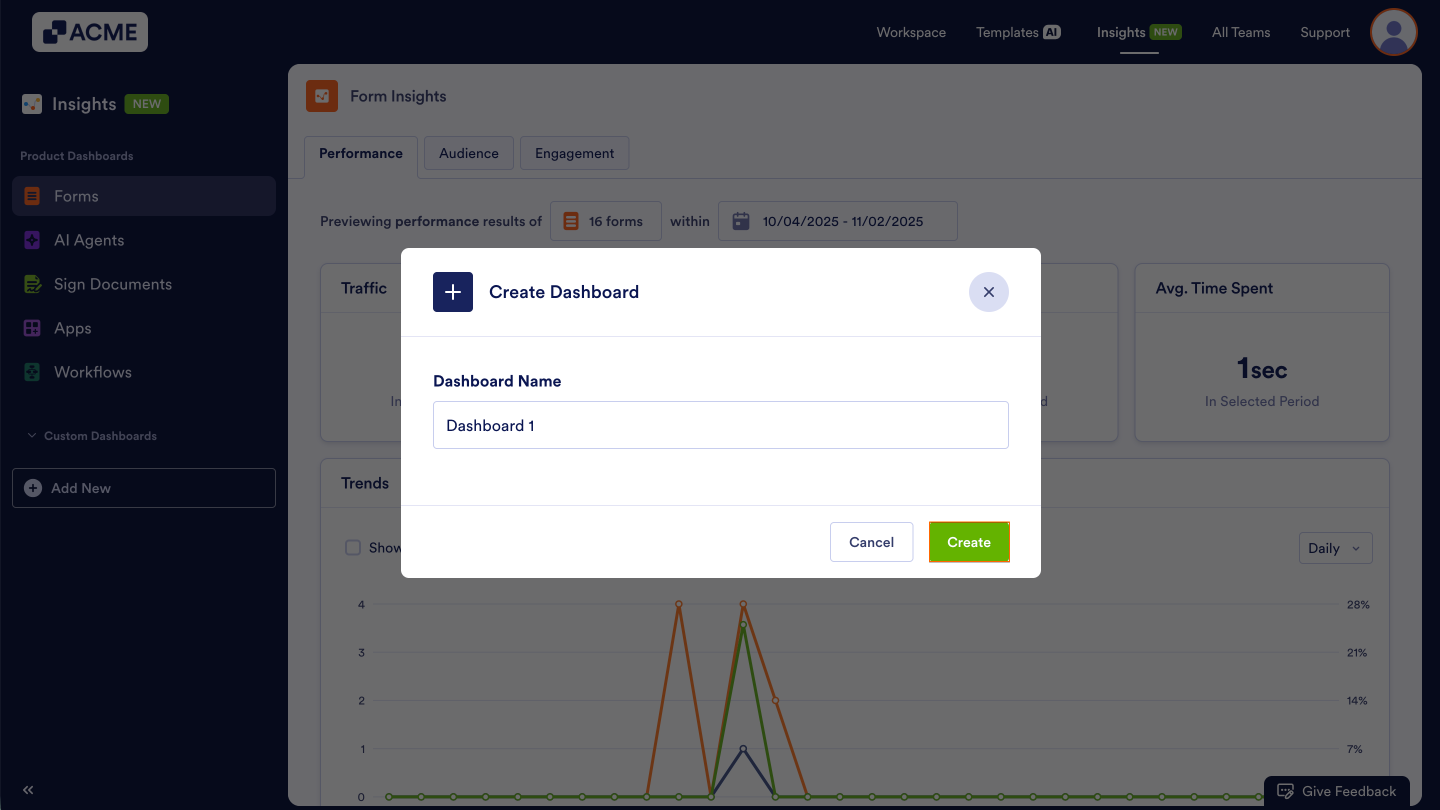
- In Insights, under Custom Dashboards, on the left-hand side of the page, click on Add New.
- In the pop-up window, enter a Dashboard Name.
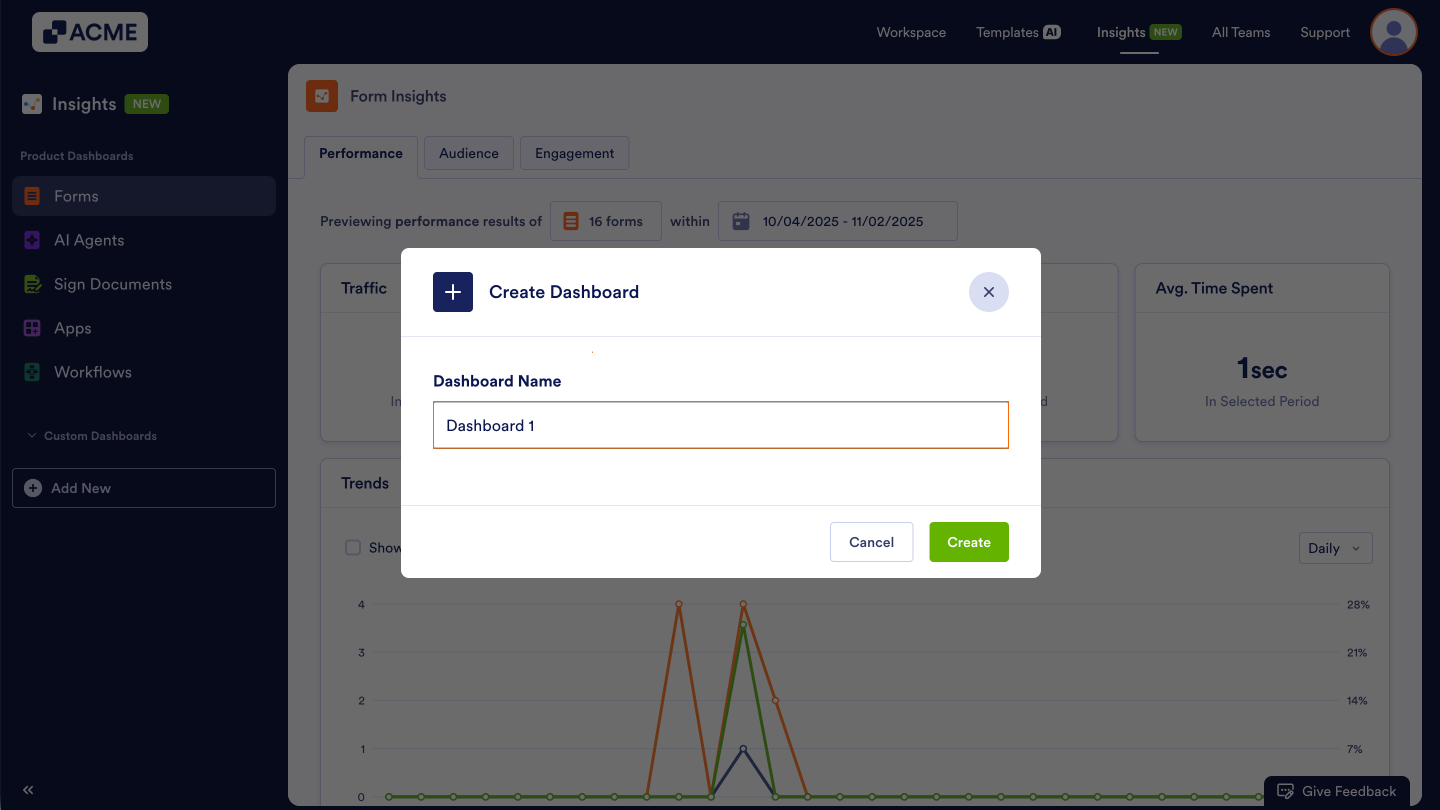
- Finally, click on Create.
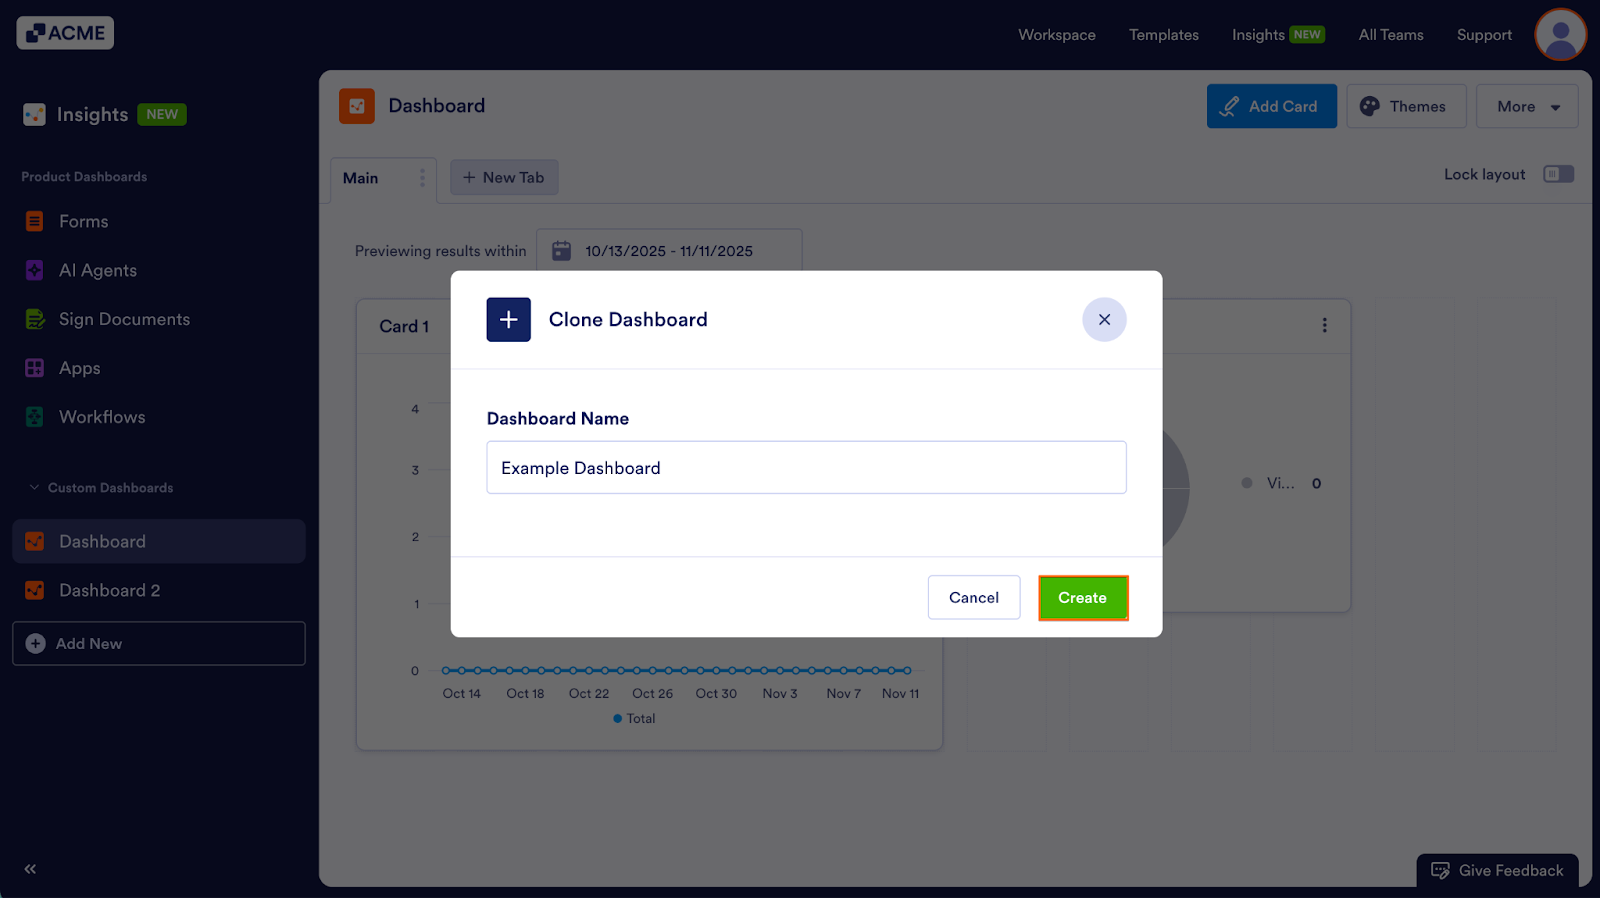
Creating a New Dashboard by Cloning
You can clone and reuse existing Dashboard configurations. This creates an exact copy of the Dashboard—including all of its tabs and cards—allowing you to update or customize the duplicate without altering the original. Let’s walk through cloning a Dashboard together:
- In your custom Dashboard, click on More in the upper right-hand corner of the page.
- Then, select Clone Dashboard from the drop-down menu.

- Name the clone dashboard.
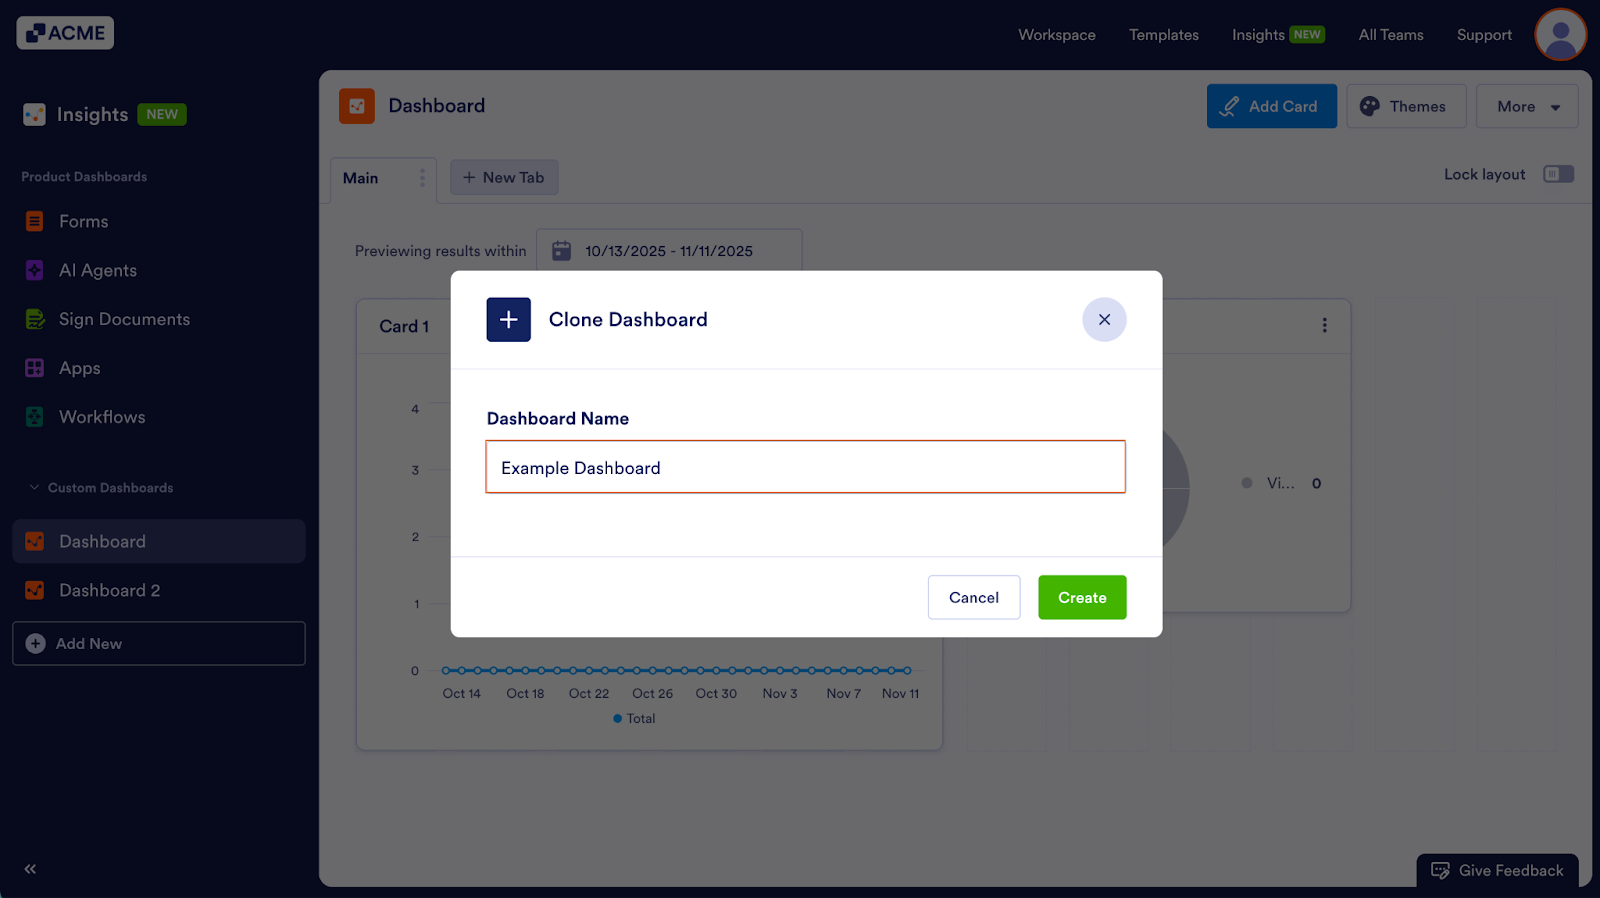
- Click on Create.
Managing Tabs
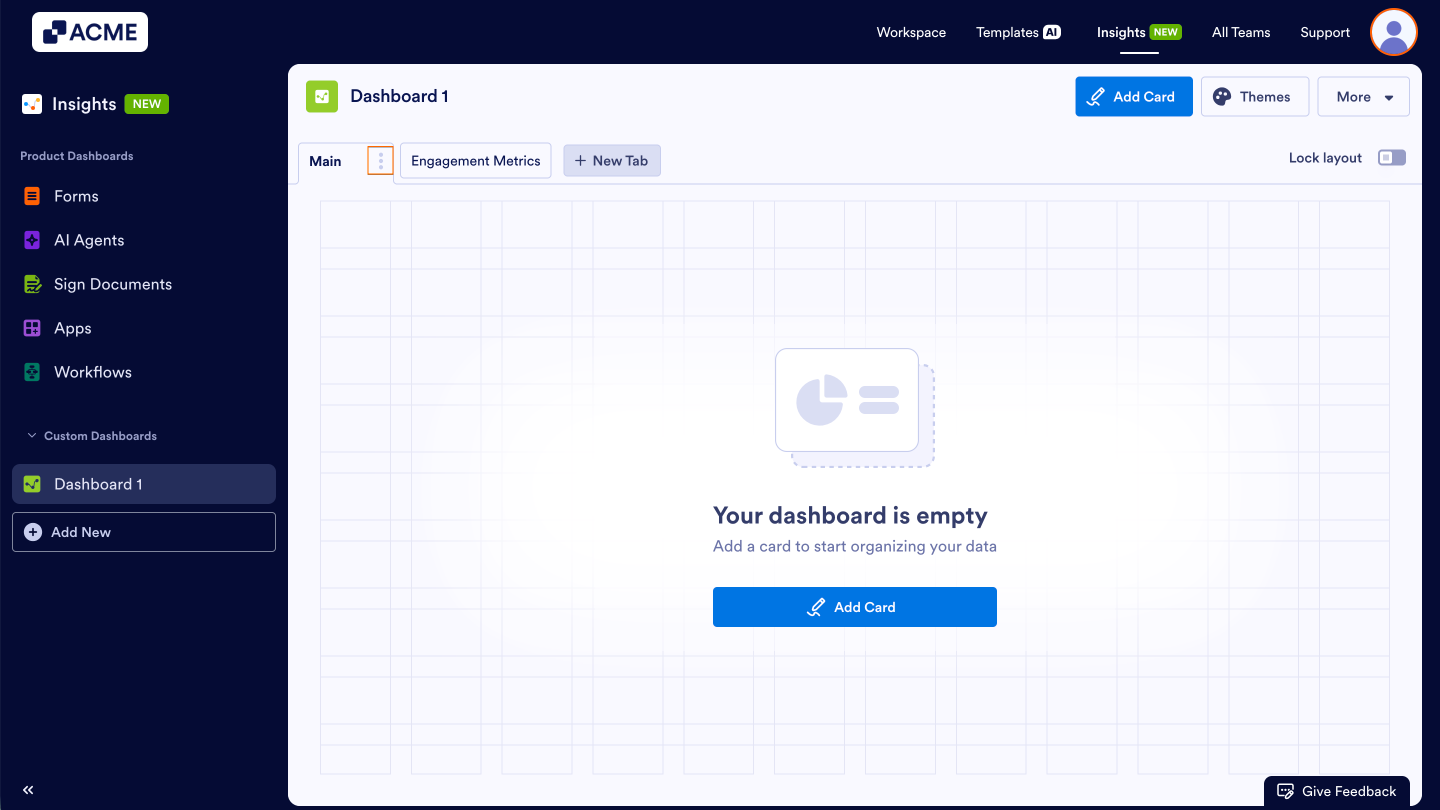
After creating a new Dashboard, you’ll see a blank tab, ready for data. You can also add additional tabs for different sets of data and visualizations, rename the tabs, reorder them, or delete ones you no longer need. Each tab functions as its own workspace in the Dashboard, where you can organize and group unique sets of data. Below, we’ll walk through how to manage your tabs, starting with adding a new tab.
Adding a New Tab
- Click on the New Tab button next to the existing tab names at the top of the dashboard.

- Then, in the pop-up window, enter a Tab Name that describes the type of data you’ll display (for example, “Engagement Metrics”).

- Finally, click on Create.

A new blank tab will open where you can begin adding cards.
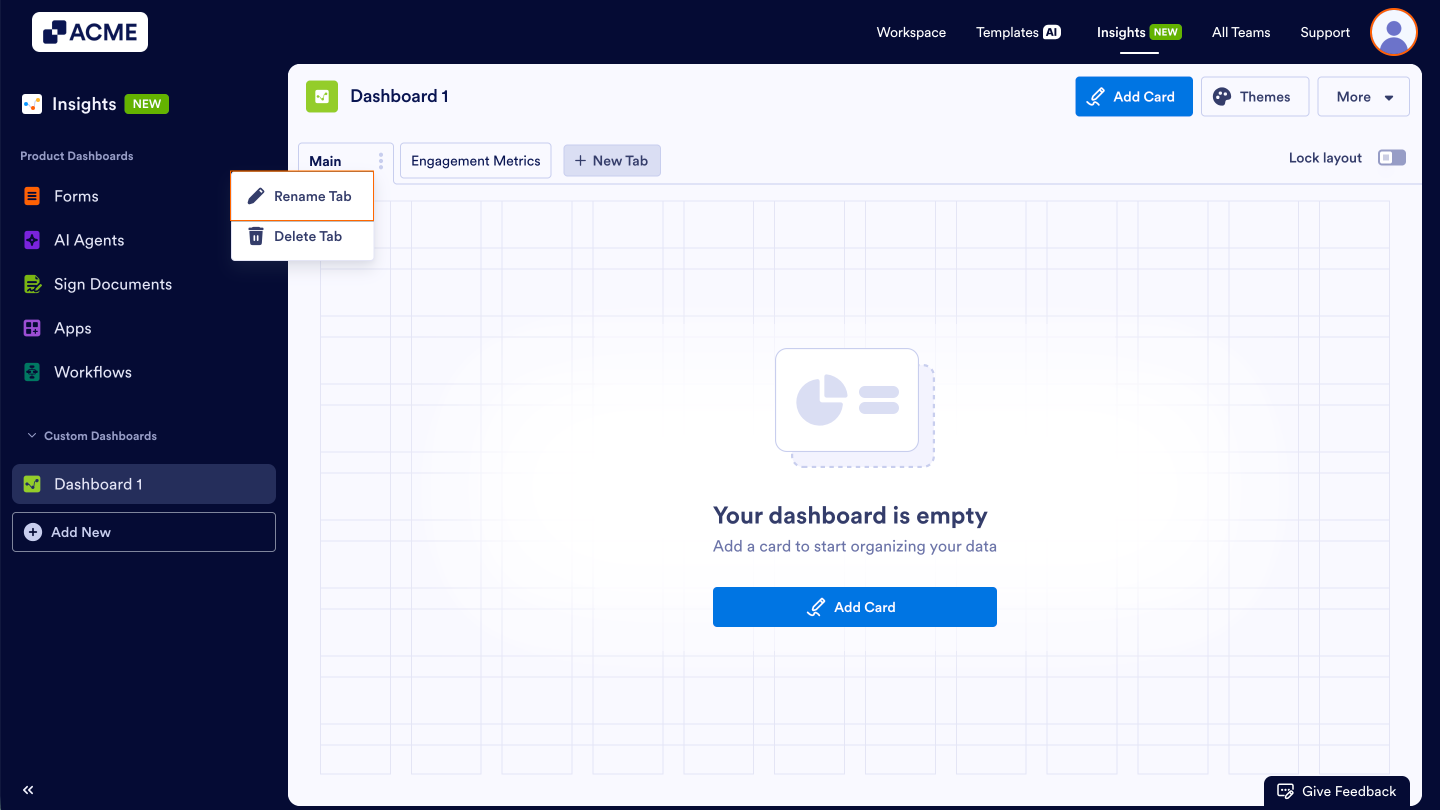
Renaming a Tab
- Select the tab you want to rename.

- Then, click on the three dot menu next to it.

- Select Rename Tab in the drop-down menu
- In the pop-up window, enter the new tab name.
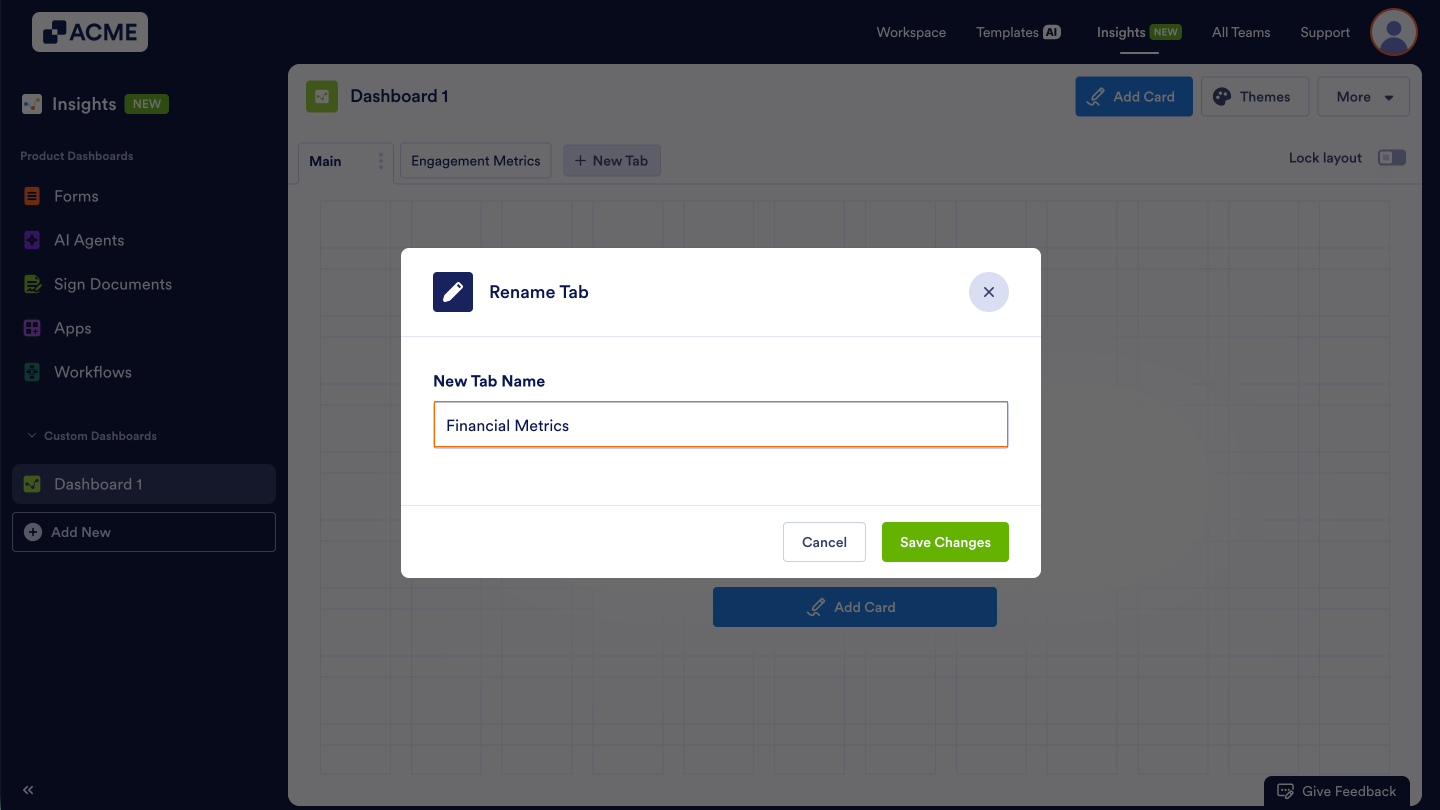
- Finally, click on Save Changes.
Reordering Tabs
- Click and hold a tab at the top of the Dashboard.
- Then, drag it left or right to adjust its position.
- Finally, drop the tab to set the new order.
Deleting a Tab
Deleting a tab will remove the tab and all associated data and visualizations from the Dashboard – however, your submissions and assets will not be deleted from the server.
- Select the tab you want to delete.

- Then, click on the three dot menu next to it.
- Then, select Delete Tab from the drop-down menu.

- Finally, in the pop-up window, click on Delete.
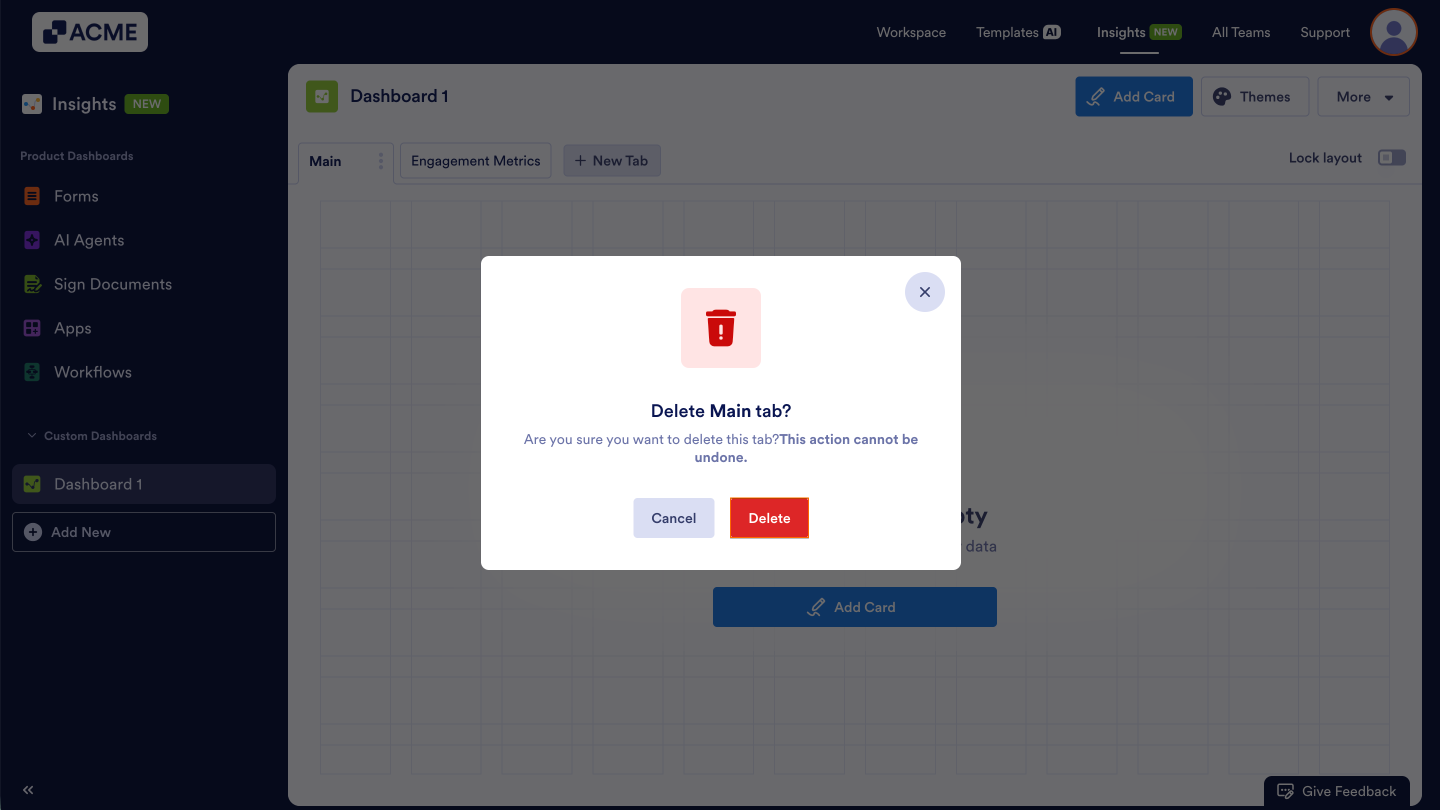
Note
Deleting a tab also removes all cards contained within it.
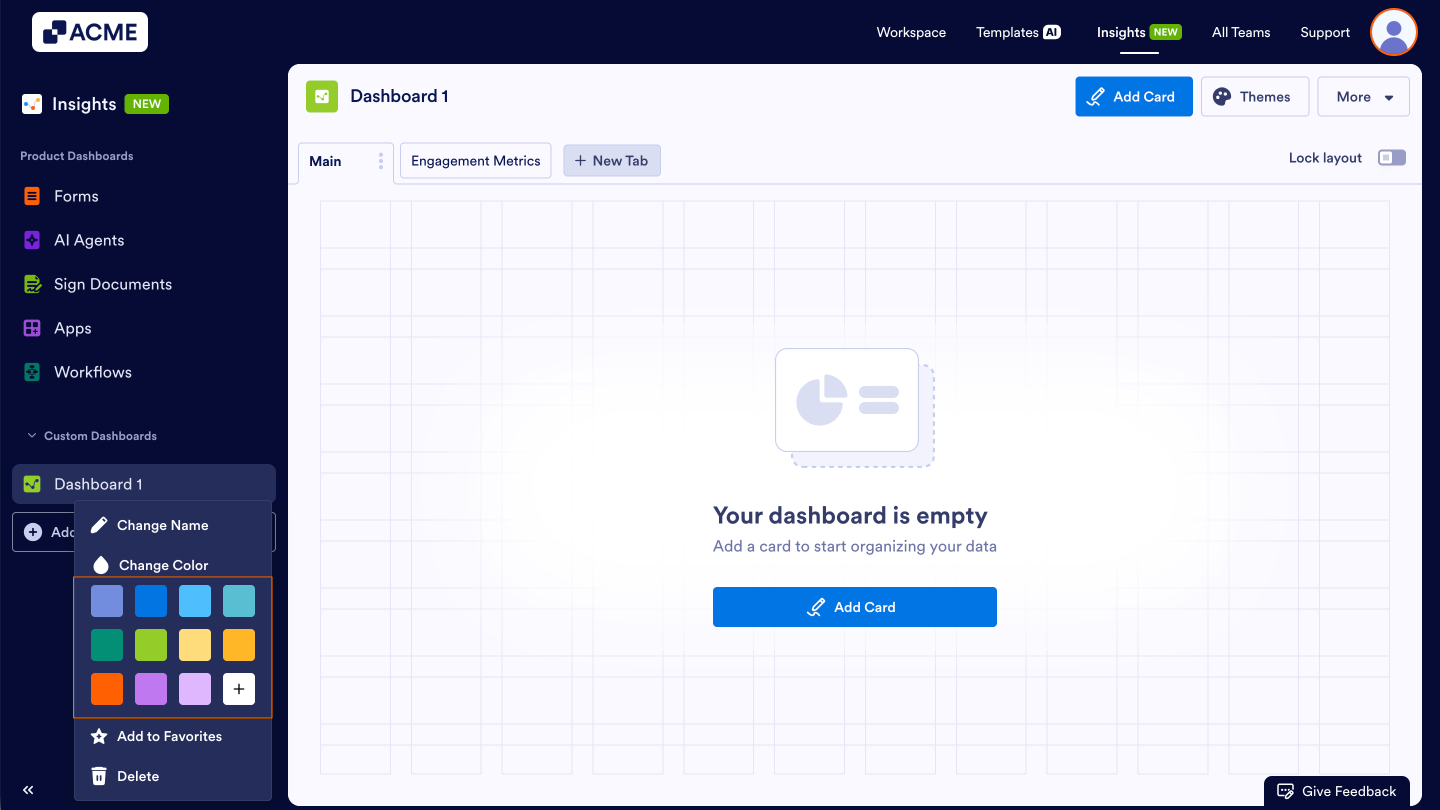
Dashboard Icon Color
Want to change the color of your Dashboard icon? The icons of any custom Dashboards can be quickly updated to match your preferences. Let’s go through the process of updating the color below:
- In Insights, under Custom Dashboards on the left, hover over the dashboard whose logo color you want to change.

- Then, click on the Three Dots icon next to the dashboard name.

- In the pop-up window under Change Color, click on the new color for the Dashboard icon. You can also click on the + icon to add additional colors using the color picker or HEX codes.

Send Comment: