With Sign documents, you can turn your existing PDFs into e-sign documents and collect signatures from your clients with ease. Once uploaded, you can add fillable fields, assign signer roles, and automate the signing process through email or by sharing a link—making document management faster and more efficient.
Uploading a PDF to Sign document is easy to do. Here’s how:
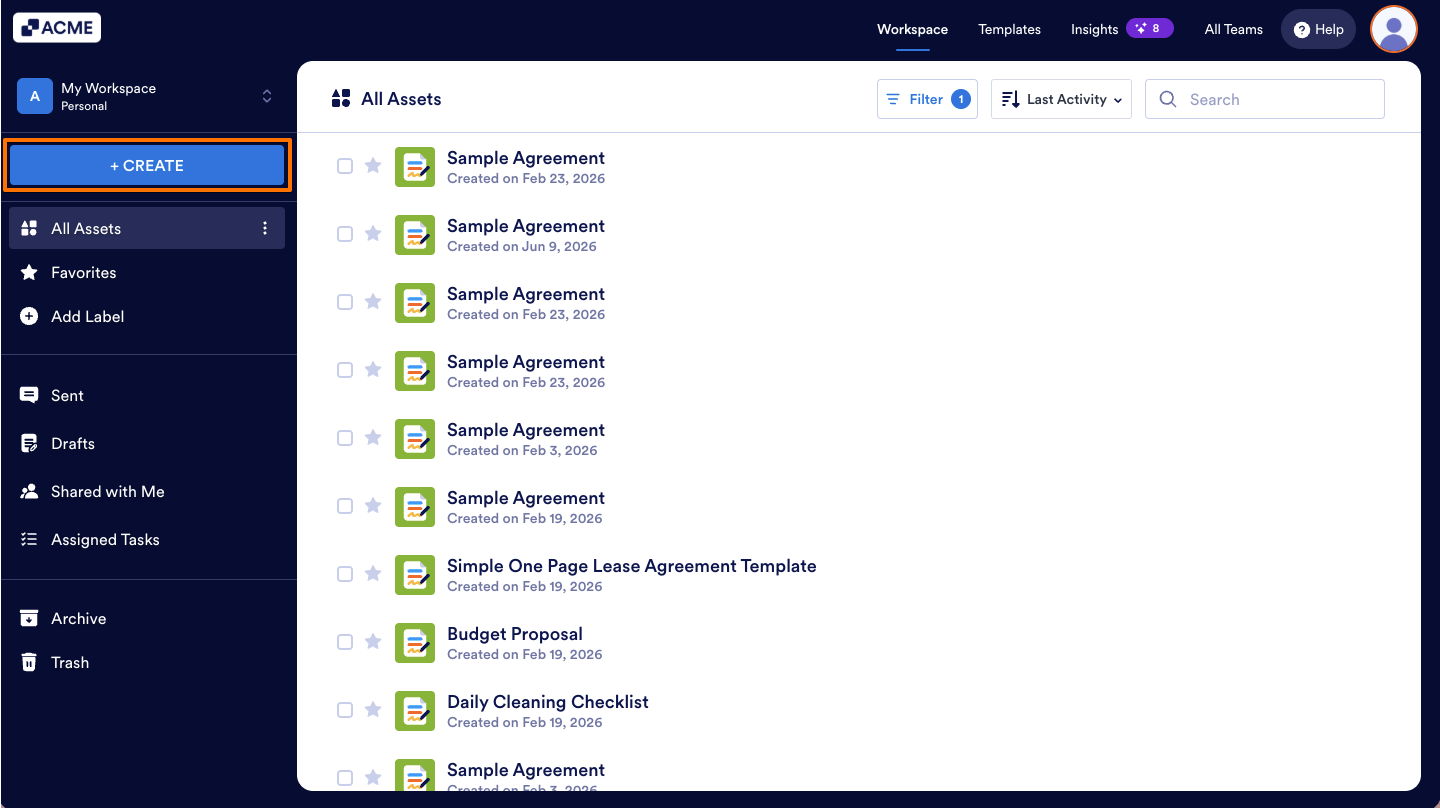
- On your My Workspace page, click on Create on the top-left side of the screen.
- In the window that opens up, click on E-Sign.

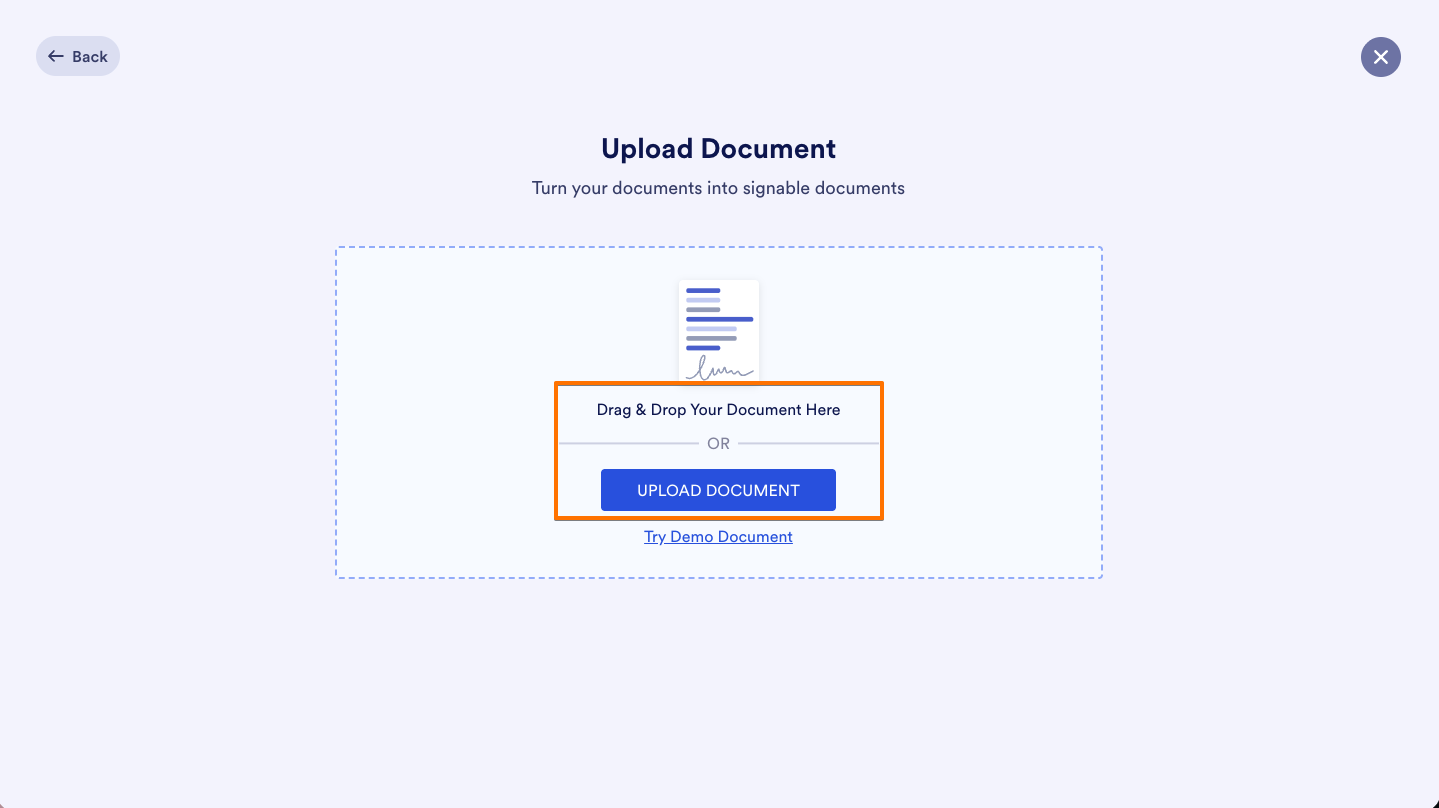
- Then, drag and drop the document on the page, or click on the Upload Document button to upload a PDF from your device.
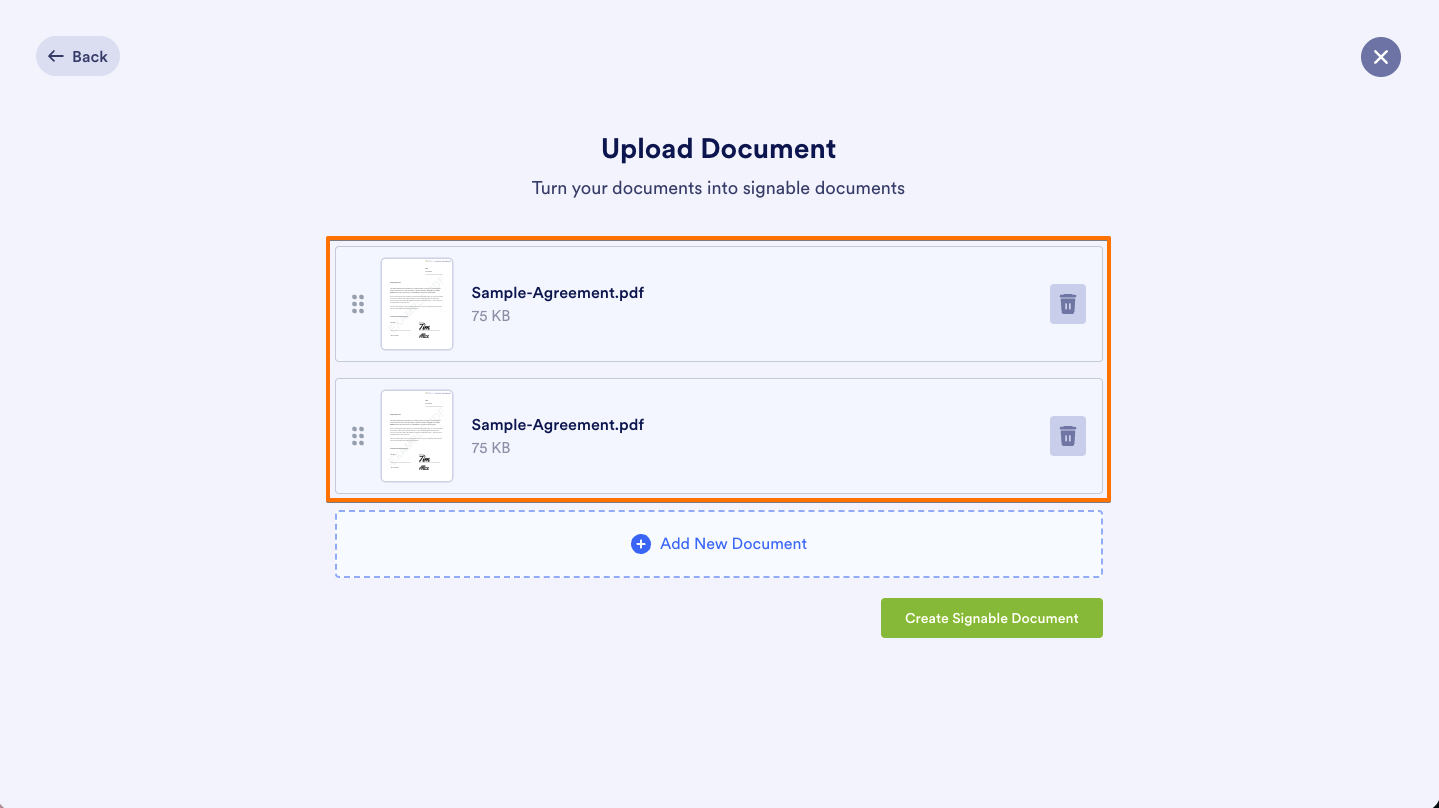
- You can also upload multiple documents at once, then rearrange or delete them as needed. Sign document will automatically merge the selected documents into one file when created.
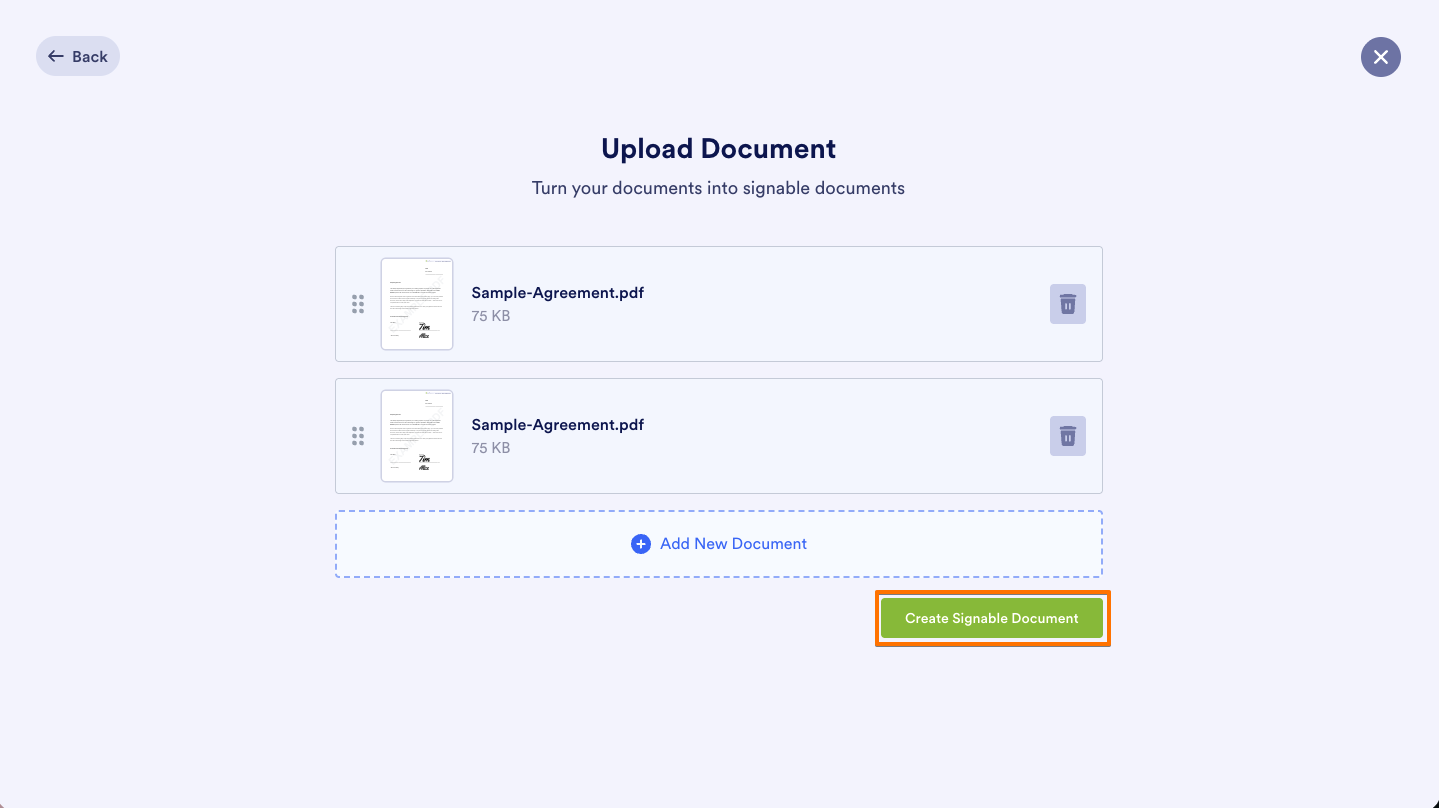
- Once you’re done, click on the Create Signable Document button.
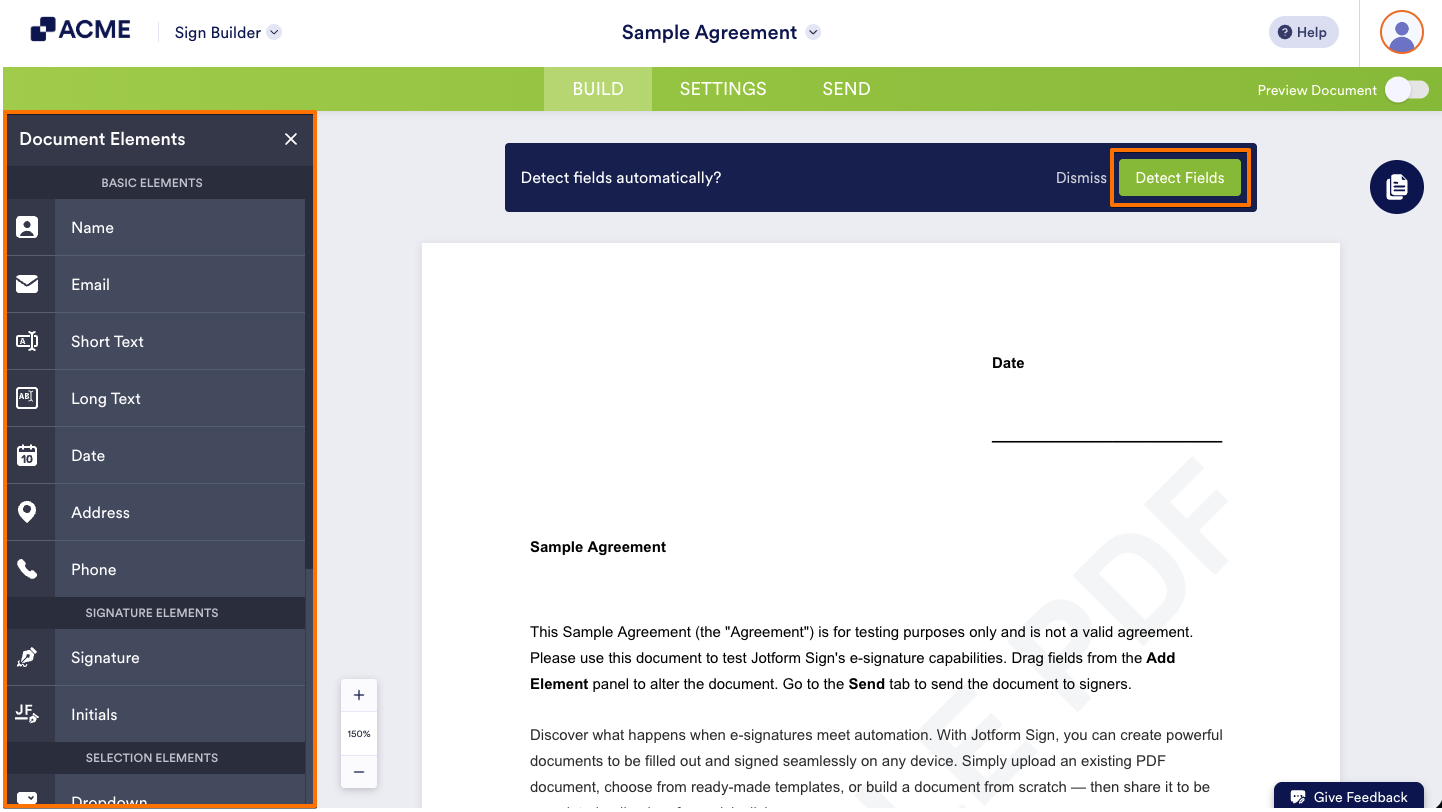
- Now, click on the Detect Fields button to automatically detect fields, or add them manually from the Document Elements panel on the left side of the screen, and you’re all set.
All done! You’ve successfully uploaded your PDF to Sign document. From here, you can customize your document, assign signers, and send it out for signature—all in just a few clicks.
Disclaimer: The information provided in this guide is for general informational purposes only and is not intended to constitute legal advice. While we strive to keep the information accurate and up-to-date, laws and regulations vary by jurisdiction and can change frequently. Should you have specific legal questions about any of the information on this site, you should consult with a licensed attorney in your area.

Send Comment: