With Sign Documents, you can automate the way you collect electronic signatures and simplify your workflow. It comes with features like Signing Order, letting you send documents to multiple signers in a set order. This helps you skip the hassle of chasing down wet signatures—saving time and effort every step of the way.


Creating Signable Document
Creating a Signable Document from your Workspace page is simple. You can do it in just a few steps:
- On your Workspace page, click on Create on the top-left side of the screen.
- In the window that opens up, click on E-Sign.
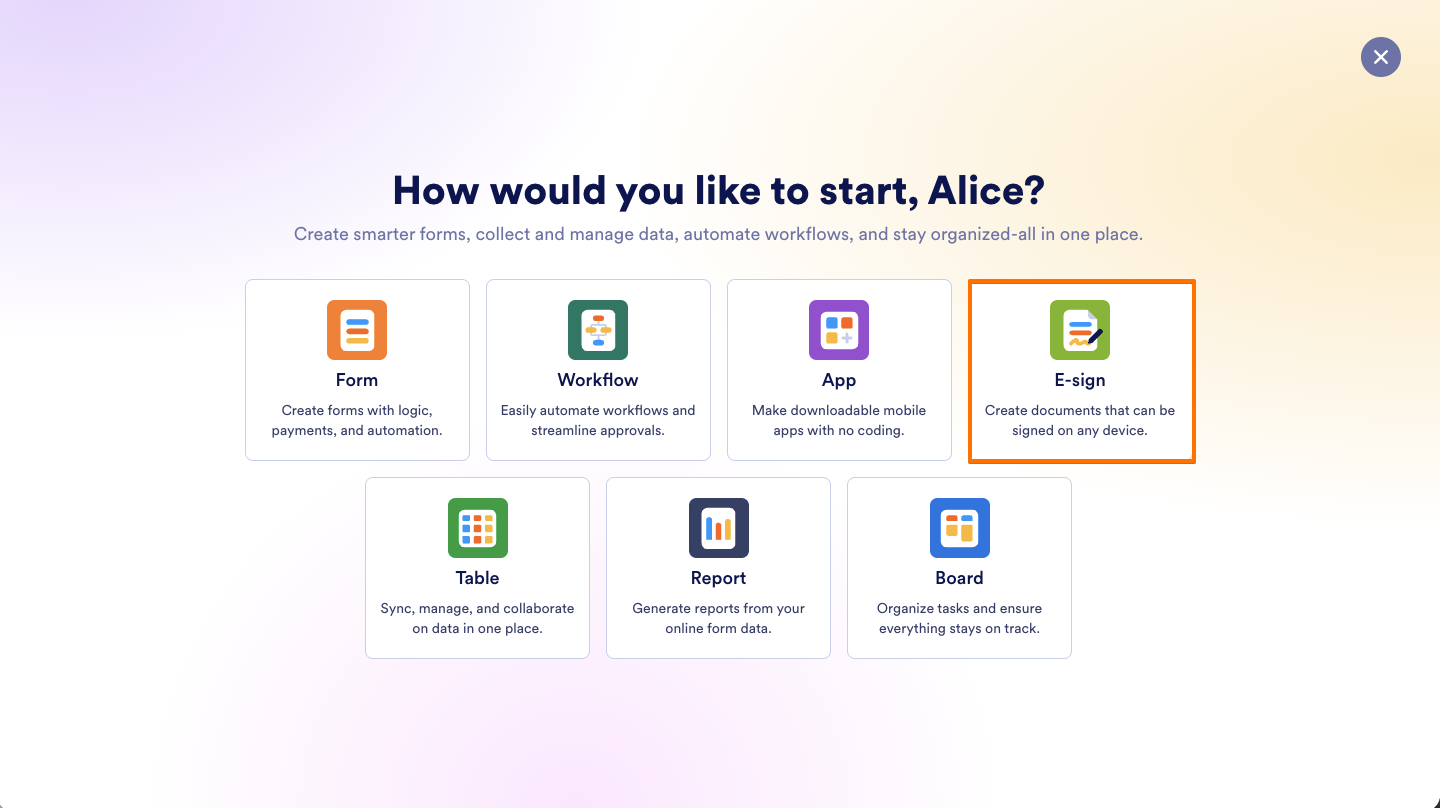
- Now, select what you want to do:
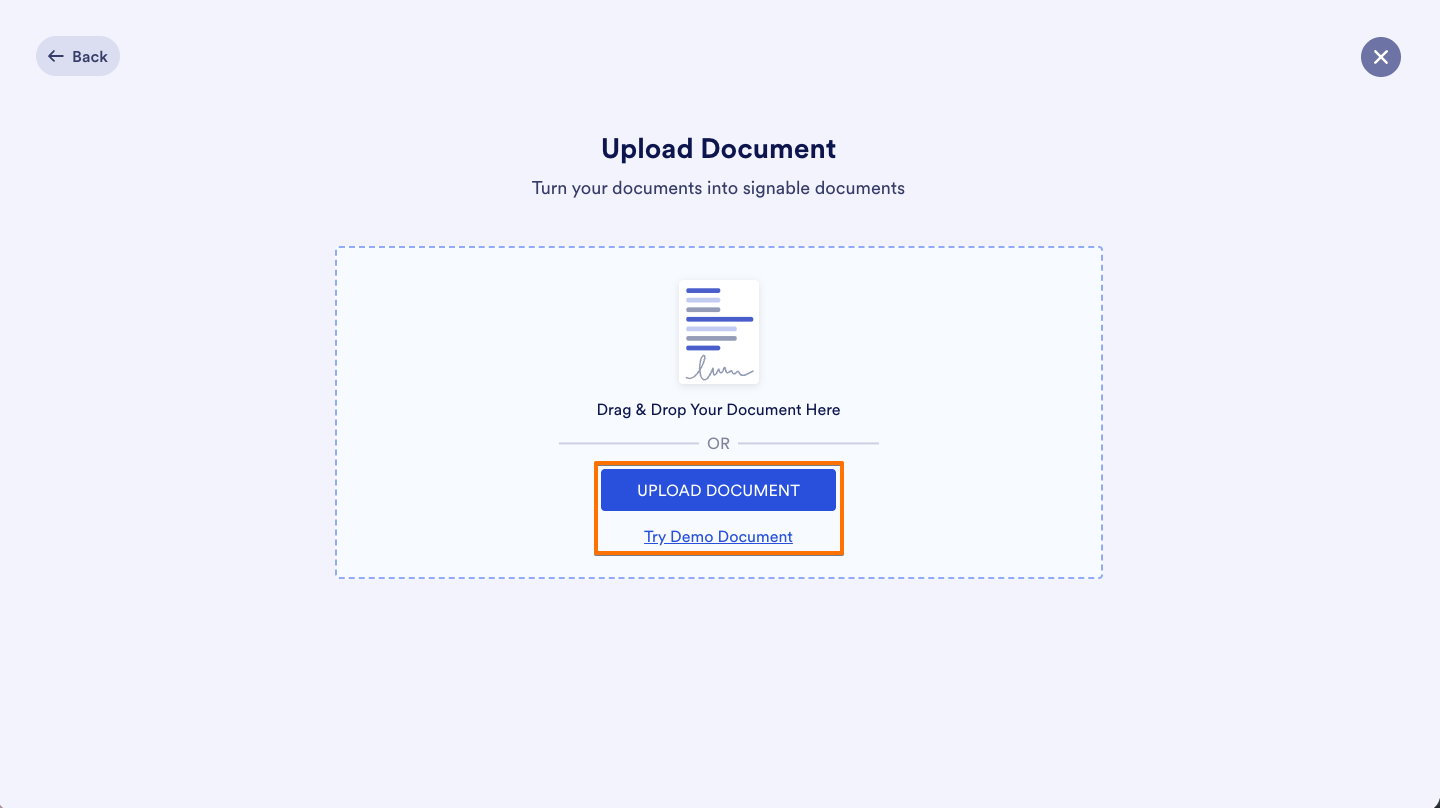
- Upload Document — Upload your PDF or DOCX file to turn it into a signable document.
- Try Demo Document — Use the sample document to explore the signing experience and see how signable documents work before uploading your own file.
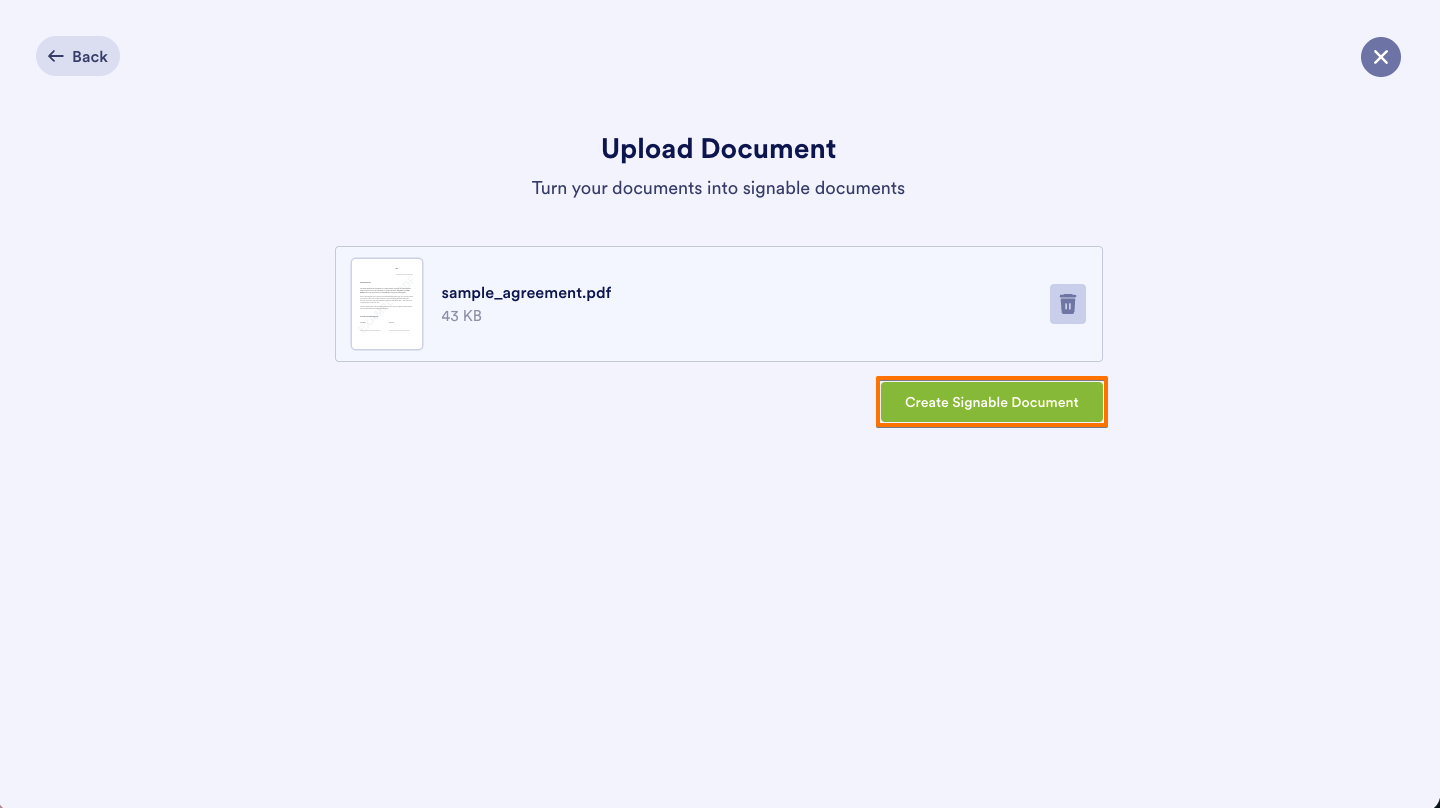
- Finally, click the Create Signable Document to convert your file into a signable document.
Note
If you choose to upload a document, you’ll see the option right on the page. You can either drag and drop a file from your computer or click Upload Document to select one.
Building the Signable Document
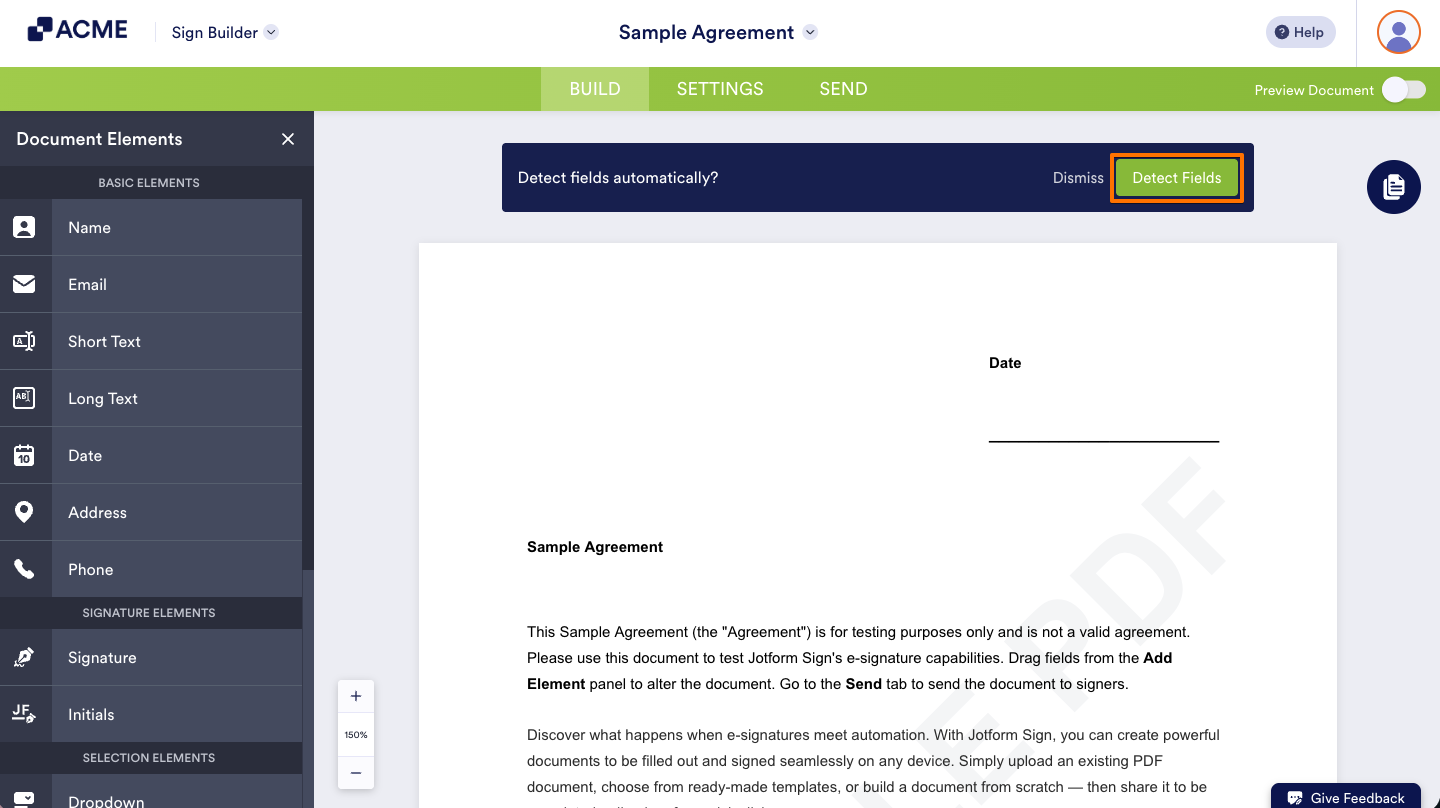
After you upload your document, the Sign Builder scans it and automatically detects fields that may need to be filled or signed. To continue working on your document, follow these steps:
- In Sign Builder, click on Detect Fields on the window that shows up right after the Sign Builder has loaded the document.
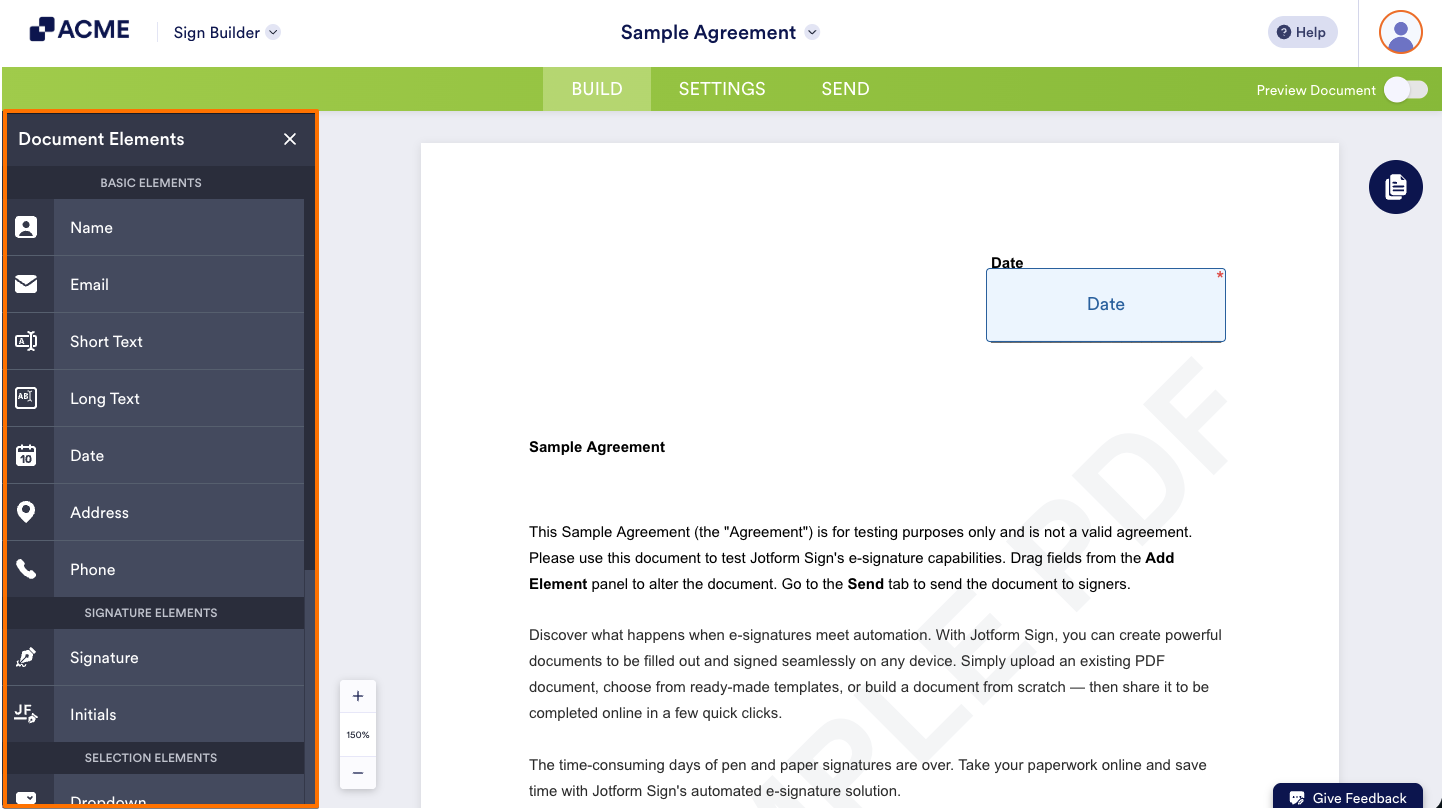
- Once the Sign Builder has detected the fields, click on the Add Element menu on the left side of the page.
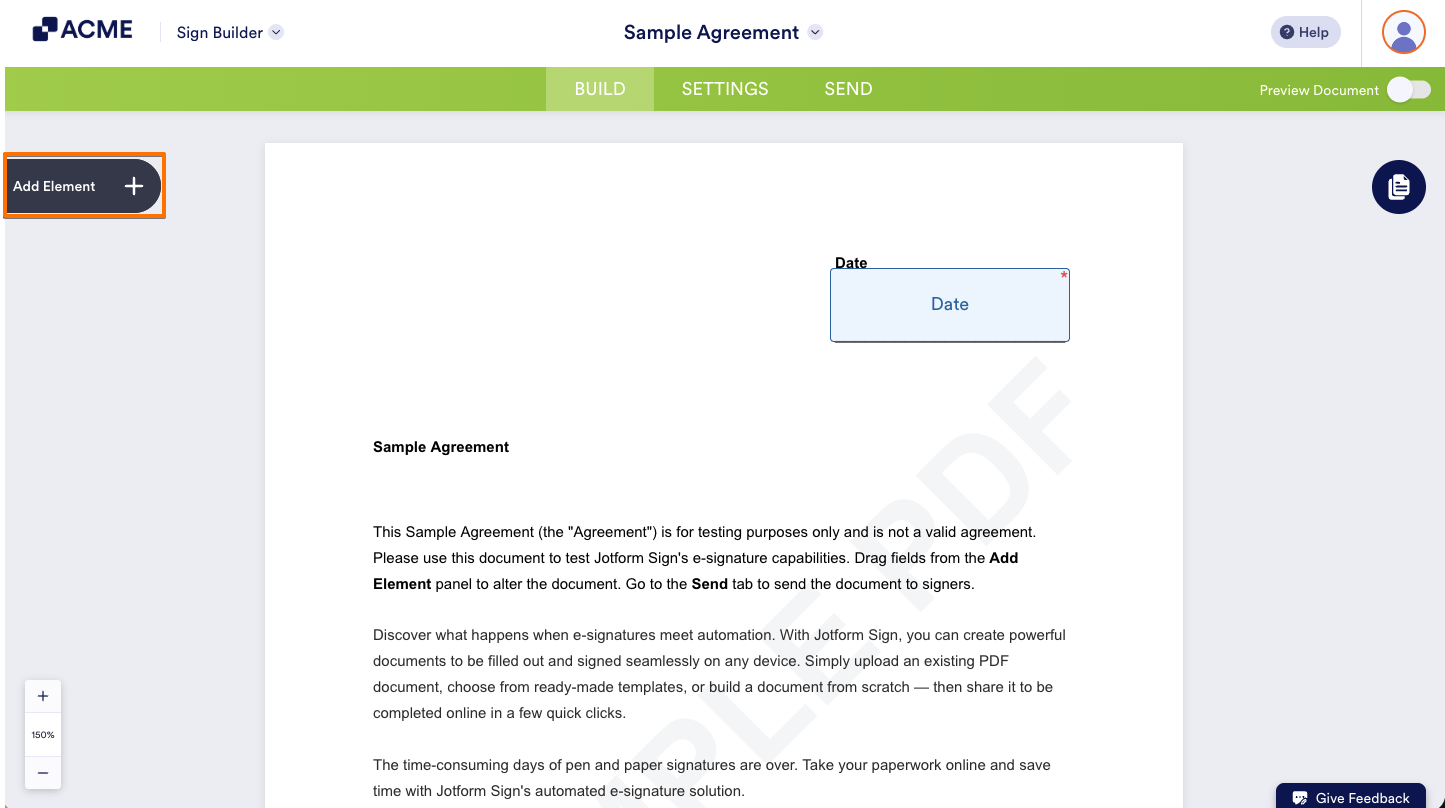
- In the Document Elements menu, add any fields you want to include or that weren’t automatically detected by the Sign Builder.
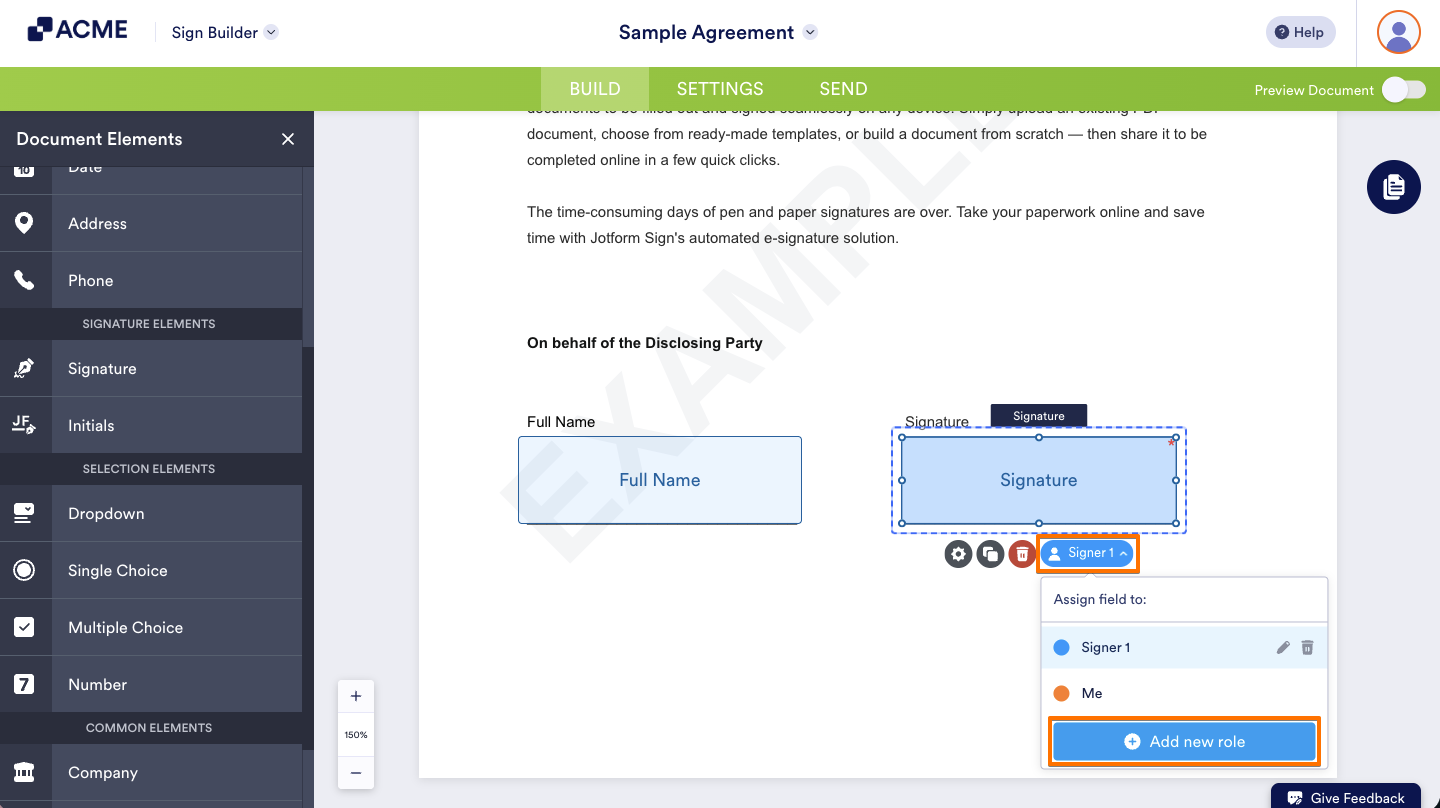
- Next, click on each field, for example, the Signature field, then click on the Dropdown icon and assign it to the signer you want. If needed, you can also click on Add New Role to create another signer role for your document. And that’s it!
Pro Tip
Use the Preview Document toggle in the top-right corner of the Sign Builder to see how your document looks before assigning it.
Adjusting Signable Document Settings
You can customize some optional settings before sending your signable document. These let you control the title, email message, and app integrations. Here’s how to access them:
- In Sign Builder, in the green navigation bar at the top of the page, click on Settings.
- Then, from here, you can find the following settings:
- General Settings
- Email Settings
- Integrations
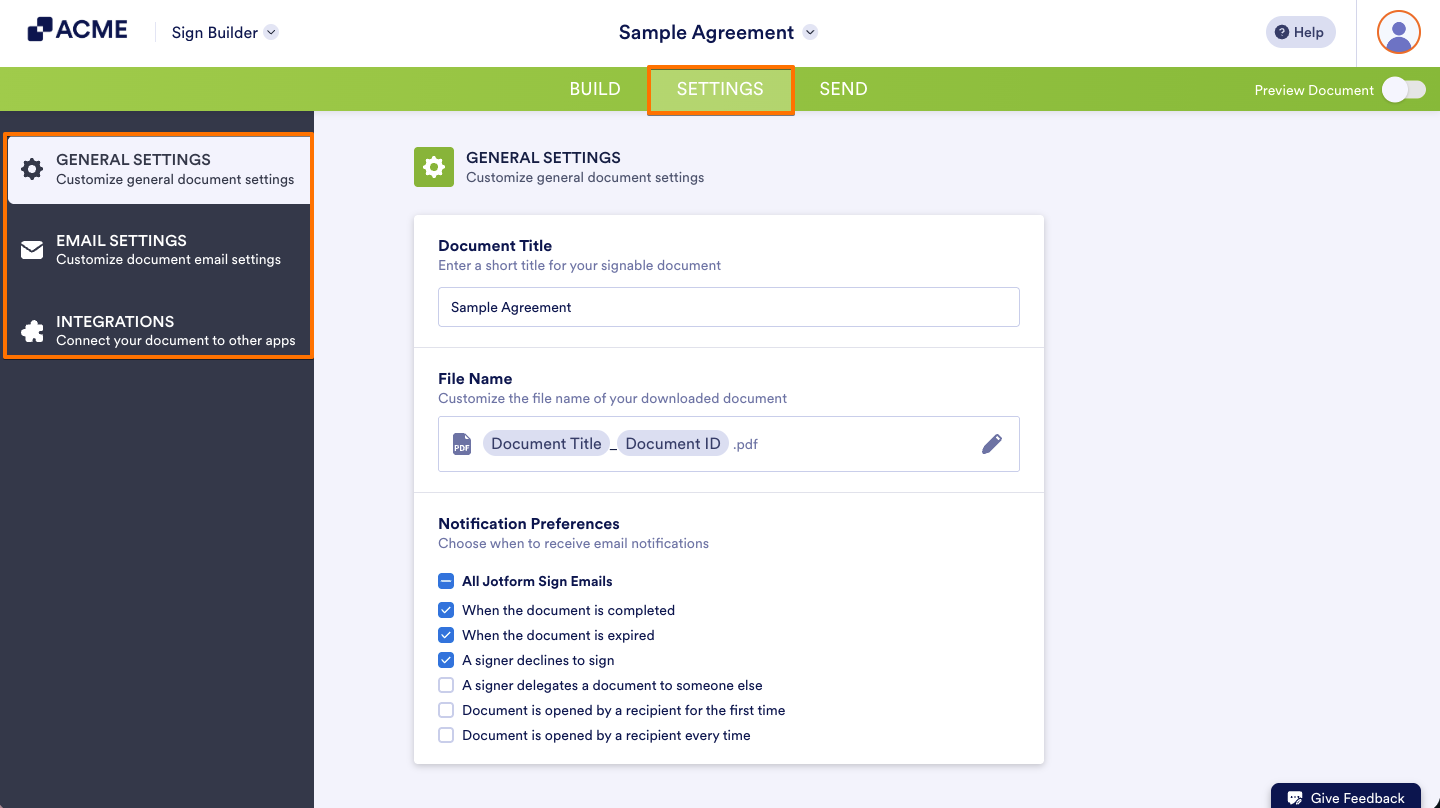
Let’s discuss each setting below.
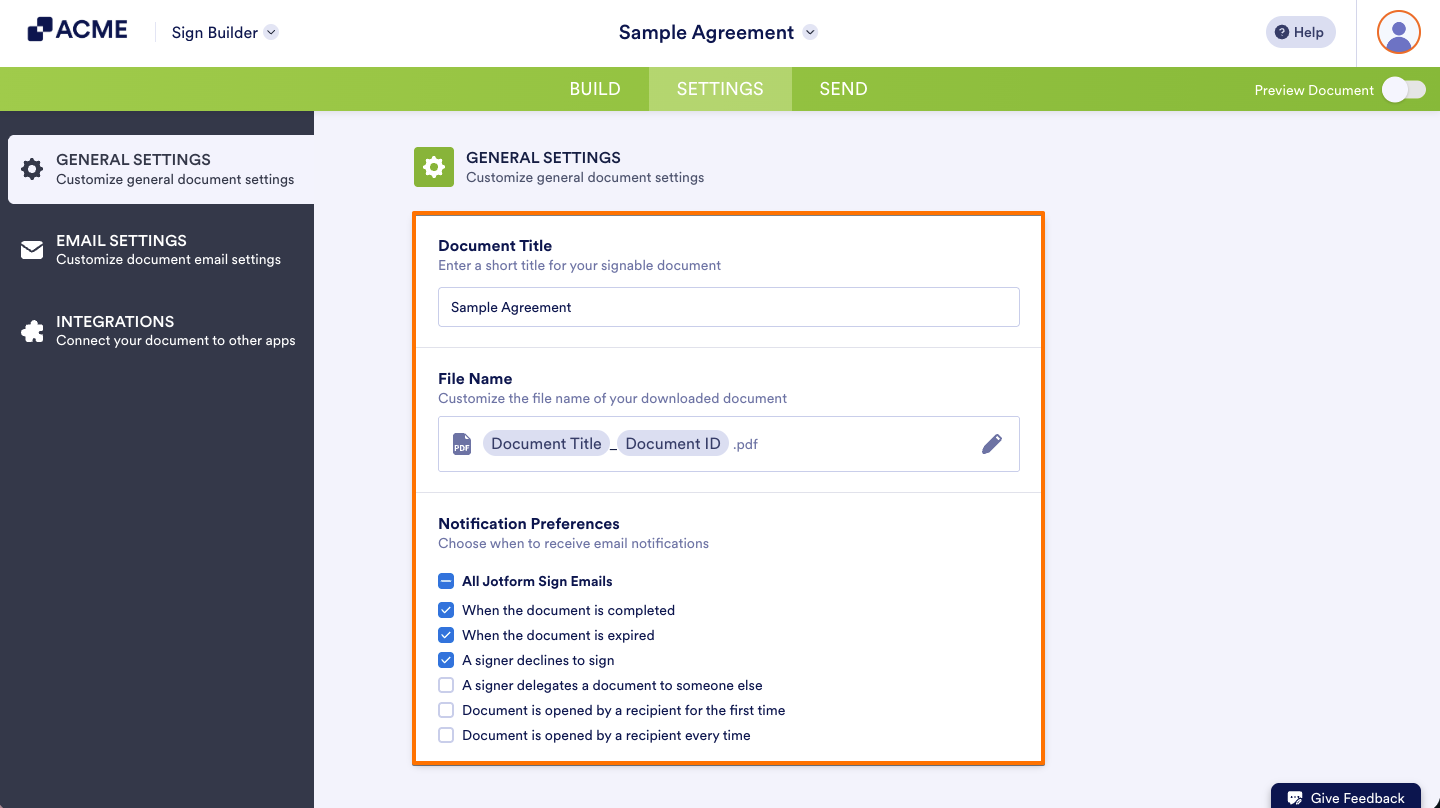
General Settings
In the General Settings tab, you can customize your document’s basic configuration. Set a document title to help identify your signable document, customize the downloaded PDF file name using dynamic fields, and choose which email notifications you want to receive throughout the signing process. Notification options include alerts for completed or expired documents, declined signatures, delegated signing requests, and recipient document activity.
Email Settings
In the Email Settings tab, you can customize the email subject and message sent to your signers. You can also choose if you want to send an audit trail to them after the document is completed

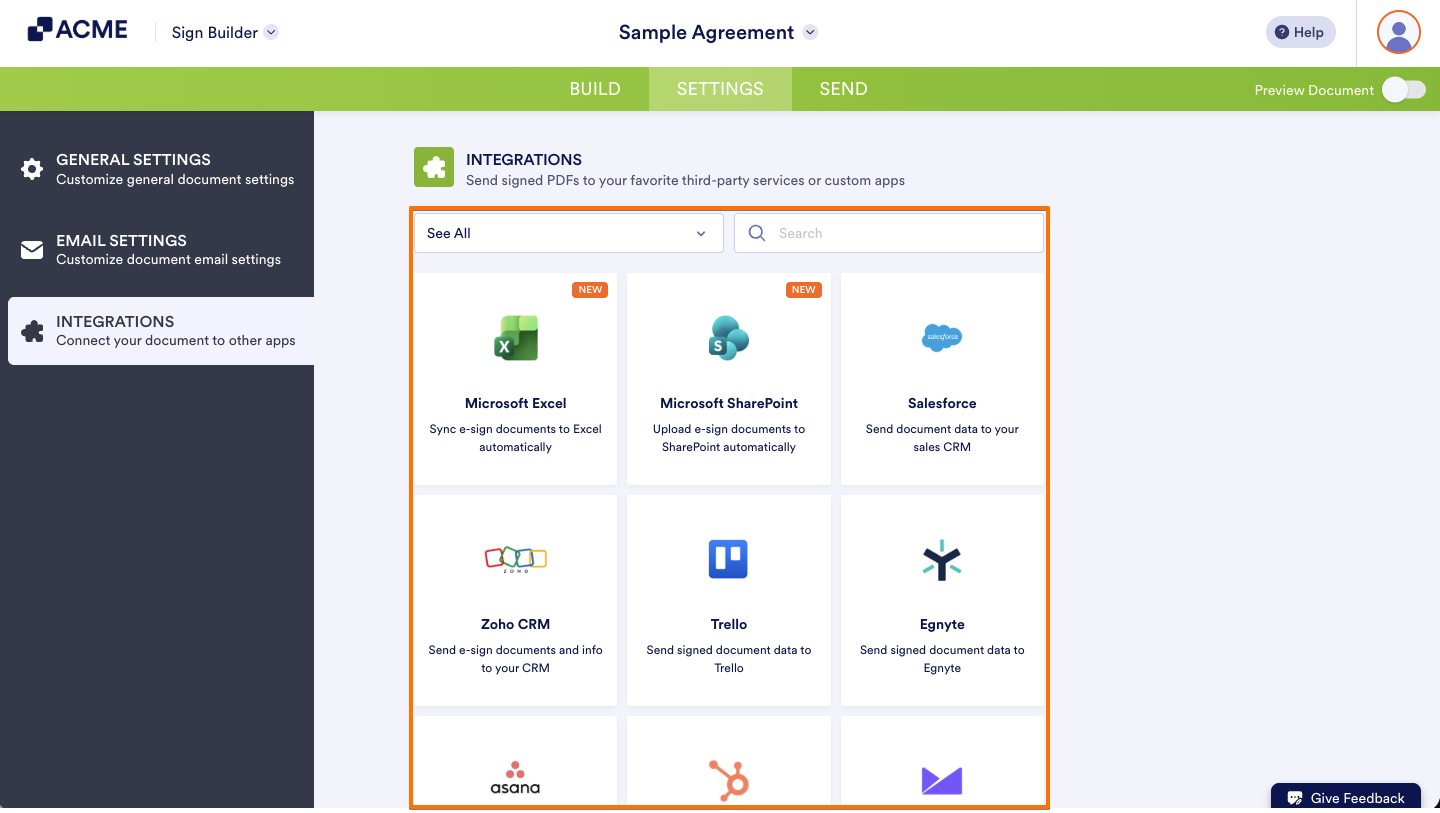
Integrations
In the Integrations tab, you can link your document to apps like Google Drive, Dropbox, and more to make your workflow easier and automate document handling.
Sharing the Signable Documents with Signers
Once your signable document is ready, you can send it to your signers directly from the Sign Builder. There are a few ways to do this, and it’s easier than you think:
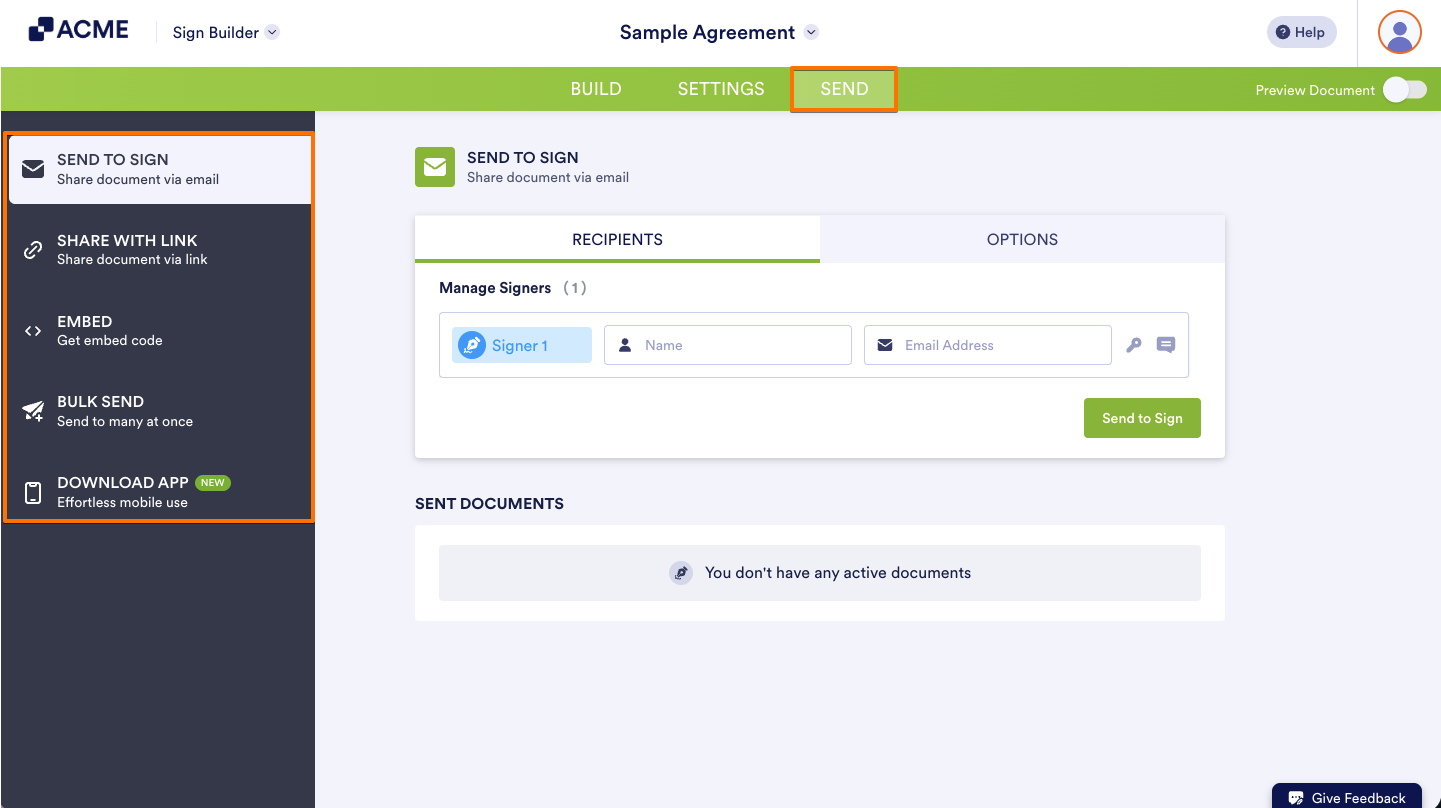
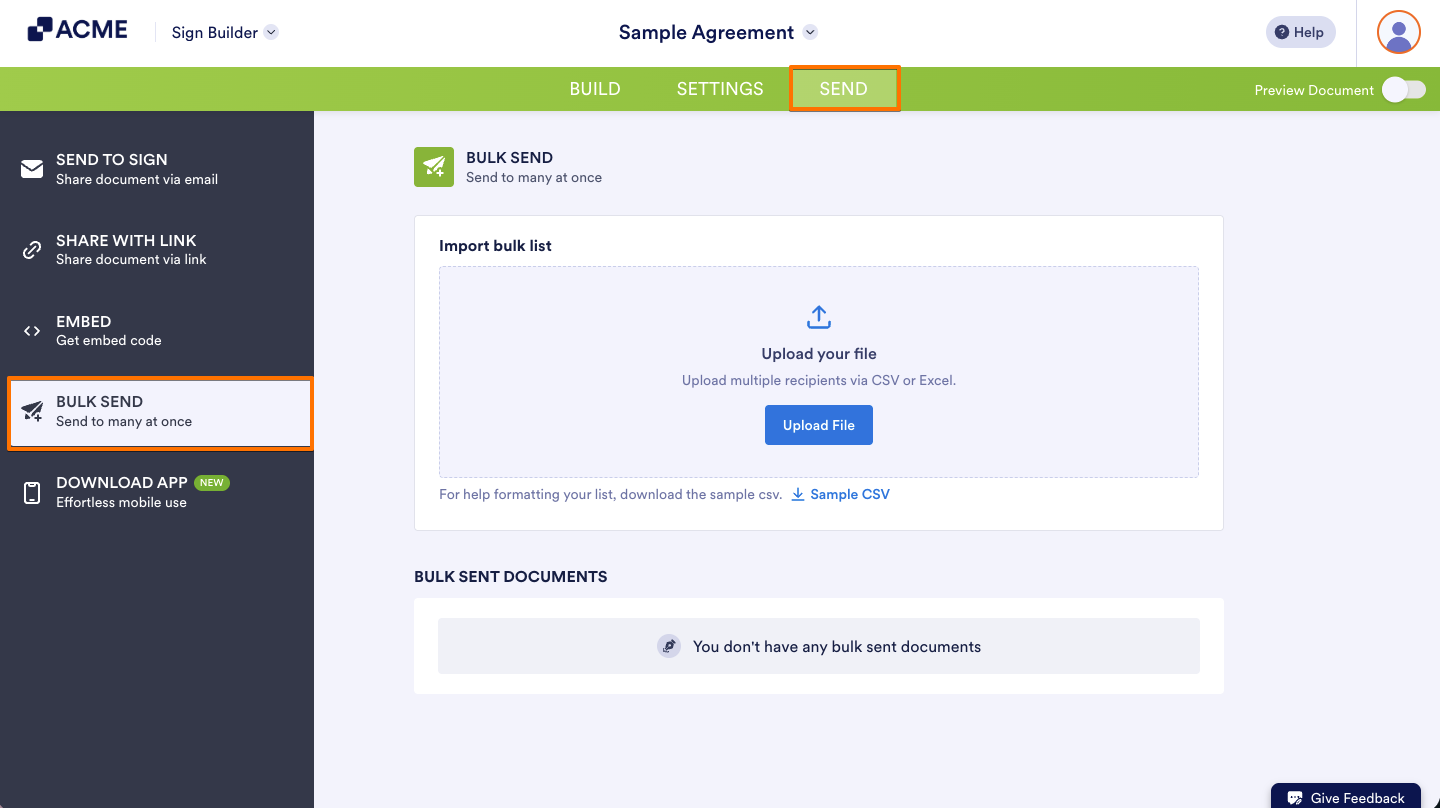
- In Sign Builder, in the green navigation bar at the top of the page, click on Send.
- Then, from here, you can find the following settings:
- Send to Sign
- Share with Link
- Embed
- Bulk Send
- Download App
Let’s go over each setting below in this guide.
Send to Sign
Once your signable document is ready, the last step is to send it to your recipients for signing. This is how it’s done:
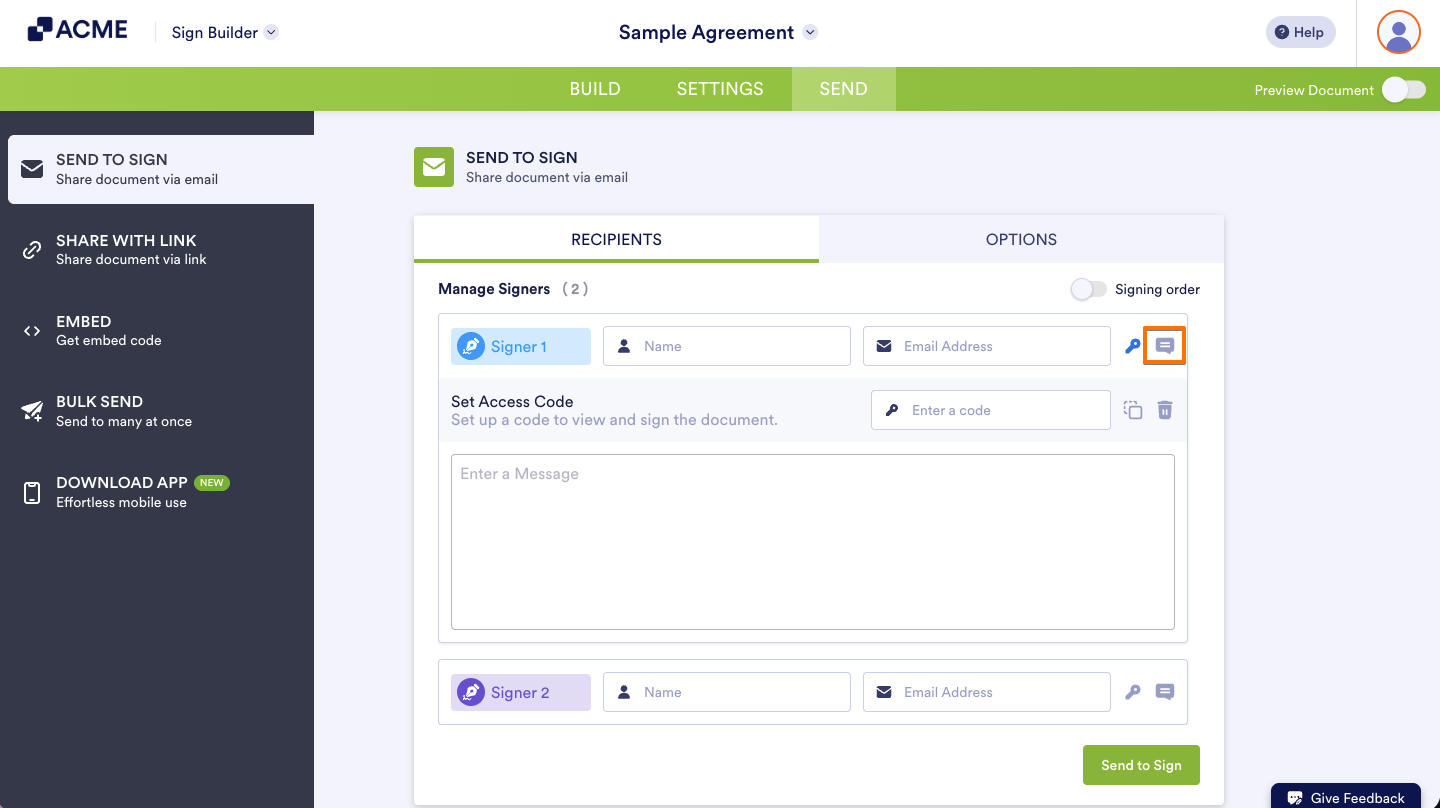
- While you’re still on the Send tab, in the Send to Sign section, under the Recipients tab, add your signers information:
- Name — Enter the signer’s full name.
- Email Address — Enter the email address where the document will be sent.
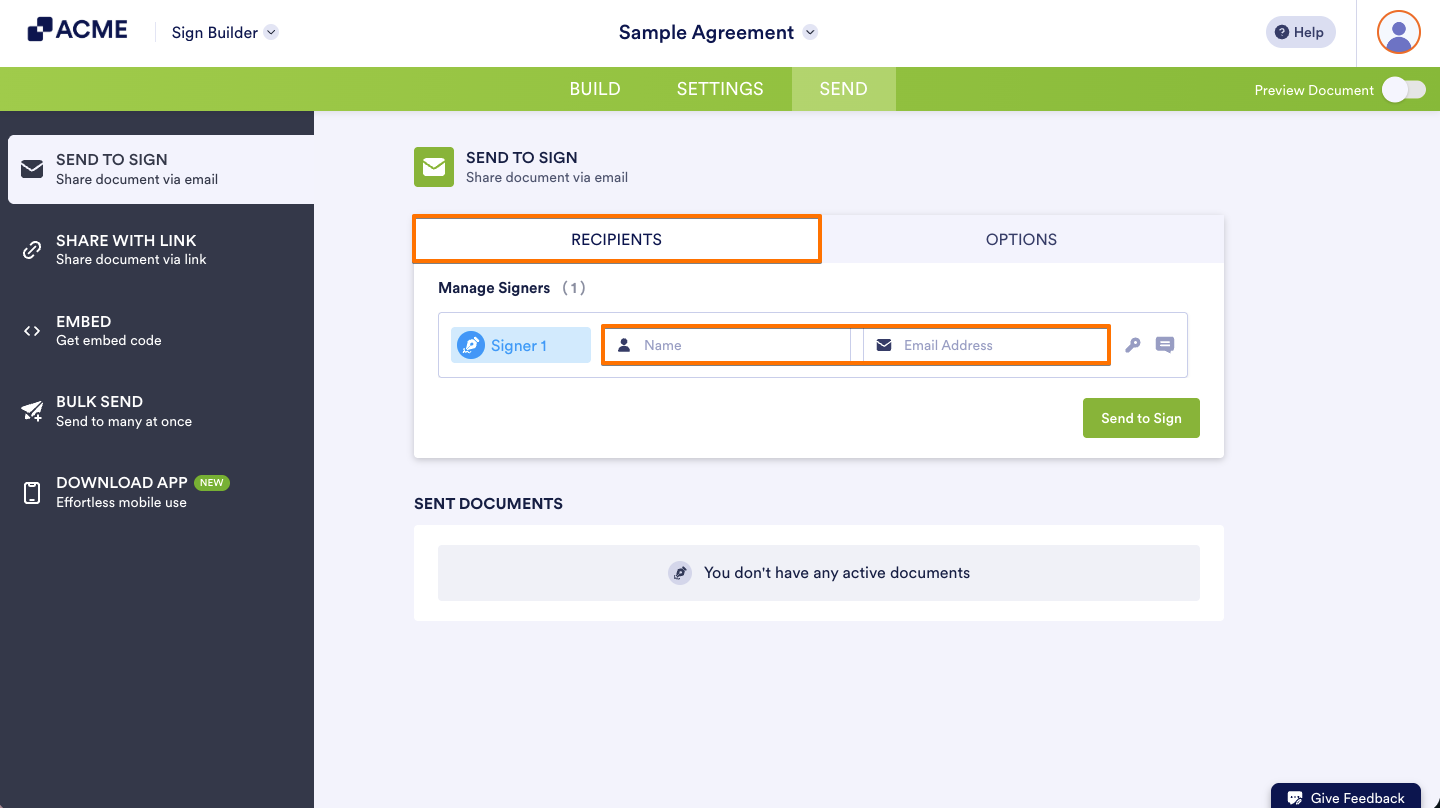
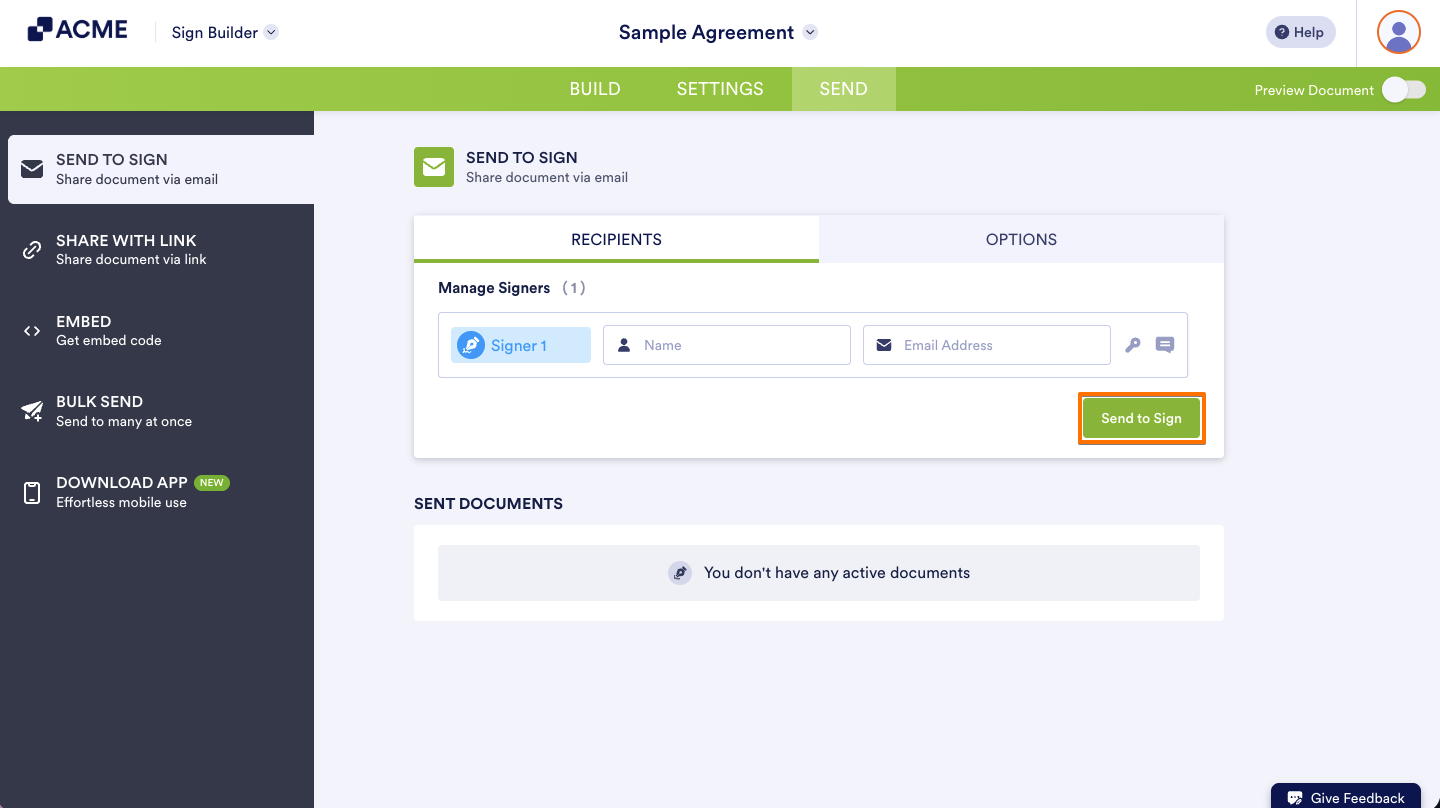
- Then, click on Send to Sign to send your document securely to the recipients.
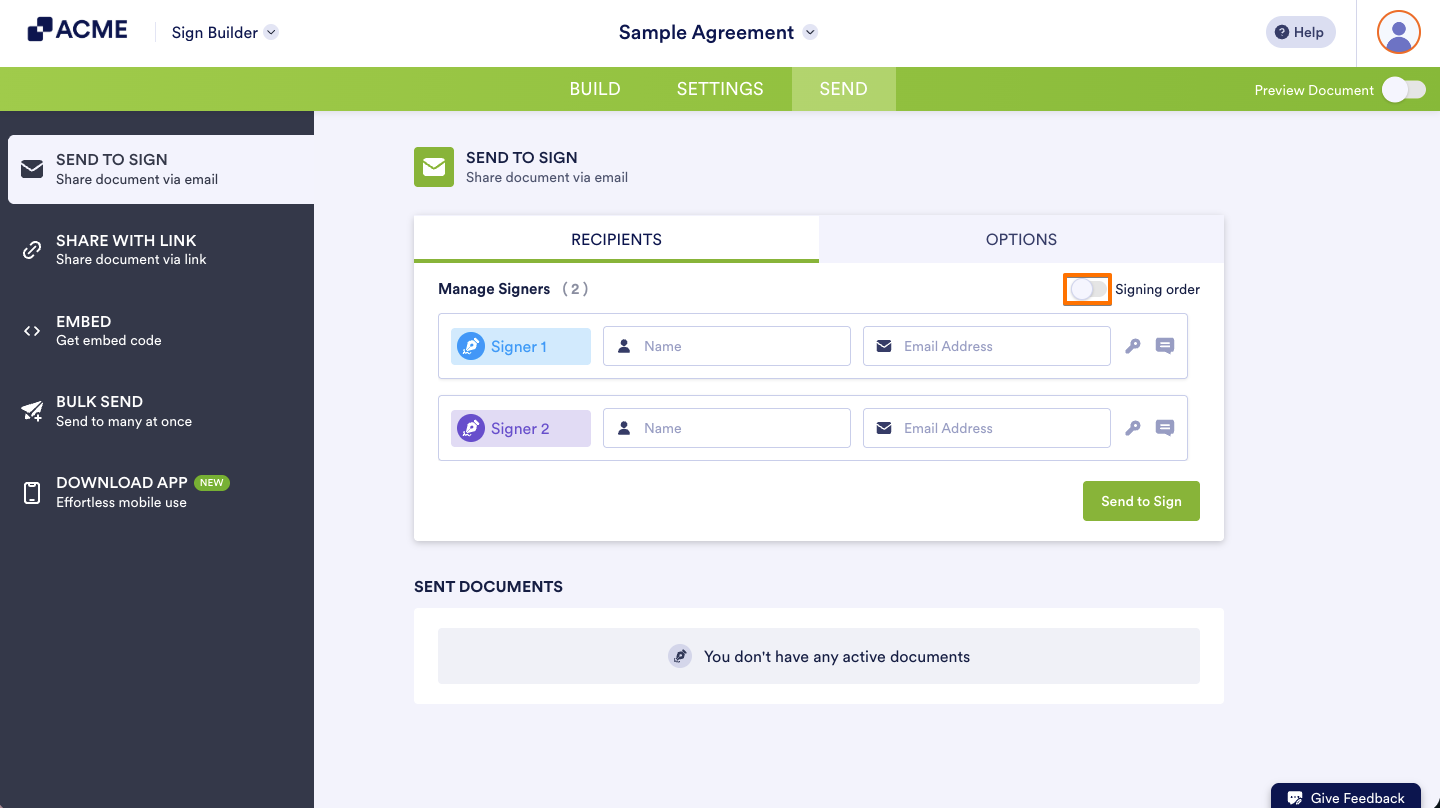
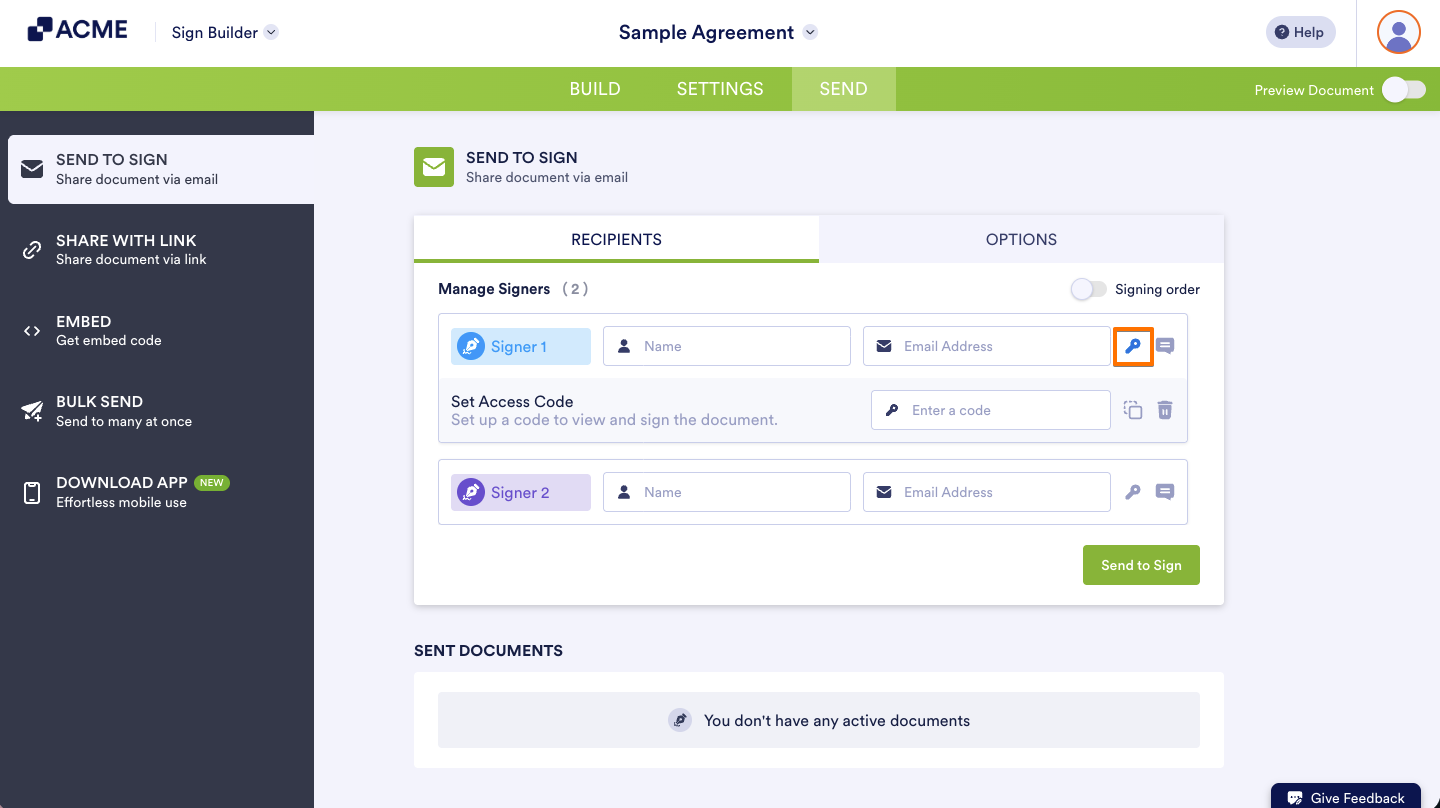
You’ll also find some extra options to customize the signing process:
- Signing Order — Turn this on to set the order in which signers get and sign the document.
- Key Icon — Click this to add extra security by making signers enter a code before they can view the document.
- Message Icon — Click this to customize the email message sent to each signer.
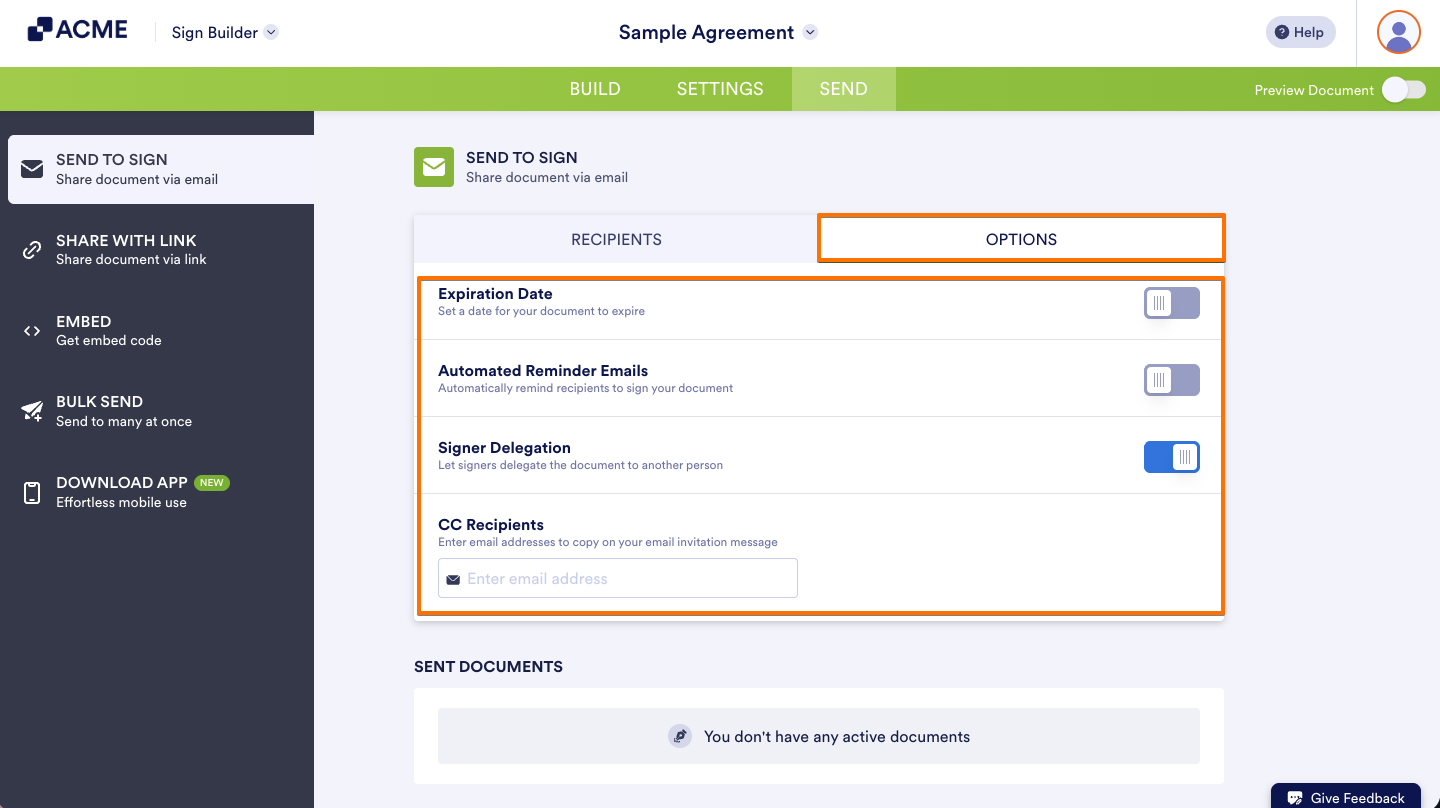
When you go to the Options tab, you can set up these things as needed:
- Expiration Date — Set a deadline for signing. After this, the document link won’t work.
- Automated Reminder Emails — Turn this on to automatically remind signers before the deadline.
- Signer Delegation — Let signers pass the document to someone else if they’re not the right person to sign. This is on by default.
- CC Recipients — Add people who should get a copy of the finished document but don’t need to sign.
Tracking Documents
Tracking documents is important because it lets you see where they are in the process. You can spot any delays, know who to follow up with, and make sure all signatures get completed. You’ll just need to do this:
- While you’re still on the Send tab, in the Send to Sign section, hover over to the sent document that you want to track, and click on Track.
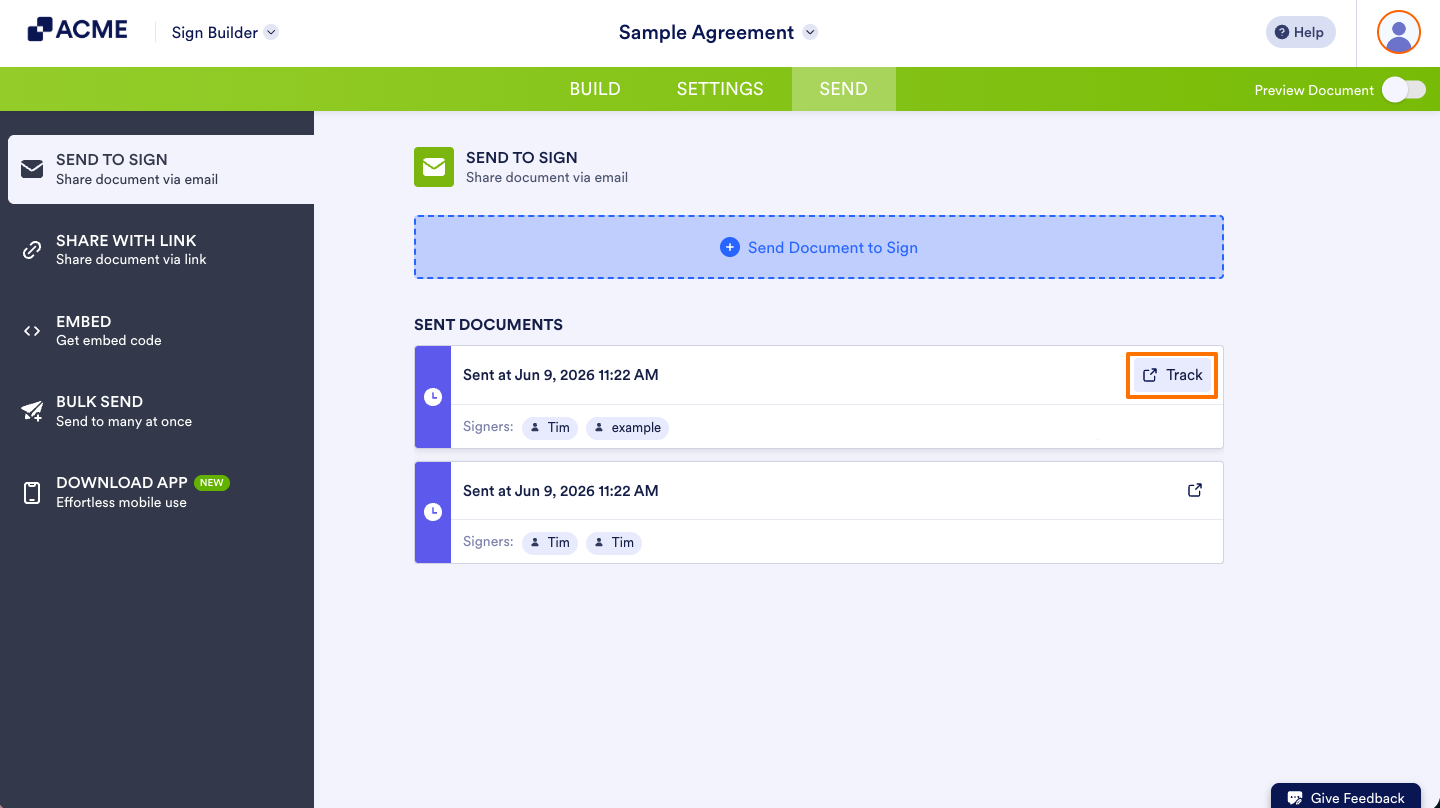
And that’s it! You’ll be taken to the Sign Inbox where you can track your documents’ progress.
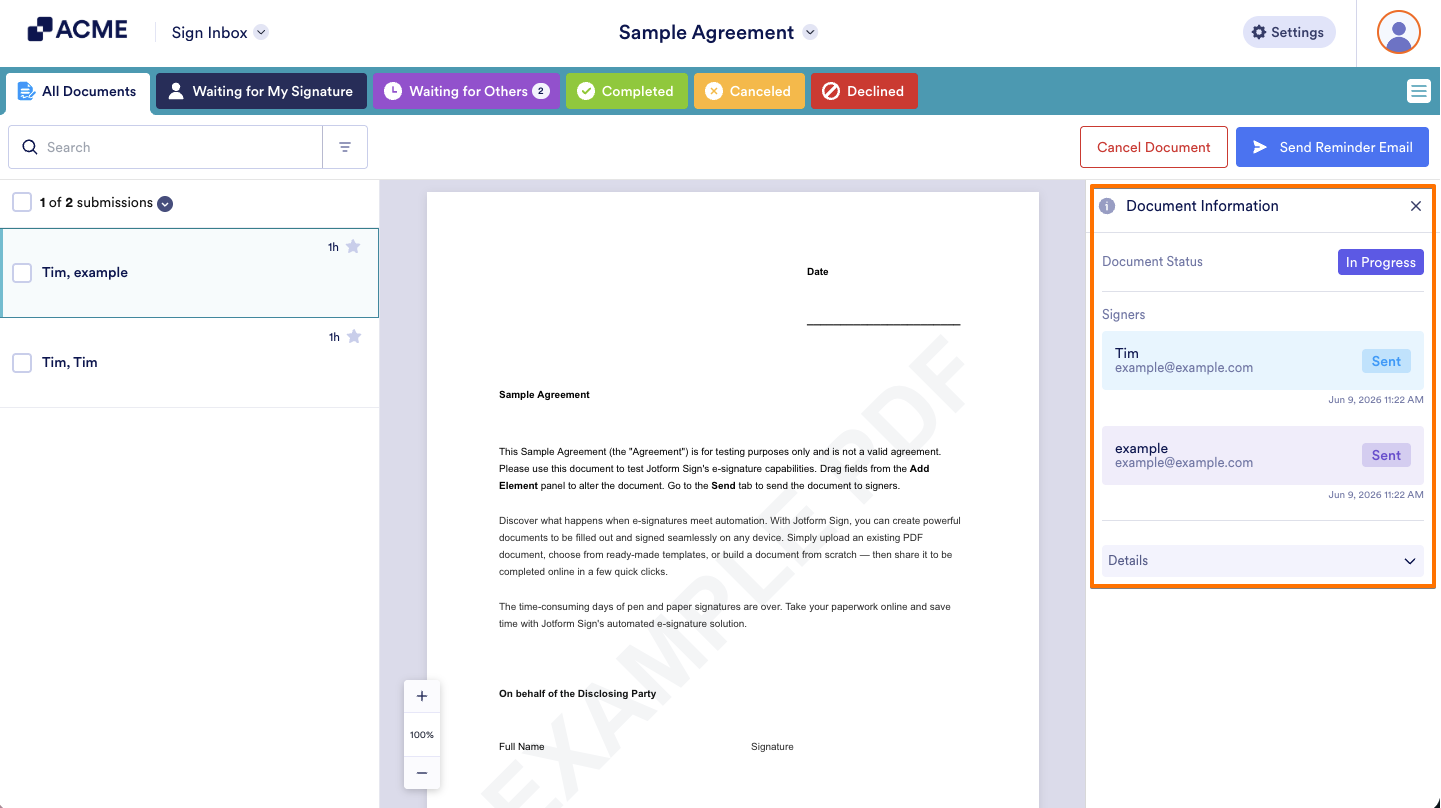
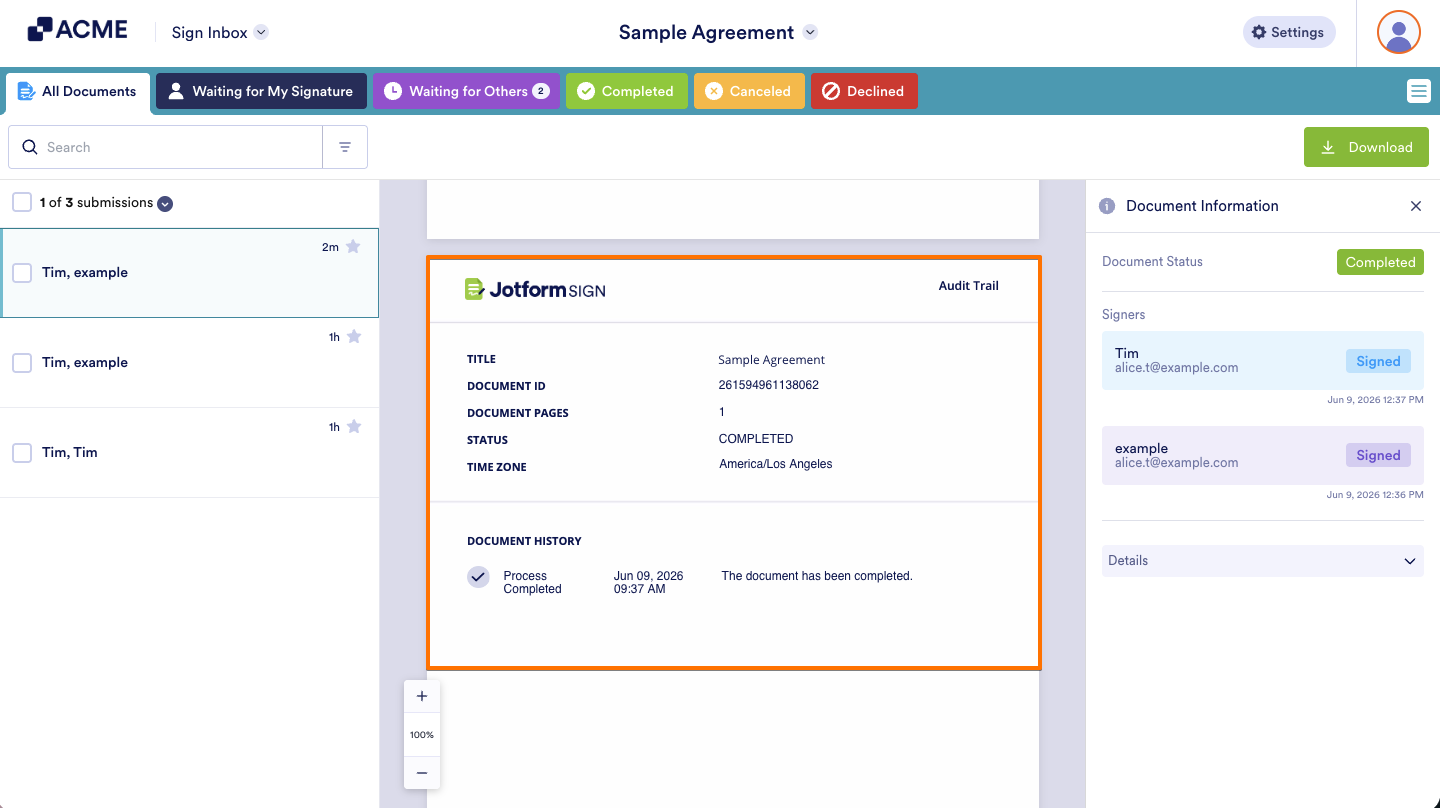
Viewing the Audit Trail
When the workflow is complete, everyone involved receives a confirmation email with an audit trail—a quick record of who signed and when. This helps you stay on top of things and ensures all signatures are collected. You can also view the audit trail anytime in the Sign Inbox.
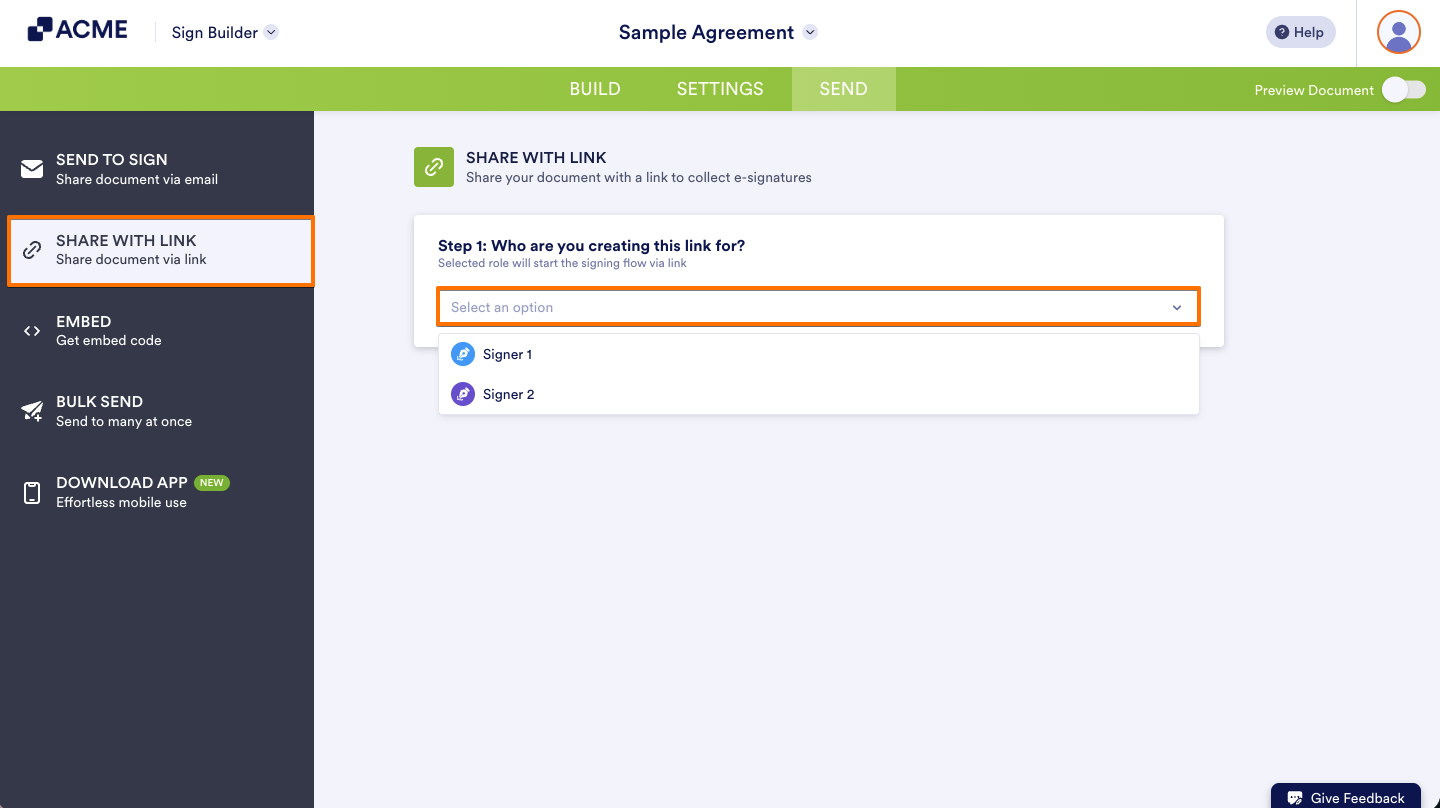
Share with Link
If you don’t want to send your document by email, you can share it with a direct link instead. Here’s a quick how-to:
- While you’re still on the Send tab, click on Share with Link in the menu on the left.
- Then, click on the Select Role Dropdown menu and select your Signers.
- Now, in the Specify other Signers, provide or enter the information for other roles, such as Name and Email Address.
- Then, click on Create Link.

- Now, click on Copy Link, and you’re all set.
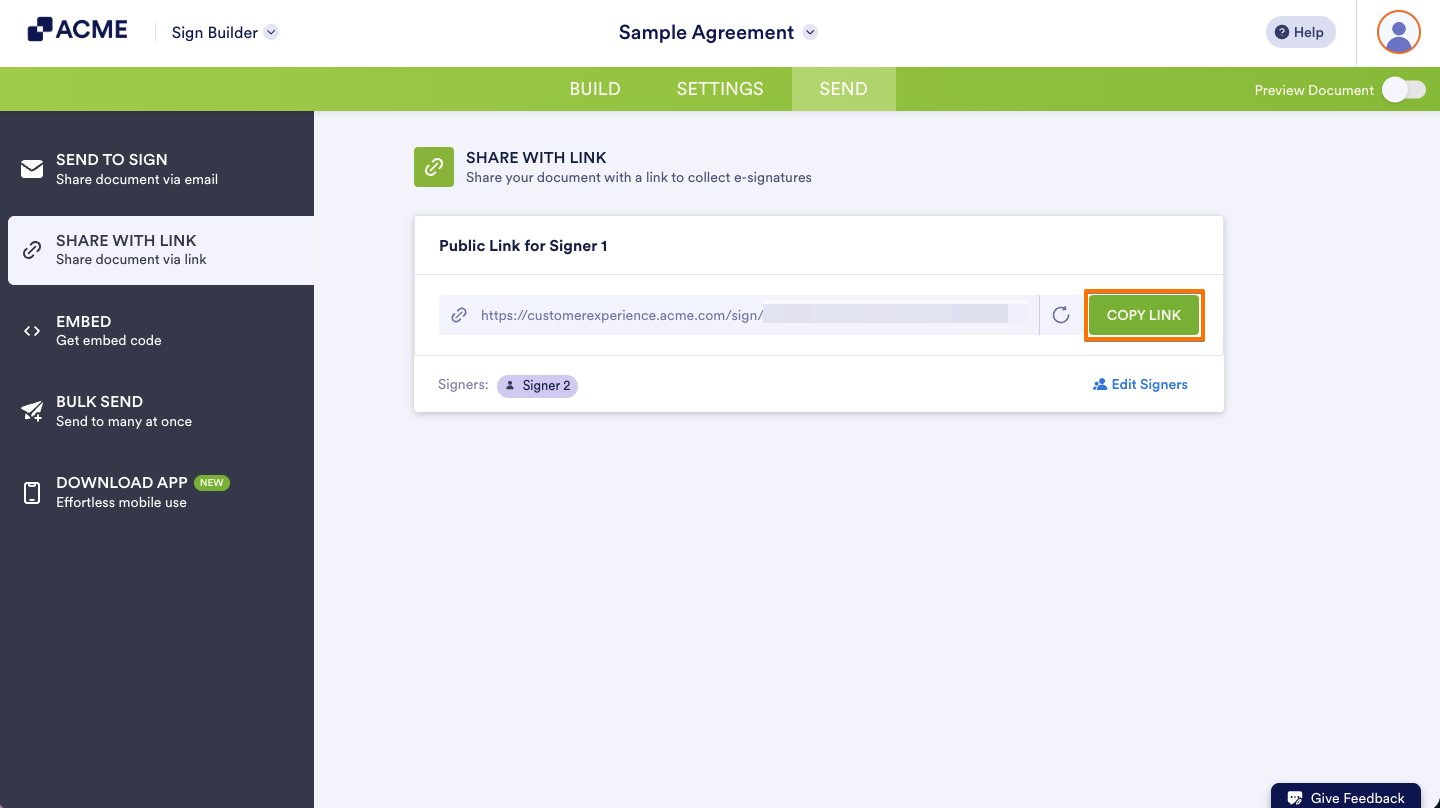
That’s it! Now you can share the link through any messaging app or email.
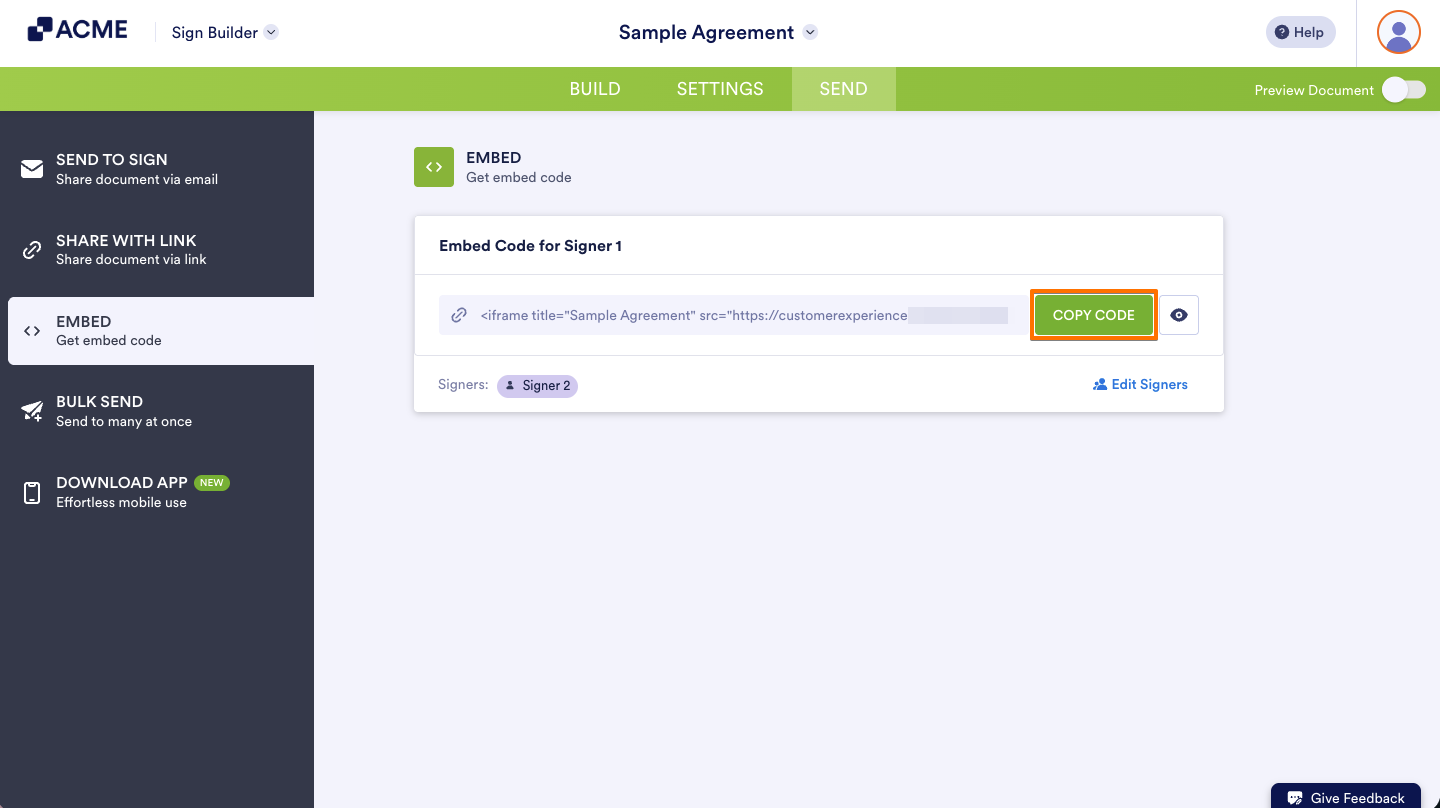
Embed
The embed option works with the Share with Link feature. Signing starts with the first signer and then moves on to the others. Here’s how to generate an embed code:
- While you’re still on the Send tab, click on Embed in the menu on the left.
- Then, click on Generate.
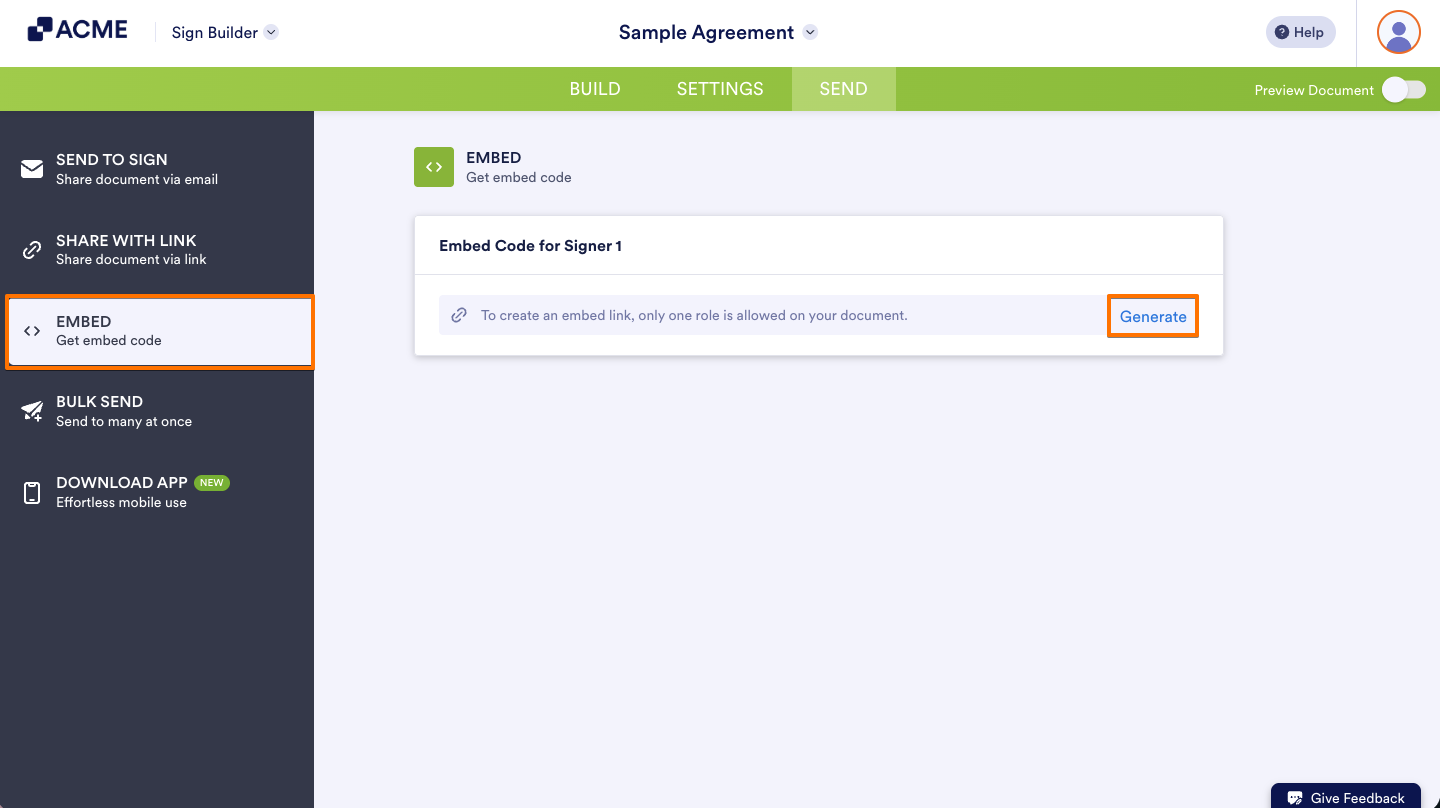
- Now, click on Copy Code to copy the embed code, and you’re done.
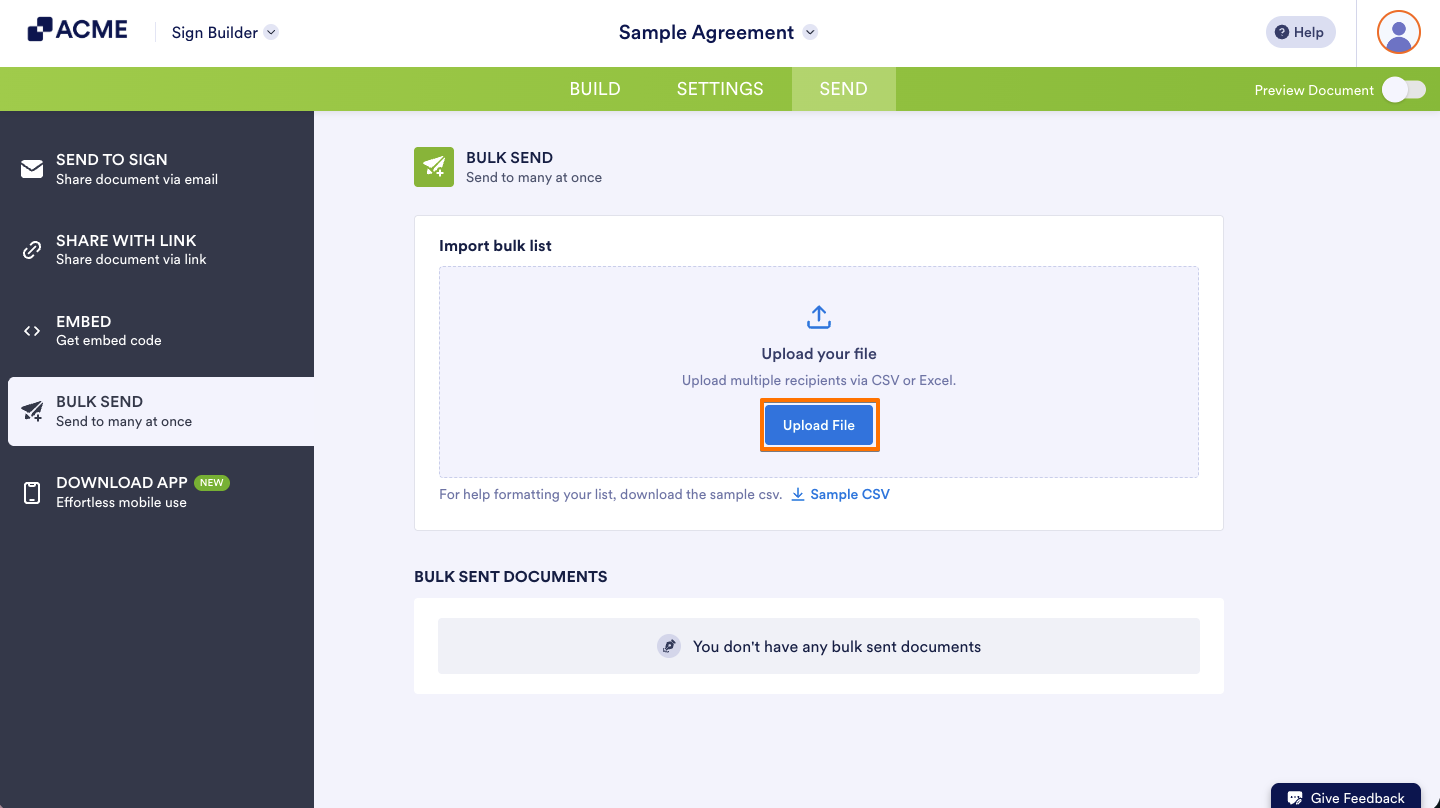
Bulk Send
The Bulk Send option allows you to send the same document to multiple recipients at once. Here's how:
- While you’re still on the Send tab, click on Bulk Send in the menu on the left.
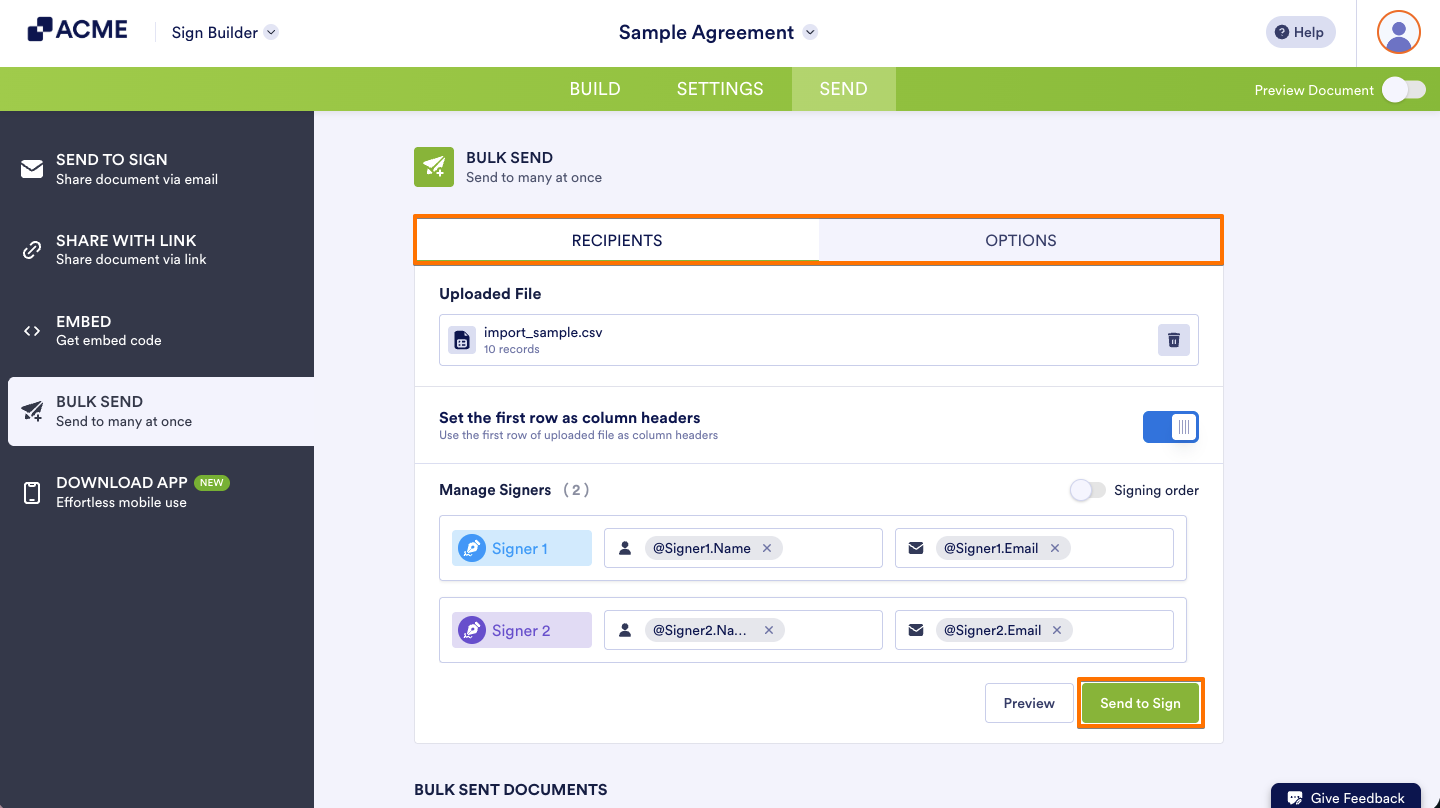
- Then, click on Upload File to upload a CSV or Excel file containing recipient information to create bulk signing requests.
- After uploading your file, configure the signer details and document settings in the Recipients and Options sections.
- Finally, when everything is ready, click Send to Sign to send the document for signatures.
Download App
The Download App option lets you access Sign Document on your mobile device. You can sign, send, and track documents from anywhere using the Jotform Sign app. Let me show you how:
- While you’re still on the Send tab, click on Download App in the menu on the left.
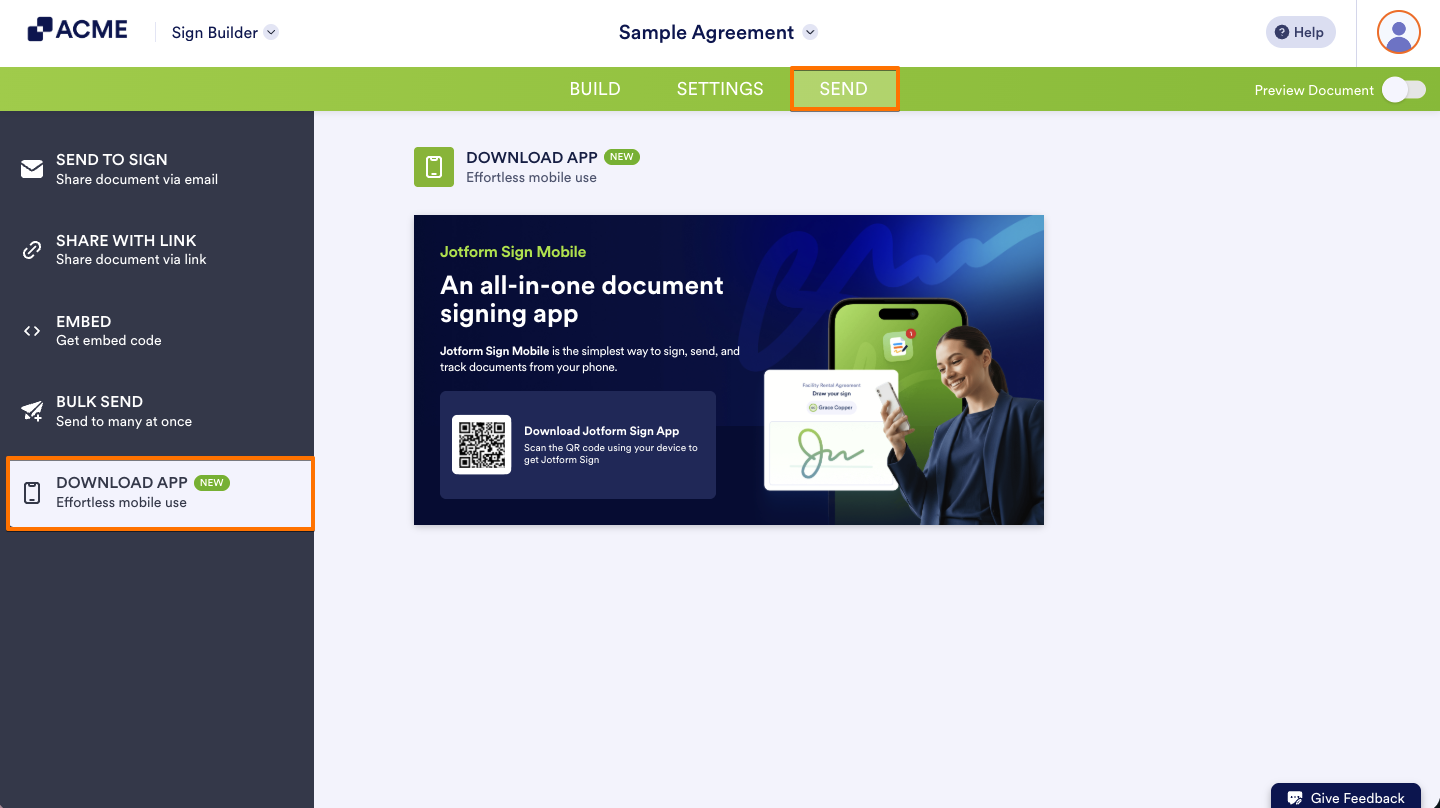
- Either click Download Jotform Sign App or scan the QR code to open the download page and install the app on your device.

Disclaimer
The information provided in this guide is for general informational purposes only and is not intended to constitute legal advice. While we strive to keep the information accurate and up-to-date, laws and regulations vary by jurisdiction and can change frequently. Should you have specific legal questions about any of the information on this site, you should consult with a licensed attorney in your area.

Send Comment: