

Your Wix website gives people a way to find your business. A contact form gives them a way to get in touch. Whether visitors have a question about your services, want to request a quote, or need help with an order, a contact form makes it easier for them to reach you than searching for an email address or phone number.
Contact forms also help you generate leads, keep inquiries organized, and learn more about your customers. And with an automatic confirmation message, visitors know their questions have been submitted, meaning you don’t have to respond to them.
You can create a Wix contact form using Wix Forms or use Jotform for Wix for more advanced customization and form features. Here’s how they compare
 Jotform for Wix |  Wix Forms | |
|---|---|---|
| Key features | Via AI, from scratch, or from 20,000+ templates | Built-in templates and drag-and-drop builder |
| Form customization | Advanced fields, form widgets, and conditional logic | Basic customization options |
| Submission notifications | Email, SMS, WhatsApp, and push notifications | Email and Wix Inbox notifications |
| Creation of forms directly in Wix |
Now let’s walk through how to create a custom contact form for your Wix website using each option.
Option 1: Create a contact form with Wix Forms
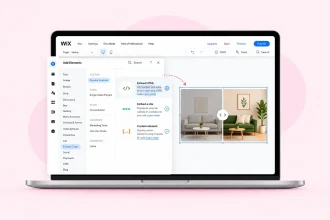
Wix Forms lets you create a contact form directly in the Wix Harmony Editor using its built-in form builder. Here’s how to get started:
- Open the Wix Harmony Editor for your website. Click + Add, select Elements, and then go to Form & Contact in the left sidebar.
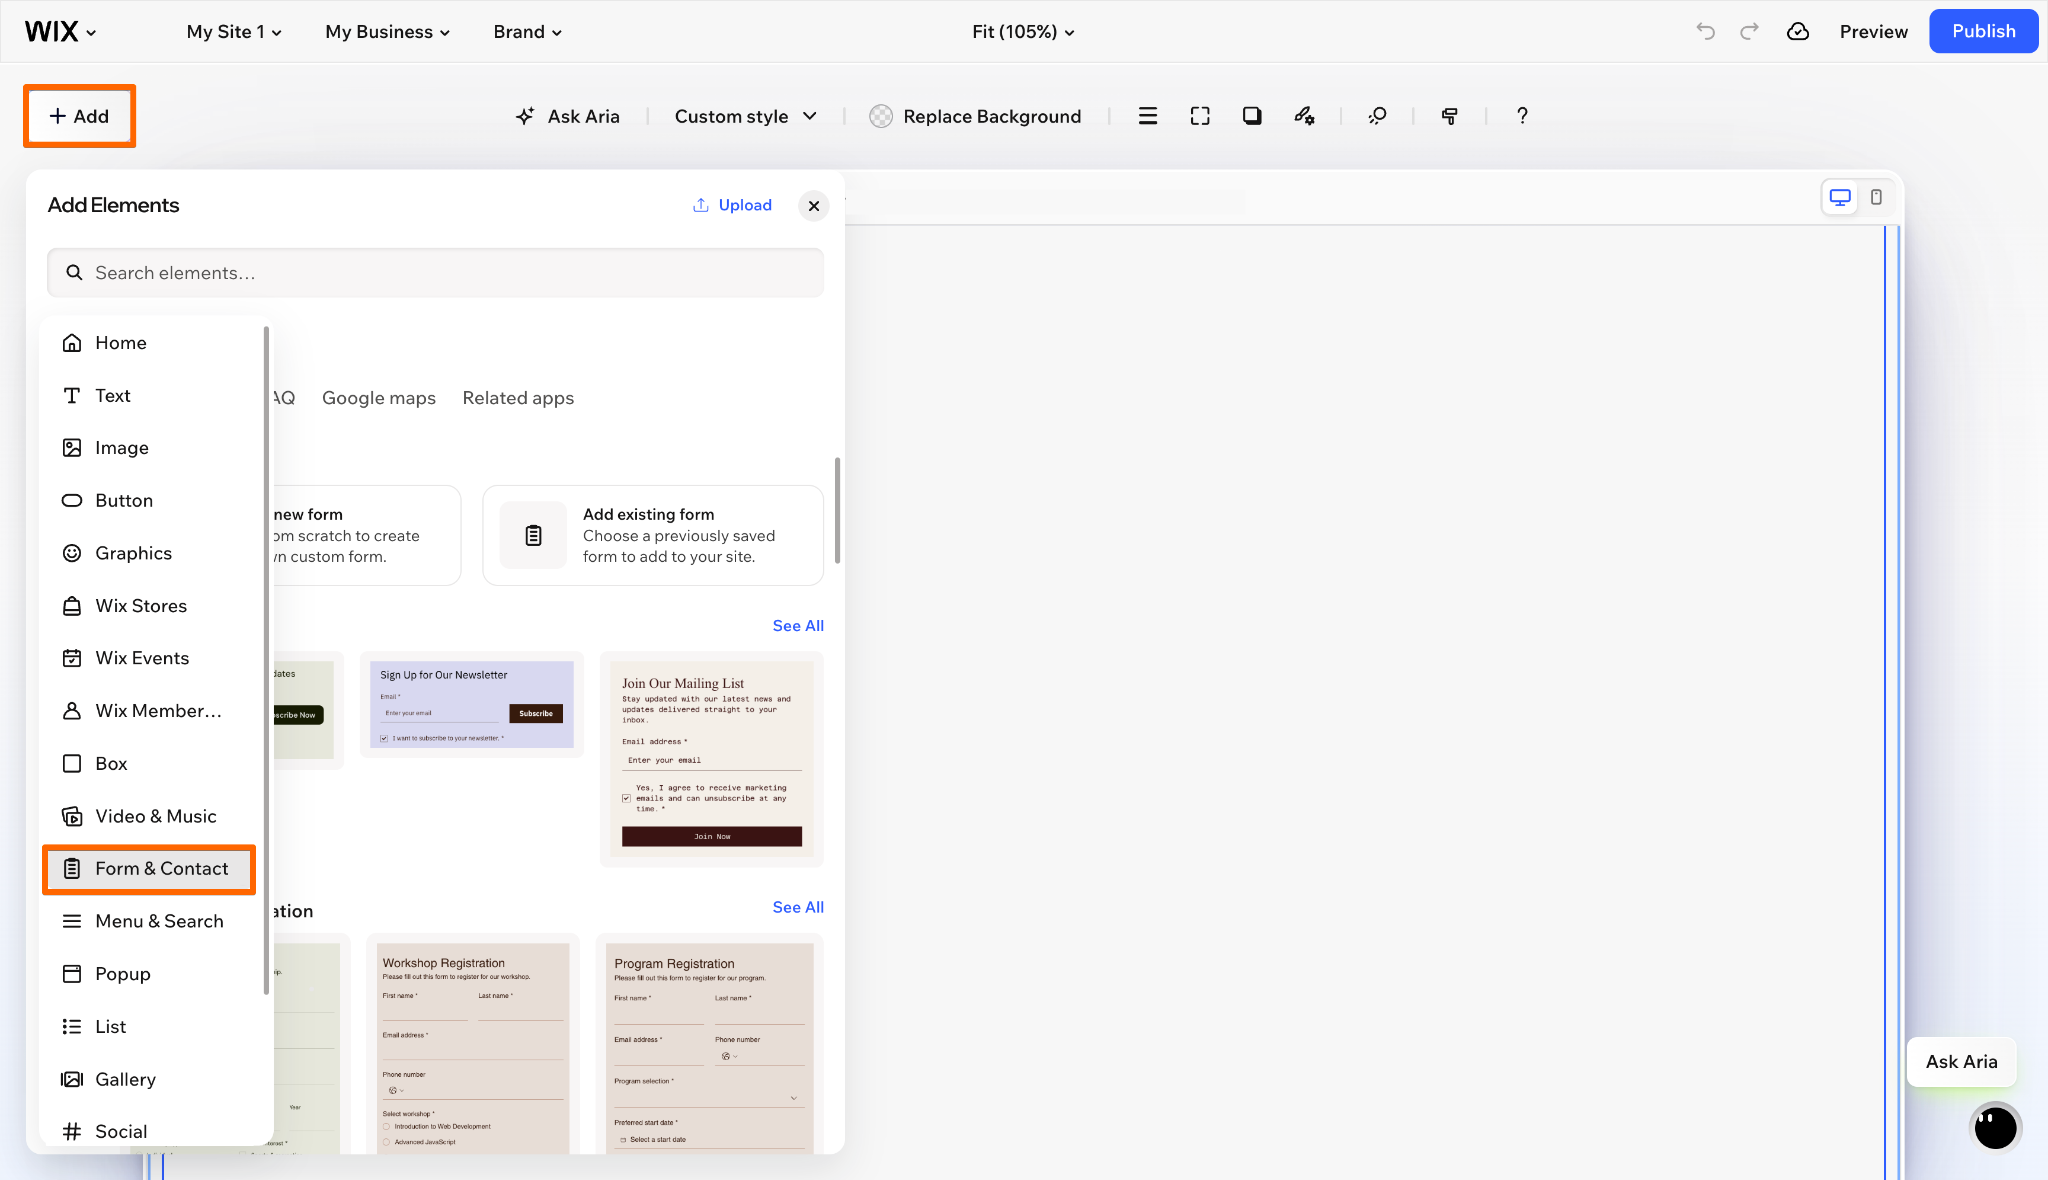
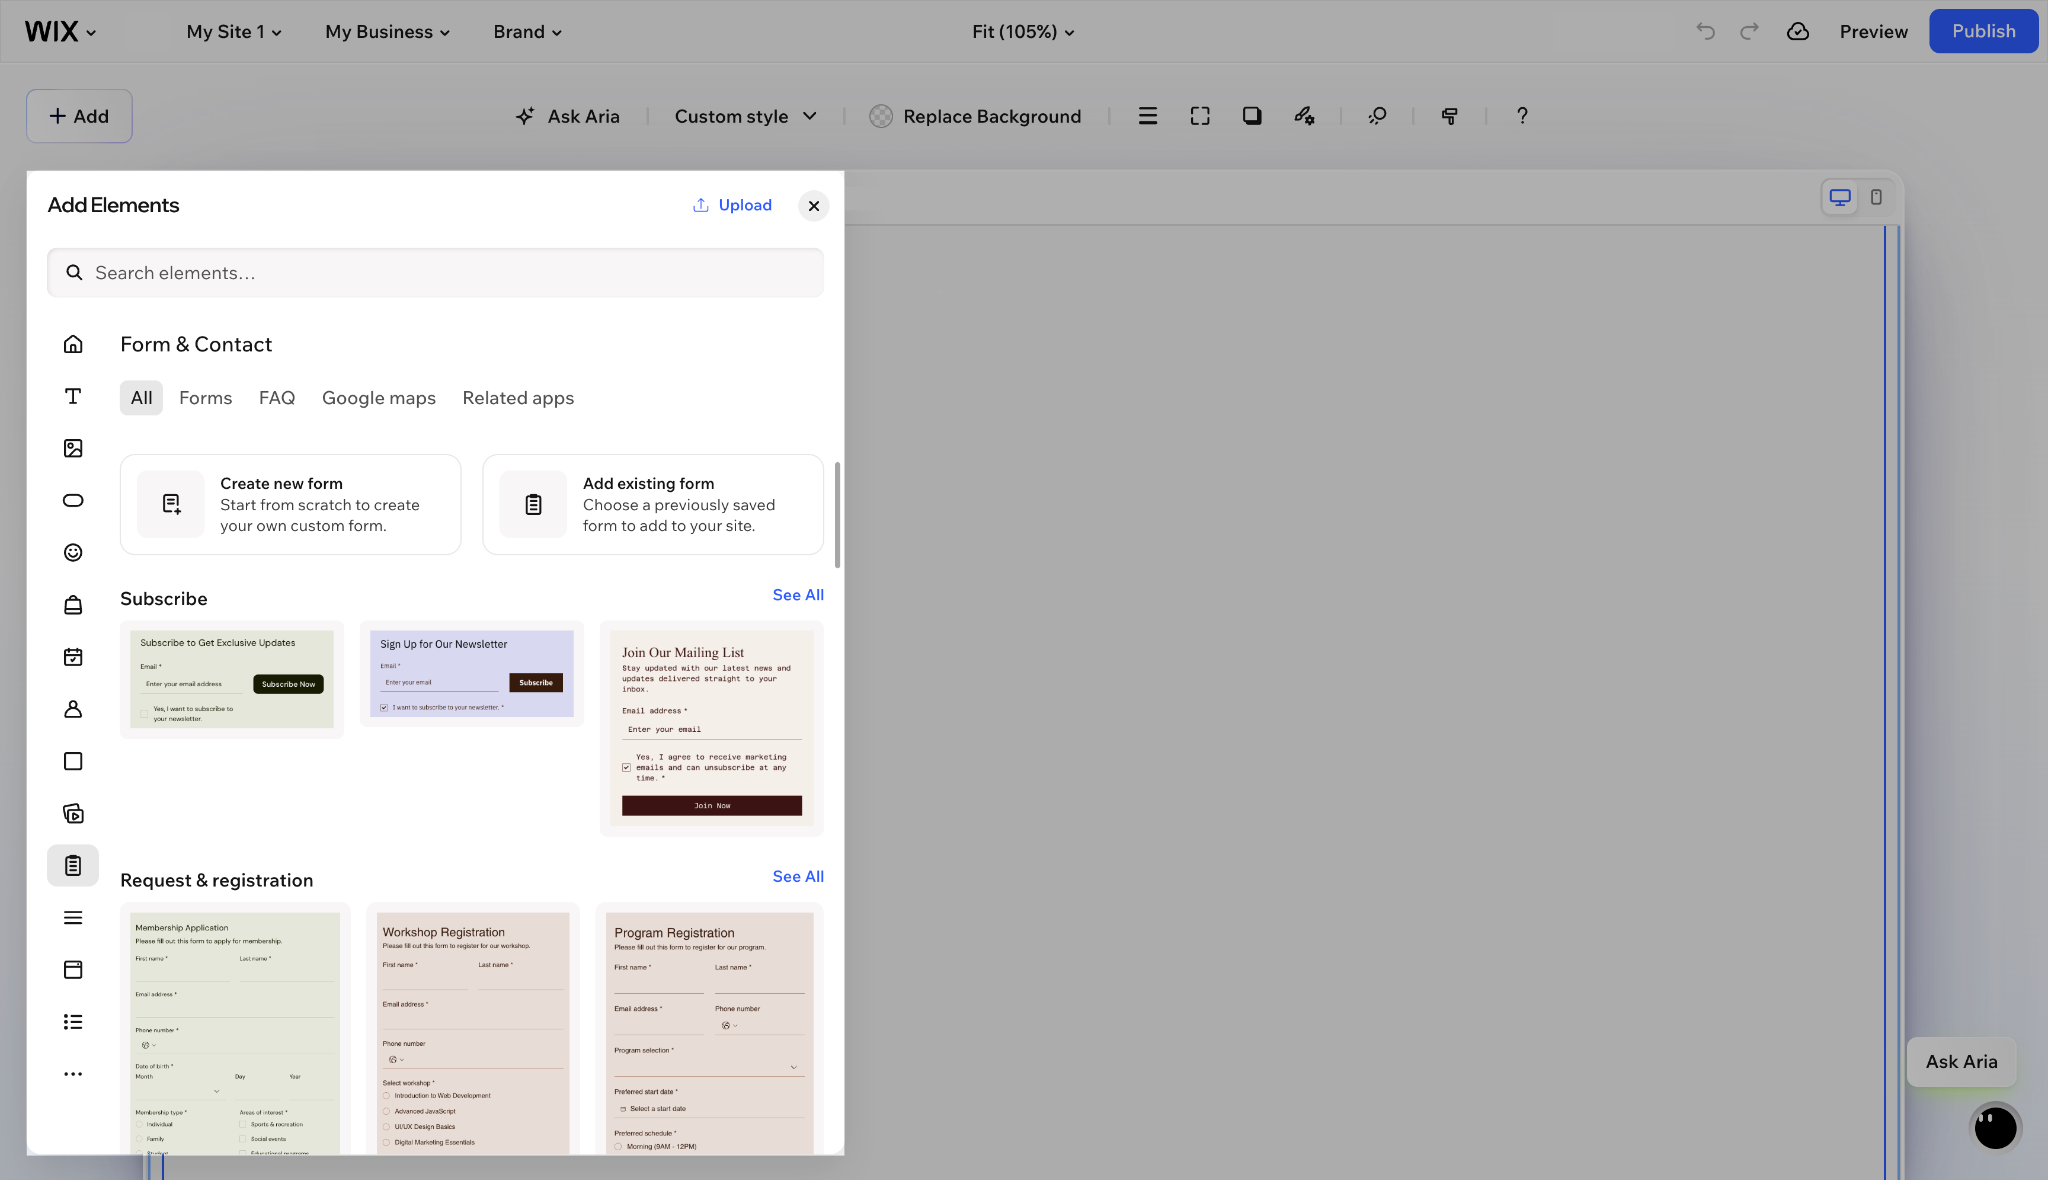
- Choose Create New Form to start from scratch or Add Existing Form to reuse one, or drag a contact form template onto your page.
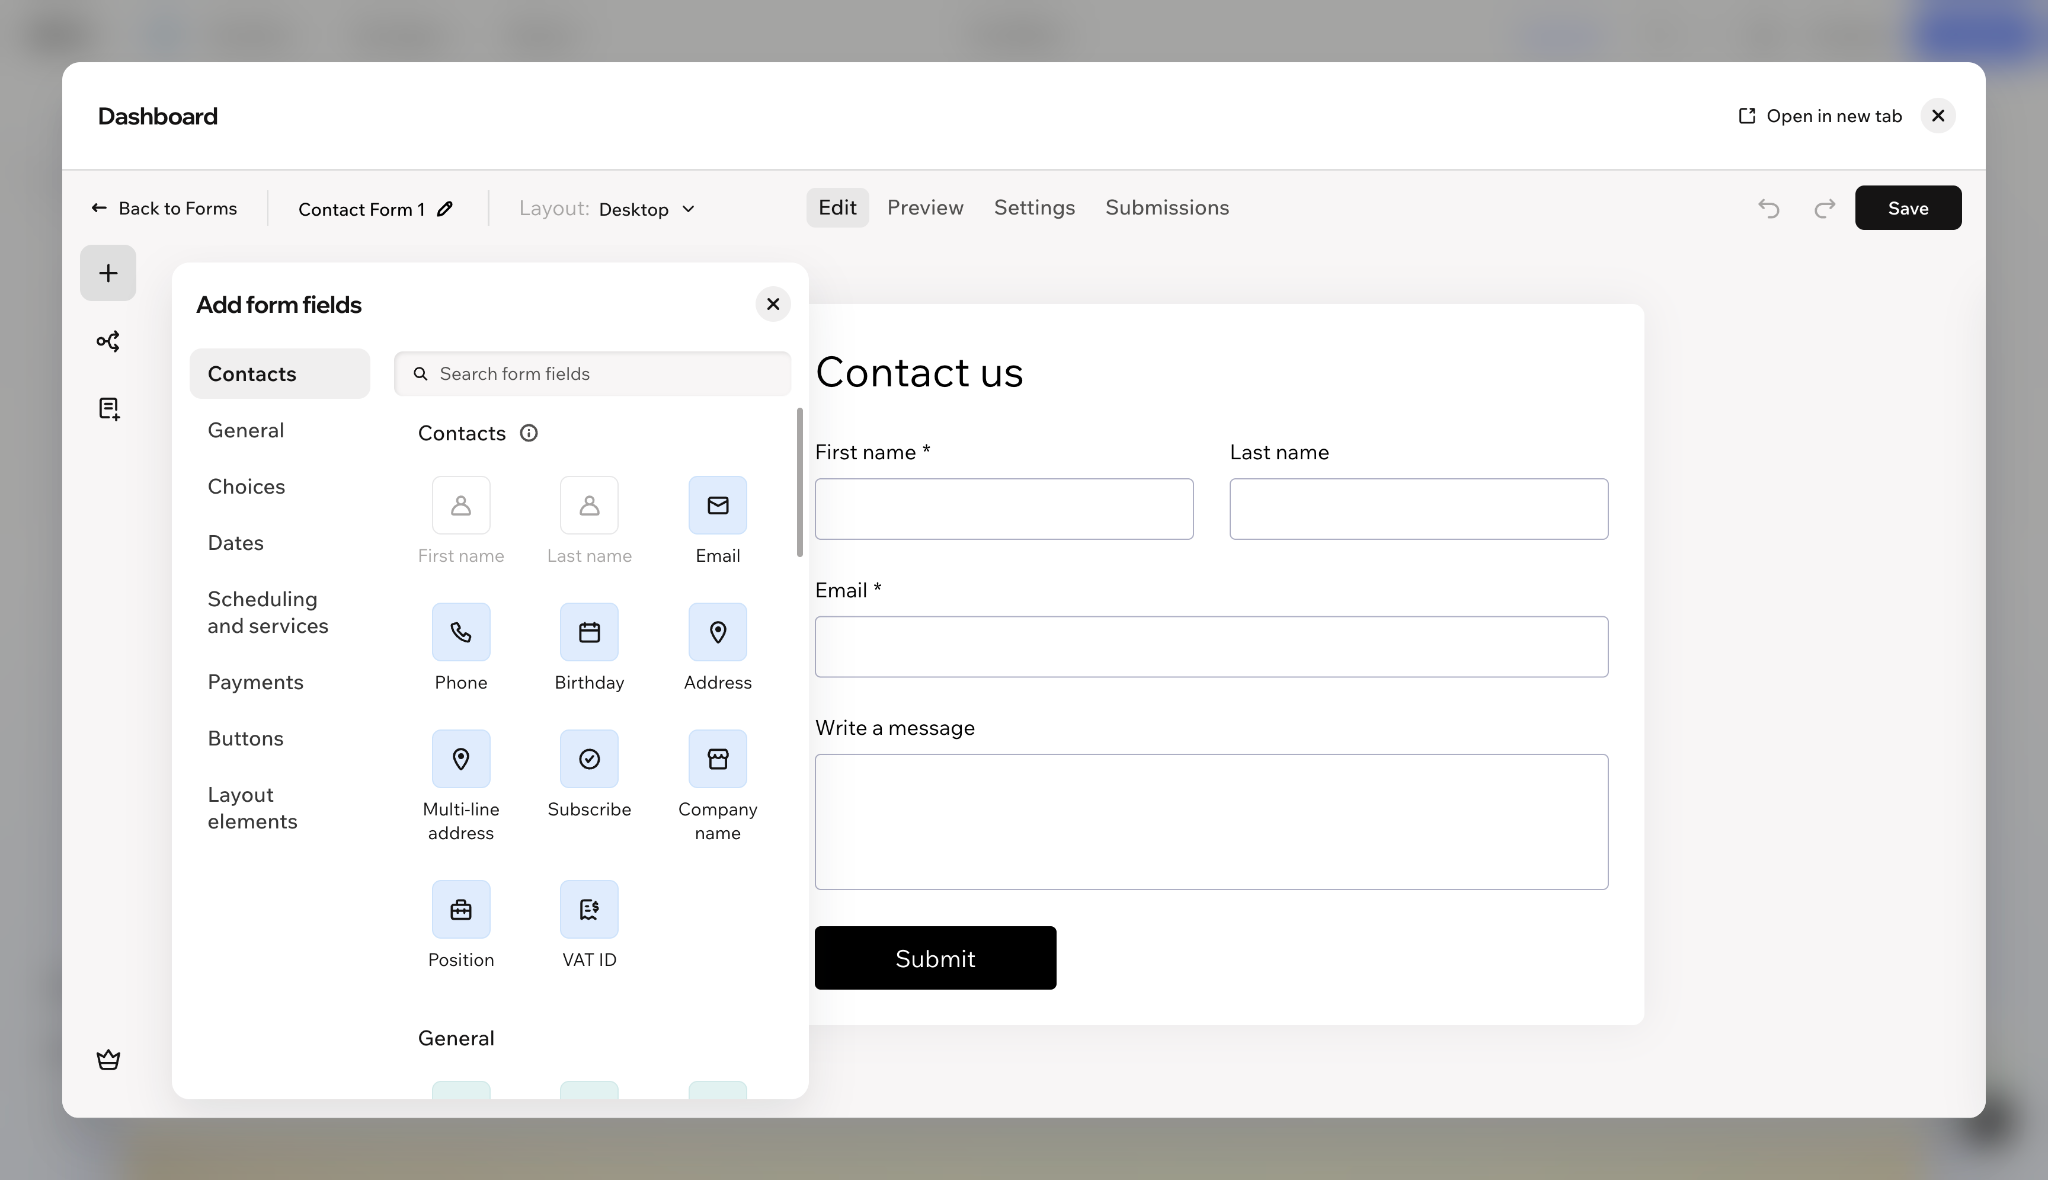
- Once you’ve added the form, click on it and select Edit Form. Here, you can add fields such as name, email address, phone number, and message.
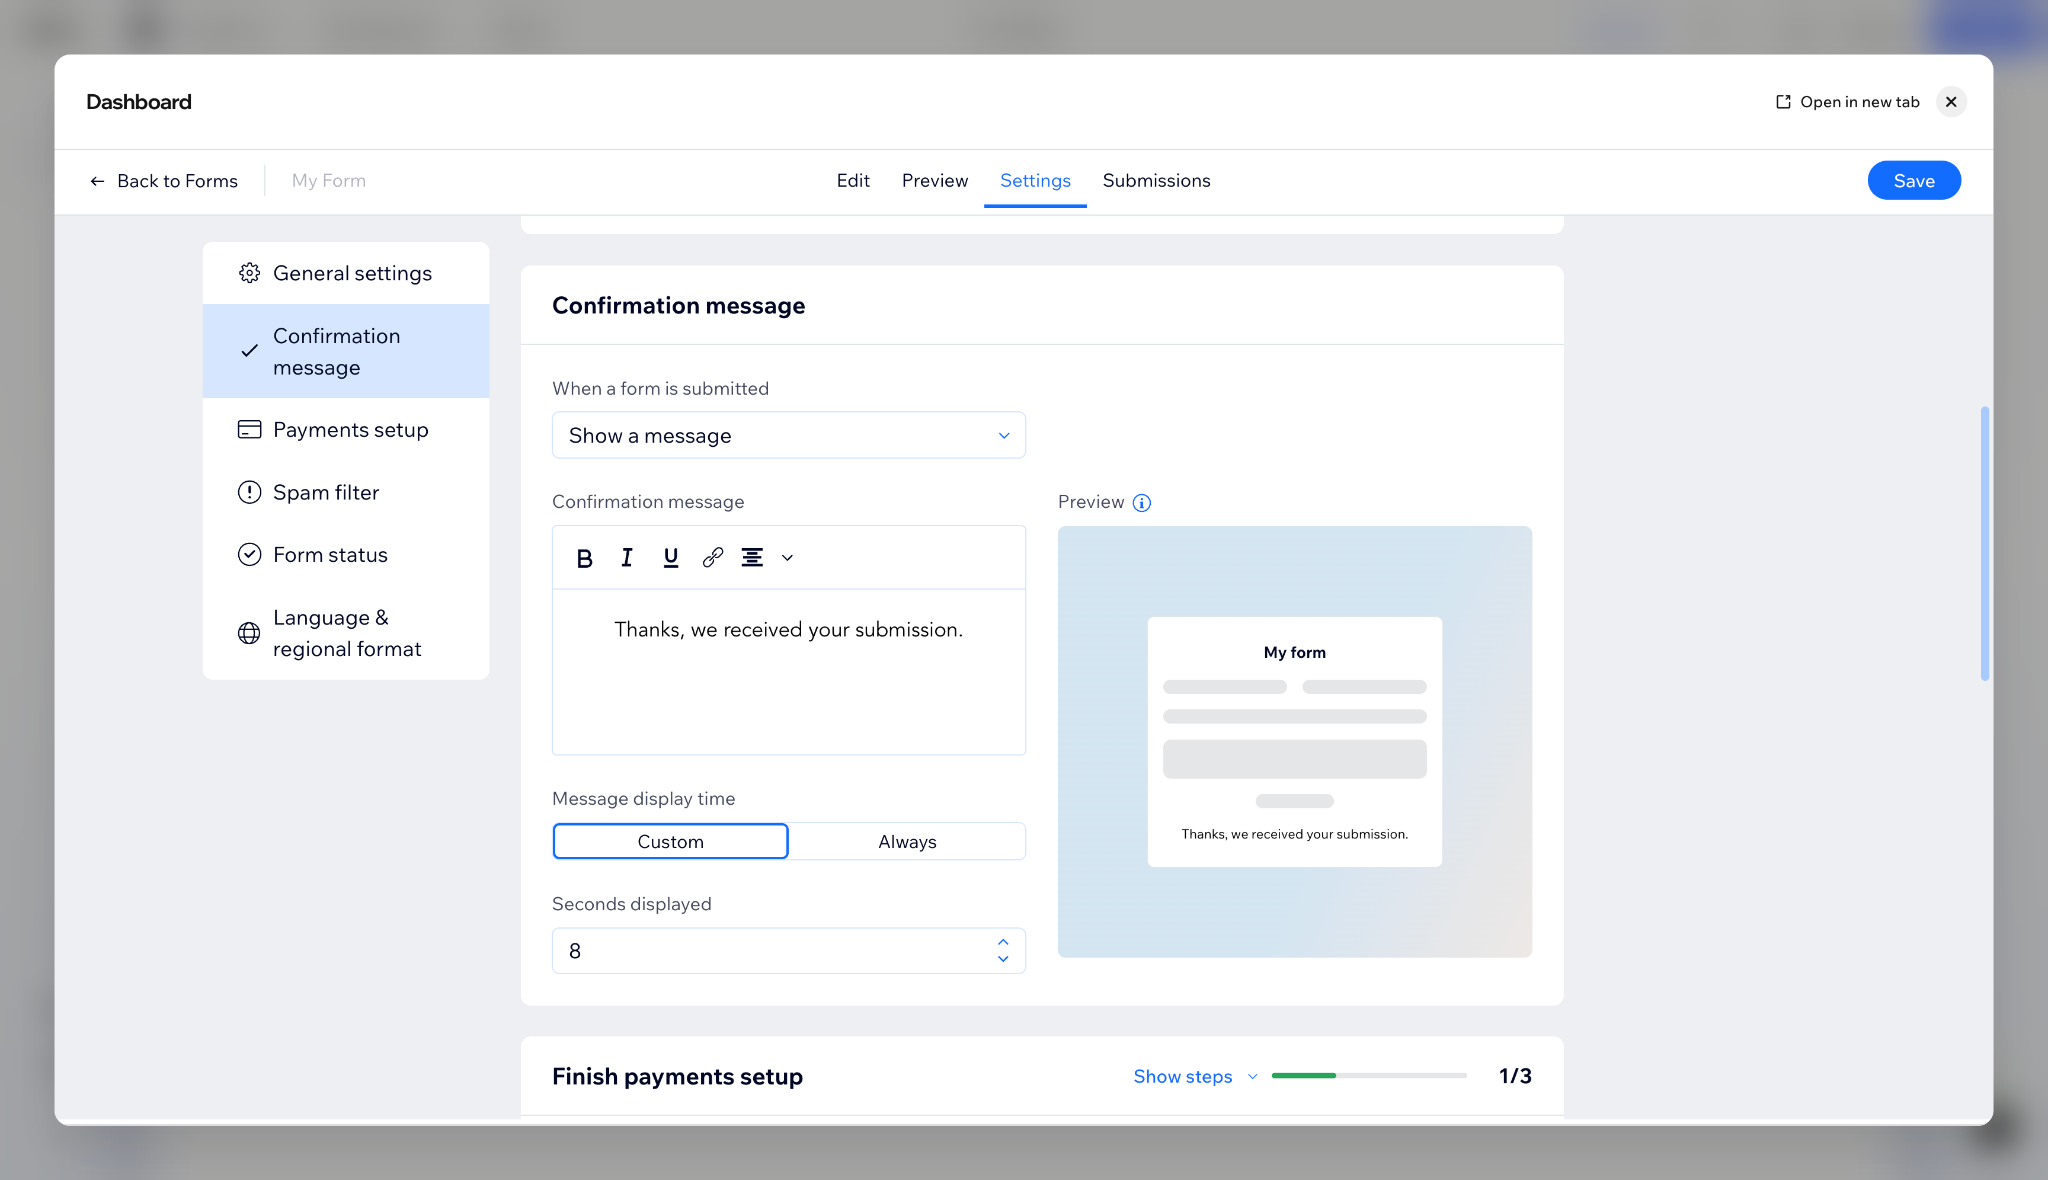
- Open Settings to adjust your form’s name, spam protection, and confirmation message.
- When you’re happy with your form, click Save and use Preview to test it. When you’re ready for it to go live, click Publish.
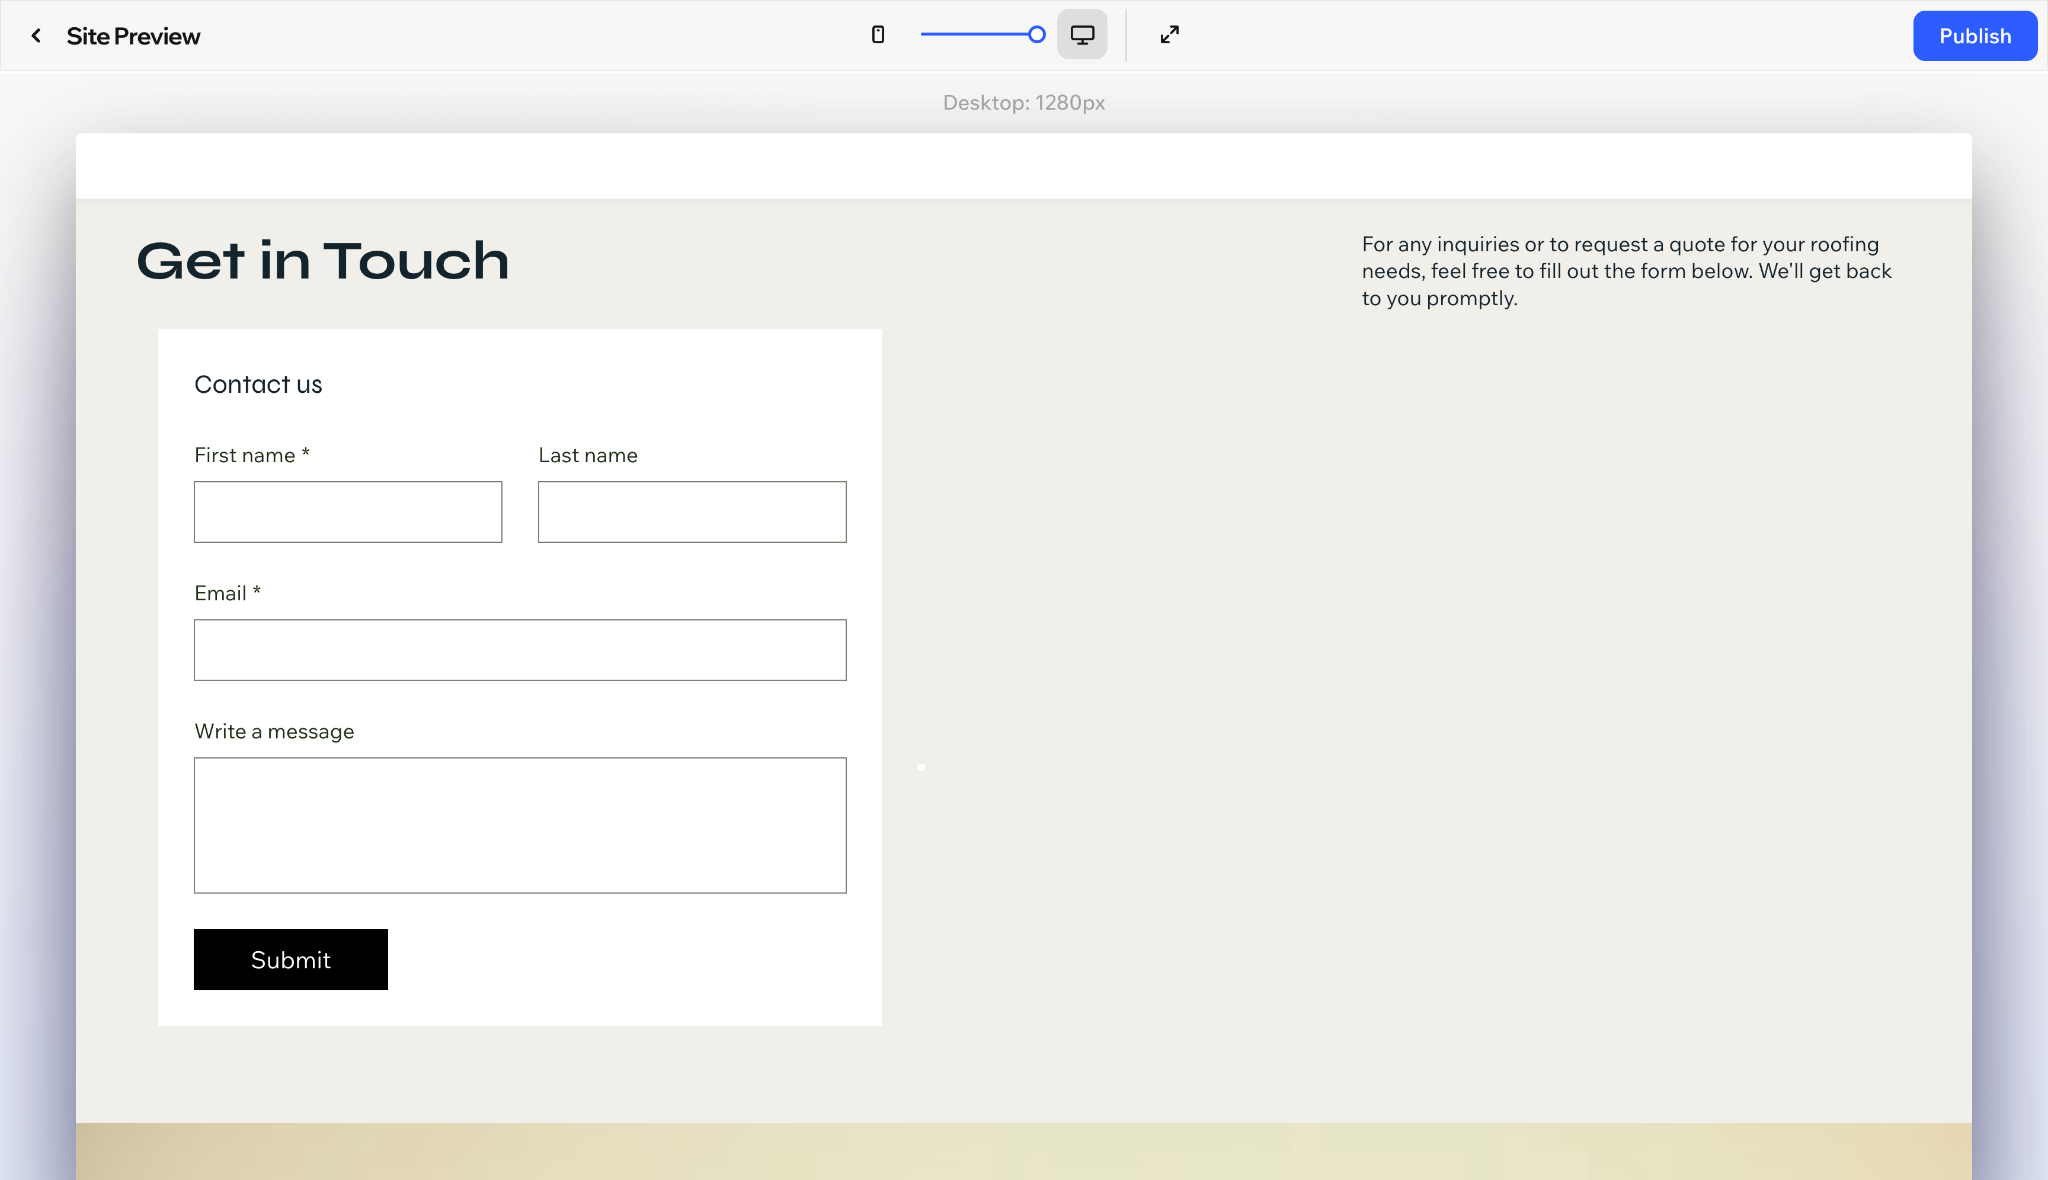
That’s it. Your Wix contact form is ready to collect inquiries and help you connect with prospective and existing customers.
Wix Forms works well for a straightforward contact form. But if you’re looking for a more advanced, personalized contact form, Jotform for Wix gives you another way to build one directly in the Wix Harmony Editor.
Option 2: Create a more flexible contact form with Jotform for Wix
With Jotform for Wix, you can create and customize contact forms directly in the Wix Harmony Editor. You can use AI-powered form creation to build your form in minutes, making the process faster and easier.

Here’s how to get started:
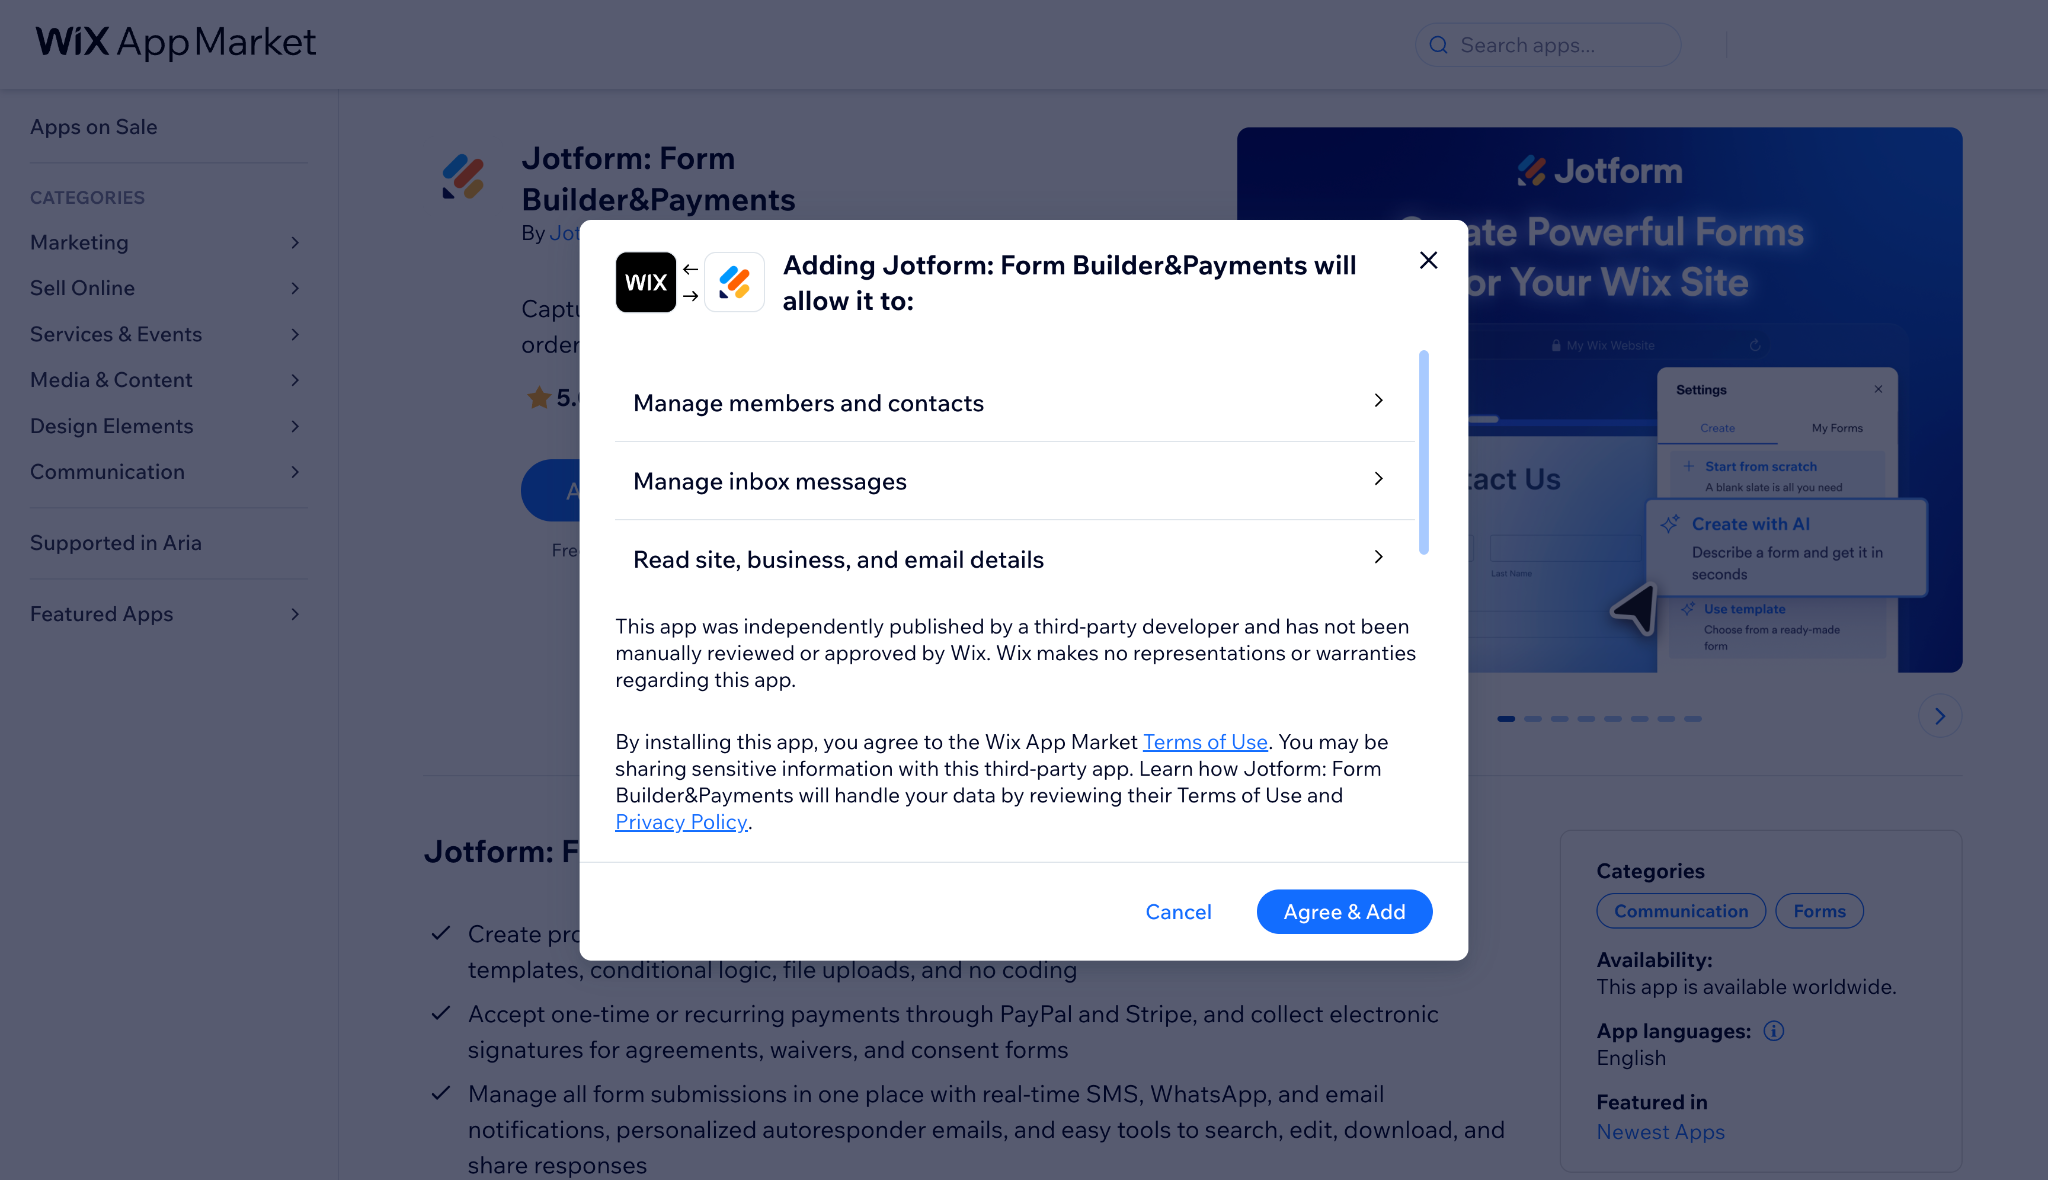
- Install Jotform for Wix: Open Jotform in the Wix App Market and click Add to Site. Select your website, click Continue, and then Agree & Add.
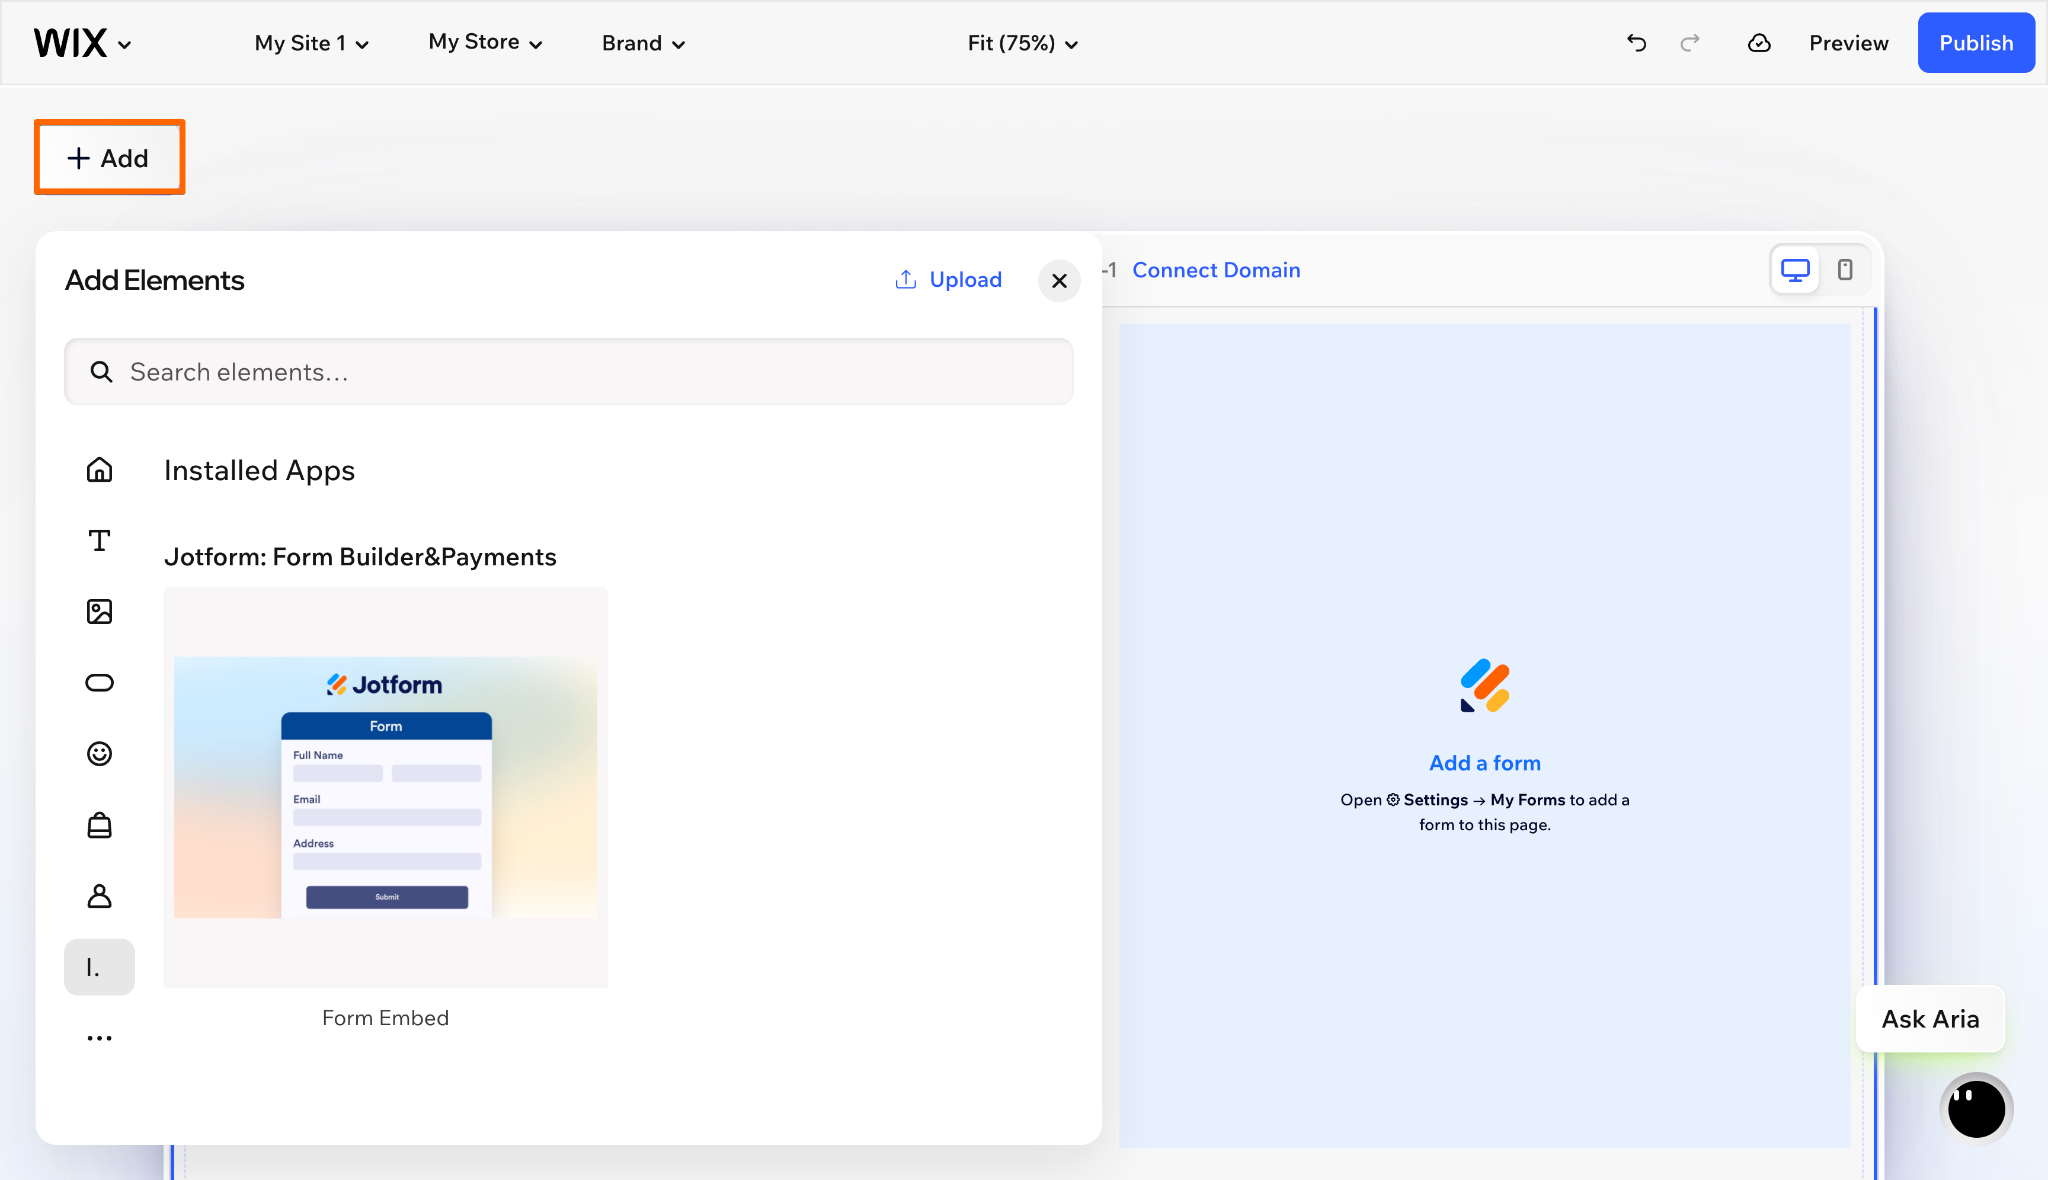
- Add Jotform to your page: In the Wix Harmony Editor, click + Add, select Elements, then choose Installed Apps. Find Jotform and drag it onto the page where you want your contact form to appear.
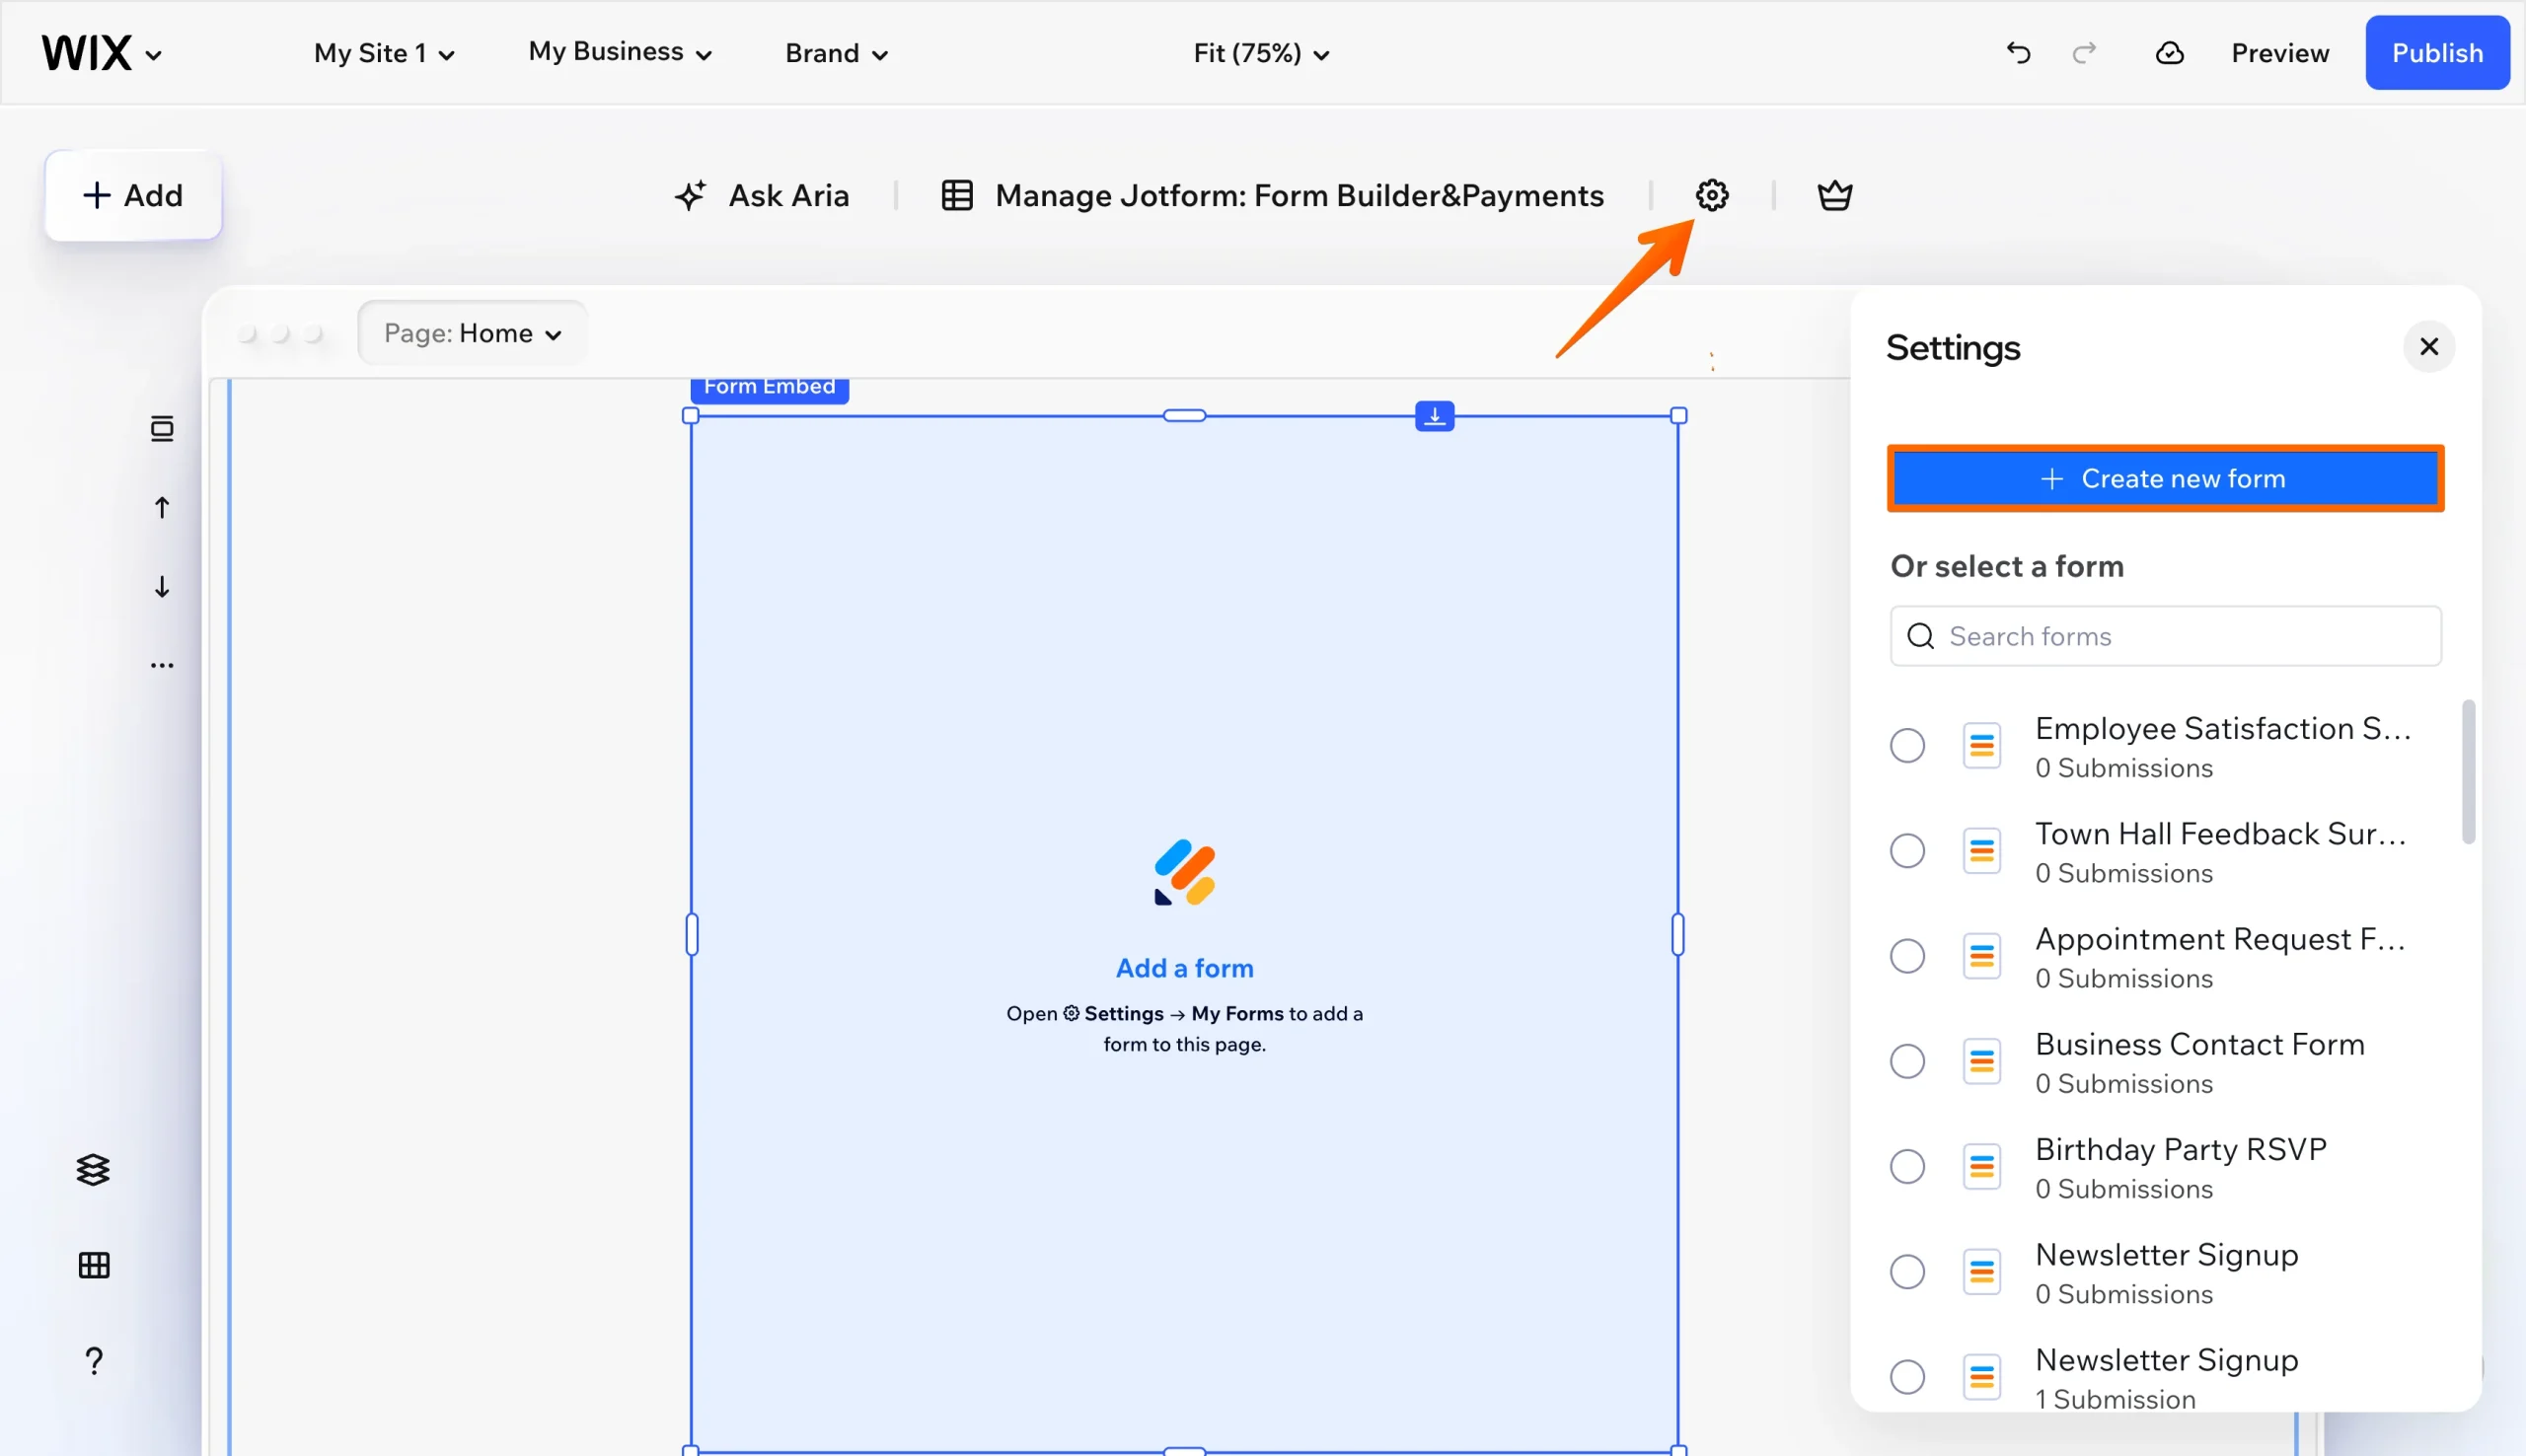
- Open Jotform settings: Click the gear icon to open Settings. From here, you can click Create new form or select one of your existing forms from the list below.
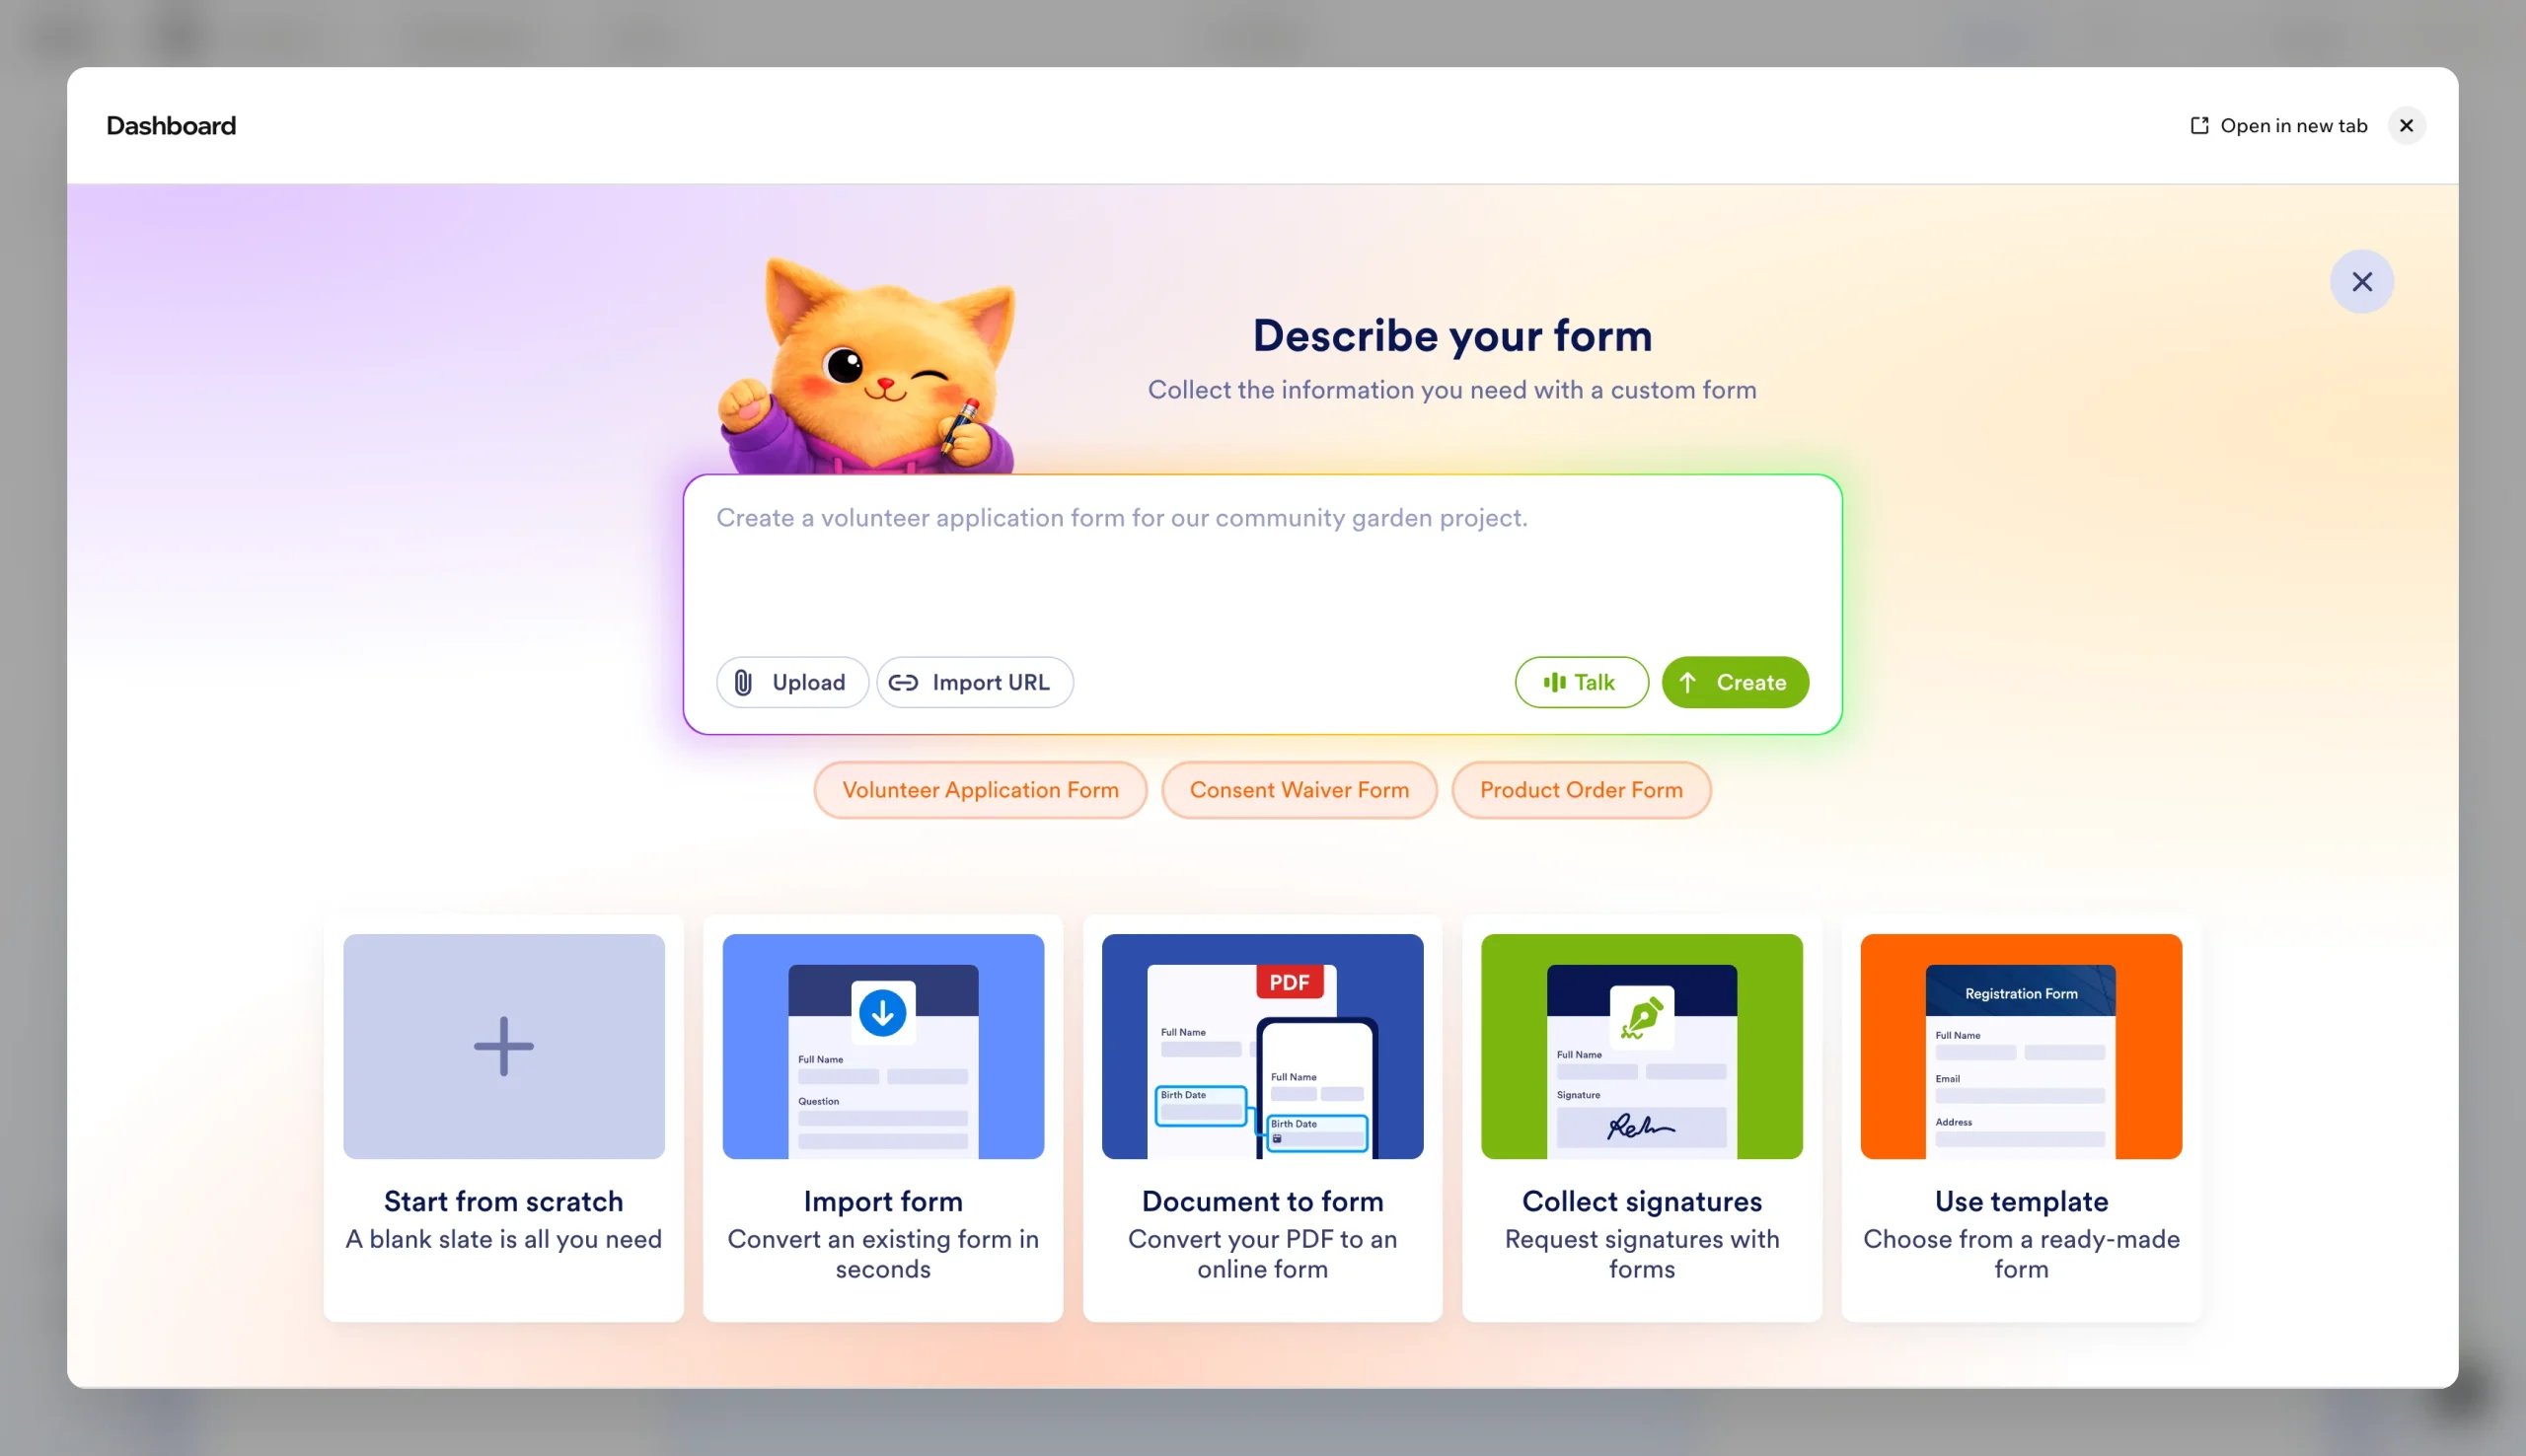
- Choose how to create your contact form: On Jotform’s form creation screen, you can:
- Create with AI: Describe the contact form you want and let AI create it for you.
- Start from scratch: Build a contact form with the fields and questions you need.
- Use template: Choose one of Jotform’s contact form templates and customize it to fit your business.
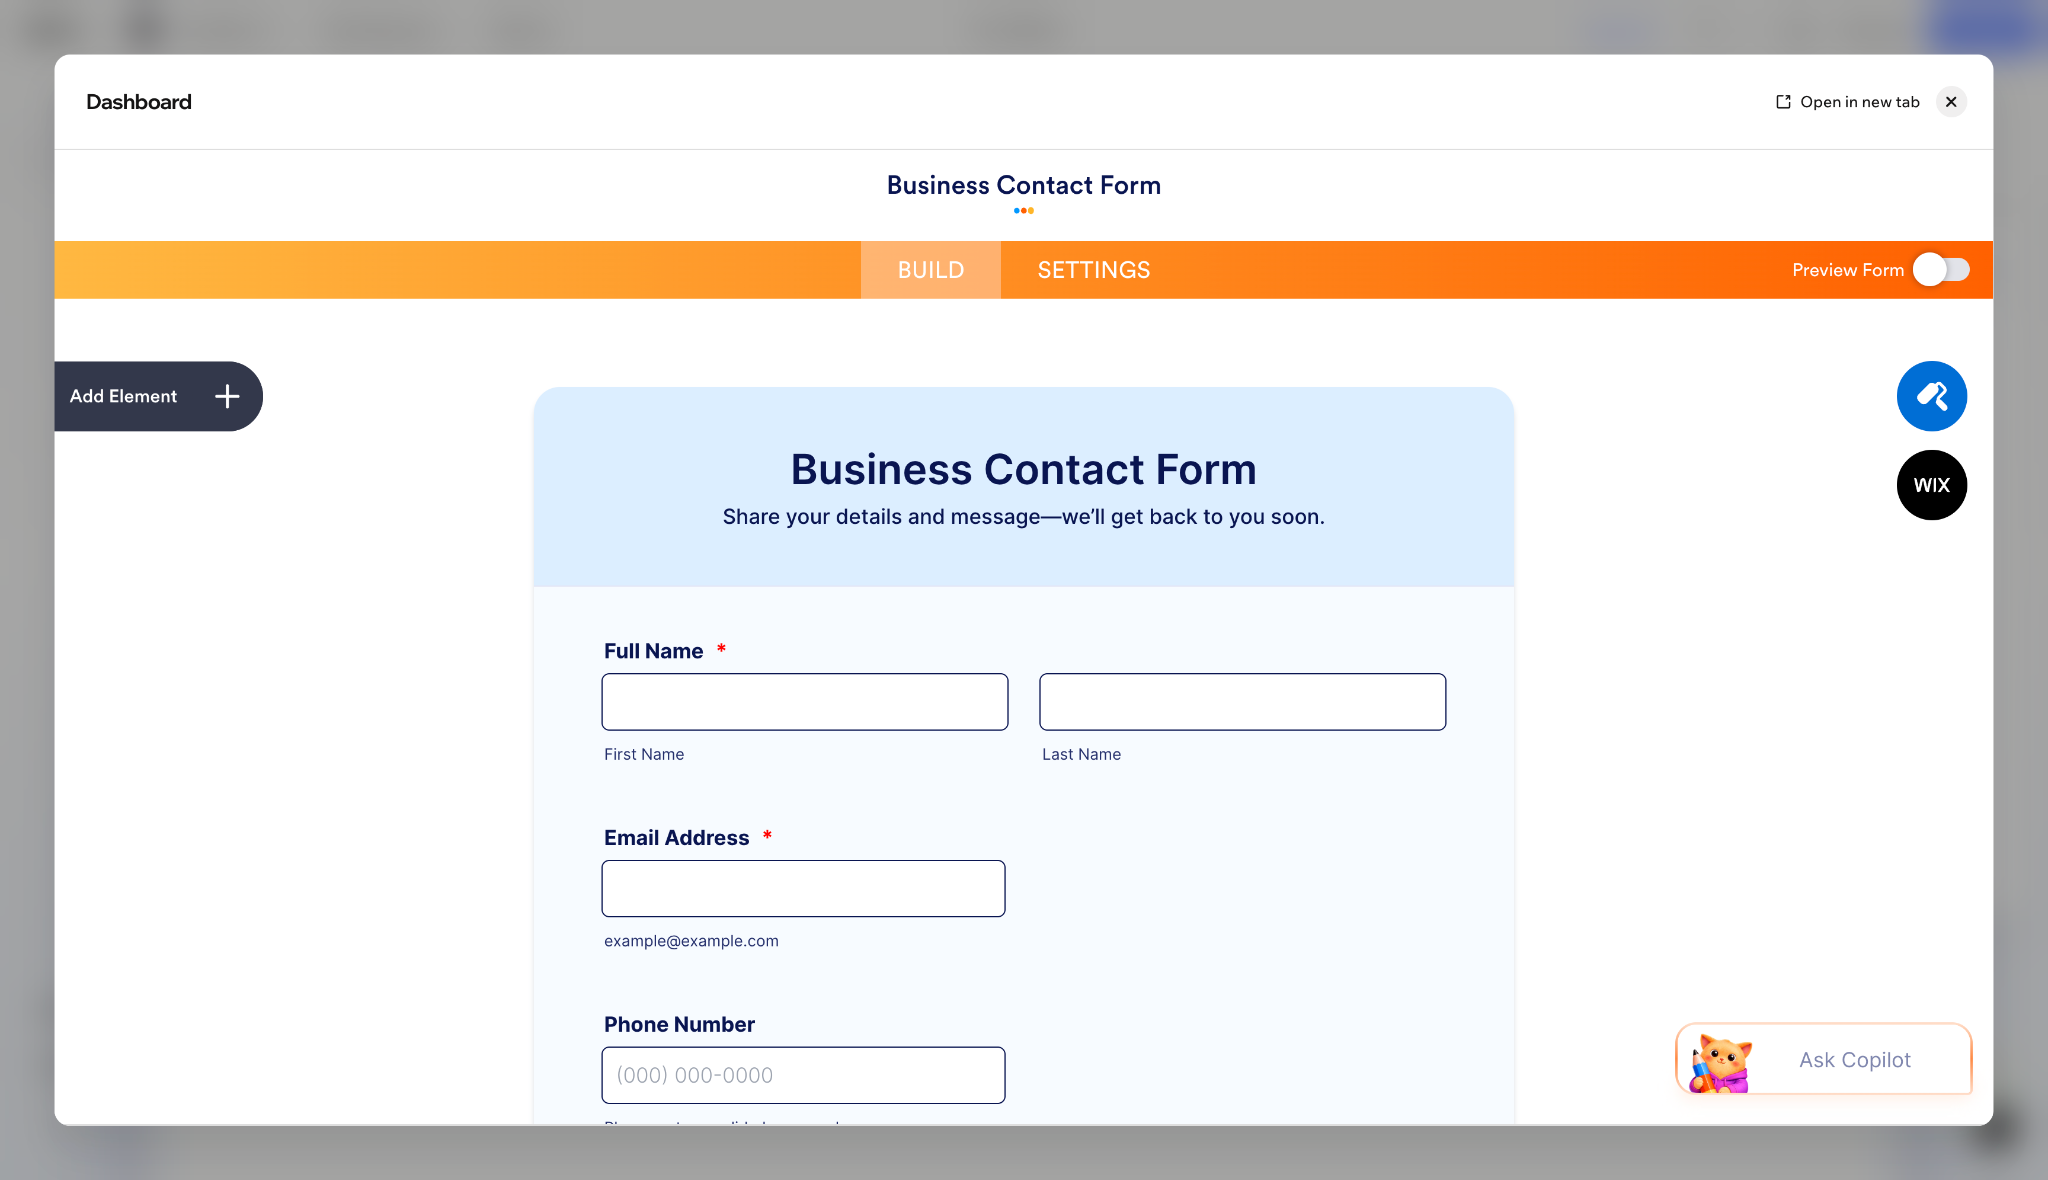
- Create and edit your form: Once you’ve created your form, you can customize it in Jotform Form Builder. From here, you can add or remove fields using Add Element, customize its appearance with Form Designer, or use Ask Copilot to make further changes.
- Publish your contact form: Once you’re satisfied with your form, return to the Wix Harmony Editor and adjust the form’s height and width to make sure everything displays correctly. Preview your page, test a submission on desktop and mobile, and click Publish when you’re ready.
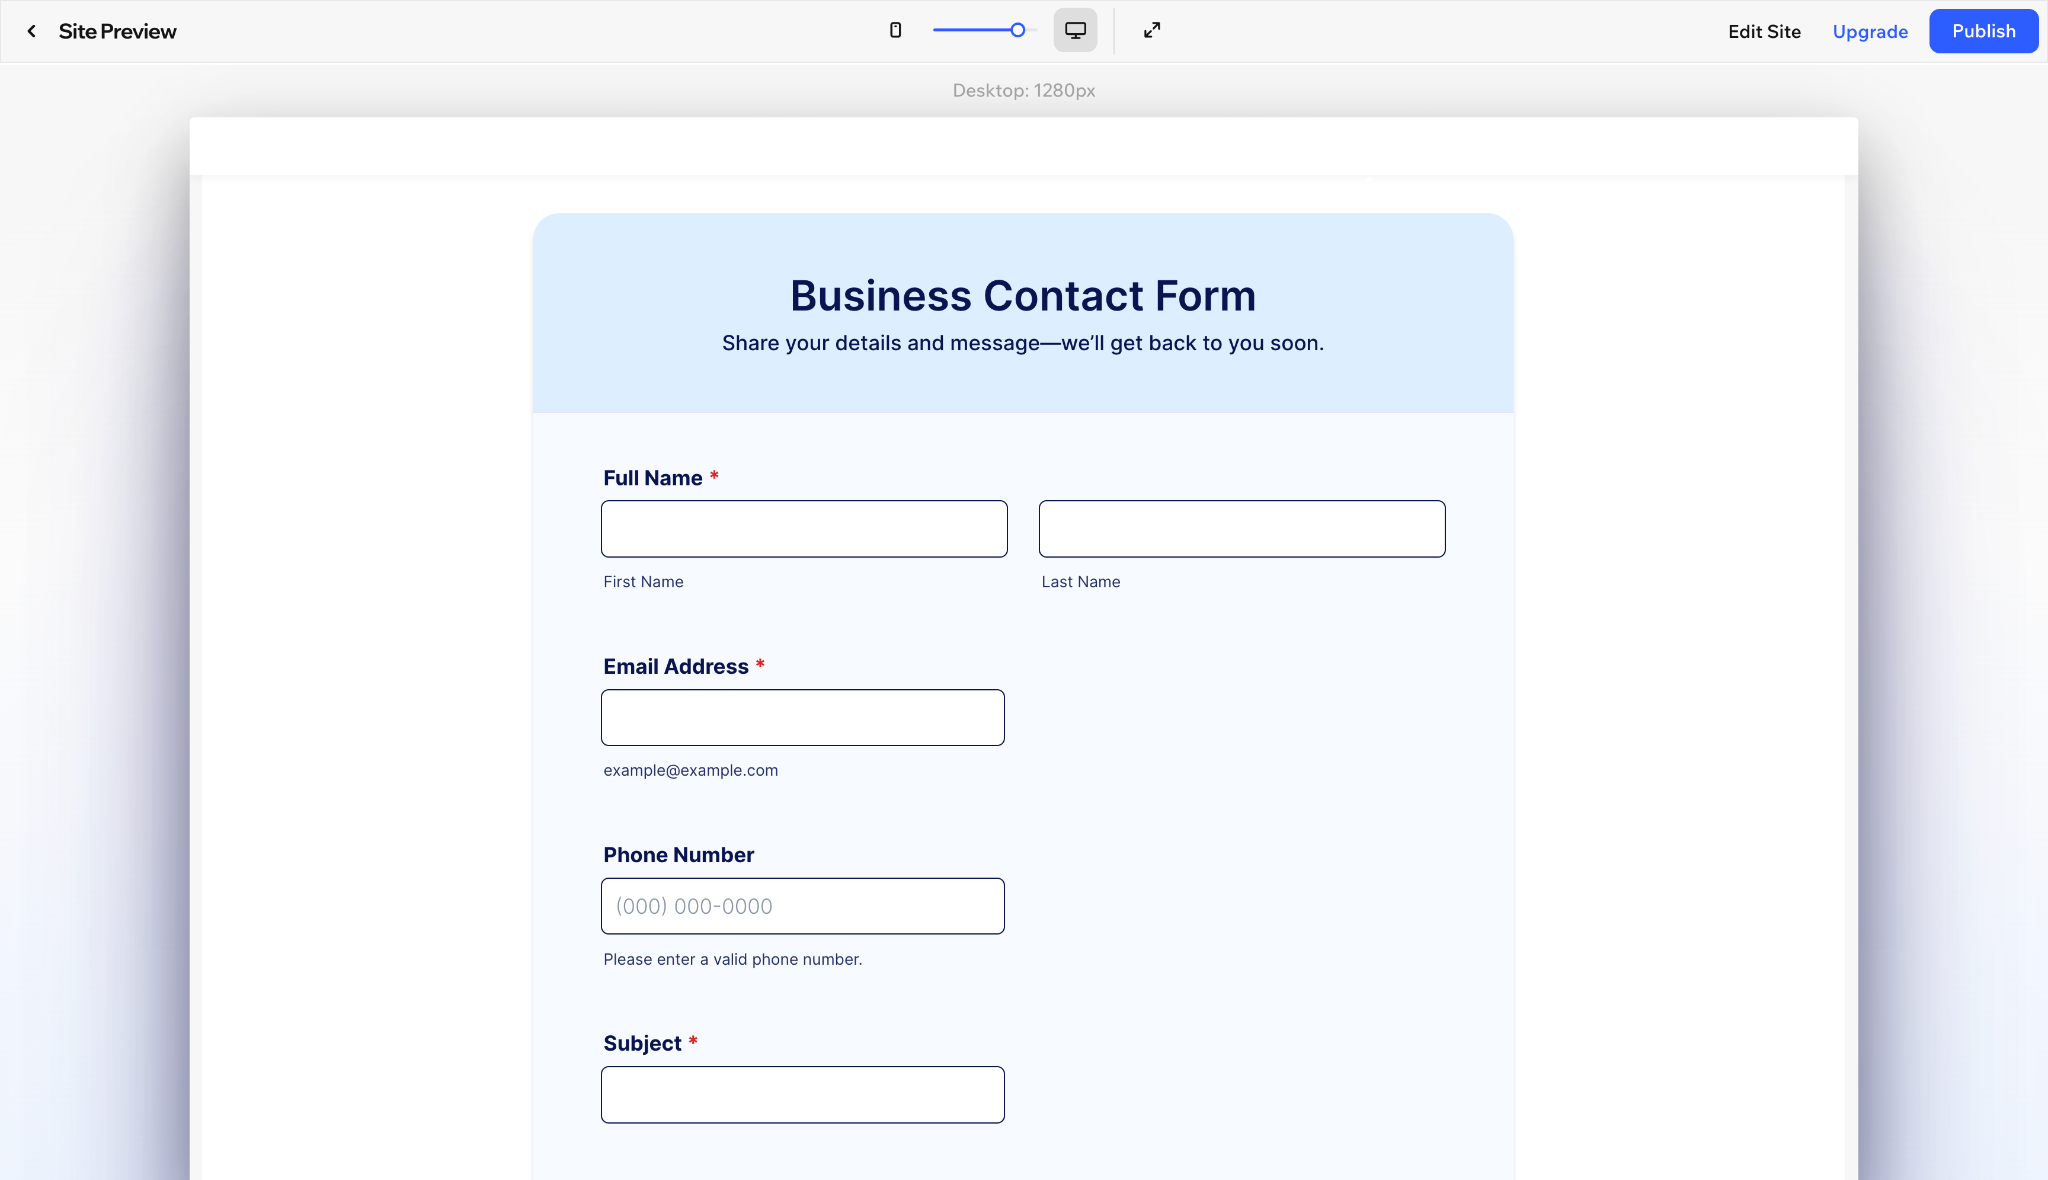
That’s it! Your custom contact form is now part of your Wix website.
Once your form is live, Jotform gives you several ways to manage inquiries as they come in:
- Set up form notifications via email, SMS, WhatsApp, or push notifications for every new submission.
- Send autoresponder emails to acknowledge each message.
- Organize and manage customer information with Jotform Tables.
- Sync contact details with Wix Contacts.
- Connect your form to other tools through Jotform’s integrations.
Choose the right contact form for your Wix website
Contact forms bridge the gap between your company and your target audience. They help you generate leads, understand your customers, and reduce spam, and they look more professional than a simple email address or phone number on your website.
When choosing between Wix Forms and Jotform for Wix for creating a contact form, figure out how much customization you need and what you want to do with the information you collect.
- Choose Wix Forms: If you need a simple contact form that matches your website and lets you manage messages through your Wix dashboard. It’s a practical option for businesses that want to collect basic inquiries without installing another app.
- Choose Jotform for Wix: If you want more control over your contact form’s design, advanced fields, conditional logic, and how submissions connect to your business tools. It’s especially useful when you want to create more personalized forms or automate how you follow up with customers.
Ready to build a more customized contact form? Add Jotform for Wix to your website and create a form that works for your business.
FAQs about Wix contact forms
Submissions collected through Wix Forms are stored under Forms & Submissions in your Wix dashboard. Select a form and click View Submissions to review, filter, or export responses. If you’re using Jotform for Wix, you can manage submissions through Jotform Tables.
The new Wix Forms include invisible reCAPTCHA, so you don’t need to add a separate CAPTCHA field. To adjust your spam protection, open Edit Form → Settings → Spam Filter Settings and choose your preferred protection level. You can also add CAPTCHA verification to forms created with Jotform for Wix.
Yes. Wix Forms lets you send automatic confirmation emails using Wix Automations. You can customize the message to thank visitors or let them know when to expect a reply. Jotform for Wix also supports sending automatic confirmation emails after a form submission.
This article is for Wix website owners, small business owners, and beginners who want to create customizable contact forms to collect inquiries, generate leads, and connect with customers.


























Send Comment: