Jotform’s E-mail Validator widget lets you verify email addresses directly in your form using a two-step verification process. When a respondent enters an email address, the widget sends a verification code to that address, which they can enter back into the form before submitting.
Here are a few ways to use it:
- Verify email addresses on registration forms.
- Confirm customer emails before submitting inquiries.
- Ensure applicants provide valid email addresses.
- Verify attendee emails for event registrations.
- Prevent forms from being submitted with unverified email addresses.
Whether you’re creating a new form or updating an existing one, you can add and set up the Email Validator widget in a few easy steps. Here’s how to do it:
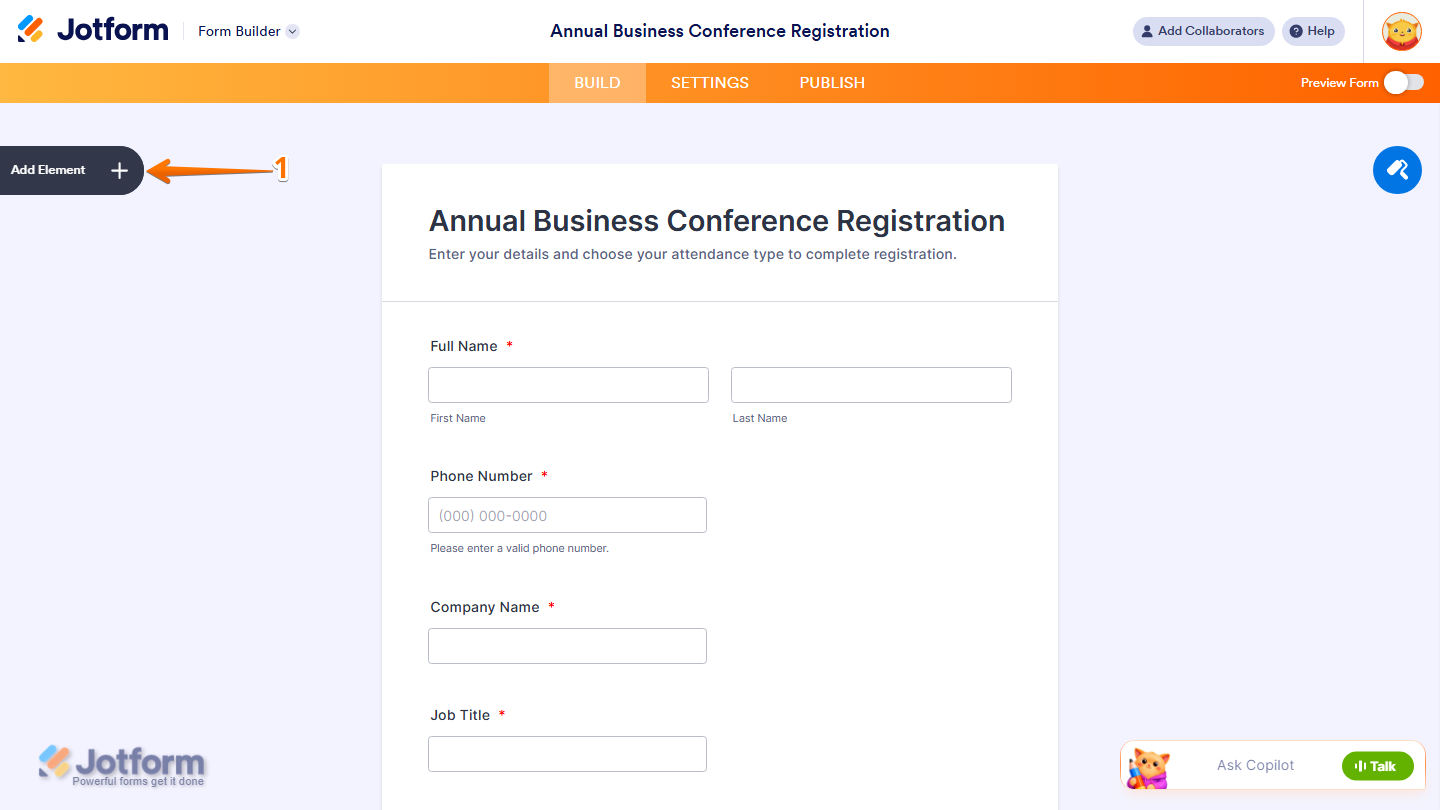
- In Form Builder, click on Add Element on the left side of the page.
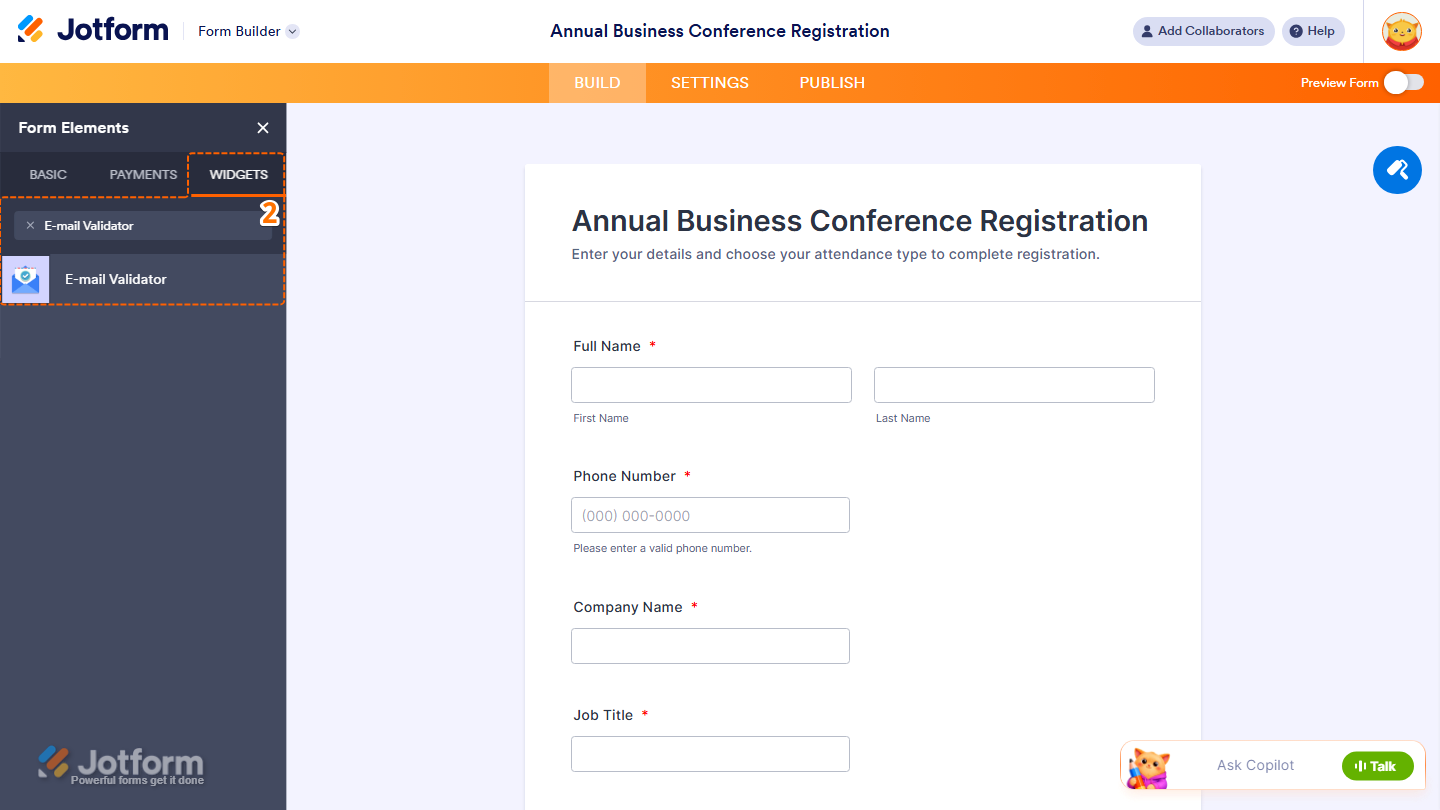
- Now, in the Form Elements menu, under the Widgets tab, search for E-mail Validator and click on it. Or, just drag and drop it to where you want it to be on your form.
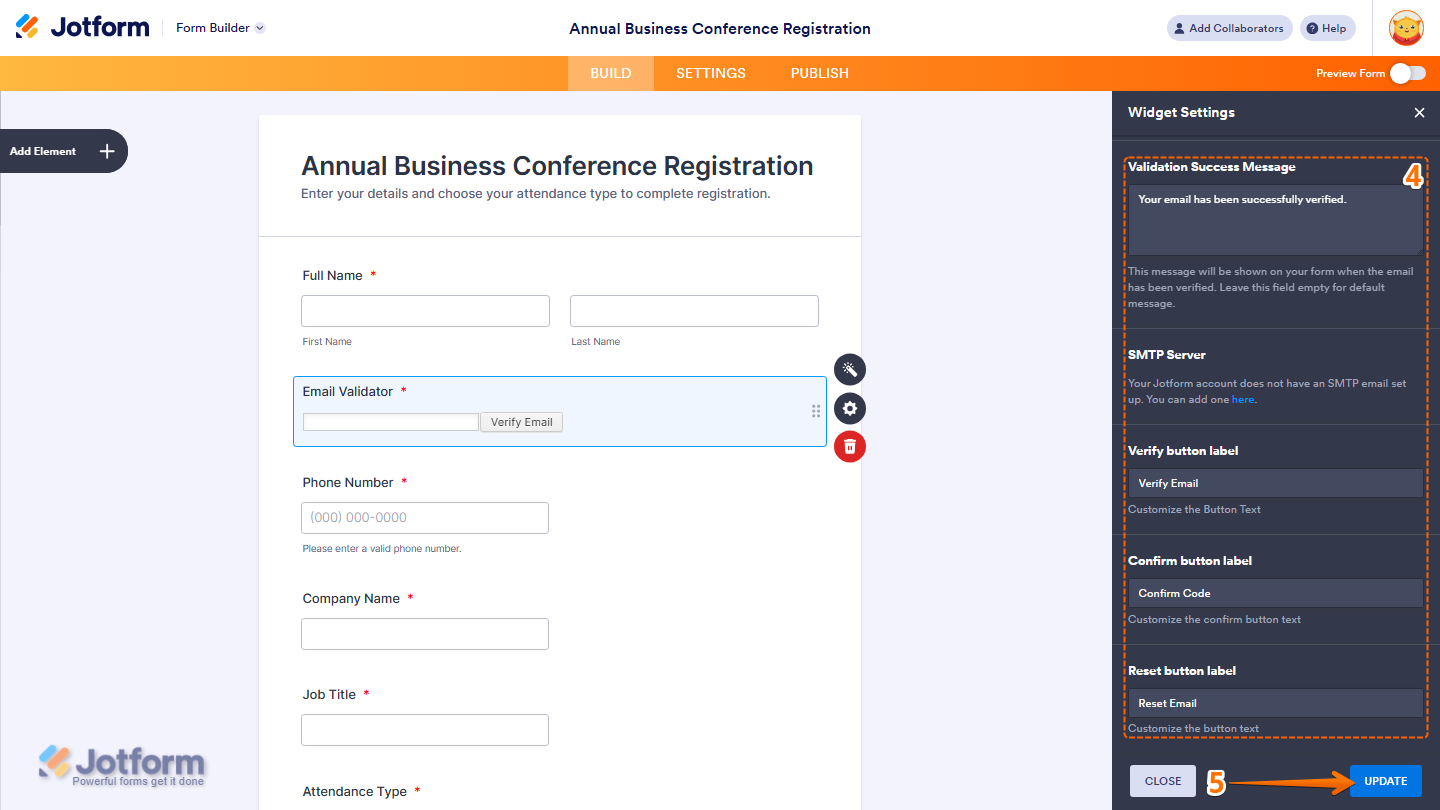
- Next, in the Widget Settings window that opens on the right side of the page, under the General tab, you’ll see this list of settings you can configure:
- Email Subject — Enter the subject line for the verification email.
- Email Content — Write the message your users will see in their inbox along with the verification code. Make sure to include the [code] parameter, as it represents the actual code, the widget won’t work without it.
- Message on the Form — This will be displayed on the form to show that the verification email has been sent. Use {mail} to show the entered address.
![Jotform E-mail Validator widget settings under the General tab, showing fields for Email Subject, Email Content with the required [code] parameter, and Message on the Form with the {mail} placeholder](https://www.jotform.com/blog/wp-content/uploads/2026/01/jotform_set_up_the_e_mail_validator_widget_3.png)
- Then, scroll down to the bottom and continue to set up these settings:
- Validation Success Message — This message will be shown on your form when the email has been verified. Leave this field empty for the default message.
- SMTP Server — Add your SMTP details if you want to send emails through your own server. Take a peek at our guide on [Topic] to learn more.
- Verify Button Label — Update the text on the button that sends the code.
- Confirm Button Label — Edit the button text for confirming the code.
- Reset Button Label — Set the text for the button that lets users start over.
- When your settings are ready, click on Update.
That’s it. You’ve successfully added and set up the Email Validator widget on your form.
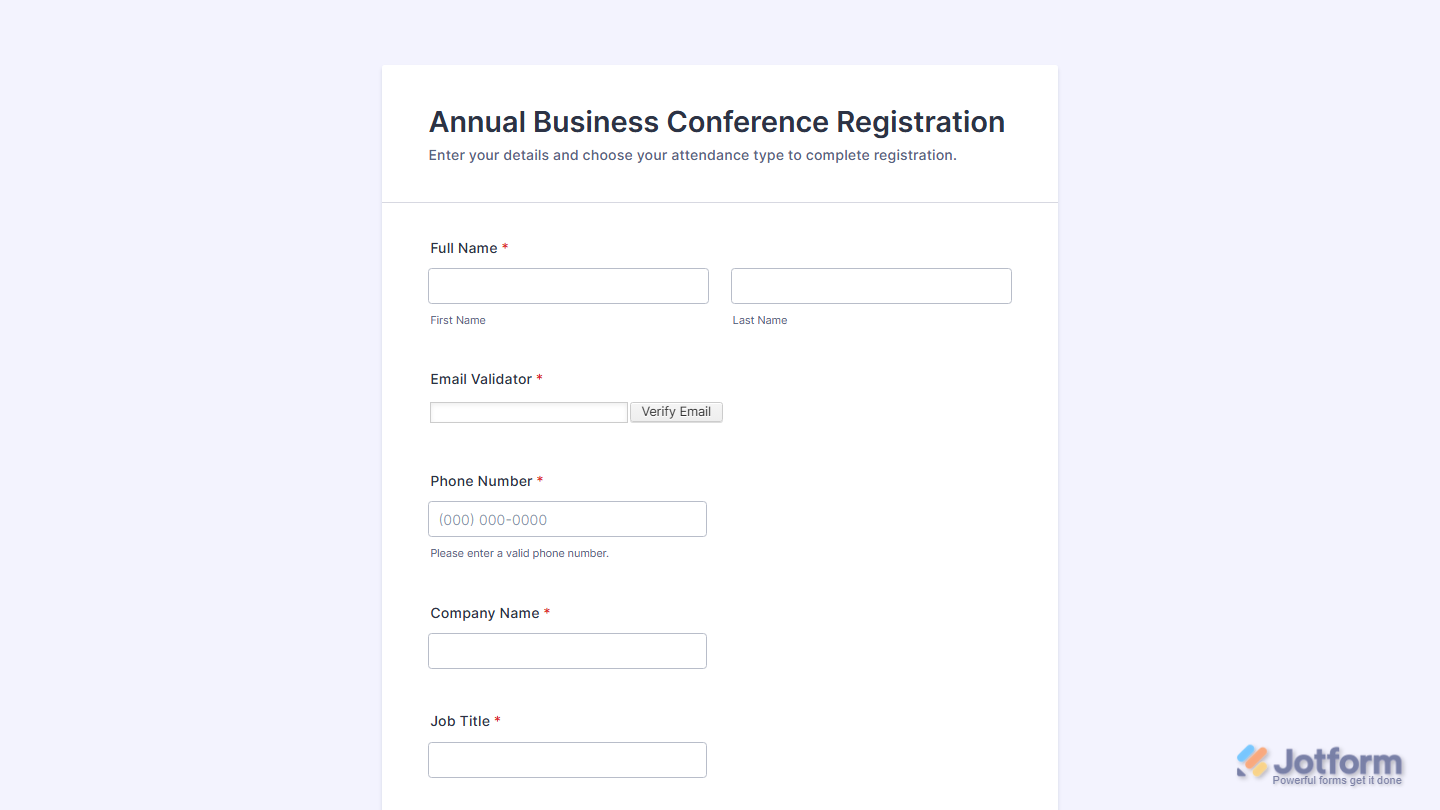
Want to see how it works? Check out this live demo form.
Note
- The Email Validator widget isn’t available on the Card layout. Need help changing the layout? See our guide on How to Change Your Form Layout.
- For advanced styling of the Email Validator widget, you can add your own custom CSS code under the Custom CSS tab in the Widget Settings. Our guide on How to Inject CSS Codes to Widgets walks you through everything.
- You can also configure the widget properties, like alignment, labels, size, visibility, and more, to control how it looks and behaves in your form. Check out our guide on How to Access and Configure the Question Properties of a Widget to learn more.

Send Comment: