With Jotform’s Speech to Text widget, you can give respondents an easier way to provide detailed, open-ended answers without typing everything out. Respondents can speak their responses, review and edit the transcribed text, and submit it as regular text, making the widget especially useful for longer answers or situations where typing is inconvenient. Since spoken responses are converted into text, they’re also easier to search, export, and review later.
Here are a few ways to use it:
- Give respondents an accessible alternative to typing.
- Collect detailed healthcare intake or interview responses.
- Let field service teams dictate reports from mobile devices.
- Help educators collect spoken reflections and long-form answers.
Note
The Speech to Text widget is available on both Classic and Card Forms. Check out our guide on When to Use Card Forms to learn more.
Whether youʼre creating a new form or updating an existing one, you can add and configure the Speech to Text widget in just a few steps. Hereʼs how to set it up:
- In Form Builder, click on Add Element on the left side of the page.
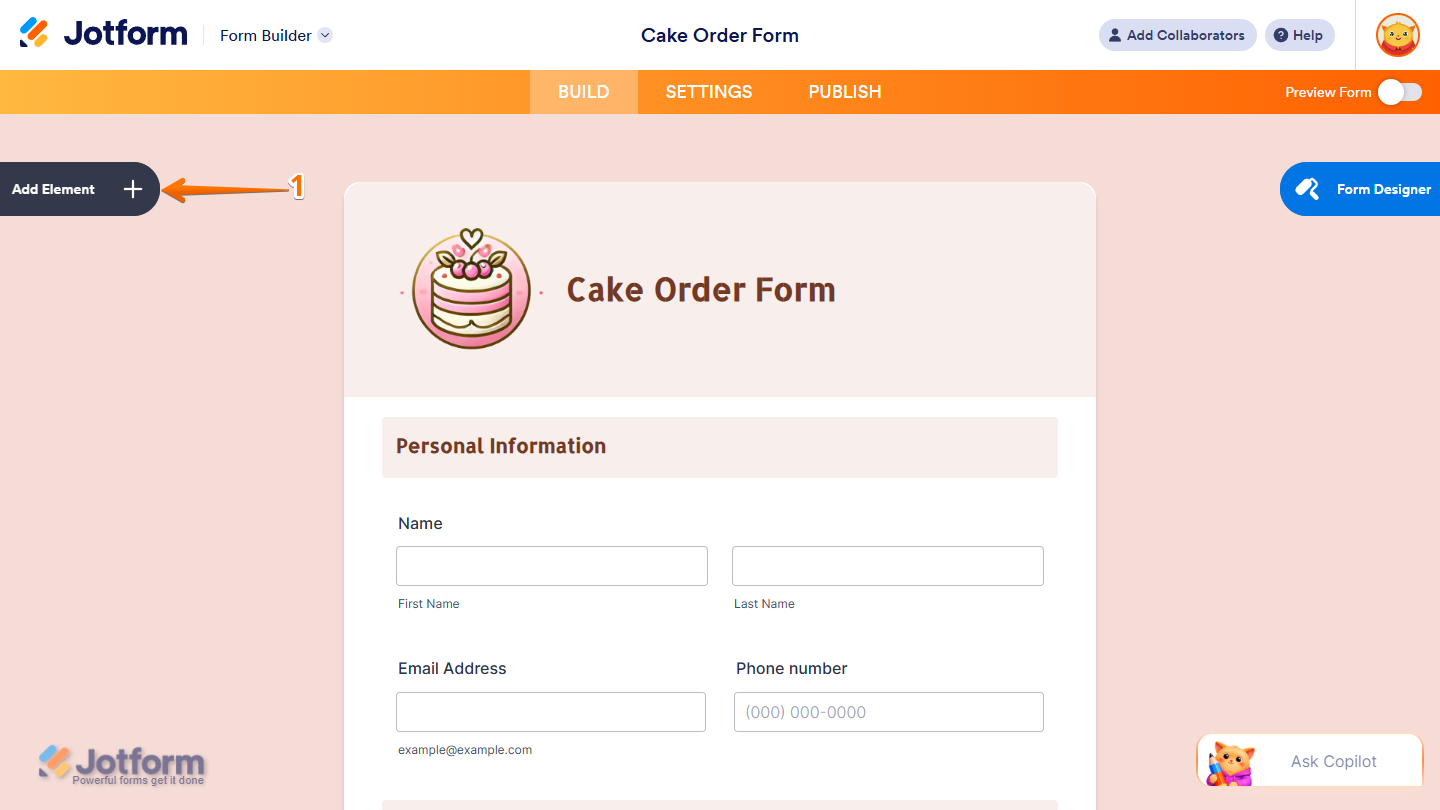
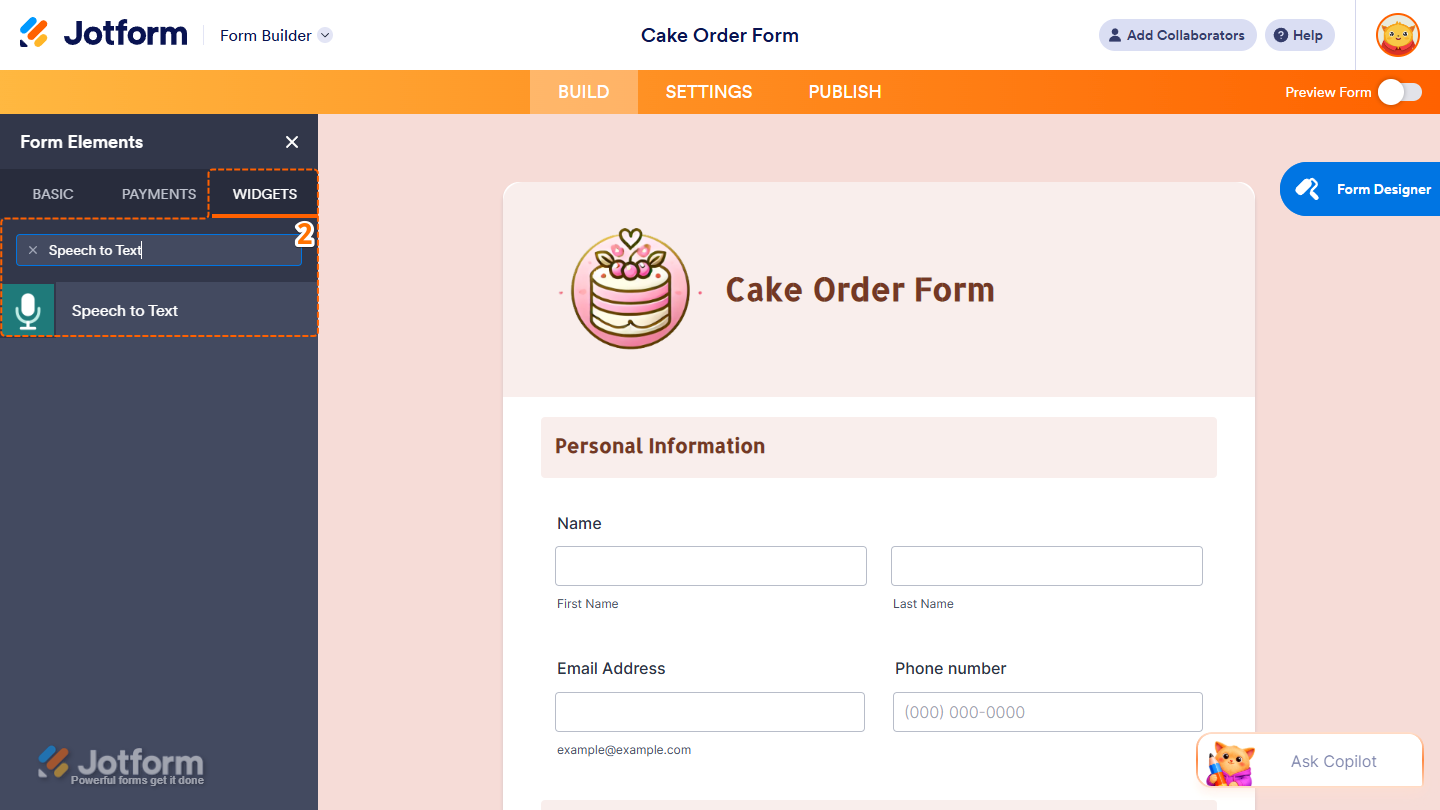
- Now, in the Form Elements menu, under the Widgets tab, search for Speech to Text and click on it. Or, drag and drop it to where you want it to appear on your form.
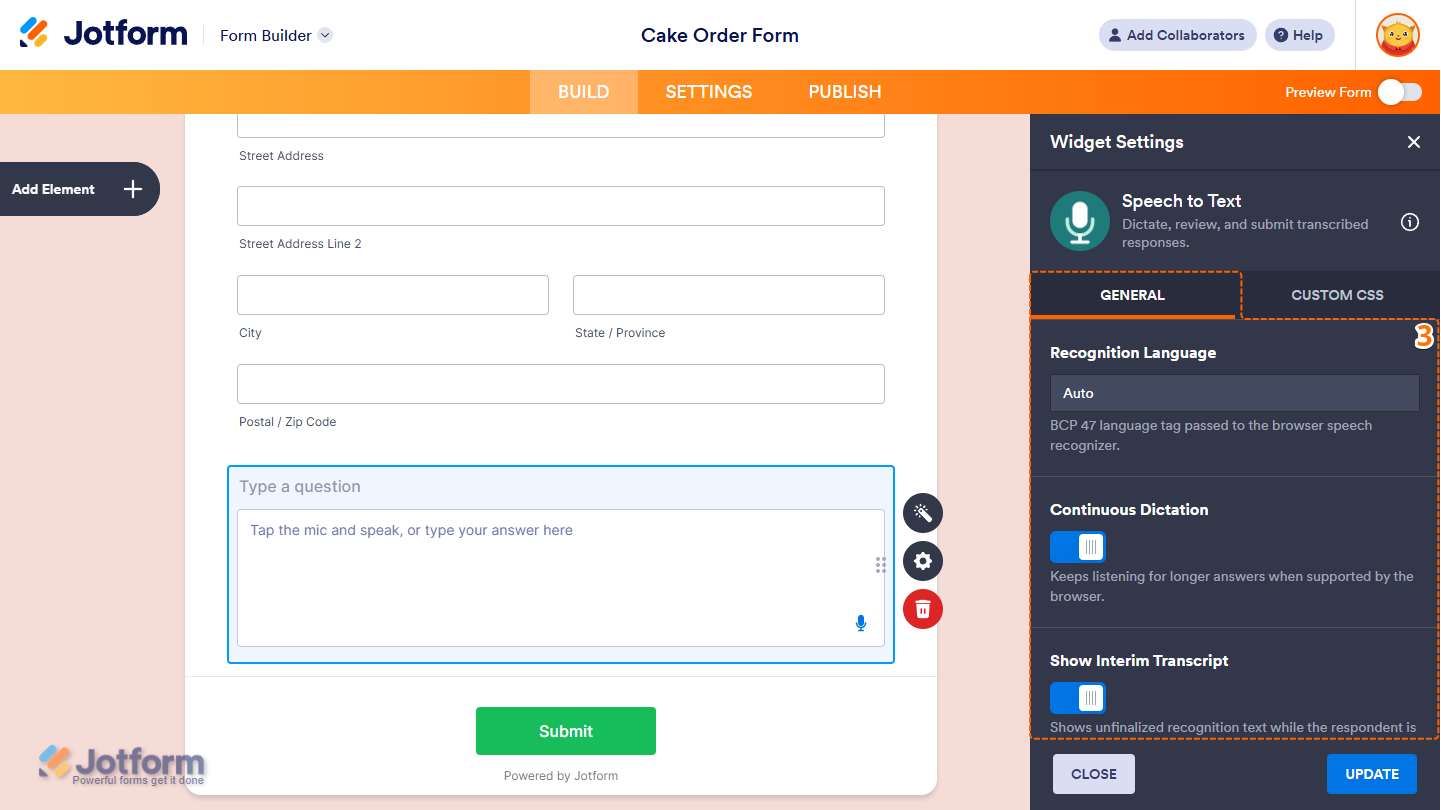
- Next, in the Widget Settings menu that opens on the right side of the page, you’ll see this list of settings you can configure:
- Recognition Language — Enter a BCP 47 language tag to set the language the browser uses to recognize speech.
- Continuous Dictation — Toggle this off to stop the widget from continuously listening for longer answers.
- Show Interim Transcript — Toggle this off to hide unfinalized text in the widget while the respondent is speaking.
- Then, scroll down to the bottom and continue to set up these settings:
- Placeholder — Enter the text you want to display in the widget before the respondent starts speaking or typing an answer.
- Unsupported Browser Message — Enter the message you want to display when speech recognition isn’t available in the respondent’s browser.
- Once everythingʼs set, click on Update.
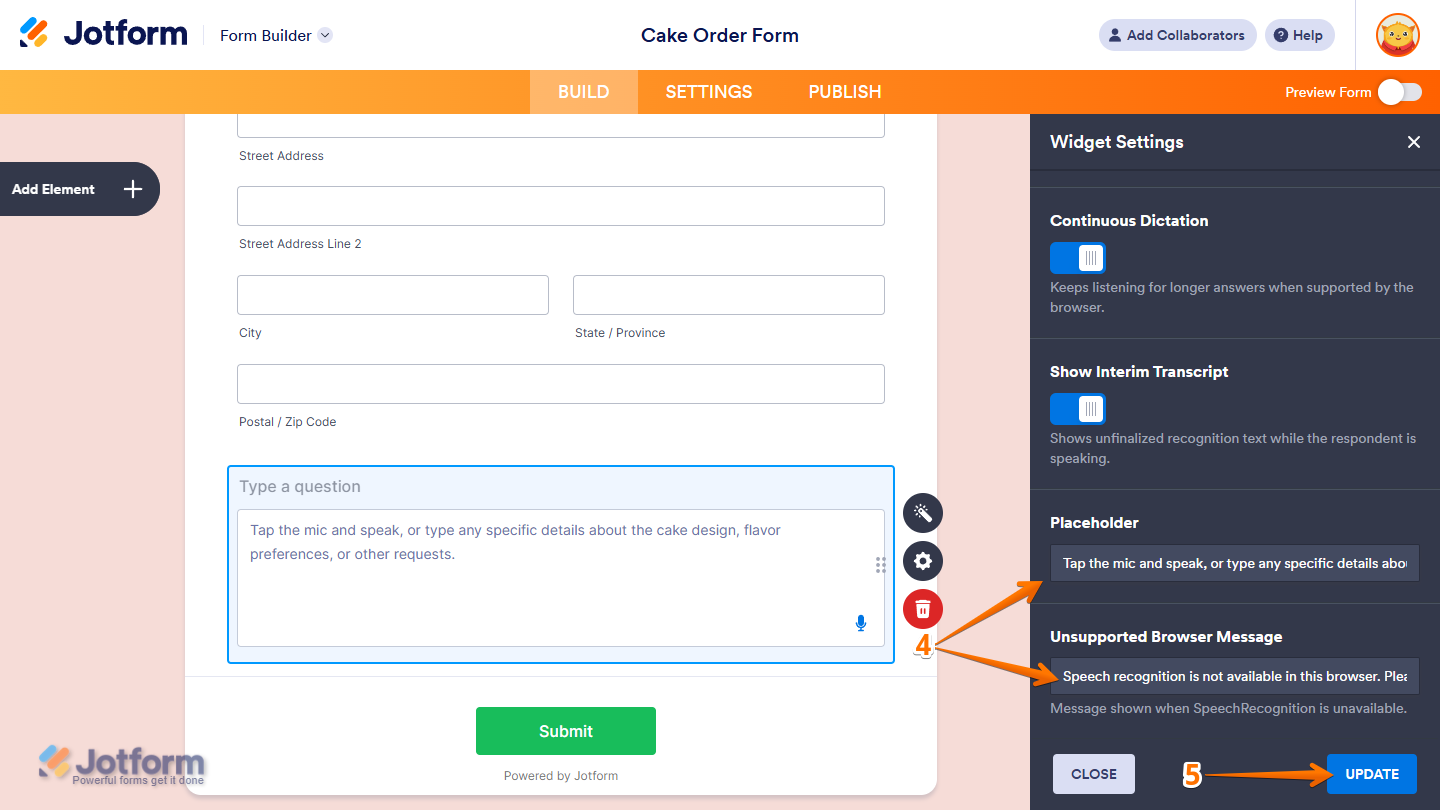
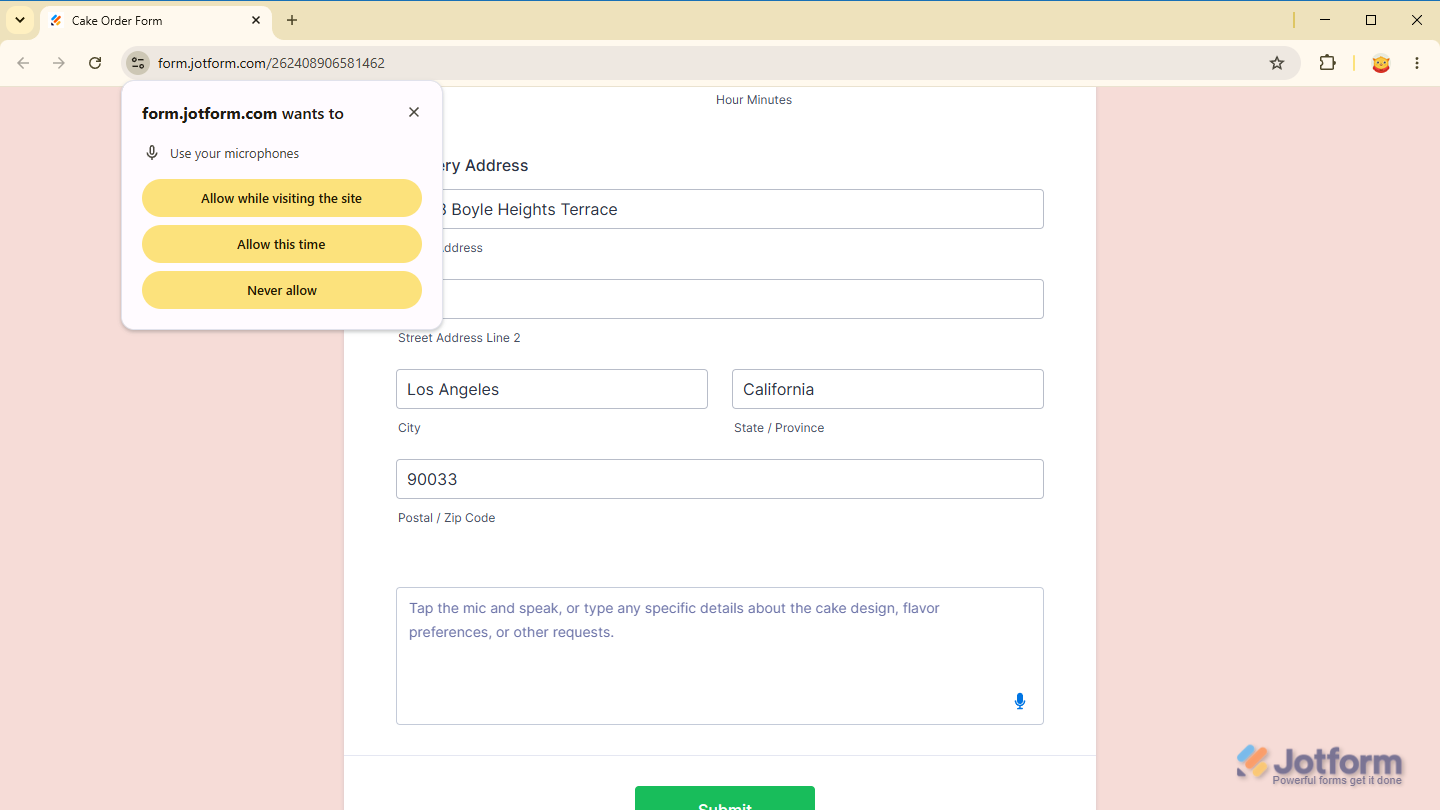
That’s it! You’ve now successfully added and set up the Speech to Text widget on your form. The widget lets respondents dictate their answer using the Microphone icon in its bottom-right corner, and their browser may ask for permission to access their device’s microphone before dictation begins. Wondering how it looks in action? Check out this demo form.
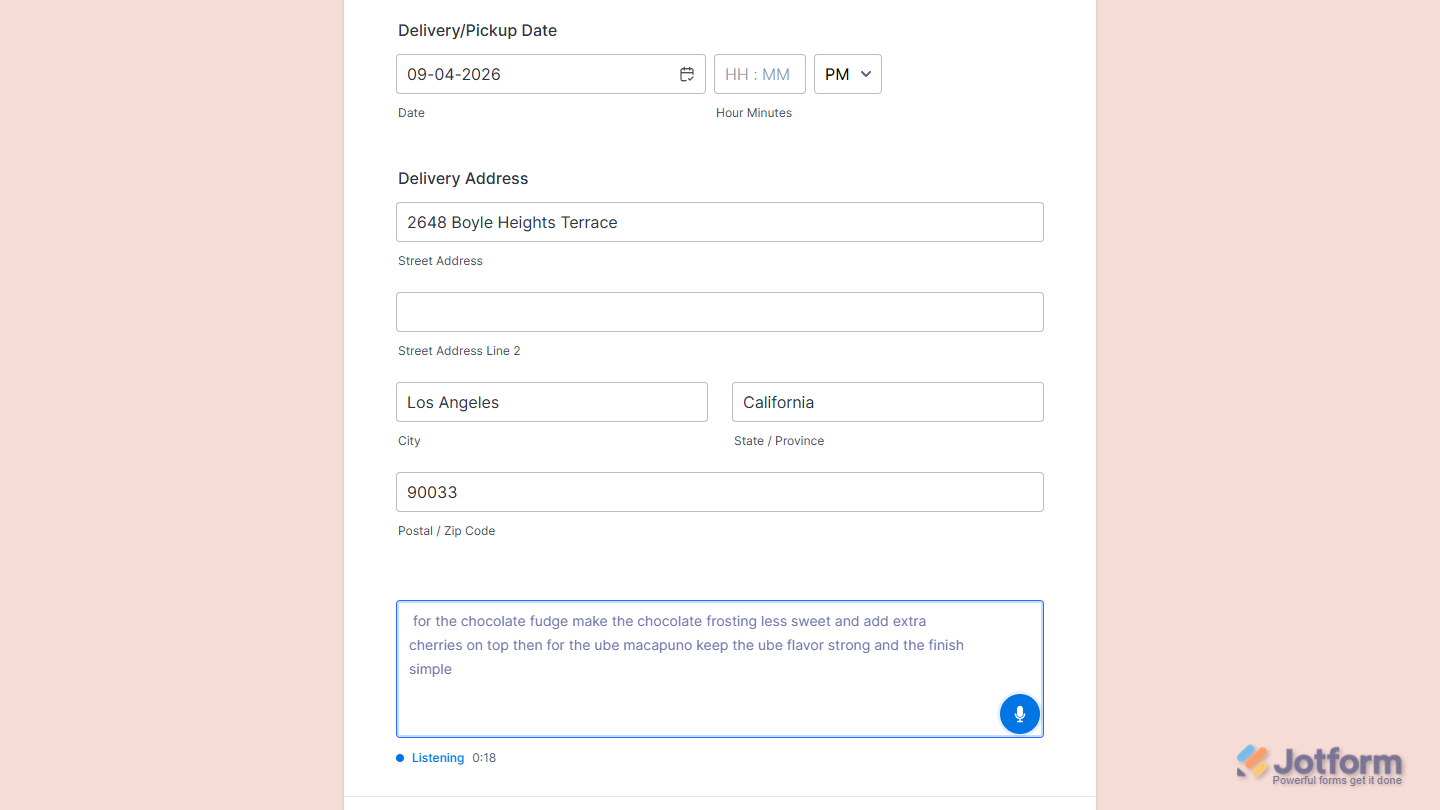
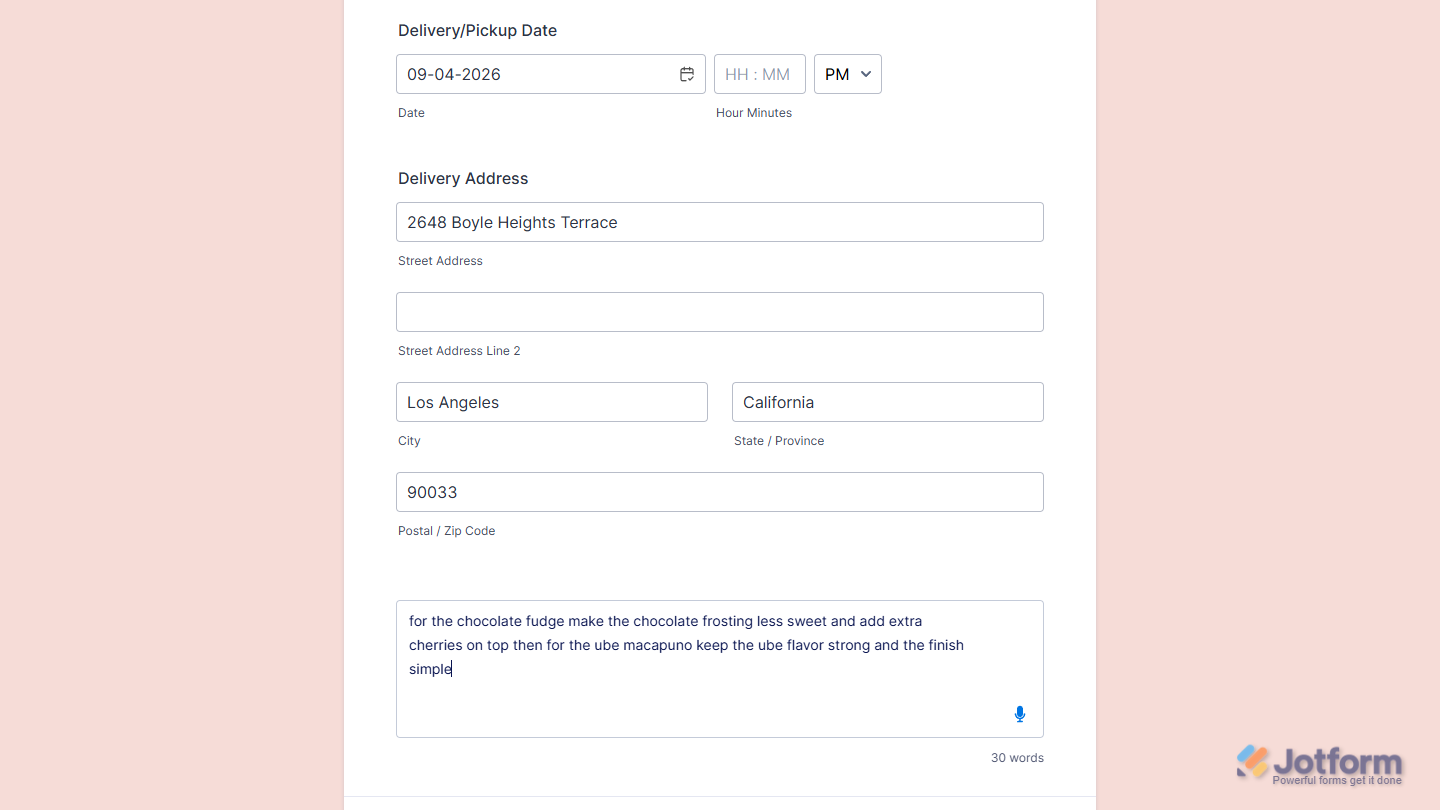
As they speak, the widget transcribes their answer into text that they can review and edit before submitting the form.
If dictation is unavailable or stops because no speech or audio input is detected, respondents can retry or type their answer instead.
Notes
- Dictation requires a browser that supports speech recognition and permission to use the microphone. If microphone permission is denied or speech recognition is unavailable, the widget displays the configured Unsupported Browser Message, but respondents can still type their answer.
- Browser support for continuous recognition and interim results may vary. Test the form in the browsers and on the devices your respondents are most likely to use.
- For advanced styling of the Speech to Text widget, you can add your own custom CSS code under the Custom CSS tab in the Widget Settings. Our guide on How to Inject CSS Codes to Widgets walks you through everything.
- You can also configure the widget properties, like alignment, labels, size, visibility, and more, to control how it looks and behaves on your form. Check out our guide on How to Access and Configure the Question Properties of a Widget to learn more.

Send Comment: