


Okta’s single sign-on solution can quickly connect to third-party services including Jotform. To get started you must enable Single Sign-On on your Jotform Enterprise server. You also need an Okta account with admin permissions.
Note
- Enabling SAML disables the integrated app’s regular sign-in page. Your users can log in to your server only through Okta.
- Backup sign-in URLs where users can sign in using their regular username and password are not supported in Jotform Enterprise. You can contact Jotform Enterprise support to turn off SAML if necessary.
The Jotform Enterprise SAML integration currently supports the following features:
- SP-initiated SSO
- IdP-initiated SSO
- Just in Time (JIT) provisioning
Configuring Okta
To create an Okta SAML application
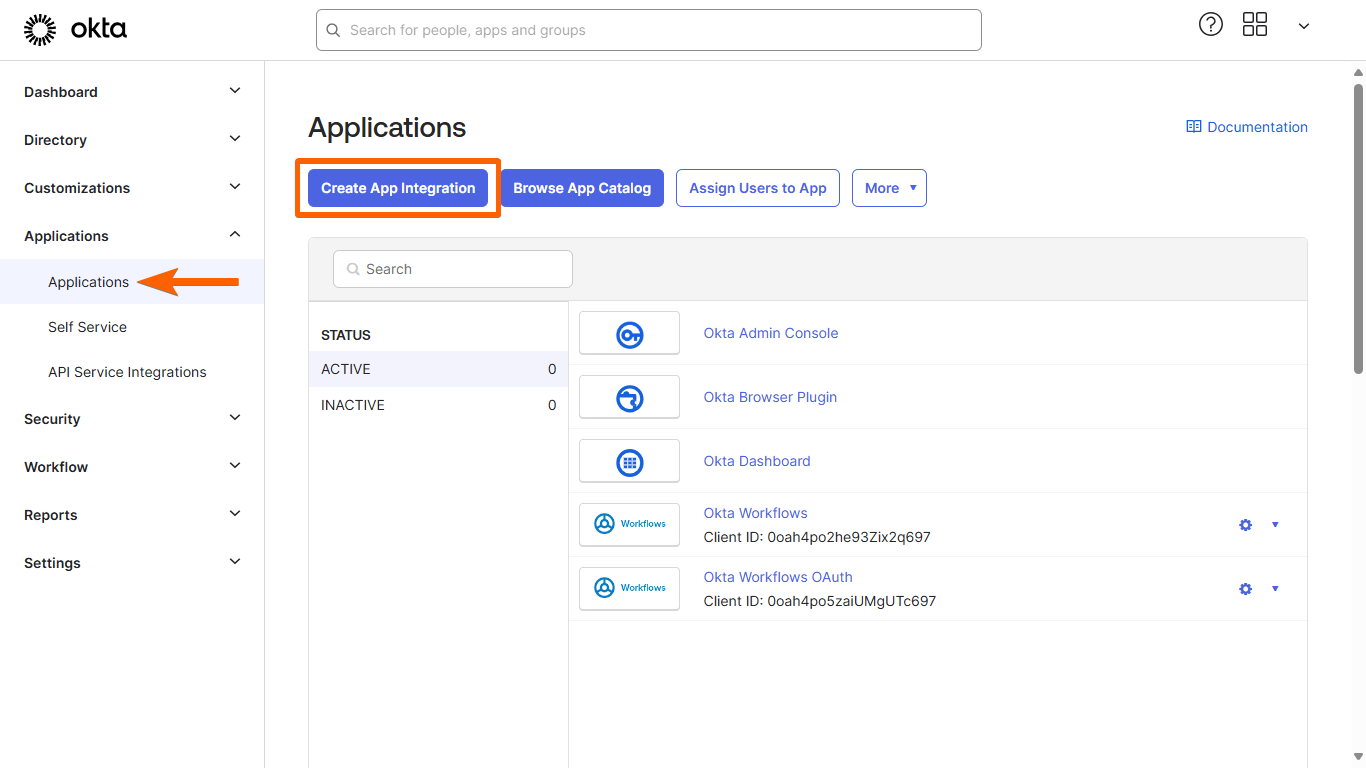
- Log in to your Okta admin account and go to the Admin page.

- Go to Applications on the left, then select Create Add Integration.
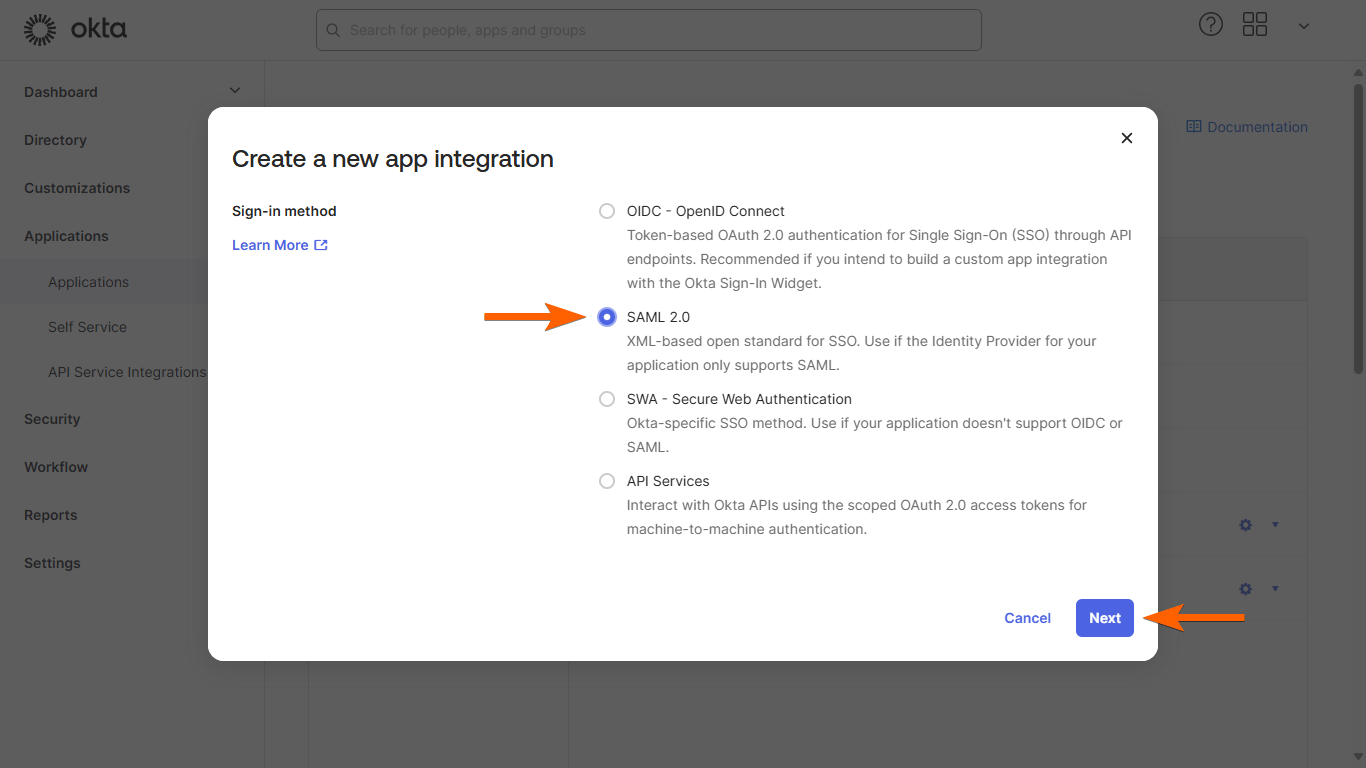
- In the dialog, select SAML 2.0.
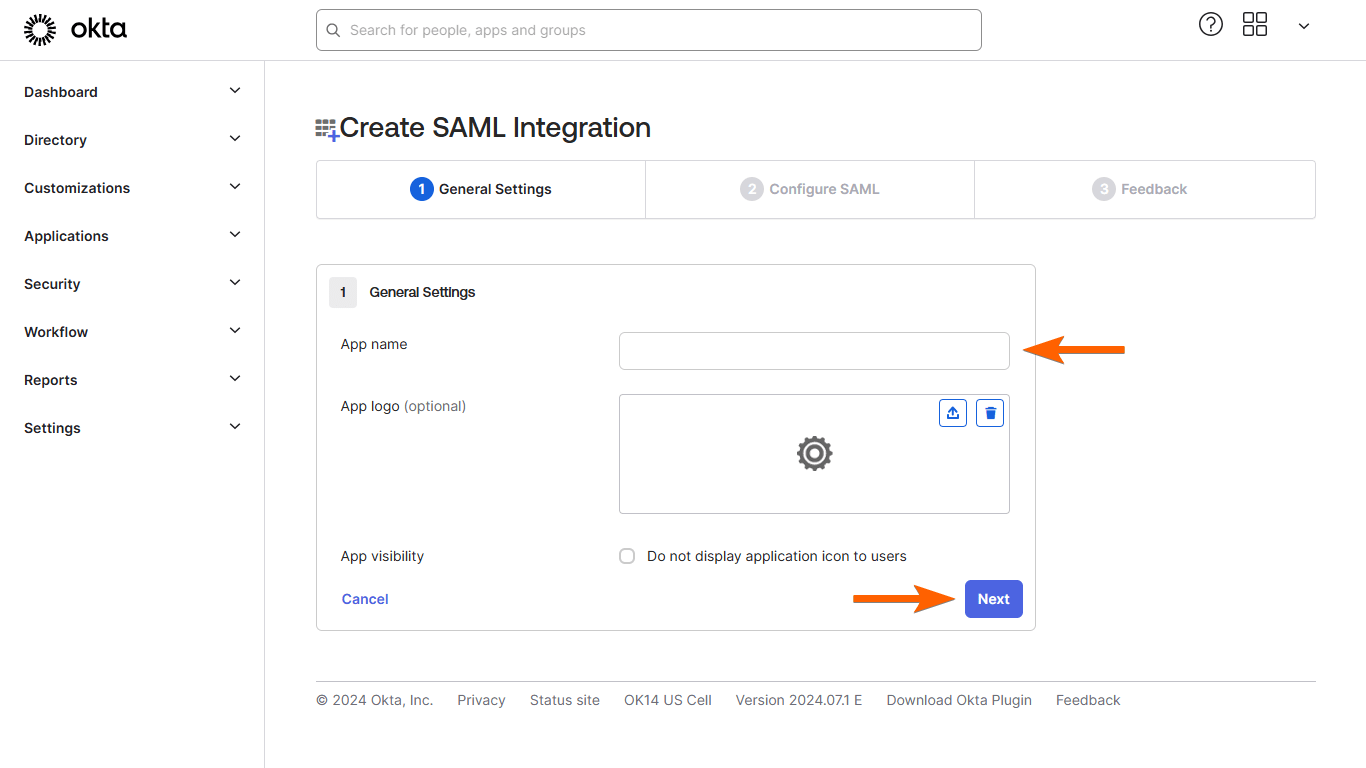
- Next, enter your desired App name.
- Next, enter your Service Provider Metadata links in the following fields:
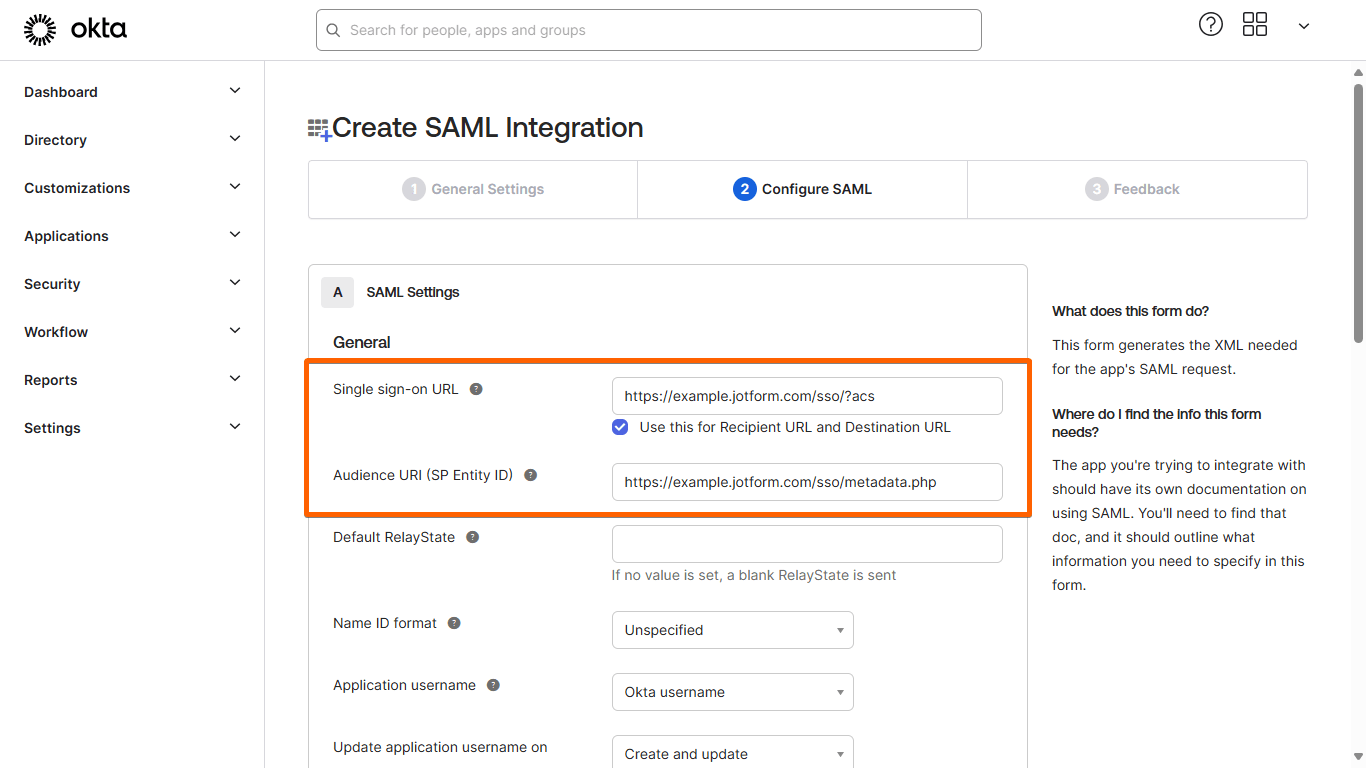
- Single sign on URL — Use your Jotform Assertion Consumer Service URL
(e.g., https://example.jotform.com/sso/?acs). - Audience URI (SP Entity ID) — Use your Jotform Entity ID
(e.g., https://example.jotform.com/sso/metadata.php).
- Select Next at the bottom, then complete the feedback form.
- On your app’s Sign On overview page, select View SAML setup instructions on the right.
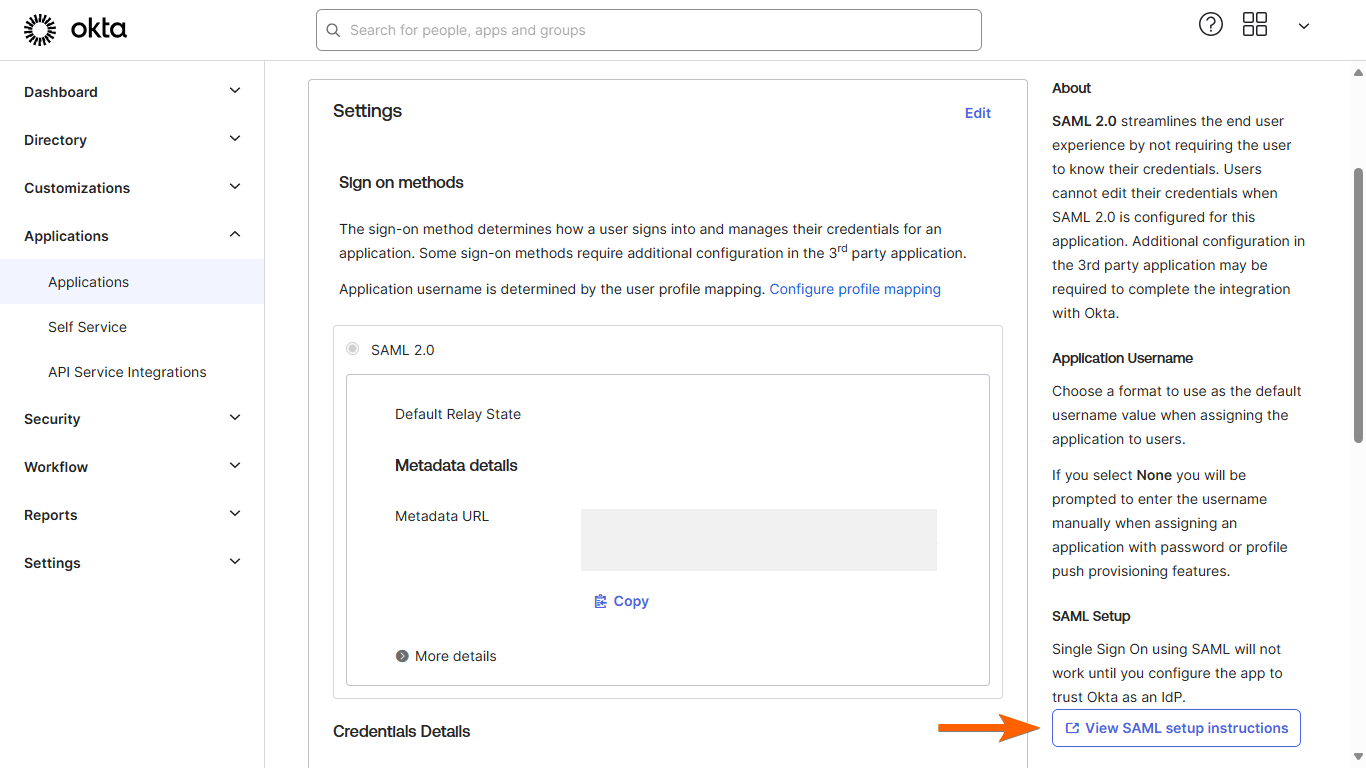
- Take note of your SAML app’s details.

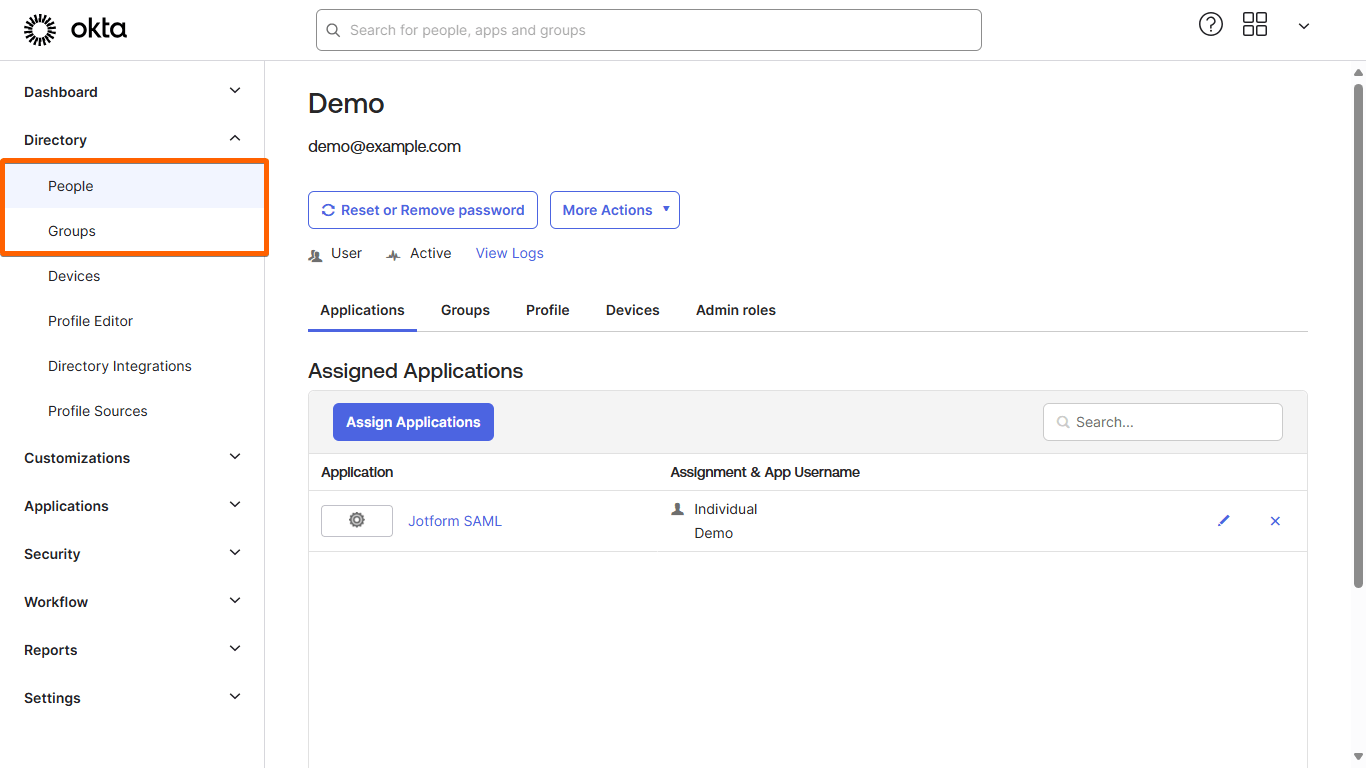
- Go to your directory and assign your app to people or groups.
- Go to your Jotform SSO settings page and enter the details in the Identity Provider Metadata fields.

The value to use for each field is as follows:
- Entity ID — Use your Okta Identity Provider Issuer.
- SSO URL — Use your Okta Identity Provider Single Sign-On URL.
- Certificate — Use your Okta X.509 Certificate.
- When finished, save and test your configuration in Jotform.
Notes
The following SAML attributes and more are supported:
| Name | Value |
|---|---|
| user.email | |
| name | user.name |
| surname | user.surname |
You can add more claims and manage them from the Jotform Enterprise admin dashboard.
SP-initiated SSO
SP-initiated flows trigger when the user hits an authentication-required route.
Send Comment: