Jotform Inbox lets you customize how submission data is displayed and organized. From Inbox Settings, you can adjust submission layouts, choose which fields appear in the inbox, manage tags, and customize print settings.
Accessing the Inbox Settings
Getting to your Inbox Settings is quick and easy. Here’s how:
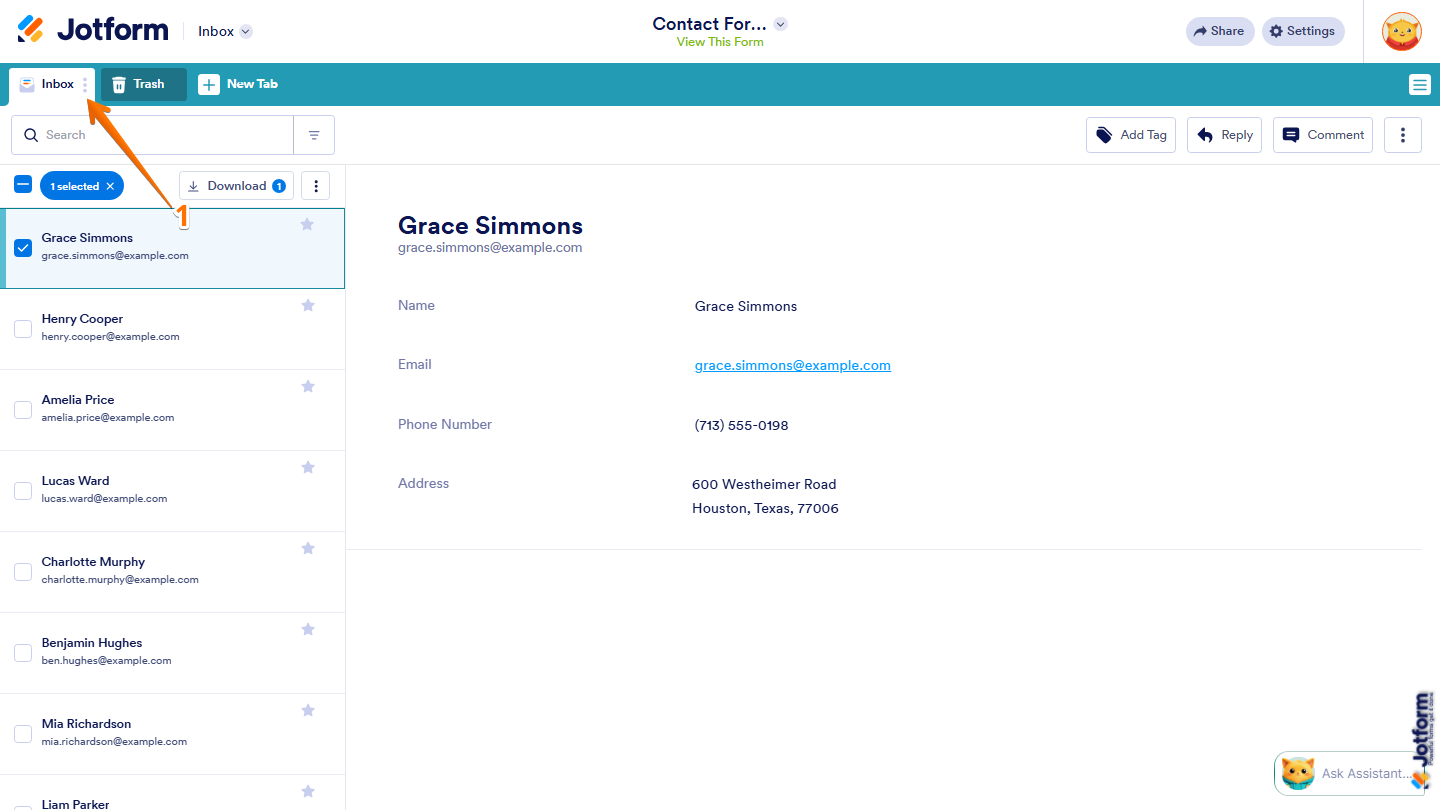
- In Jotform Inbox, on the top-left side of the page, click on the Three Dots icon on the right side of the Inbox tab.
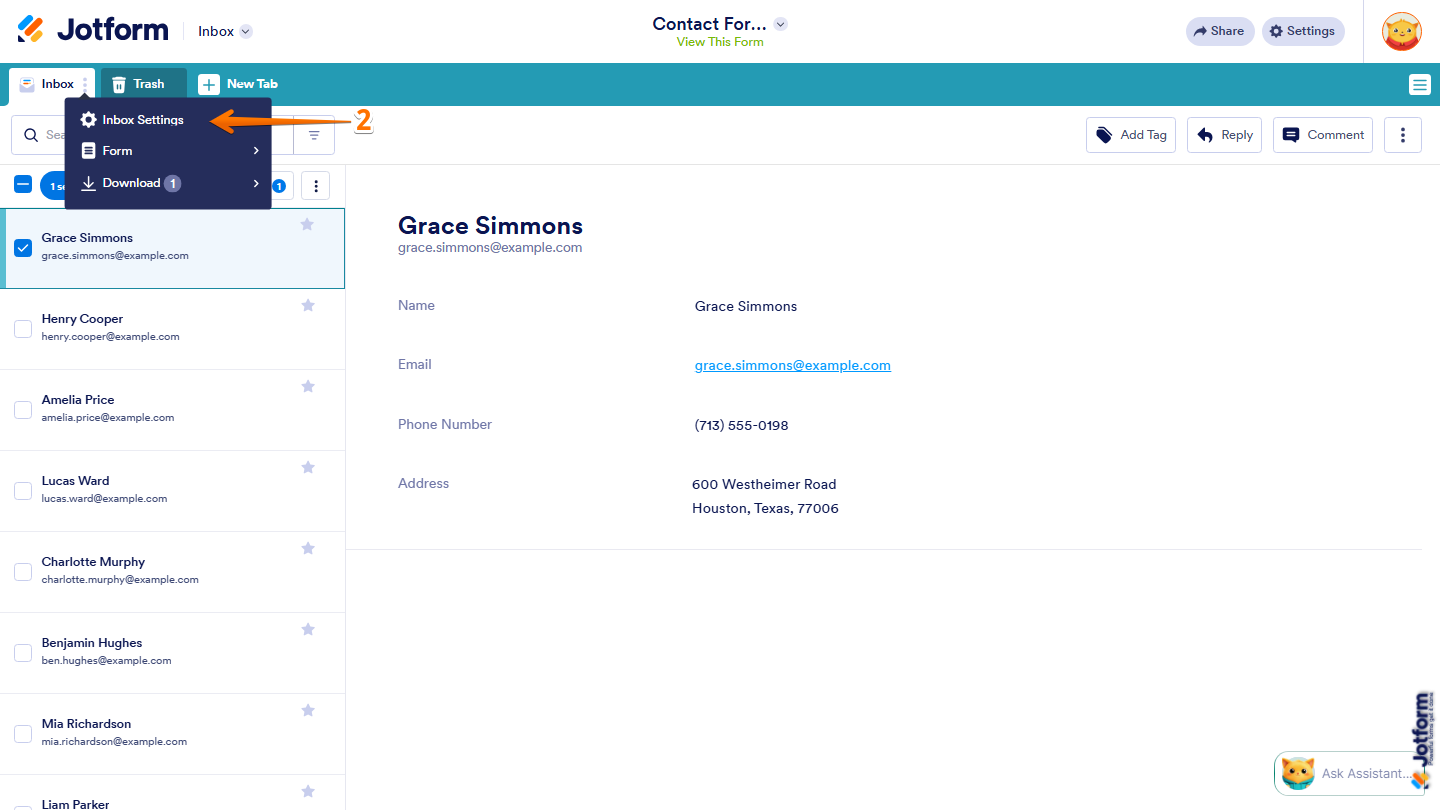
- Then, in the Dropdown menu that opens, click on Inbox Settings.
- Now, in the Inbox Settings menu that opens on the right side of the page, you’ll see the following tabs:
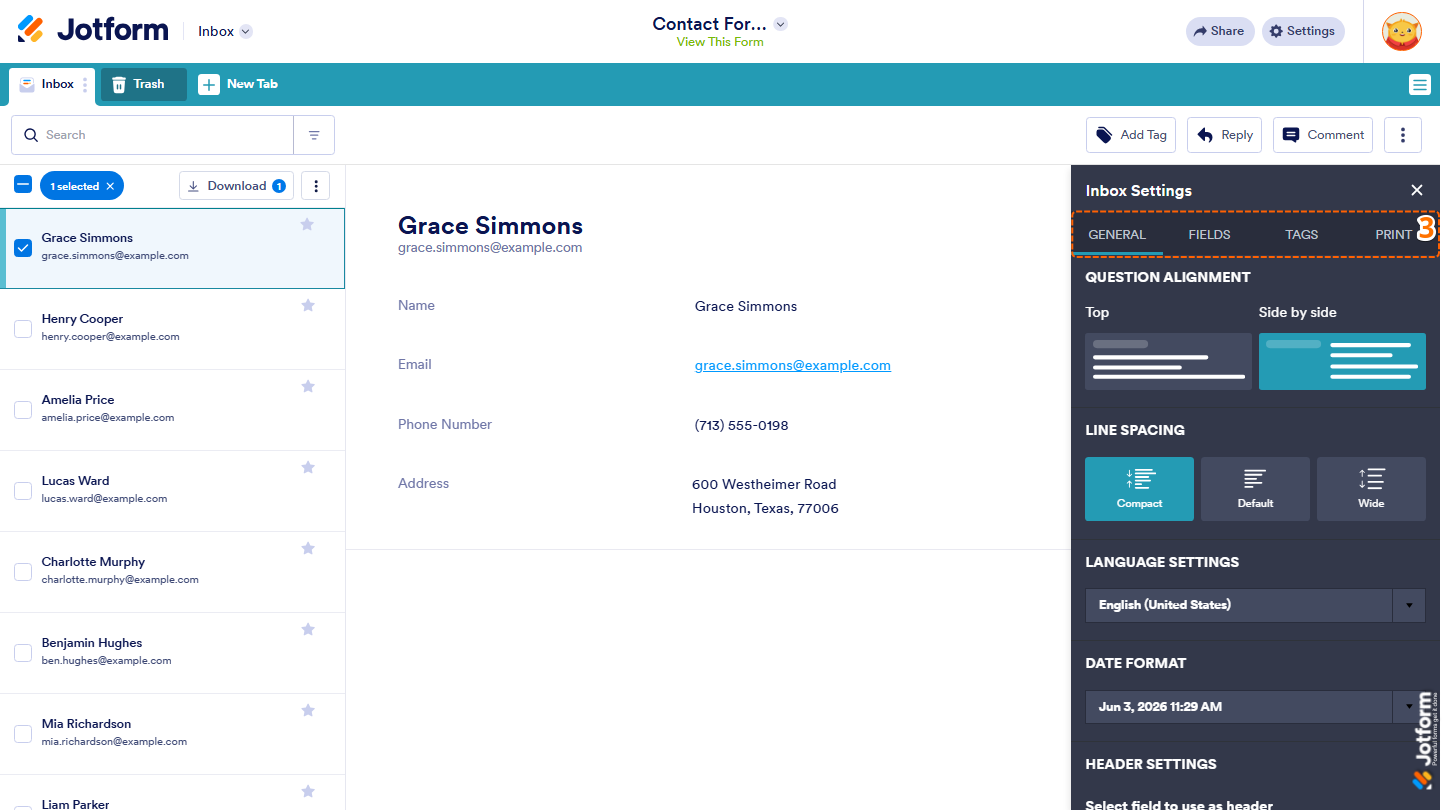
Let’s take a closer look at each tab and the settings available within them.
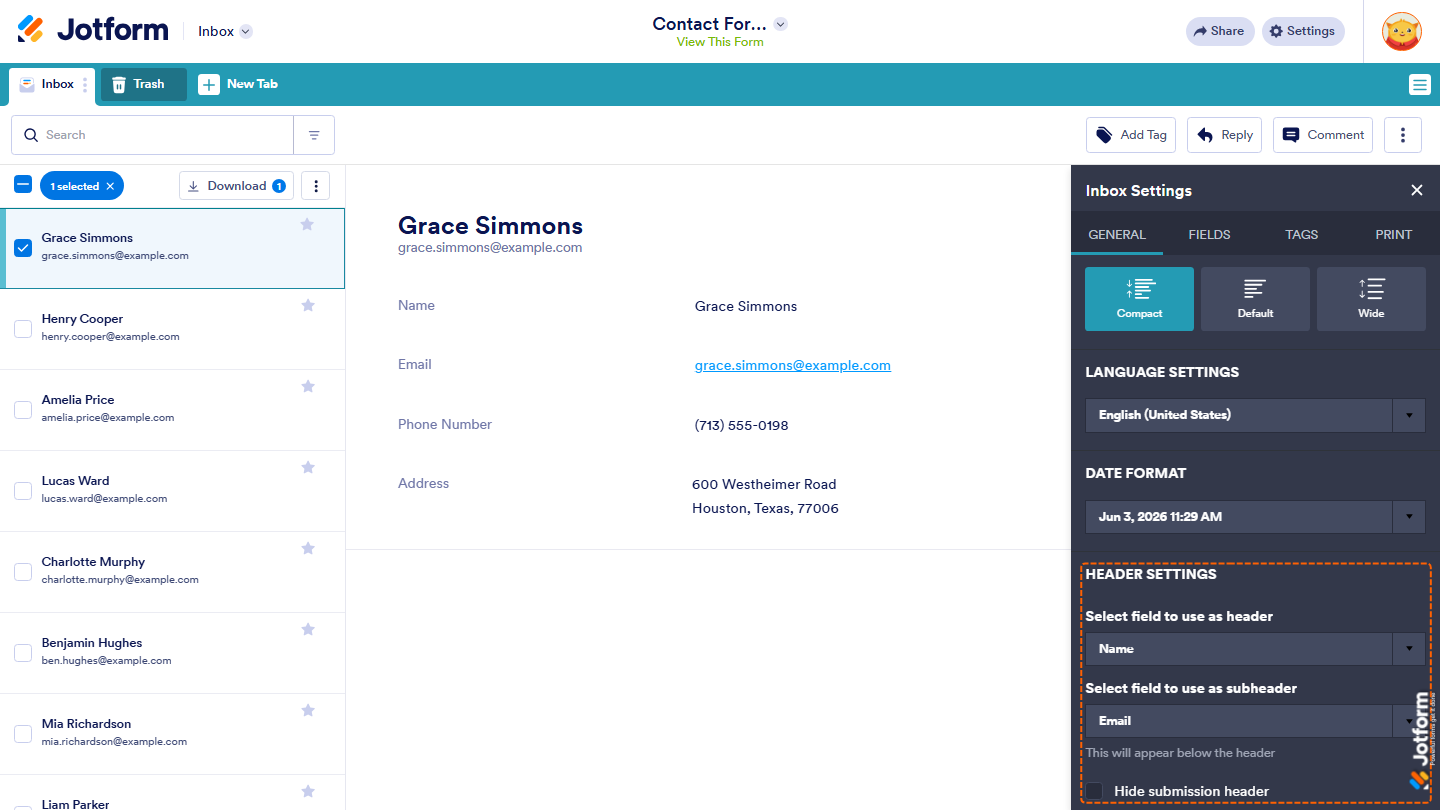
General Tab
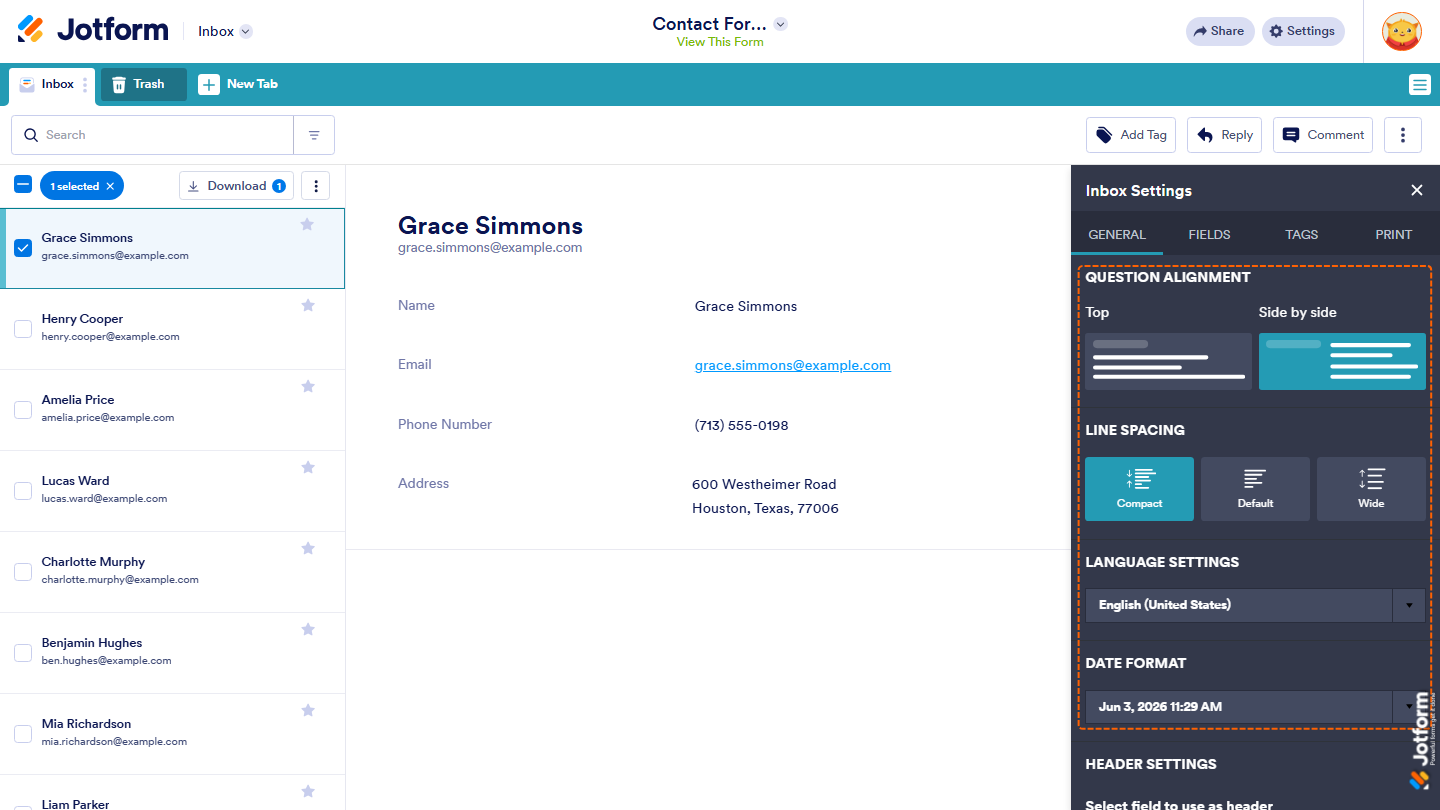
The General tab lets you customize how submissions are displayed in Jotform Inbox. Here are the available settings:
- Question Alignment — Choose how questions and answers are displayed in the submission view:
- Top — Displays answers below their corresponding questions.
- Side by Side — Displays questions and answers next to each other.
- Line Spacing — Adjust the spacing between submission fields:
- Compact — Reduces spacing to show more information on the screen.
- Default — Uses the standard spacing.
- Wide — Increases spacing between fields for improved readability.
- Language Settings — Select the language used throughout Jotform Inbox.
- Date Format — Choose how dates and times are displayed for submissions.
- Header Settings — Customize the information shown at the top of each submission:
- Select Field to Use as Header — Choose the field displayed as the main submission title.
- Select Field to Use as Subheader — Choose the field displayed below the header.
- Hide Submission Header — Hide the submission header section from the submission view.
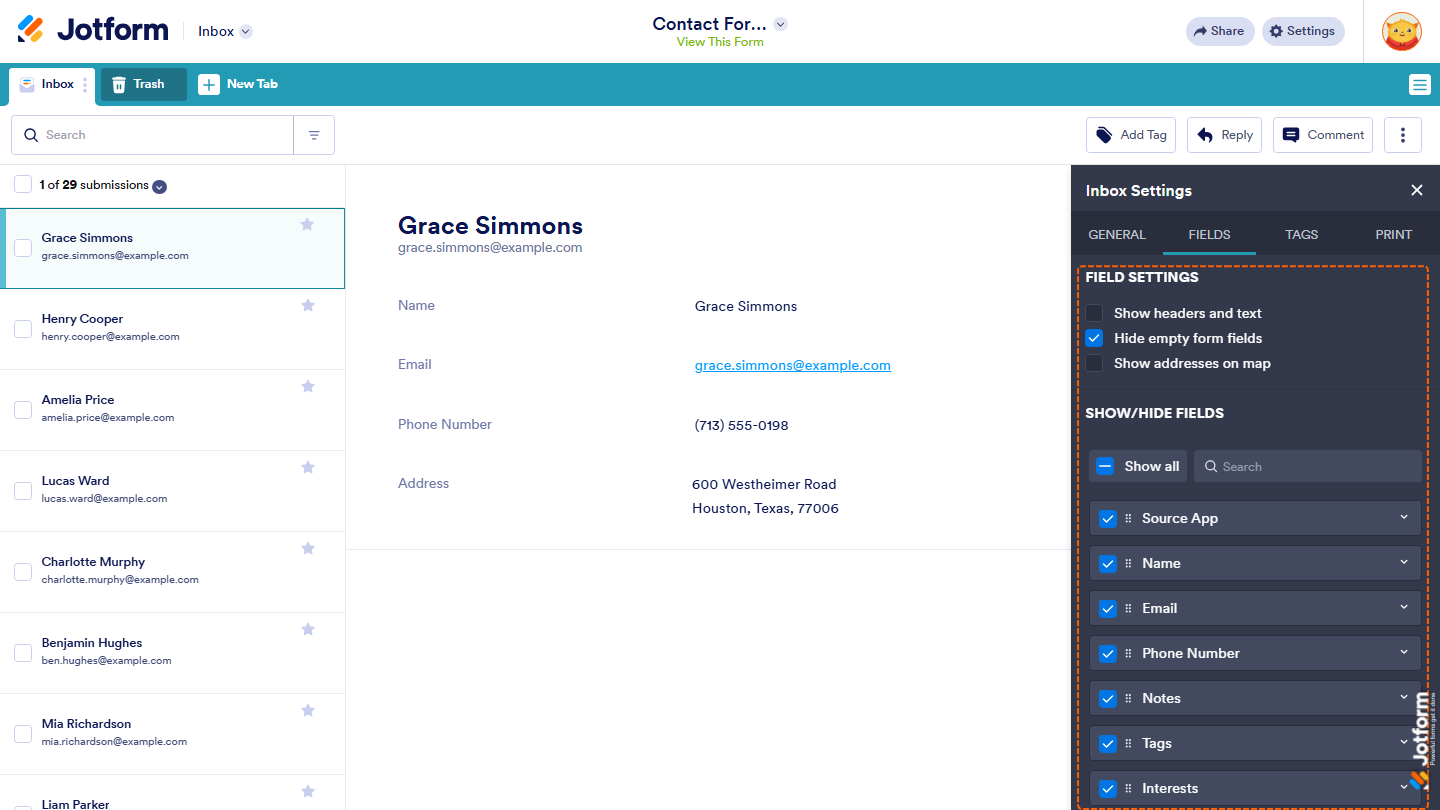
Fields Tab
The Fields tab lets you control which form fields are displayed in Jotform Inbox and how they appear when viewing submissions. Here’s what you can configure:
- Field Settings — Control the visibility and display behavior of form fields when viewing submissions in Jotform Inbox.
- Show Headers and Text — Display field headers and descriptive text included in the form.
- Hide Empty Form Fields — Hide fields that were left blank in the submission.
- Show Addresses on Map — Display submitted address fields on a map when applicable.
- Show/Hide Fields — Manage the visibility and display order of form fields in Jotform Inbox. You can show, hide, search, and reorder fields based on your preferences.
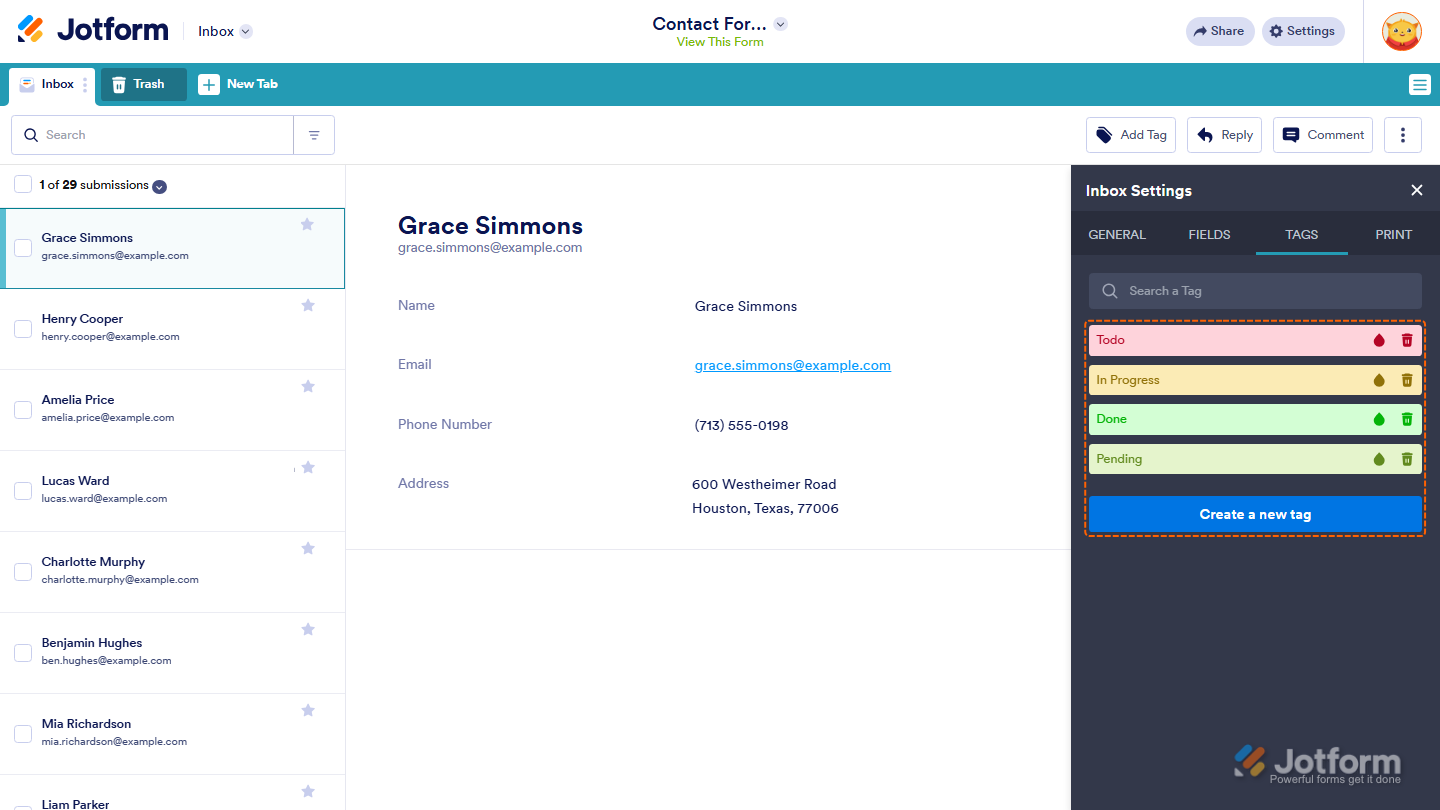
Tags Tab
The Tags tab lets you manage the tags available in Jotform Inbox, making it easier to organize and categorize submissions. Need help getting started? See our guide on How to Use Tags in Jotform Inbox.
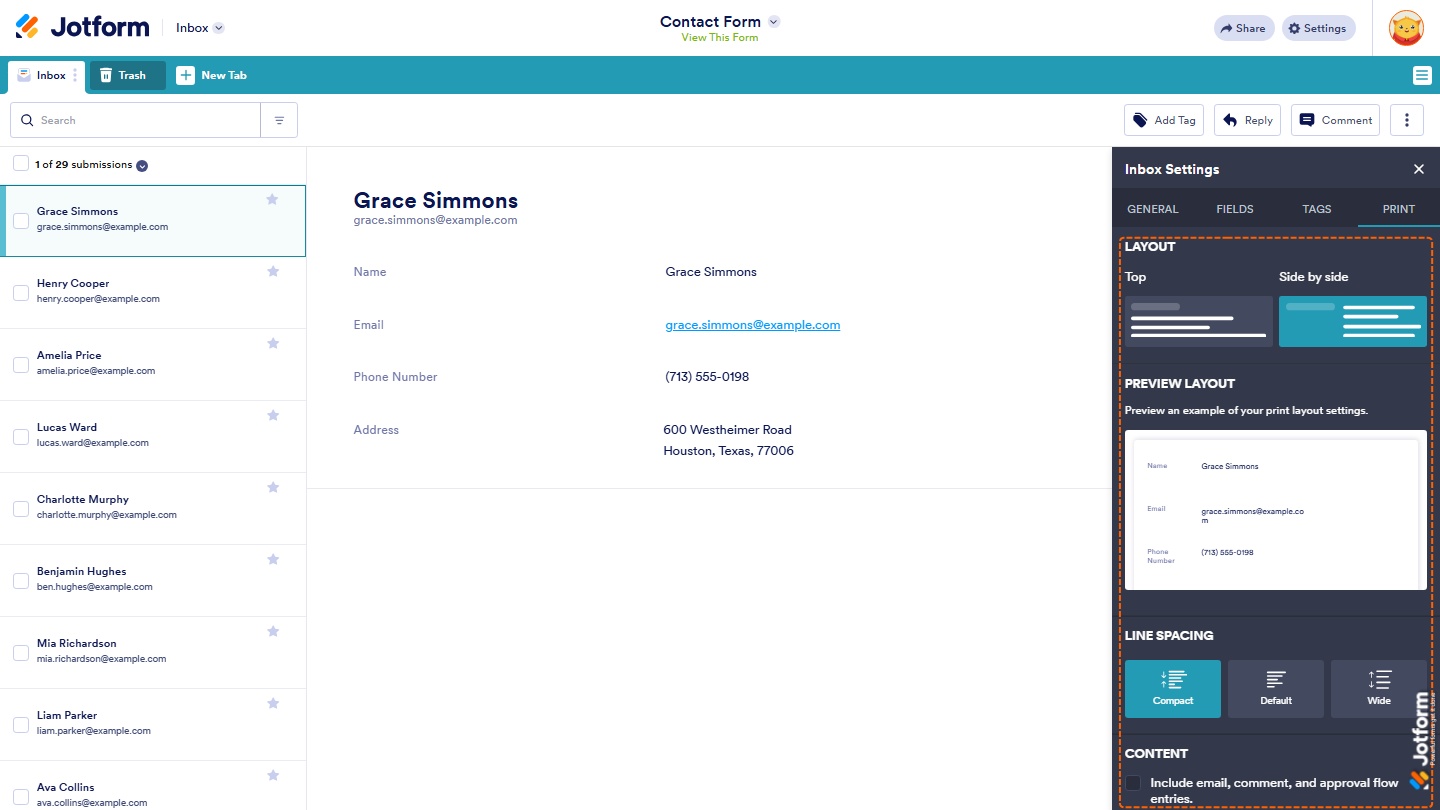
Print Tab
The Print tab lets you customize how submissions appear when they are printed from Jotform Inbox. Here’s what you can configure:
- Layout — Choose how questions and answers are arranged in the printed submission:
- Top — Displays answers below their corresponding questions.
- Side by Side — Displays questions and answers next to each other.
- Preview Layout — View a live preview of how your current print settings will look when printed.
- Line Spacing — Adjust the spacing between fields in the printed submission:
- Compact — Reduces spacing to fit more information on the page.
- Default — Uses standard spacing.
- Wide — Increases spacing for improved readability.
- Content — Include email conversations, comments, and approval flow entries when printing submissions from Jotform Inbox.

Send Comment:
1 Comment:
February 14, 2024
How do I add more fields to the Header settings in the Inbox for a form? It is not pulling all of the possible fields.