With Jotform Sign, setting an expiration date can be helpful when sending signers a document with confidential or time-sensitive information.


Note
The signer’s invitation link will expire after one week by default if you don’t set an expiration date. But you can resend the invitation by going to Sign Inbox and clicking the Resend button on an expired invitation.
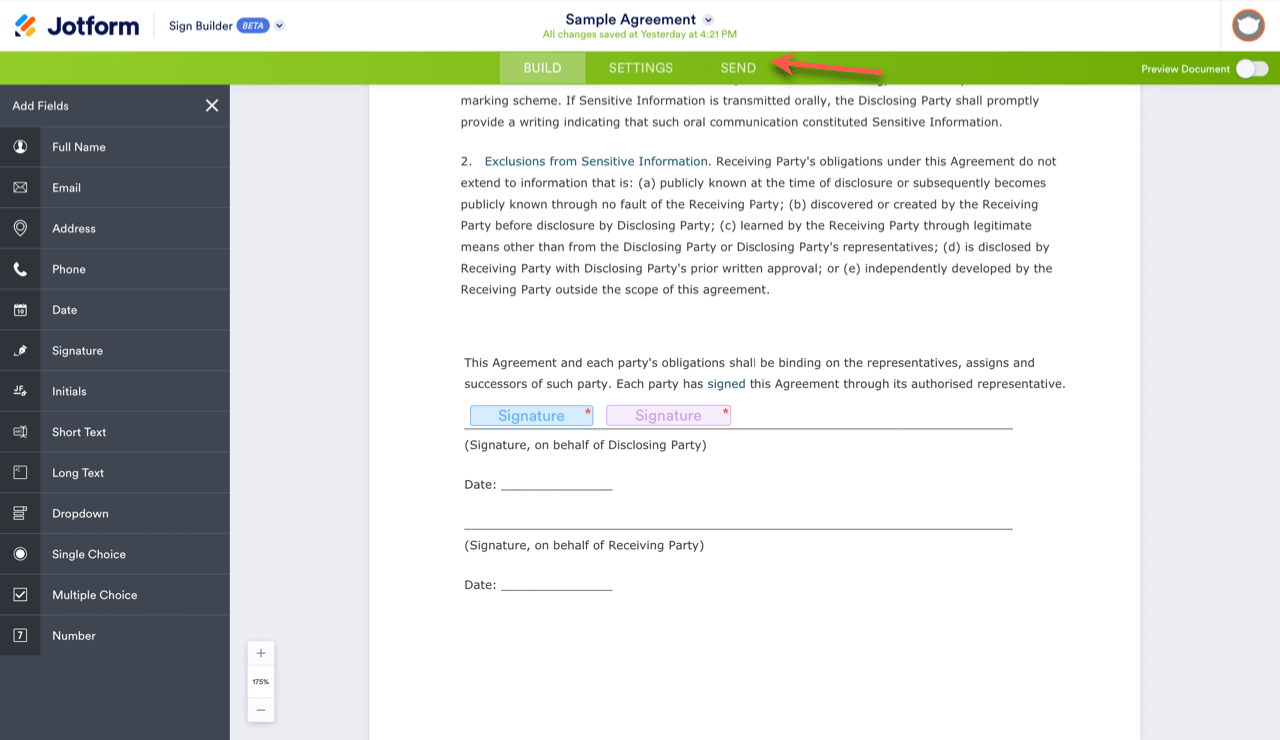
- After you designate your signers and add the appropriate places for them to sign, move to the Send tab.
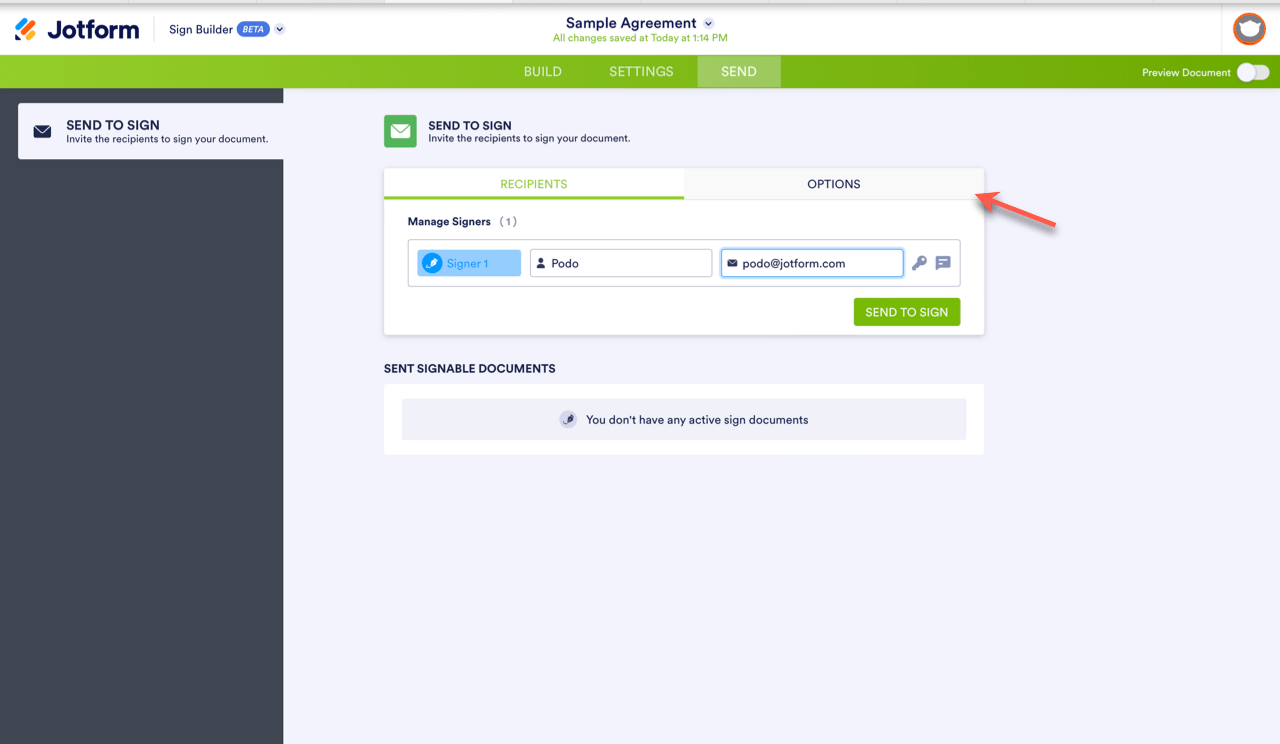
- In the Send tab, fill in the names and emails of your recipients, and before clicking Send to Sign, move to the Options tab.
- Toggle the On switch under the second heading titled Expiration Date.
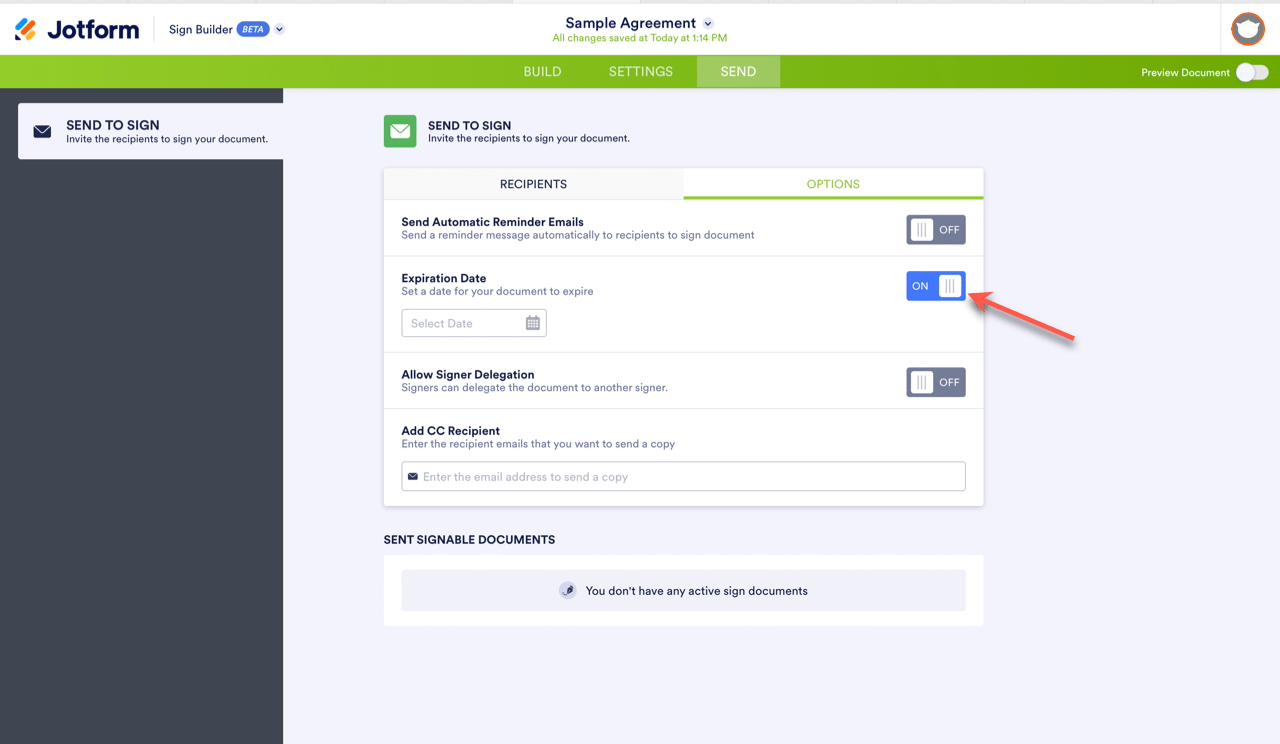
- Click the calendar icon to select the date you want your document link to expire.

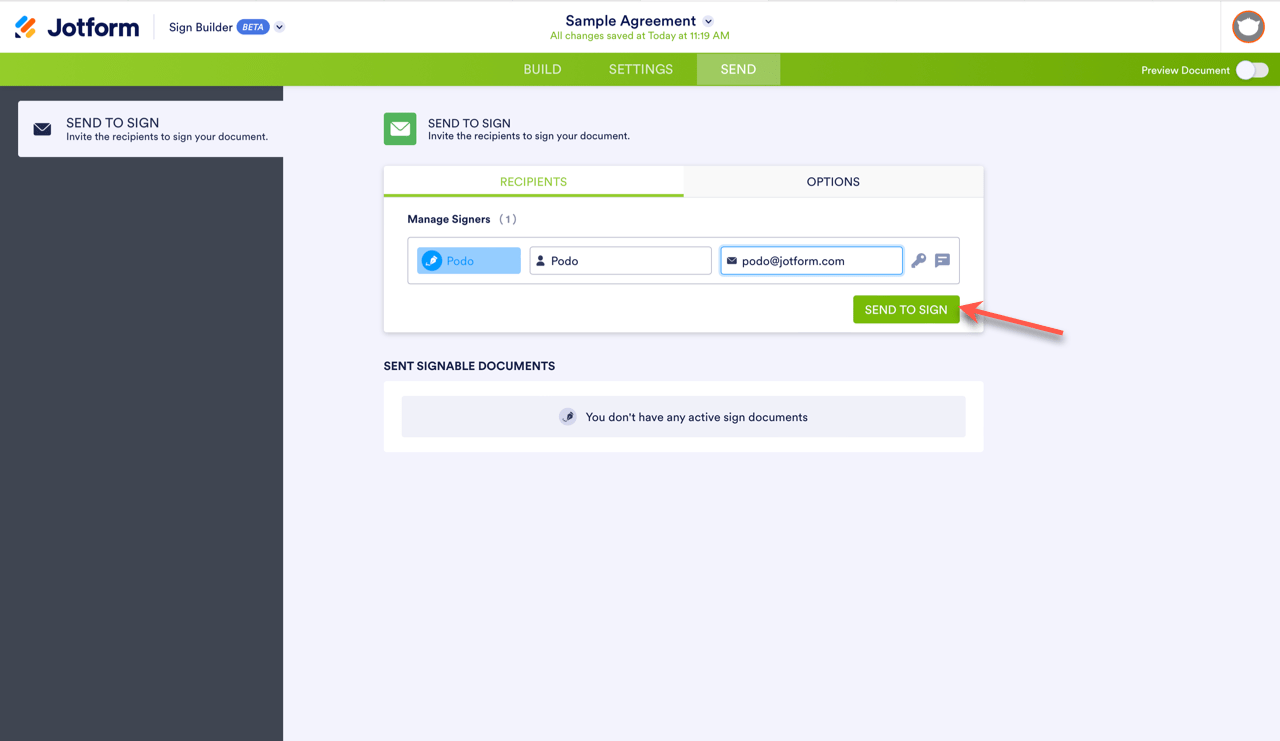
- Go back to the Recipients tab and click Send to Sign. Now your signers will receive a document link that will expire.
Empower your document management with timely controls, ensuring your sensitive information remains within the intended timeframe.
Send my document for signature
File type is not allowed.
Maximum file size limit exceeded. (5MB)
Something went wrong.
Disclaimer: The information provided in this guide is for general informational purposes only and is not intended to constitute legal advice. While we strive to keep the information accurate and up-to-date, laws and regulations vary by jurisdiction and can change frequently. Should you have specific legal questions about any of the information on this site, you should consult with a licensed attorney in your area.

Send Comment:
1 Comment:
January 31, 2024
how do you expire a link when the form is sent via a link?