Jotform Sign makes it easy to connect your documents with webhooks so you can automatically send signing data to another app, system, or custom endpoint in real time. Webhooks help automate your workflow by instantly passing document and submission data whenever signing activity happens.
Once your webhook is connected, Jotform Sign can automatically send updates to your specified endpoint without needing manual exports or extra steps. This makes it easier to sync data, trigger automations, and keep your external systems updated automatically.
You can connect your webhook endpoint to Jotform Sign in just a few steps. Here’s how:
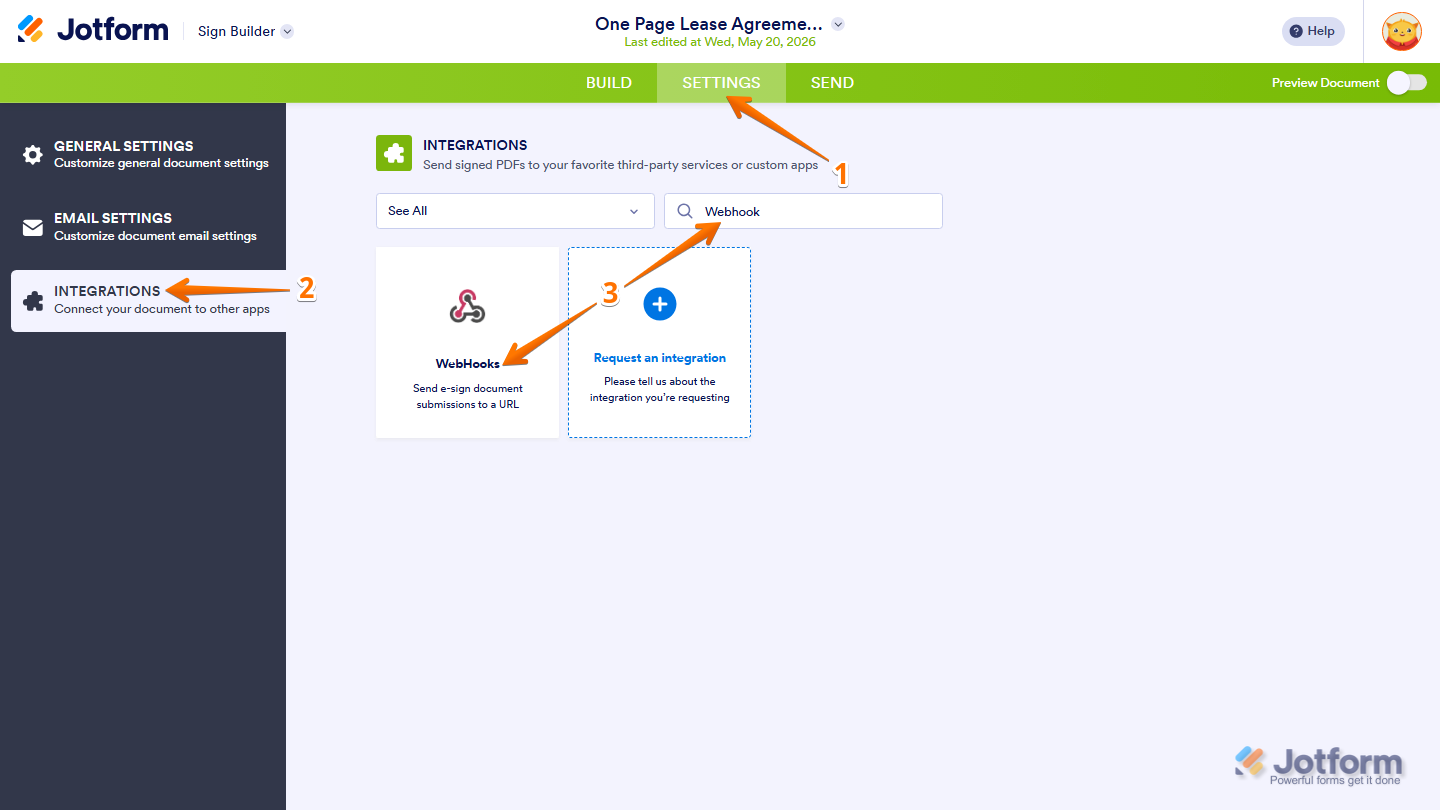
- In Sign Builder, in the green navigation bar at the top of the page, click on Settings.
- Then, in the menu on the left side of the page, click on the Integrations tab.
- Now, search for Webhook, and then click on it.
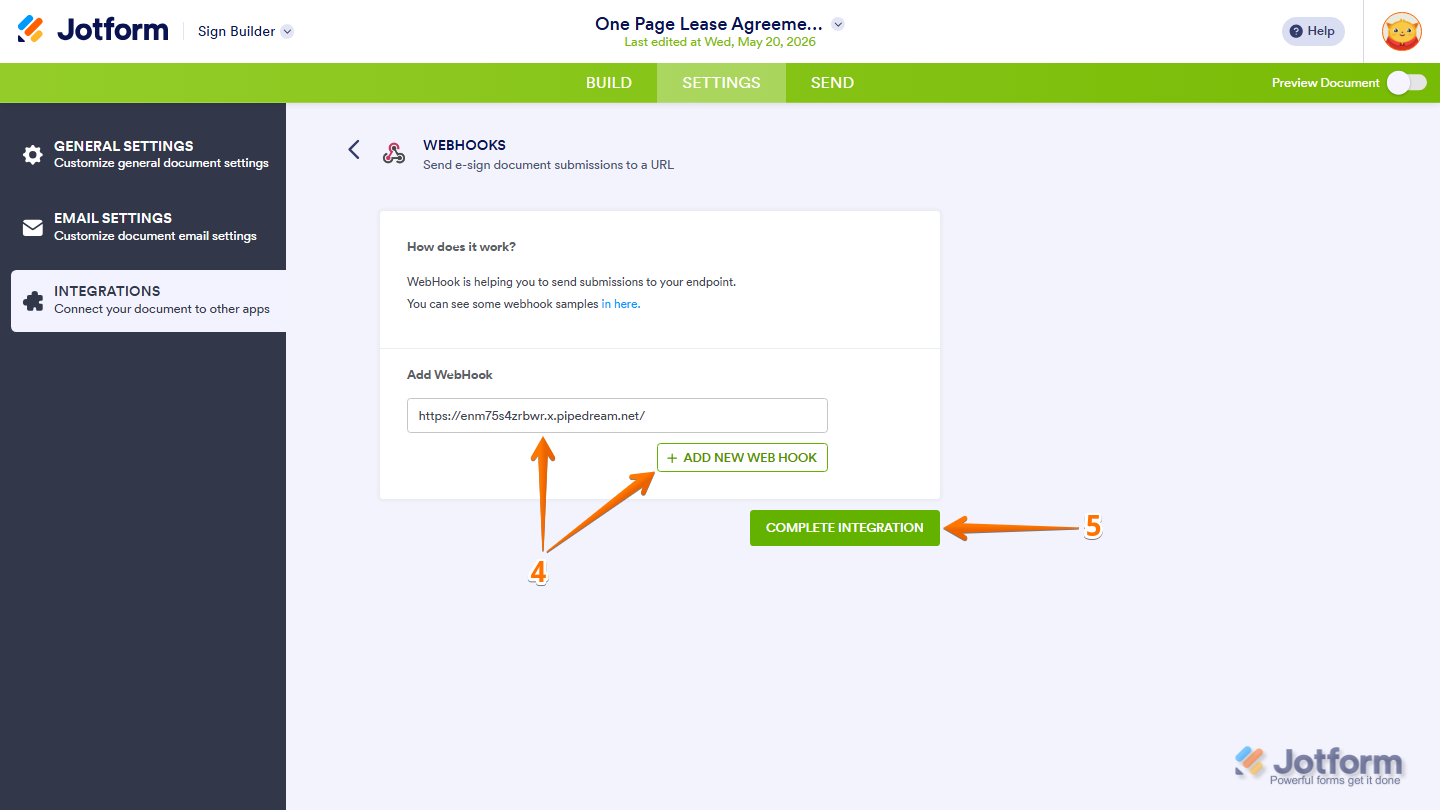
- Next, enter your endpoint or webhook URL in the Add WebHook field. To add more endpoints, click on Add New Webhook.
- Once done, click on Complete Integration.
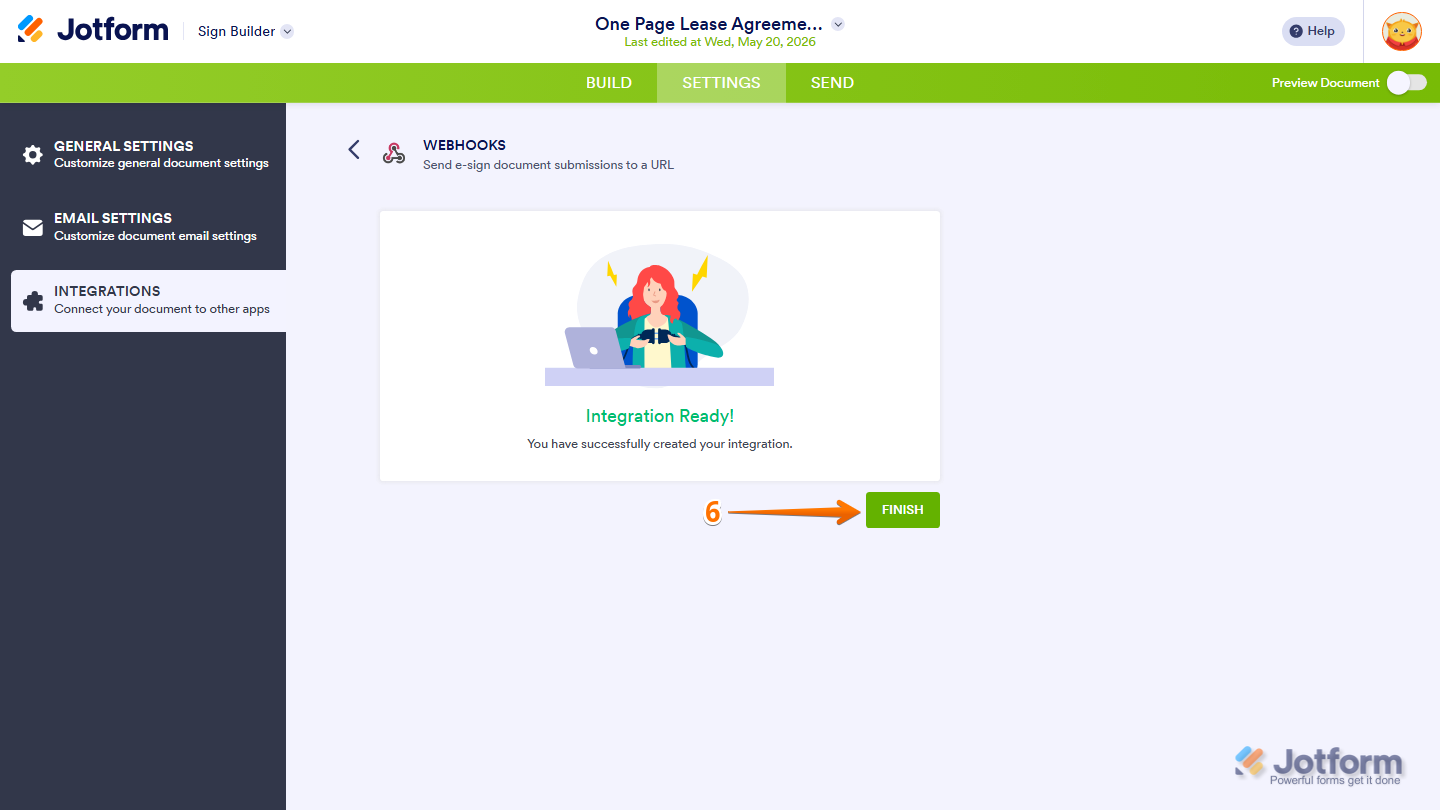
- Finally, click on Finish, and you’re good to go.
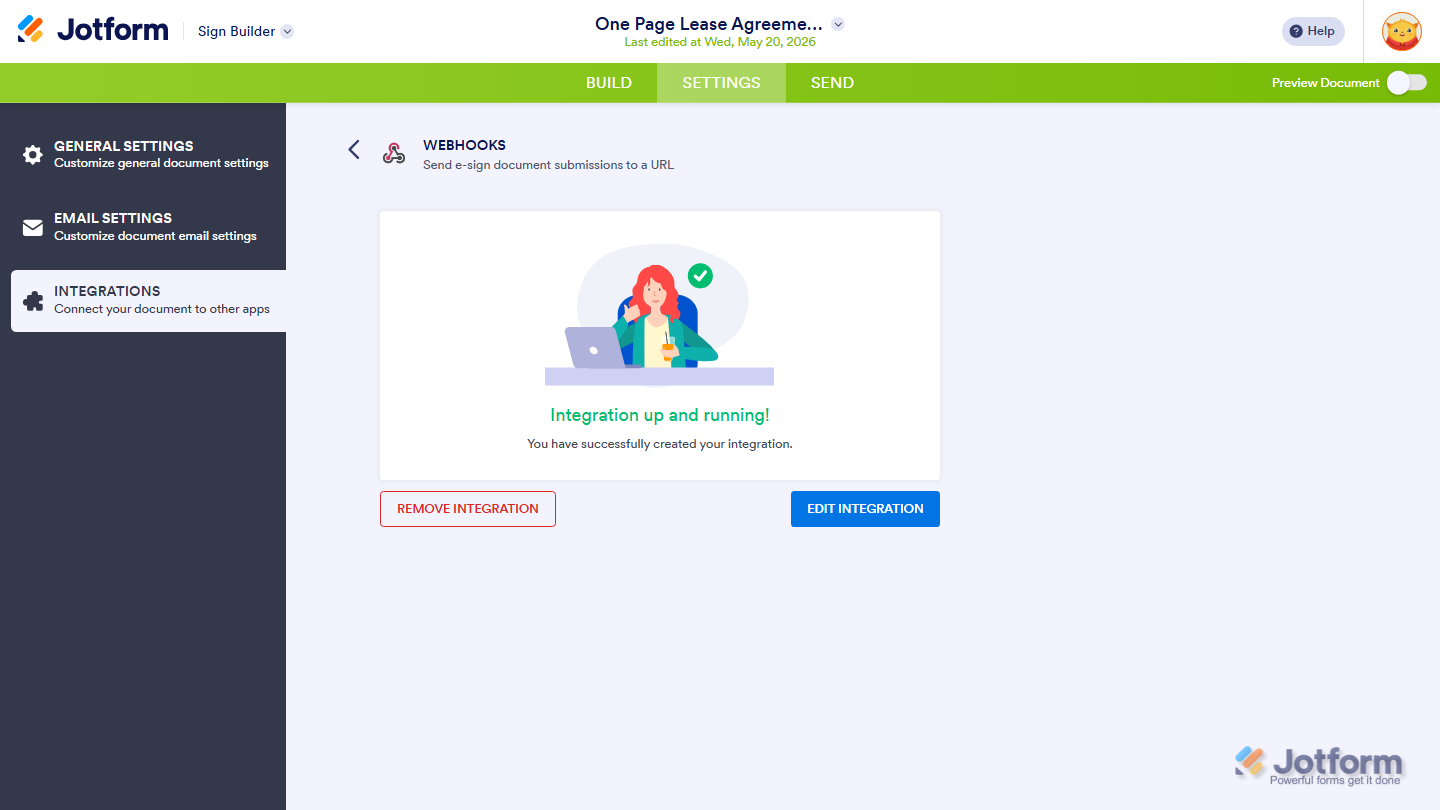
That’s it. Your Jotform Sign is now all set to send submission data to your chosen endpoint automatically. If you ever need to make changes, you can easily update or remove the webhook anytime by heading back to the Integrations tab and clicking the Webhooks icon. This gives you full control to adjust your setup as your workflow evolves.
Note
- The Webhooks integration has a 30-second request timeout, so make sure your endpoint can process the data quickly.
- Keep in mind that your endpoint might have limitations that could prevent the request from going through. This could include things like:
- The connection is timing out before the request is fully processed.
- A maximum data size limit that’s smaller than your submission.
- Firewall or security rules that block the request.

Send Comment: