Jotform’s Calendar Listing allows you to present submission data in a calendar format and display available dates or times which can be useful for scenarios like appointment scheduling.
Creating a Calendar Listing Report is easy. Here’s how to do it:
- On your Workspace page, click on Type at the top and in the Dropdown menu that opens, uncheck the boxes next to all the assets except Forms, so only they’ll be shown on the page.

- On your Workspace page, click on the form that you want to generate a Calendar Listing Report for.
- In the menu at the top of the page, click on Reports.

- Then, click on Add New Report.

As an alternative, you can also click on More on the right side of the screen and in the Dropdown menu, click on Create Report.
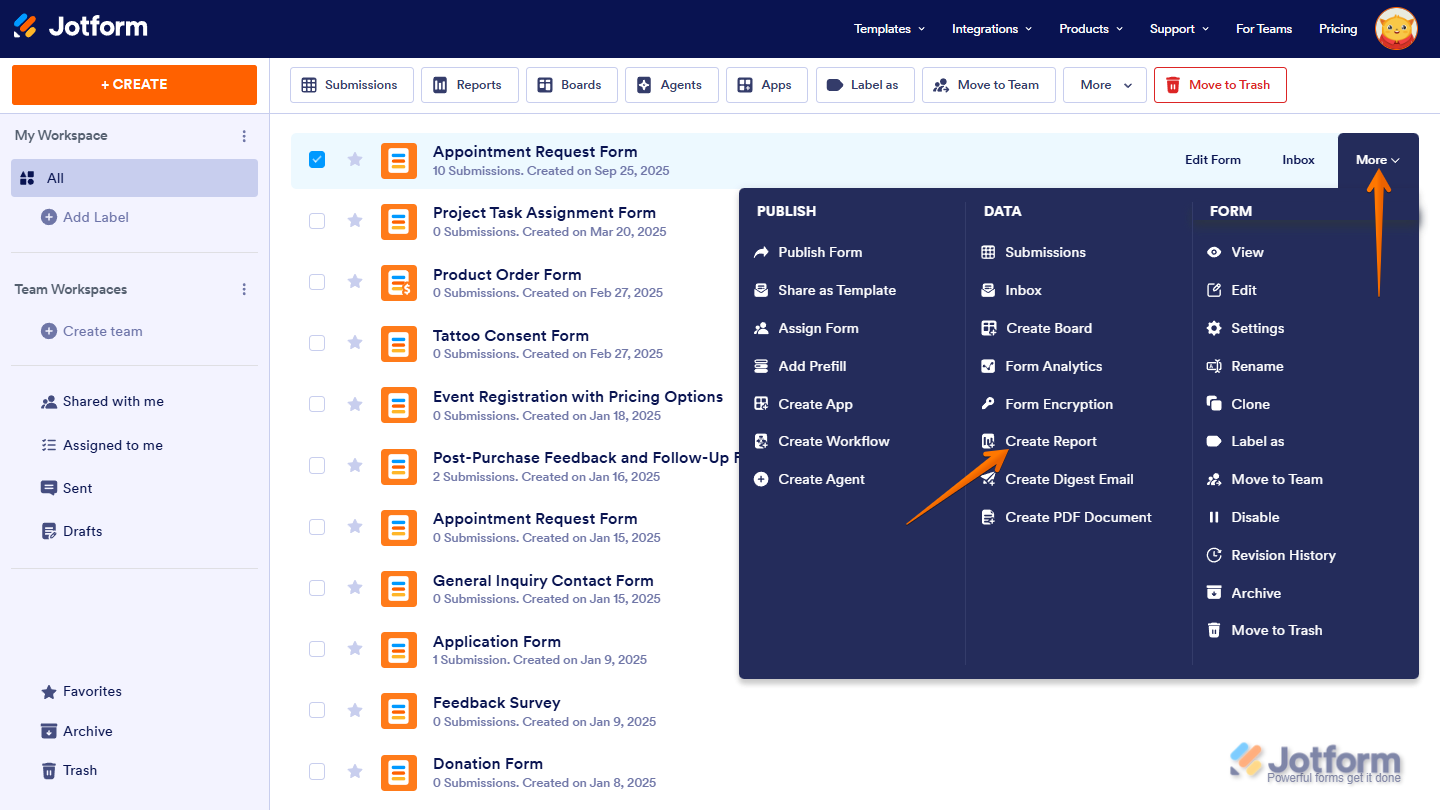
- On the Create Report page that opens, click on Calendar Listing.
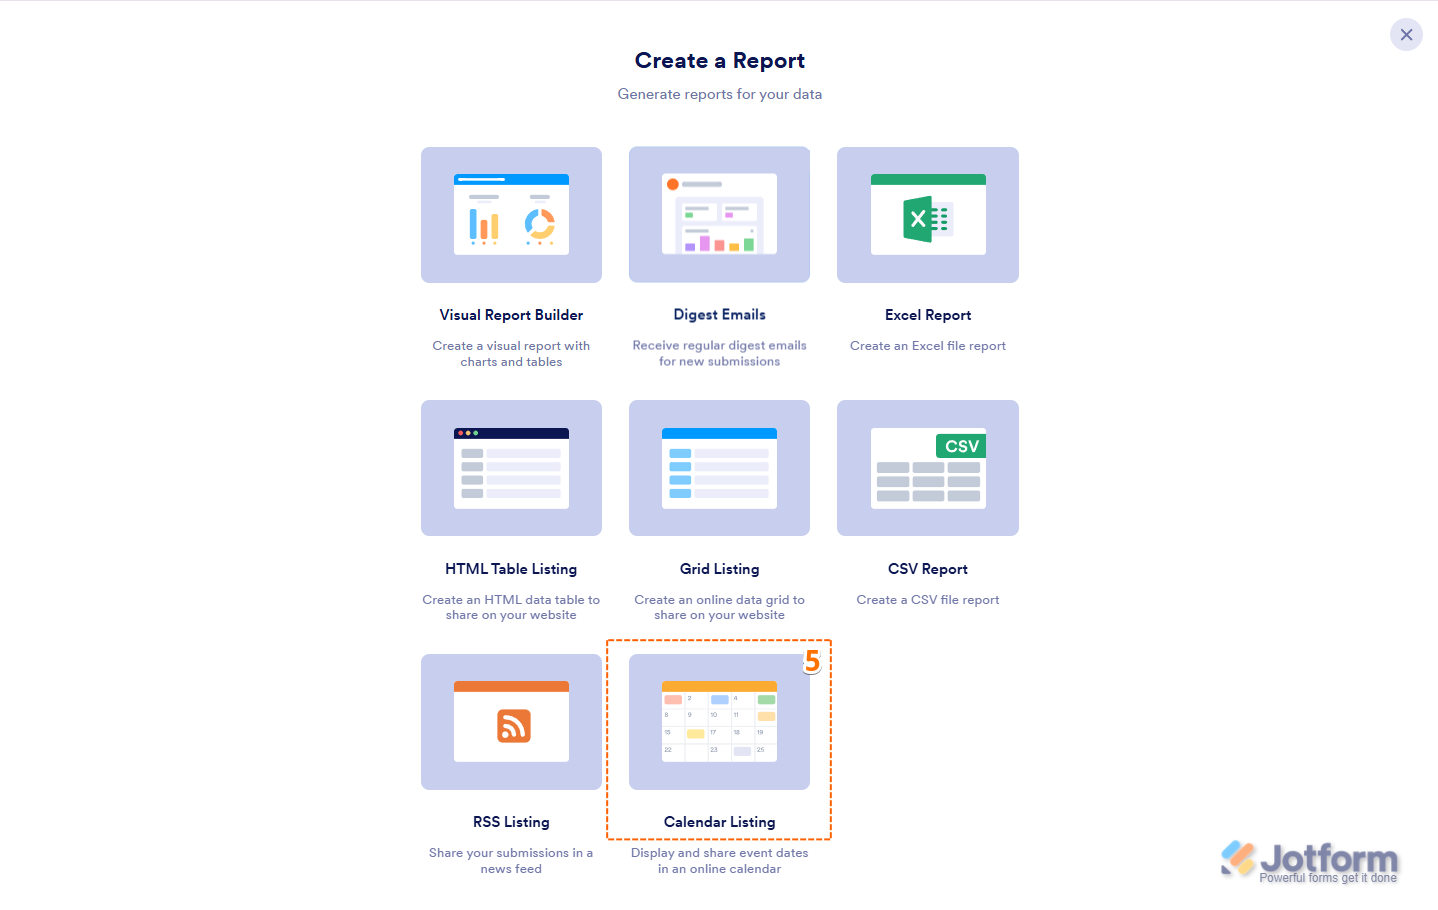
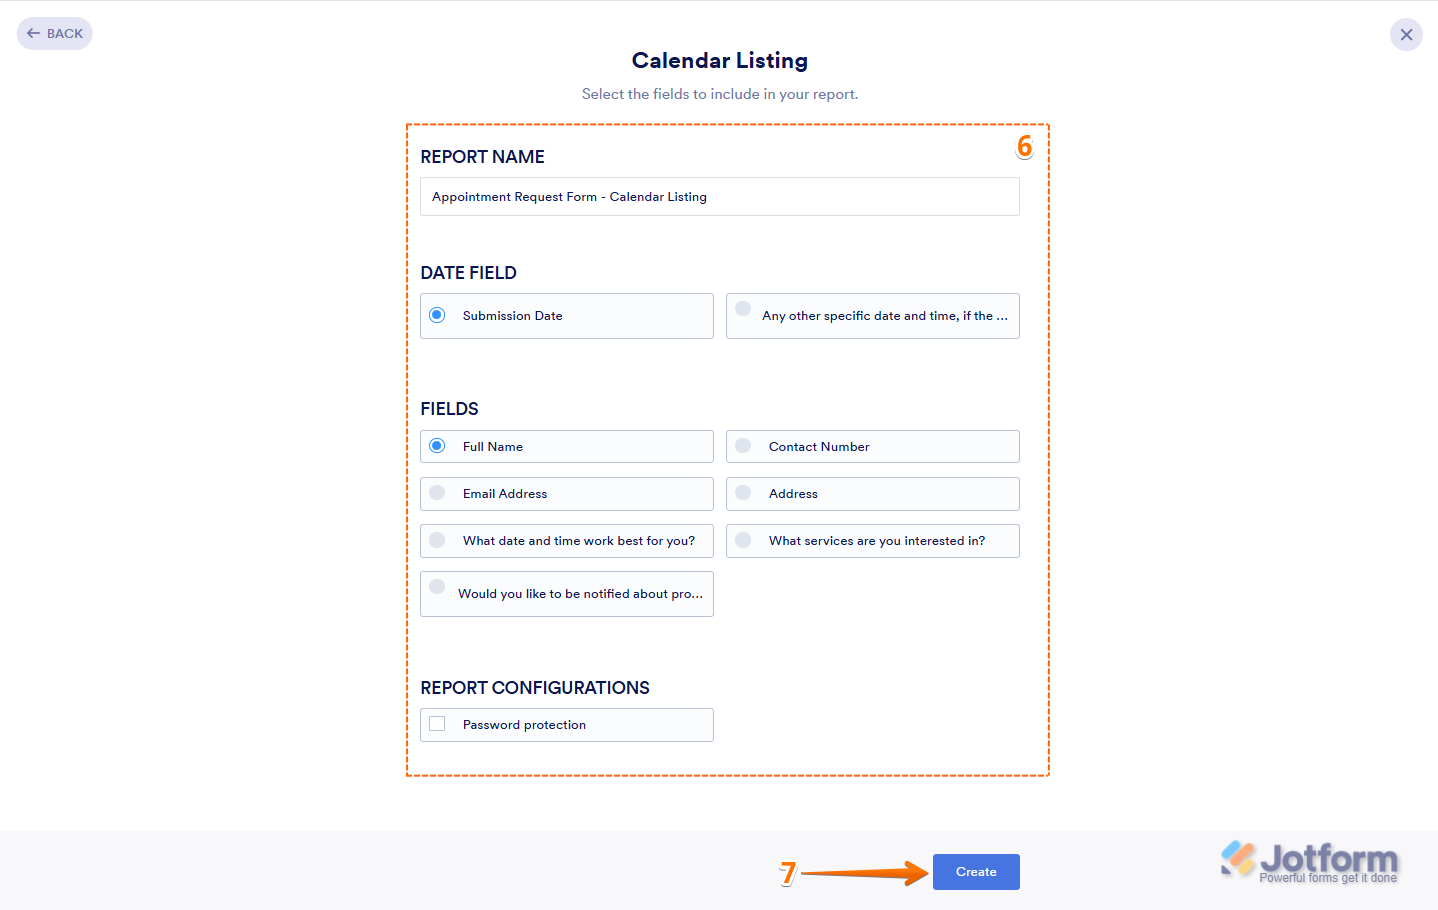
- Next, set up the following options:
- Report name — Enter a title to identify the calendar report.
- Date field — Choose the form’s date-based field to display on the calendar.
- Fields — Select a form field to show in each calendar entry.
- Report Configurations — Enable or disable additional report settings the way you want them.
- Password Protection — Secure your Calendar Listing with a password (optional).
- Now, click on Create at the bottom of the page, and you’re all set.
You’ll then be prompted that the Calendar Listing Report is ready, and now you can do the following things:
- Copy Link Button — Copy the Calendar Report link to your clipboard.
- Iframe Embed Code — Use the Iframe Embed Code to embed the Calendar Report on a website or dashboard.
- Open Report Button — Open the Calendar Report in a new tab.
- X Button — Close the Calendar Report window.

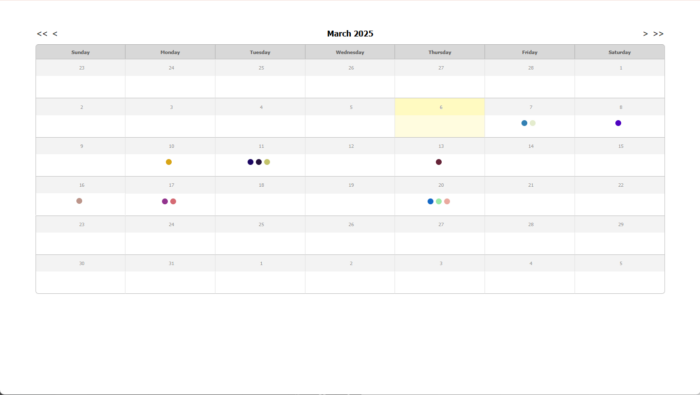
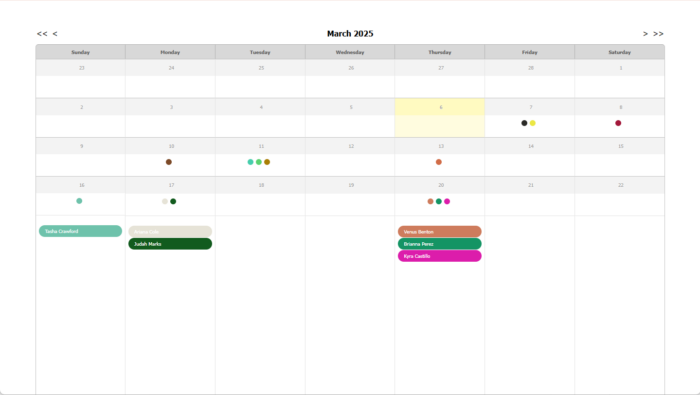
Check out the example Calendar Report Listing below:

Send Comment:
3 Comments:
January 23, 2025
I would like to use this as my committed calendar of events. Is it meant to do that? I would also like to be able to create this in the app. I tried and didn't see access to the the prompts.
August 9, 2024
My only option on a form is the submission date. How to I get the appointment date to be my option for "date field". It is currently listed only under "fields".
June 8, 2023
Can you help me to modify calendar application who we based on security for protect personal data