
Steps to limit the number of responses
- Open Google Forms.
- Create a new form or open an existing one.
- Publish the form.
- Monitor responses.
- Click on the Publish button again.
- Toggle off Accepting responses or set a maximum number of responses, a close date and time.
- Save your settings.
Interactive step-by-step tutorial
Google Forms is a helpful tool for gathering responses for contests, surveys, event registrations, and more. But what if you need to limit the number of submissions you receive? Maybe there are only so many survey responses you can analyze, or maybe the event you’re planning has physical space limitations.
Limiting the number of responses your Google Form receives helps you manage these issues. Let’s explore how to set response limits using Google Forms’ built-in tool.


What is Google Forms?
Google Forms is a versatile and user-friendly online form builder that lets users create surveys, quizzes, registration forms, and more. As part of the Google Workspace suite, it also integrates seamlessly with Google Docs, Drive, and Sheets.
Whether you’re a teacher gathering student feedback, a business owner conducting market research, or an event planner managing RSVPs, Google Forms provides a quick and easy way to gather info online.
When to limit the number of responses in Google Forms
There are a bunch of scenarios where limiting form responses can be necessary or helpful, including
- Contests or giveaways: If you’re running a contest and need to limit the number of entries (e.g. to the first 100 submissions), you’ll need to cap the number of responses you receive to keep the contest fair.
- Event registrations: For events with space limitations, capping the number of registrants can prevent overbooking.
- Exclusive surveys: When you’re collecting feedback from a select group or you need only a certain number of responses, limiting your submissions helps you control the amount of data you get.
Now that you understand why response limits can be helpful, let’s walk through how to limit responses in Google Forms.
How to limit responses in 4 steps
1. Create your form
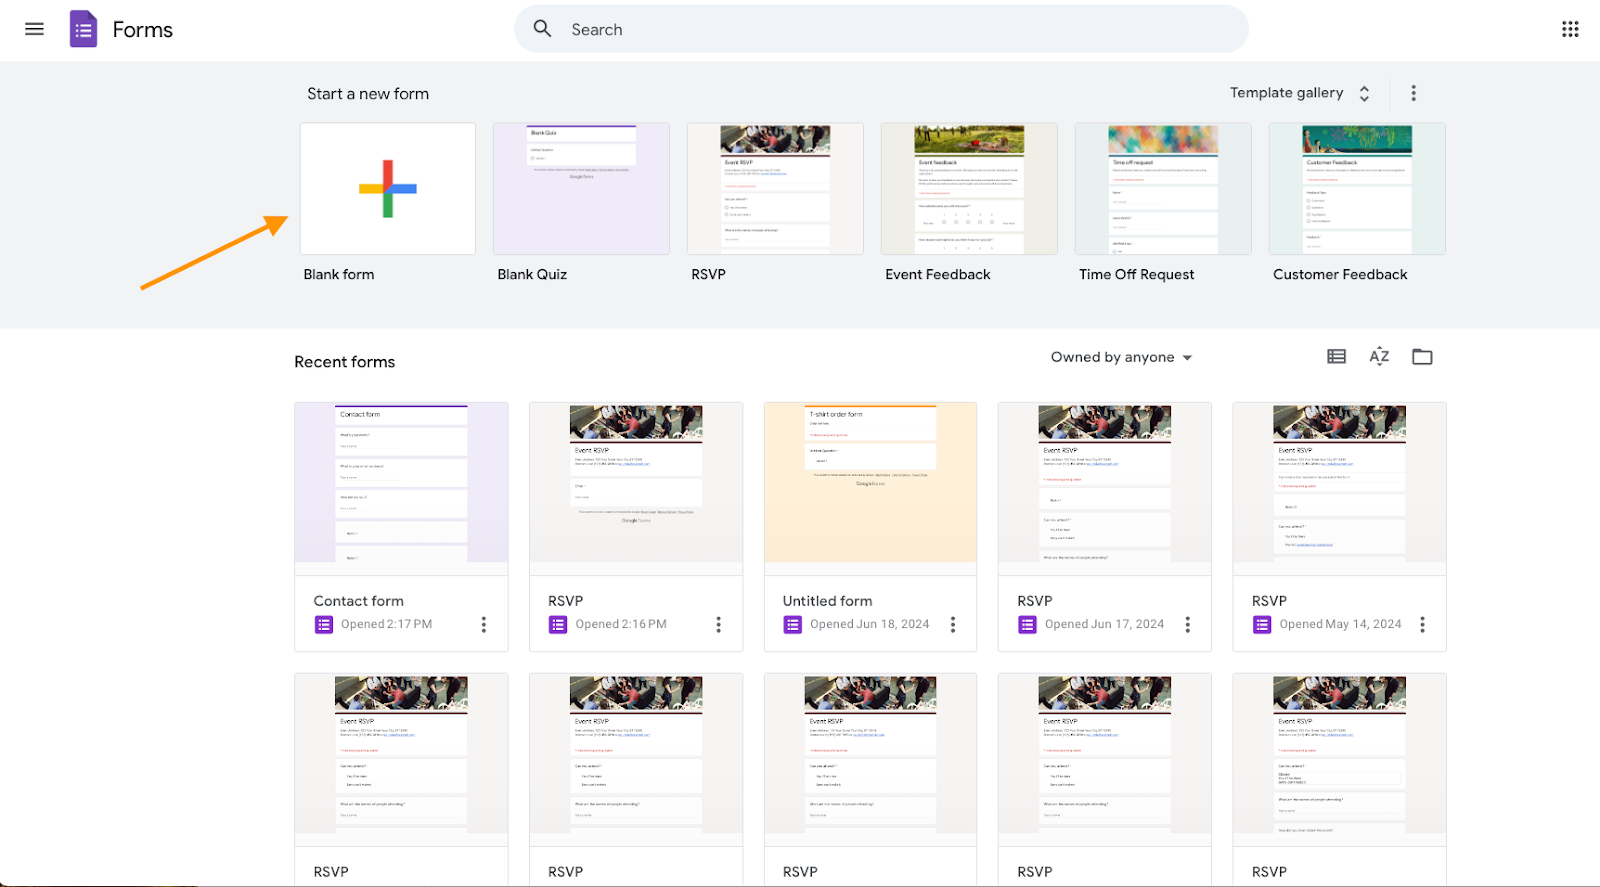
Open Google Forms. Click Blank form to create a new form and add your questions.
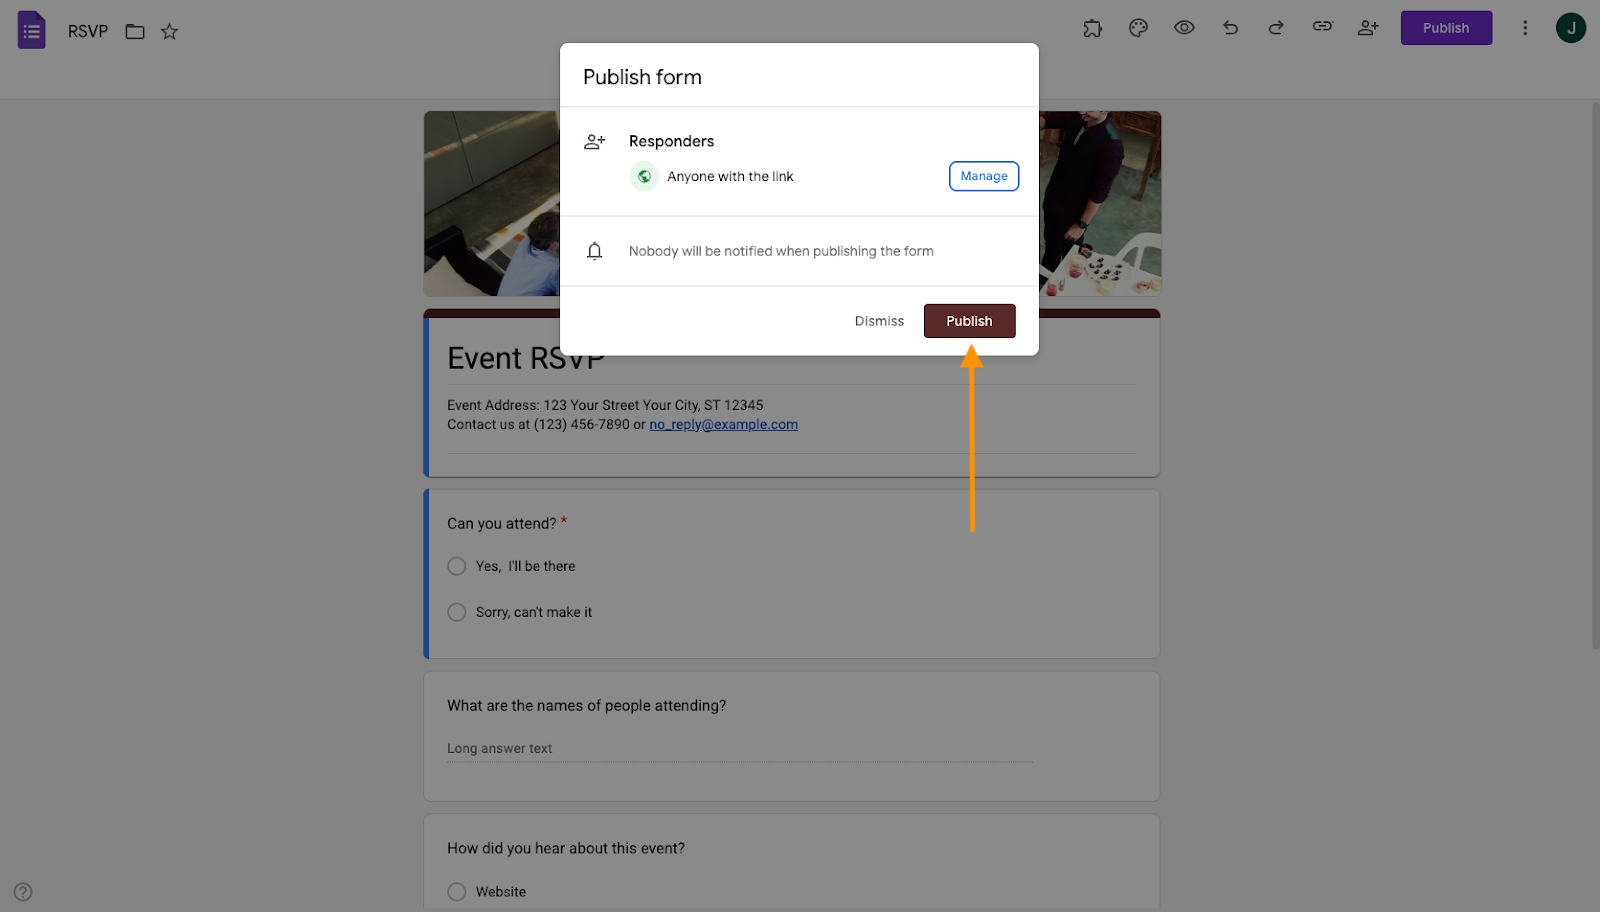
Edit your form, then click Publish to make it live.
Then, share the form via email or by copying and sending the link.

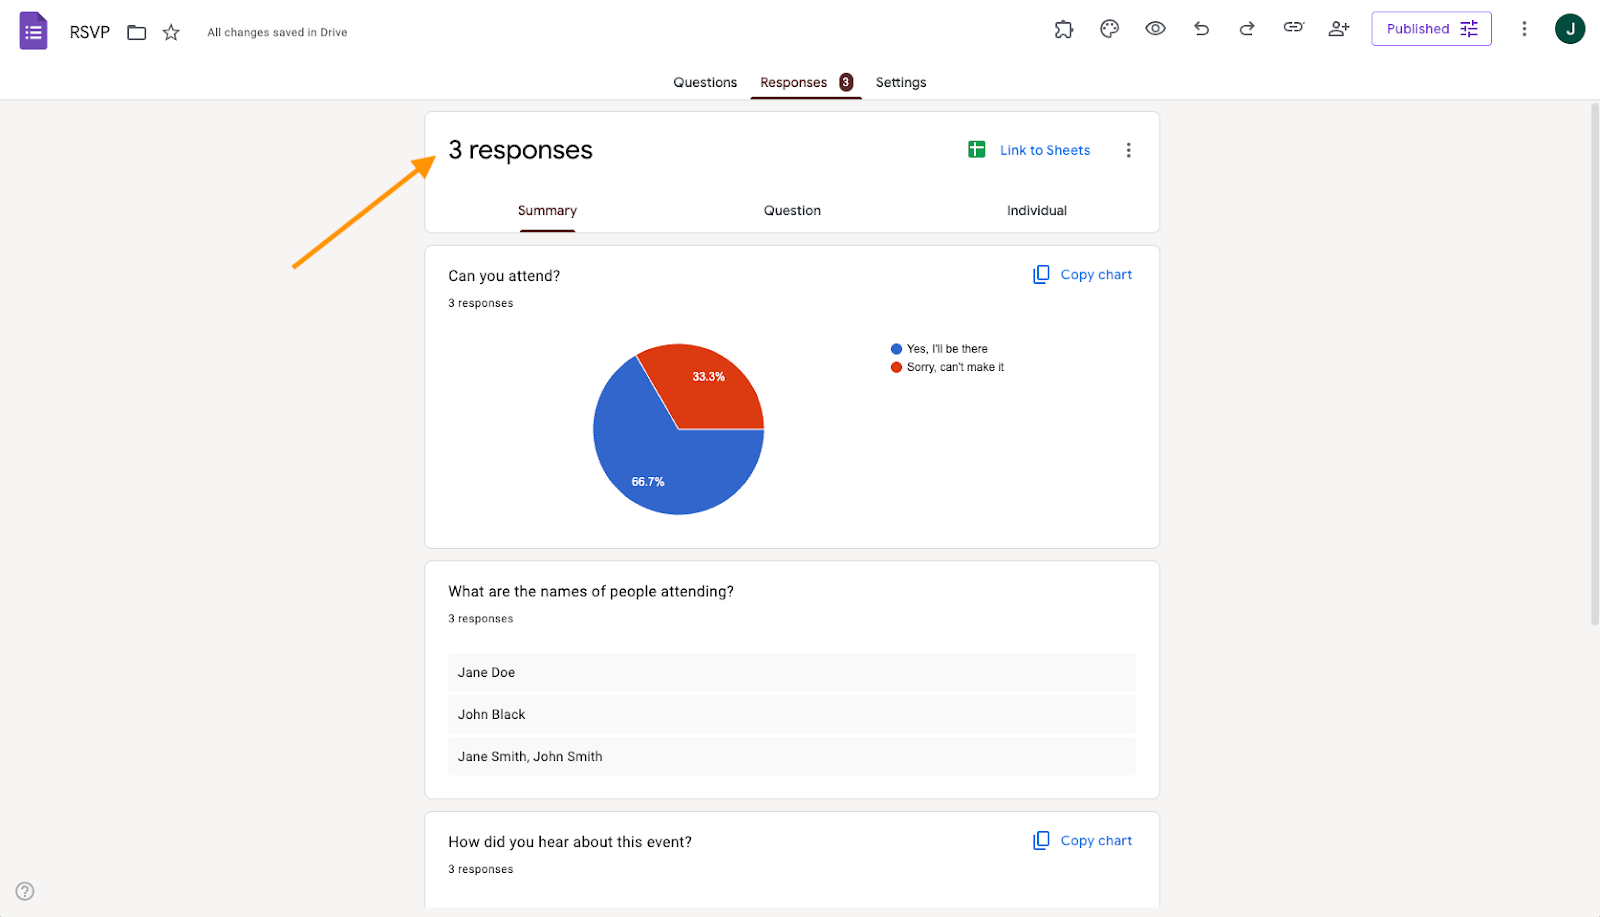
2. Monitor responses
Check the number of responses in the Responses tab.
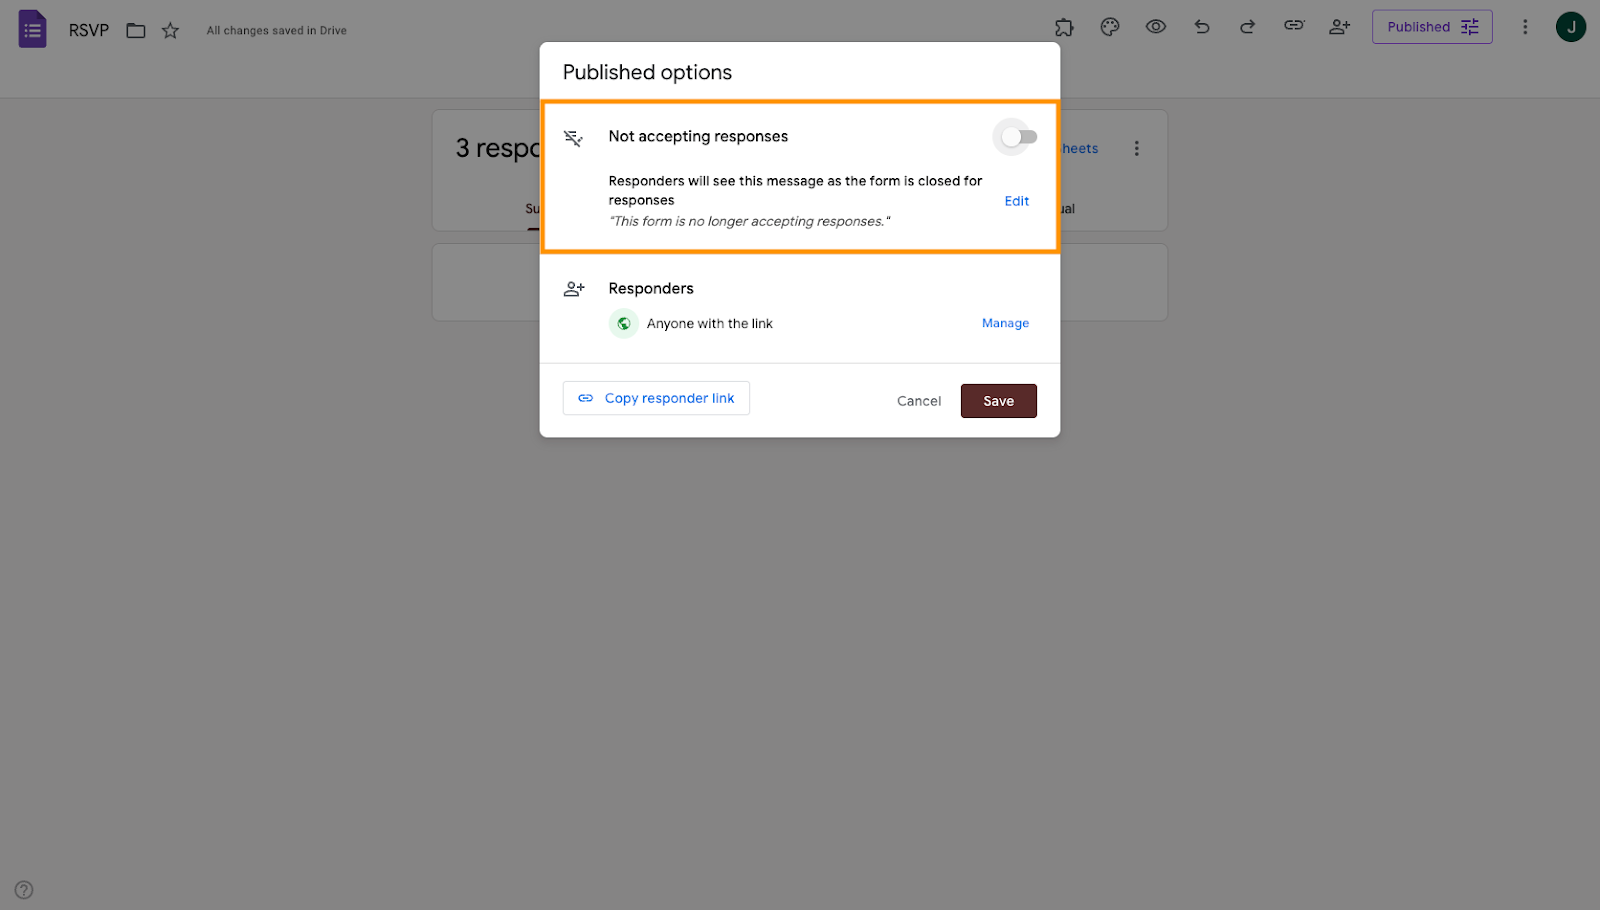
3. Close the form to new responses
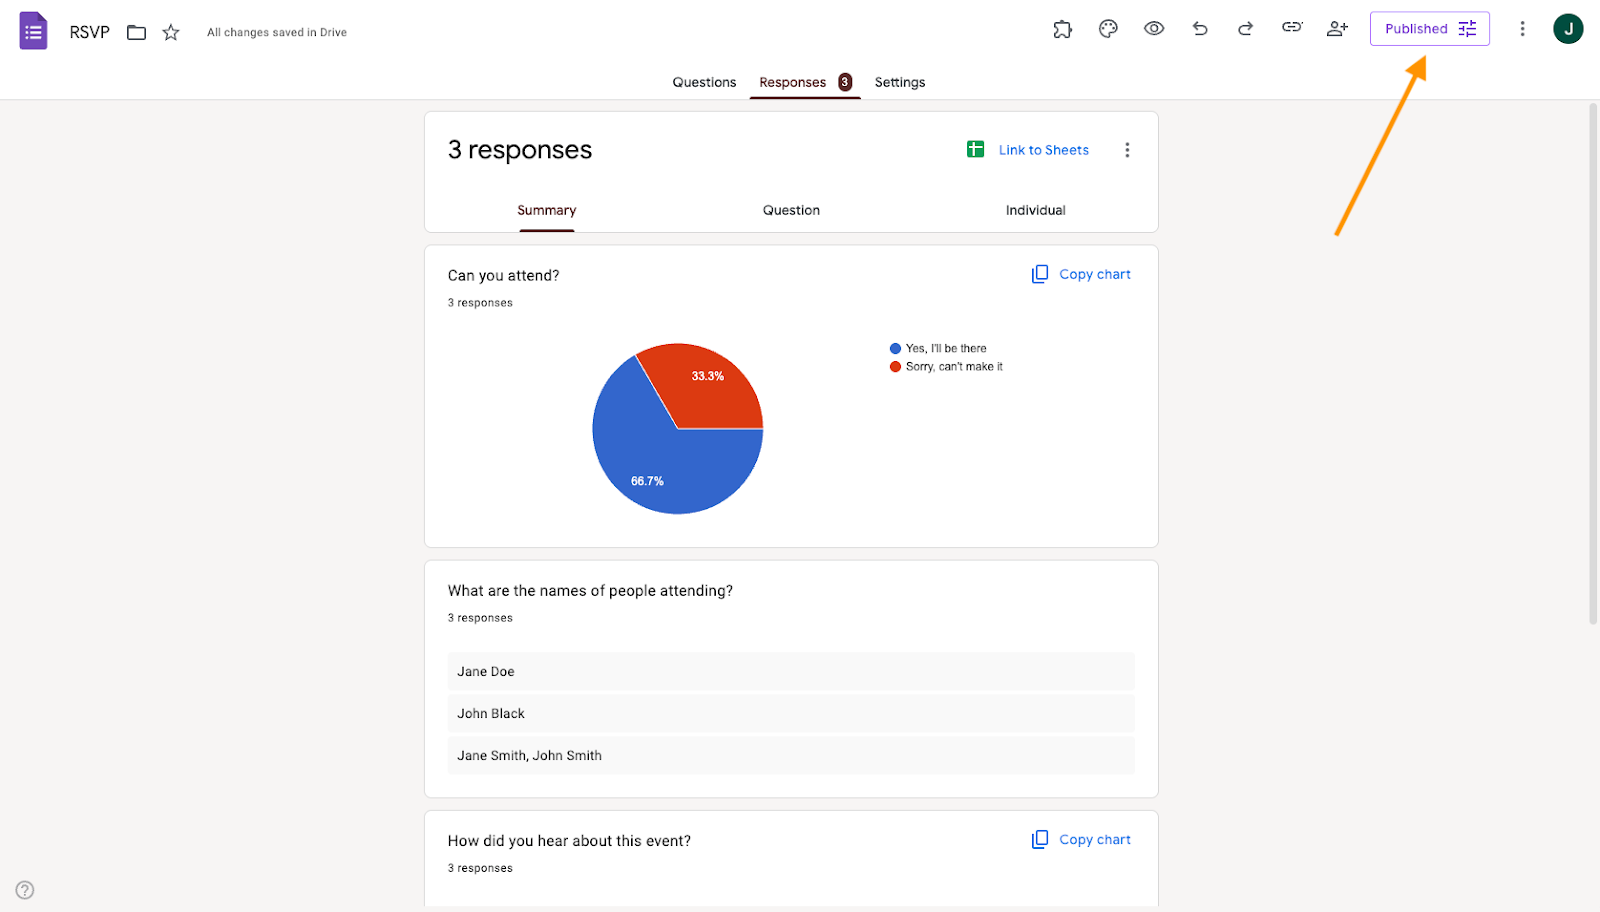
Once you reach your desired number of submissions, click the Publish tab again, where the form status is now shown as Published.
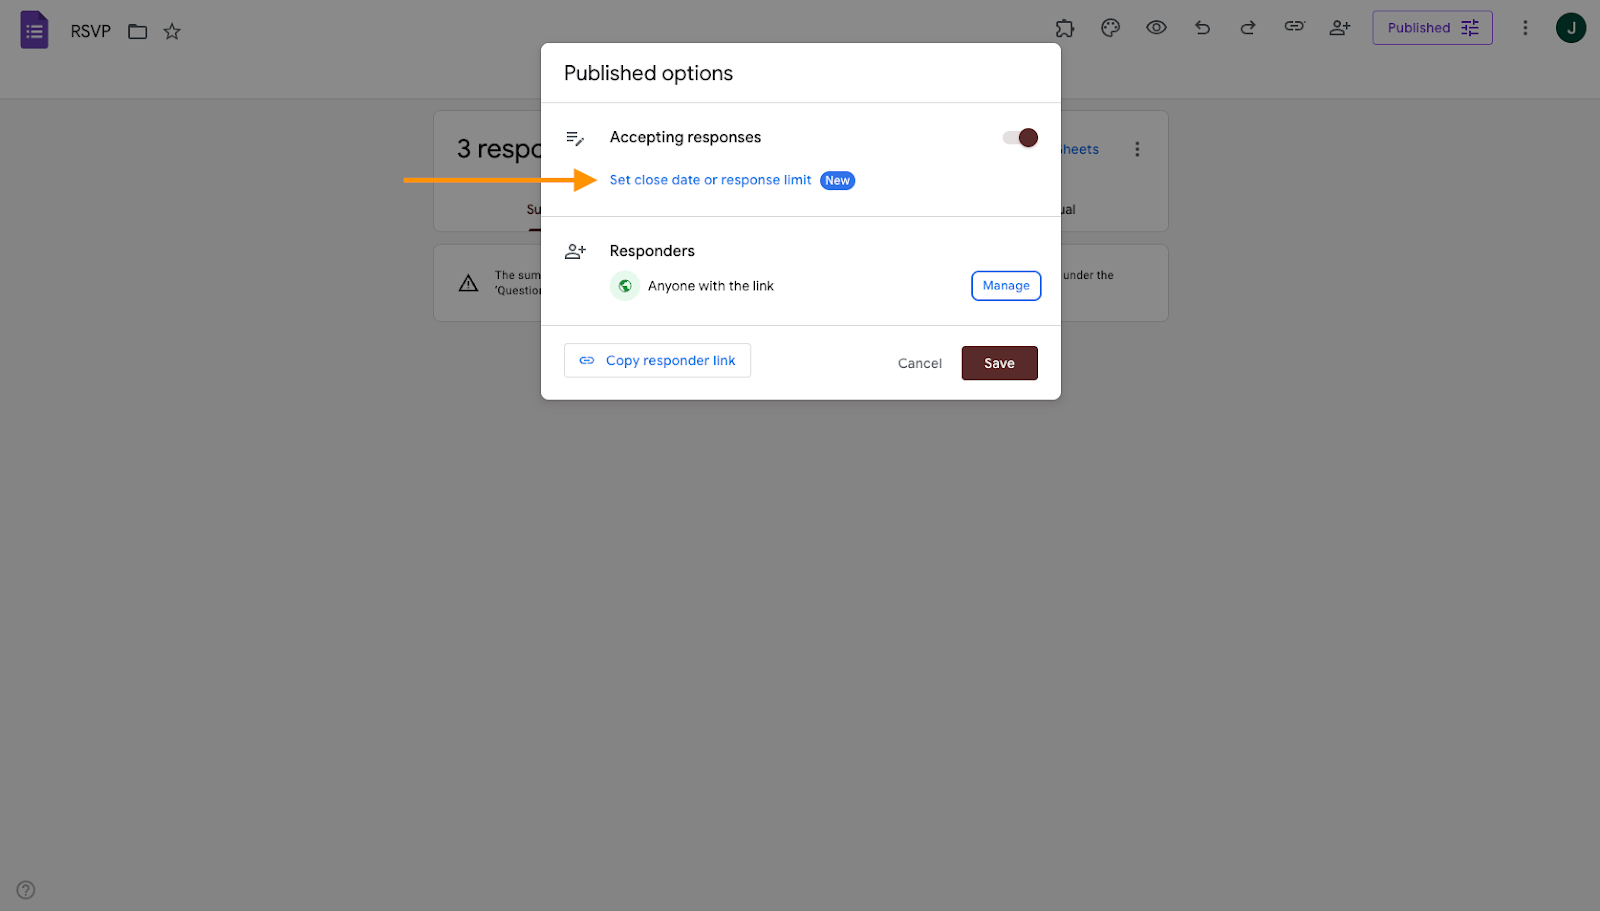
You can stop accepting responses in Google Forms directly or by disabling submissions once your form reaches the desired number of entries. You can set:
- A specific date and time when the form should close.
- A maximum number of responses.
From here, you can toggle off Accepting responses directly or set a close date or response time.
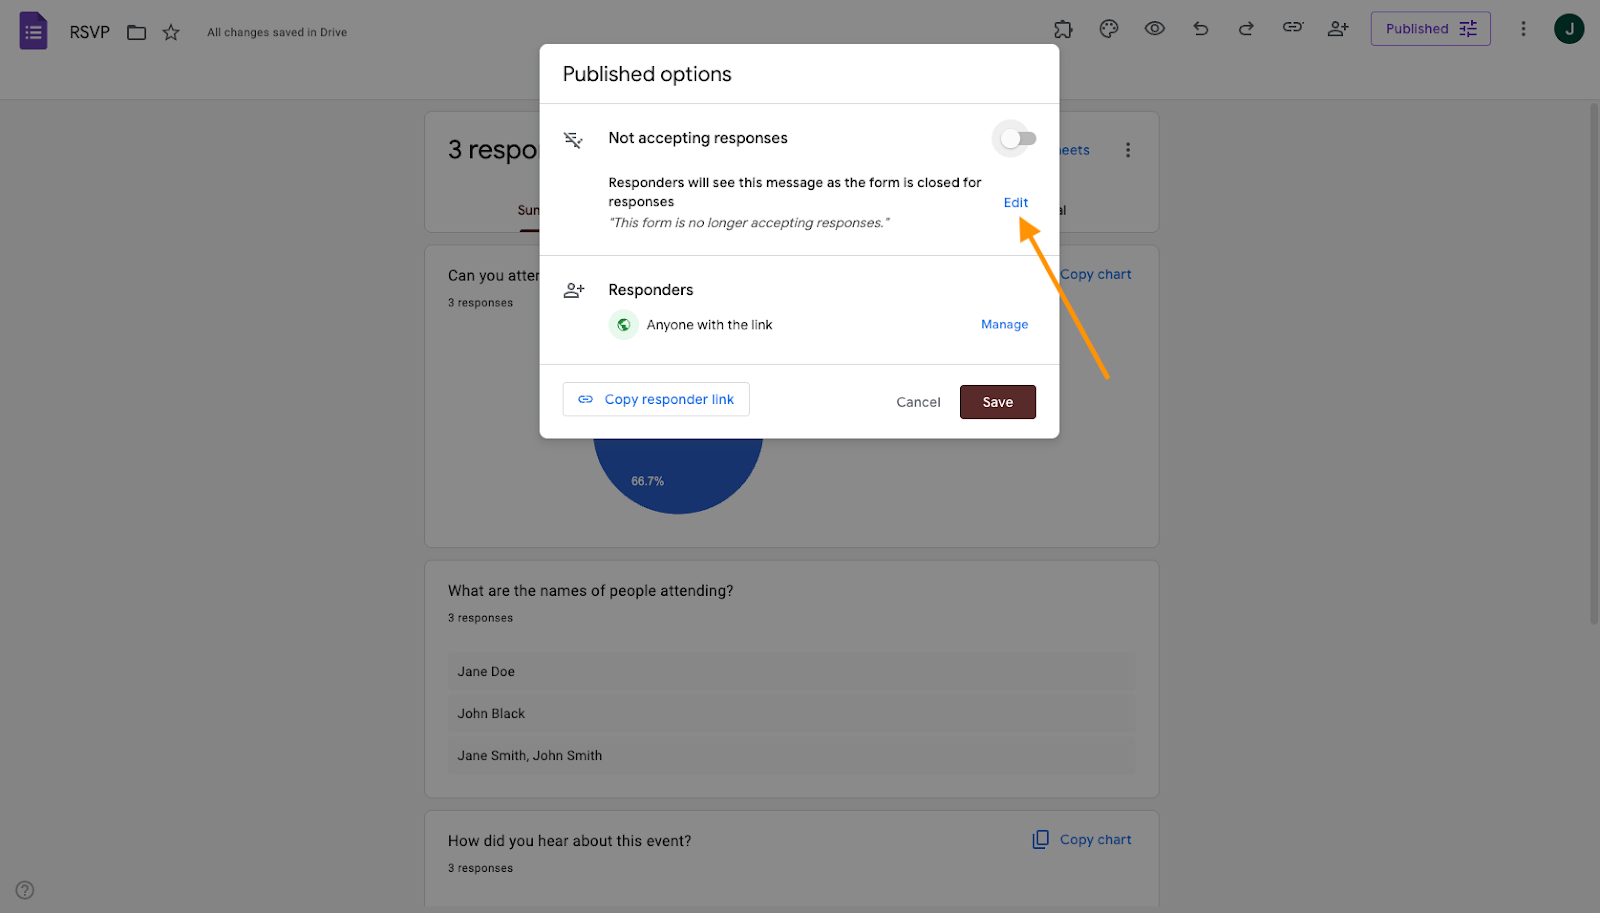
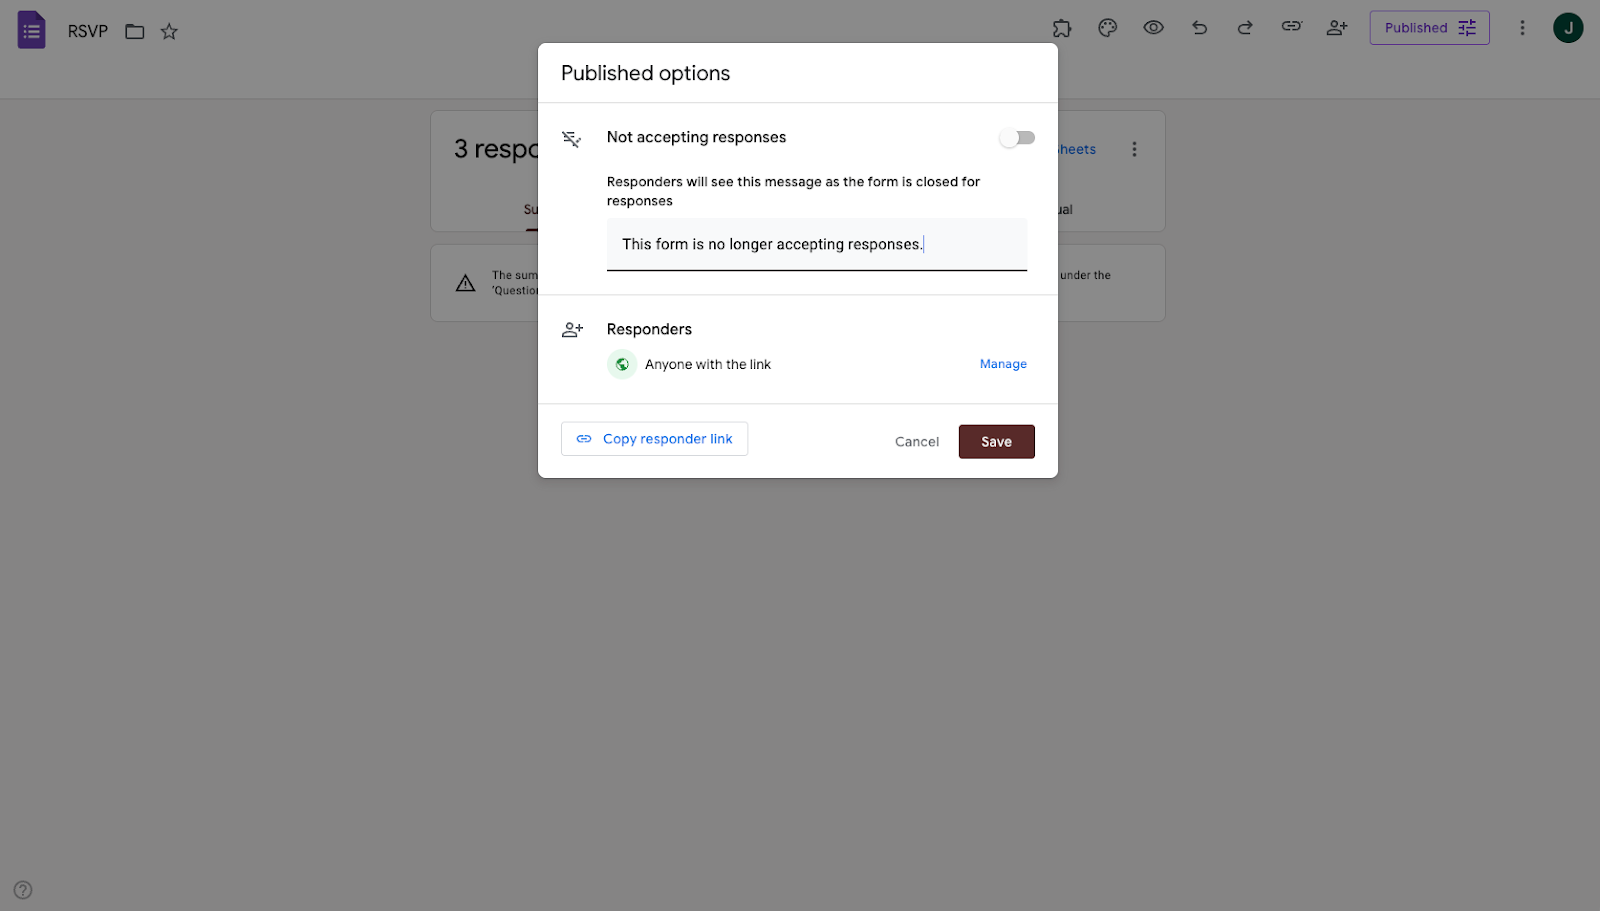
4. Set a response limit message
Click the Edit option in the Published options window to set the message respondents will see after the form is closed.
Enter your message in the box and click Save.
Once configured, Google Forms will automatically stop accepting submissions when your limit or deadline is reached.
What makes Jotform a powerful alternative to Google Forms
While Google Forms is great for collecting data, it can feel limited when managing large audiences or more complex workflows. It also doesn’t have as many visual customization options as other platforms, making many surveys feel and look alike — and even restricting the kind of data you can collect.
On the other hand, Jotform is a user-friendly Google Forms alternative that enables advanced customization, conditional logic, workflow automation, payment integrations, and scalable submission controls — all built directly into the platform.
How to limit form responses in Jotform
1. Create or select a form in Jotform
Log in to your Jotform account and select +Create.
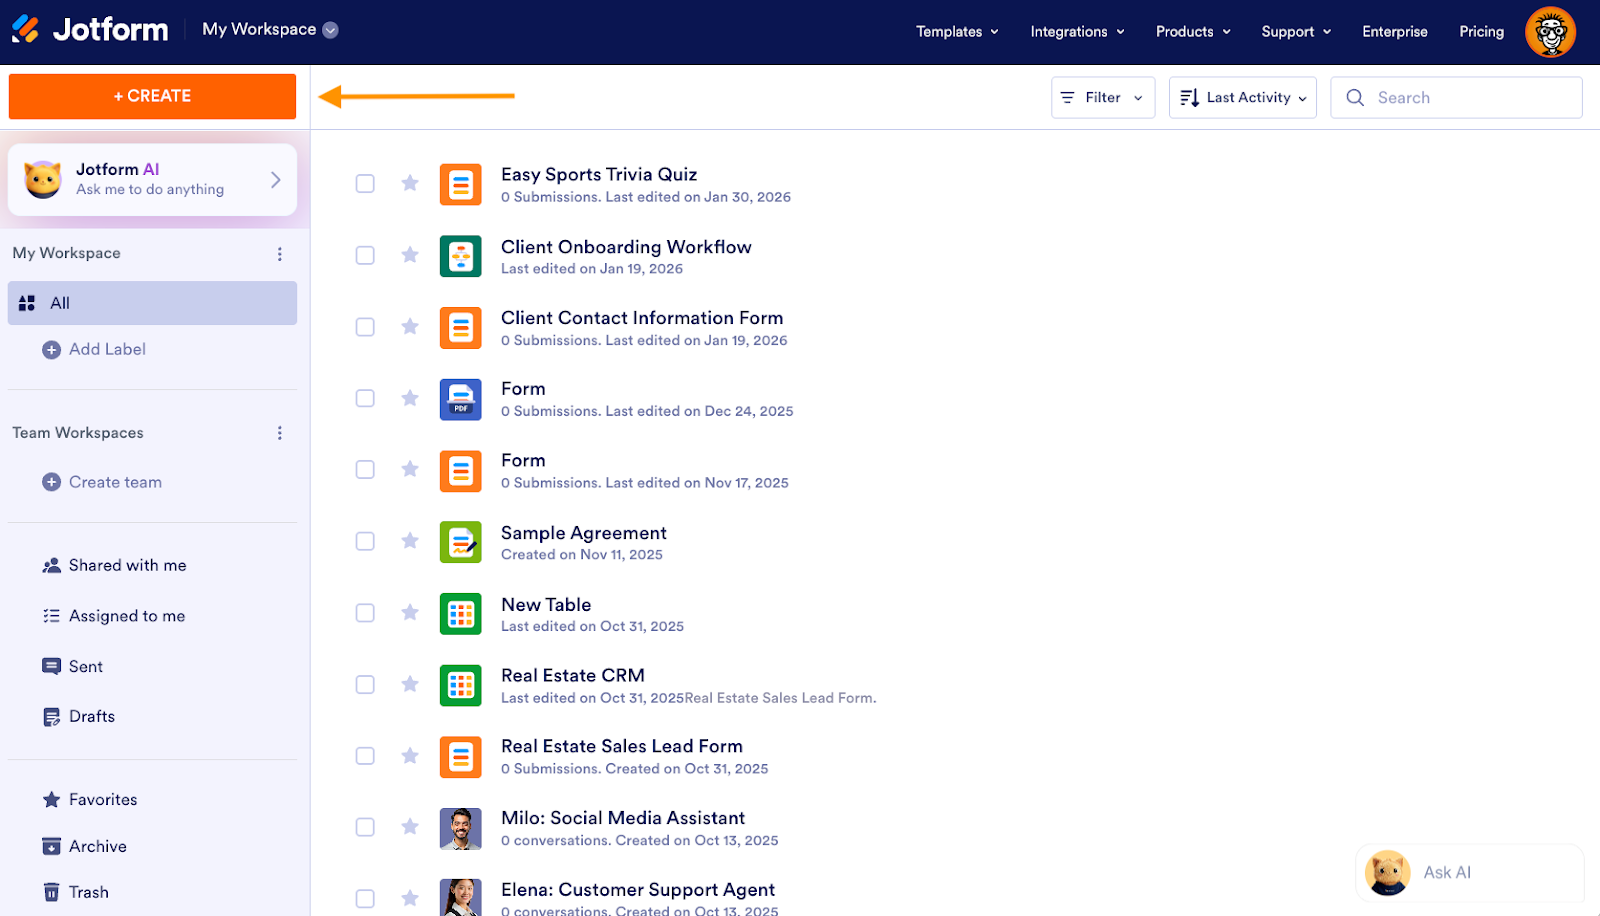
Select Form from the list of options.
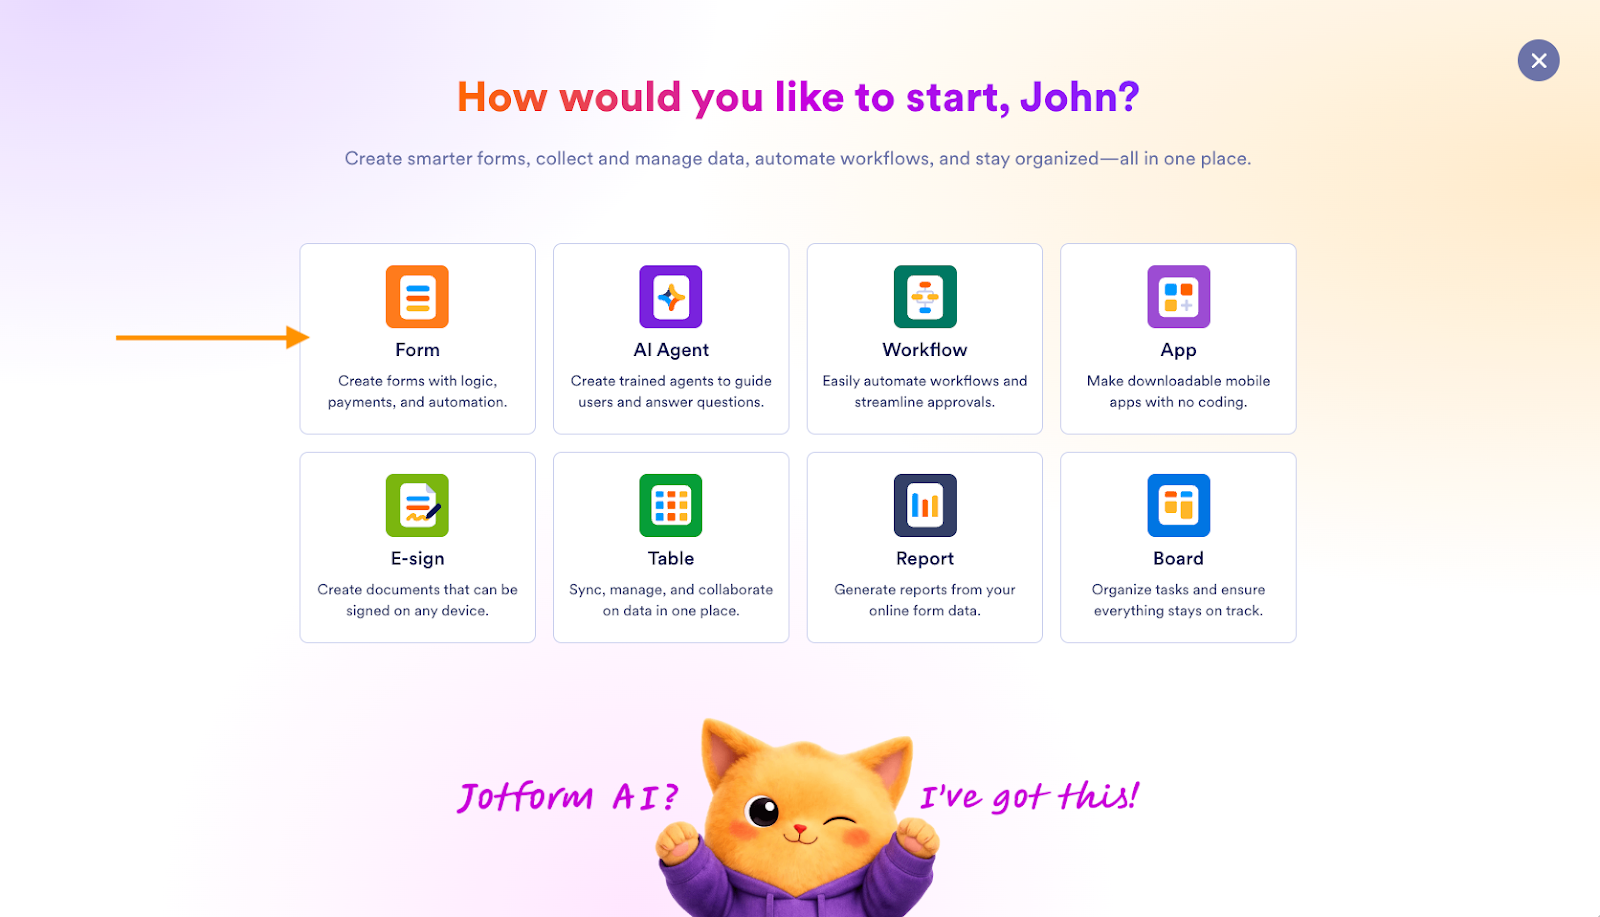
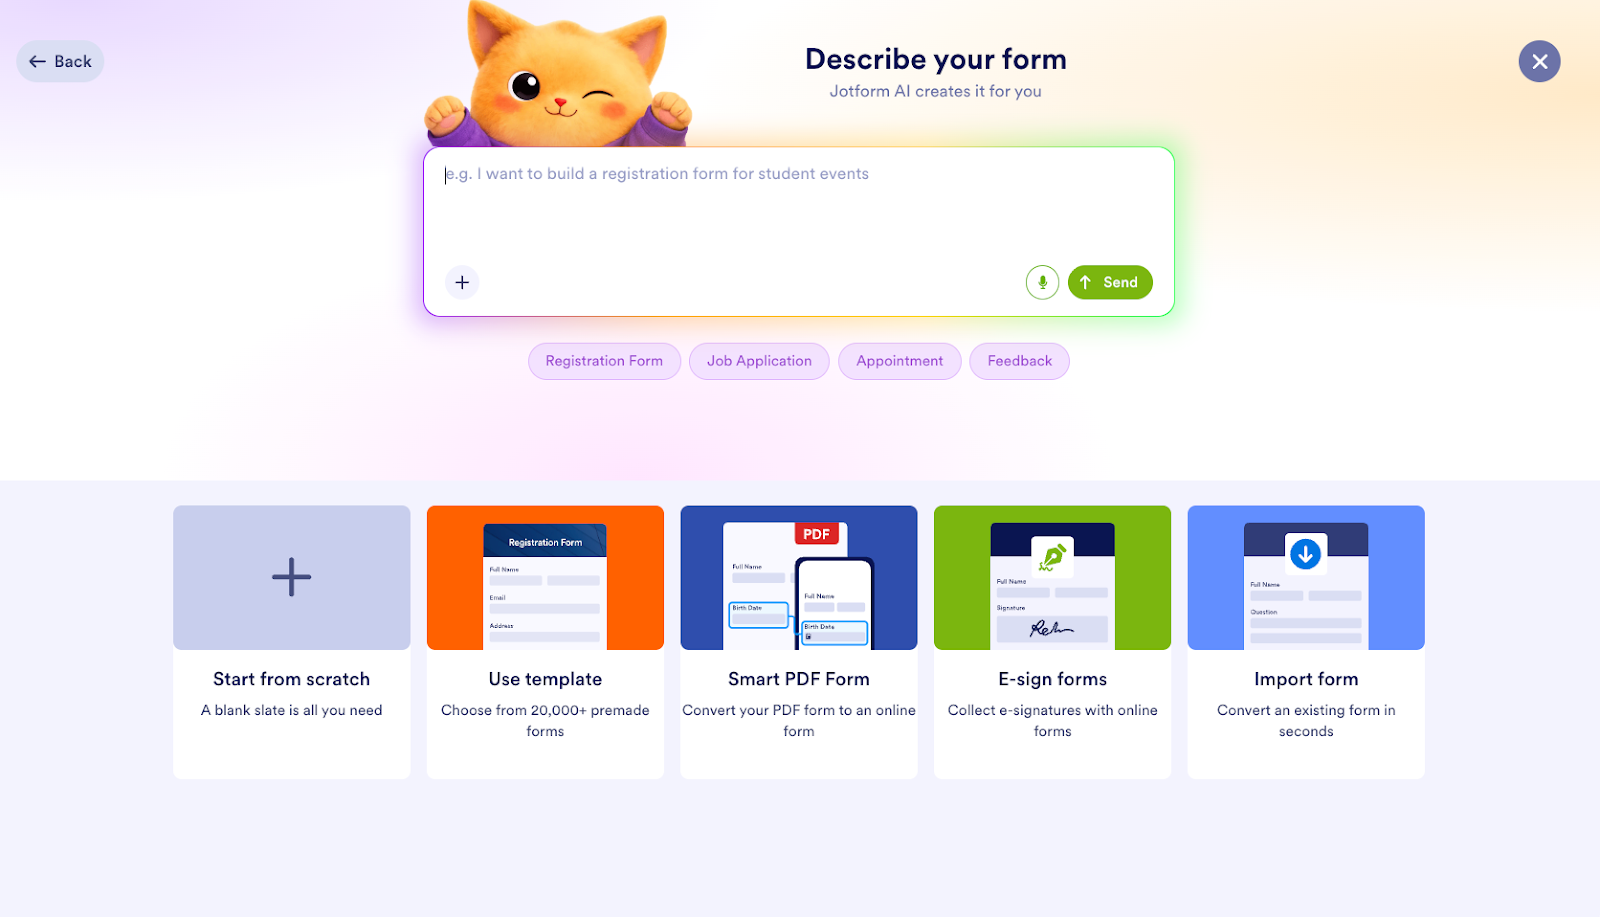
Start from scratch, choose a form template or describe your form in mind to the Jotform AI.
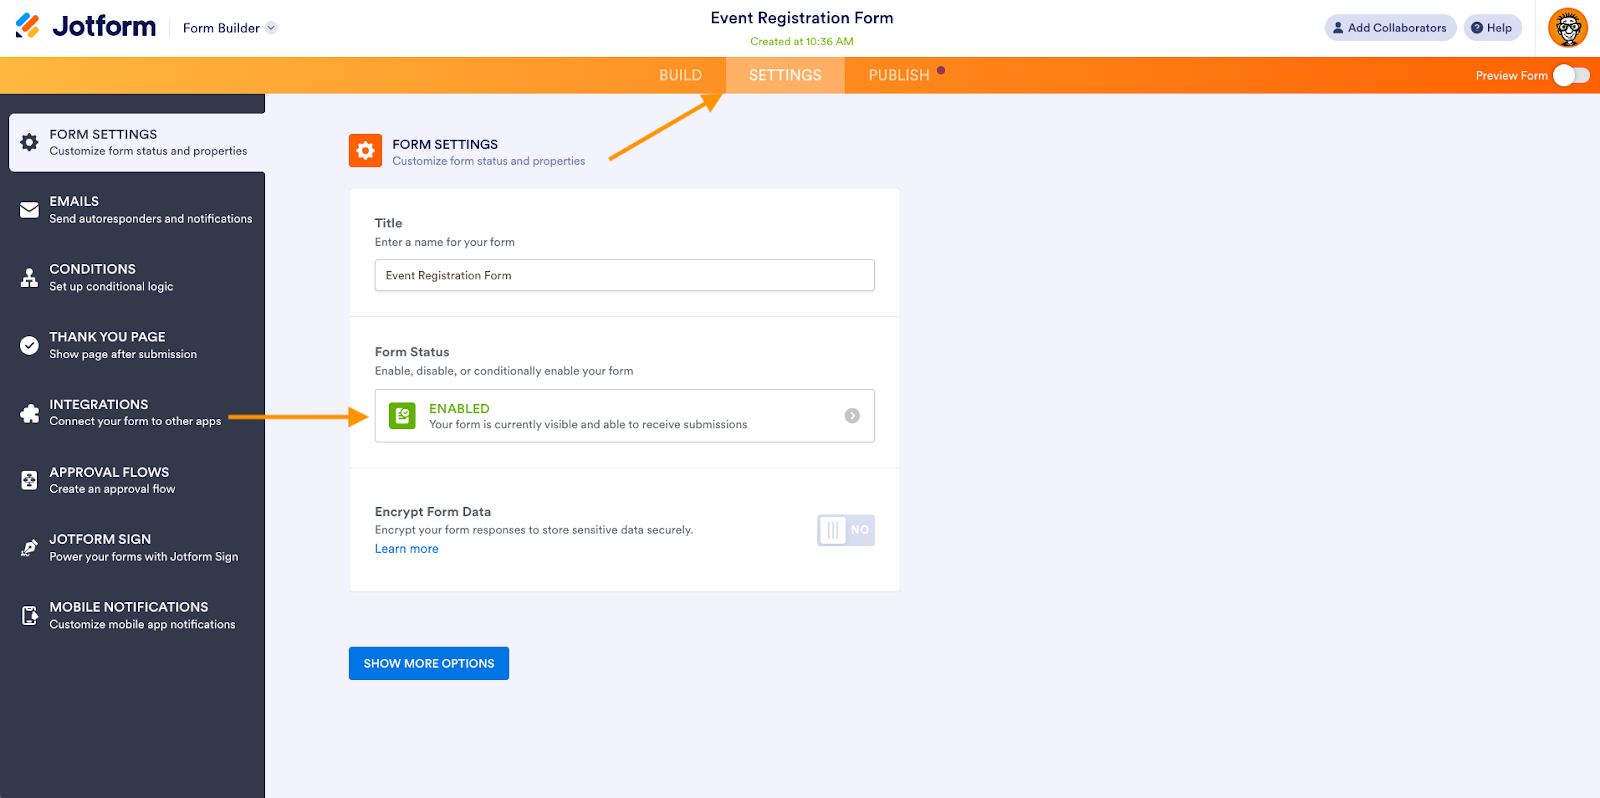
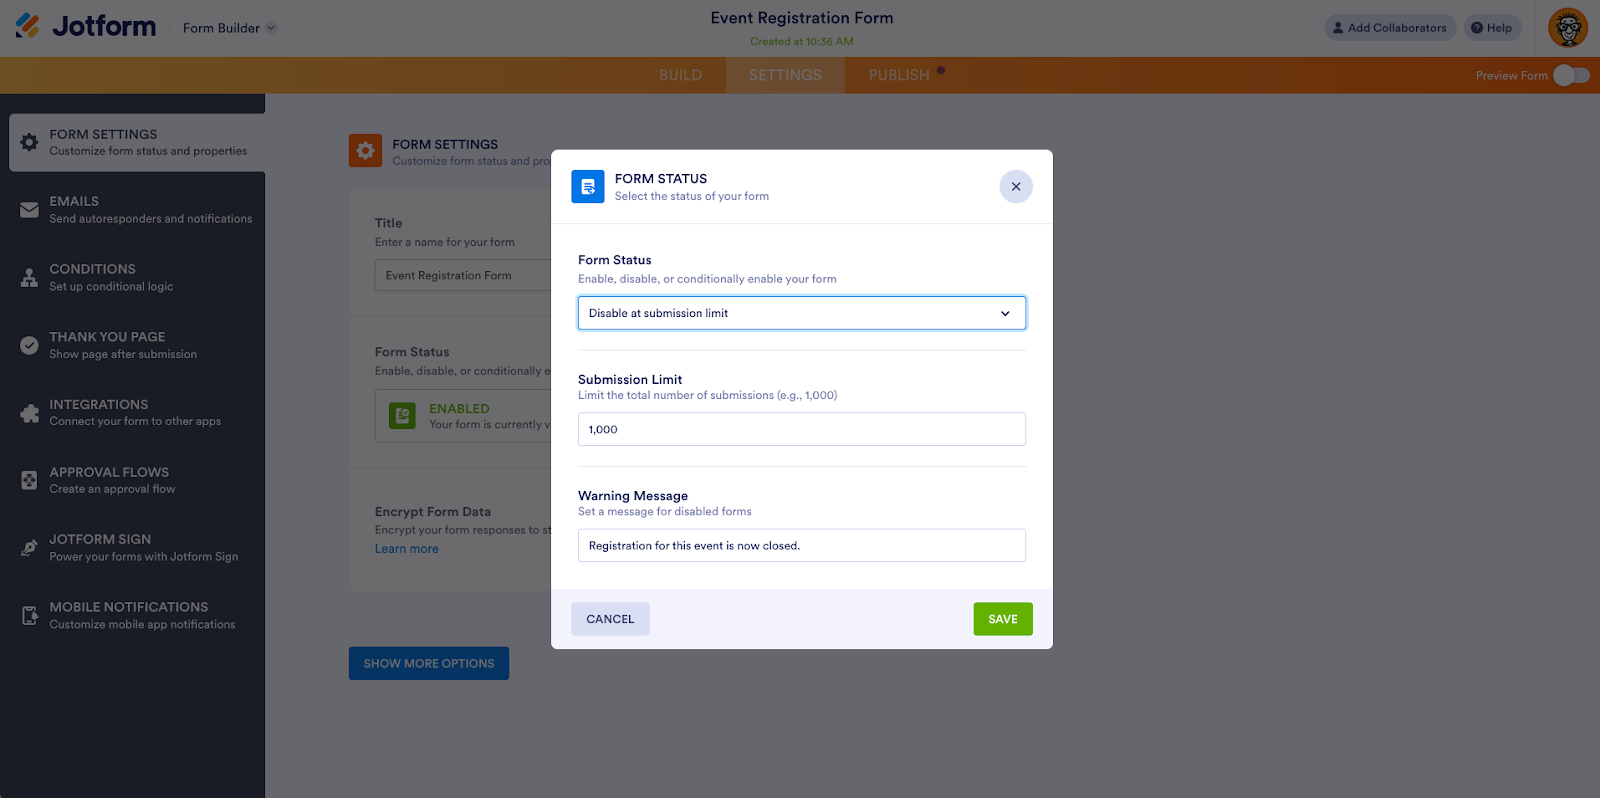
2. Access form status settings
Go to the Settings tab of your form.
Click on the Form Status box, and choose whether you want to close the form on a certain date and time, when a submission limit is reached, or a combination of the two. For this example, we’ll choose Disable on submission limit.
3. Set your limit
Depending on the form limit option you chose, enter the maximum number of submissions you want to allow, the date and time you want the form to shut down, or a combination of the two.
Customize the message people will see once you’re no longer accepting form submissions.
Jotform’s intuitive interface and powerful features make it a great alternative for those who need more flexibility, options, and control compared to Google Forms. Jotform also features easy-to-set limits, customizable forms, and extensive templates, plus a wide array of integrations.
How to control your data with Google Forms and beyond
Controlling how many responses your form receives is essential for managing events, contests, and surveys effectively. With Google Forms’ built-in response limits, you can now automatically stop submissions based on a date or a maximum number of entries, making it easier to stay organized and avoid overbooking.
If you need more advanced customization, automation, or design flexibility, platforms like Jotform offer additional tools to help you manage submissions at scale. Try it for free today.
This guide is for organizers, educators, marketers, and ops/admin teams who rely on online forms for registrations, contests, surveys, or quizzes and need to cap entries by date or count to prevent overbooking and data overload.


: Which is better for you?")


: Which form builder is better for you?")


")


Send Comment: