Steps to use Google Forms for scheduling
- Create a Google form
- Set up the scheduling fields
- Eliminate choices for time slots
Interactive step-by-step tutorial
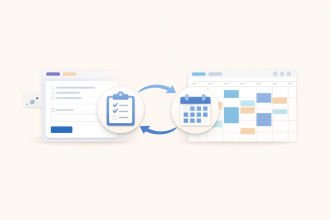
When a client or customer needs to schedule an appointment with you, it’s easier to let them choose an available time slot, as opposed to sending endless emails back and forth trying to find a date that works for everyone. One of the easiest ways to do this is by setting up a Google form for appointment scheduling.
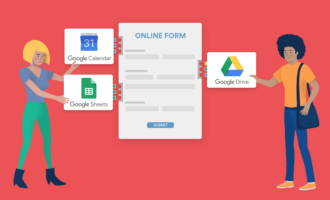
Google Forms gives you a central place to manage scheduling, especially if you track appointments in Google Calendar. It’s easy to share, and most people are already familiar with the platform.
Read on to learn more about how to use a Google form for scheduling (along with information on a Google Forms alternative).


How to create Google Forms scheduling sheet for appointments
There are a few steps you need to follow to get started using a Google form for scheduling, including using some add-ons. You will need to download files to your computer, so be sure you have the access to do that before you continue.
If you need an alternative form builder in Google Workspace, you can try the Jotform form builder for free.
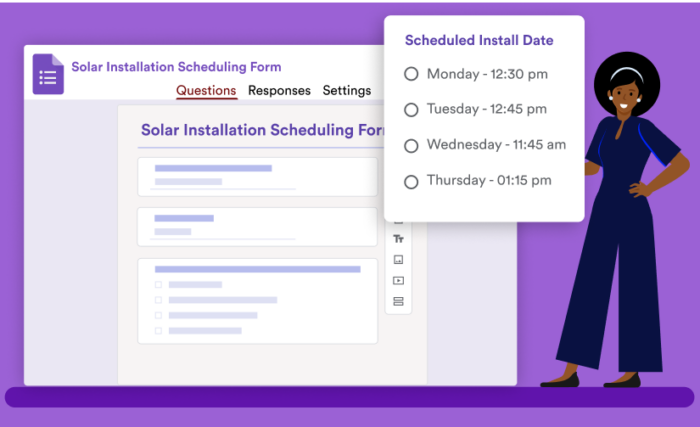
1. Create a Google form
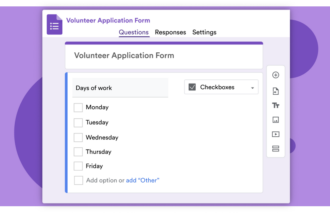
Start by heading over to the Google Forms website and create a new form from scratch. Then, add the necessary fields. You may want to add one multiple choice option that allows users to select the type of service they need, for example, and short response fields that allow them to enter their contact information.
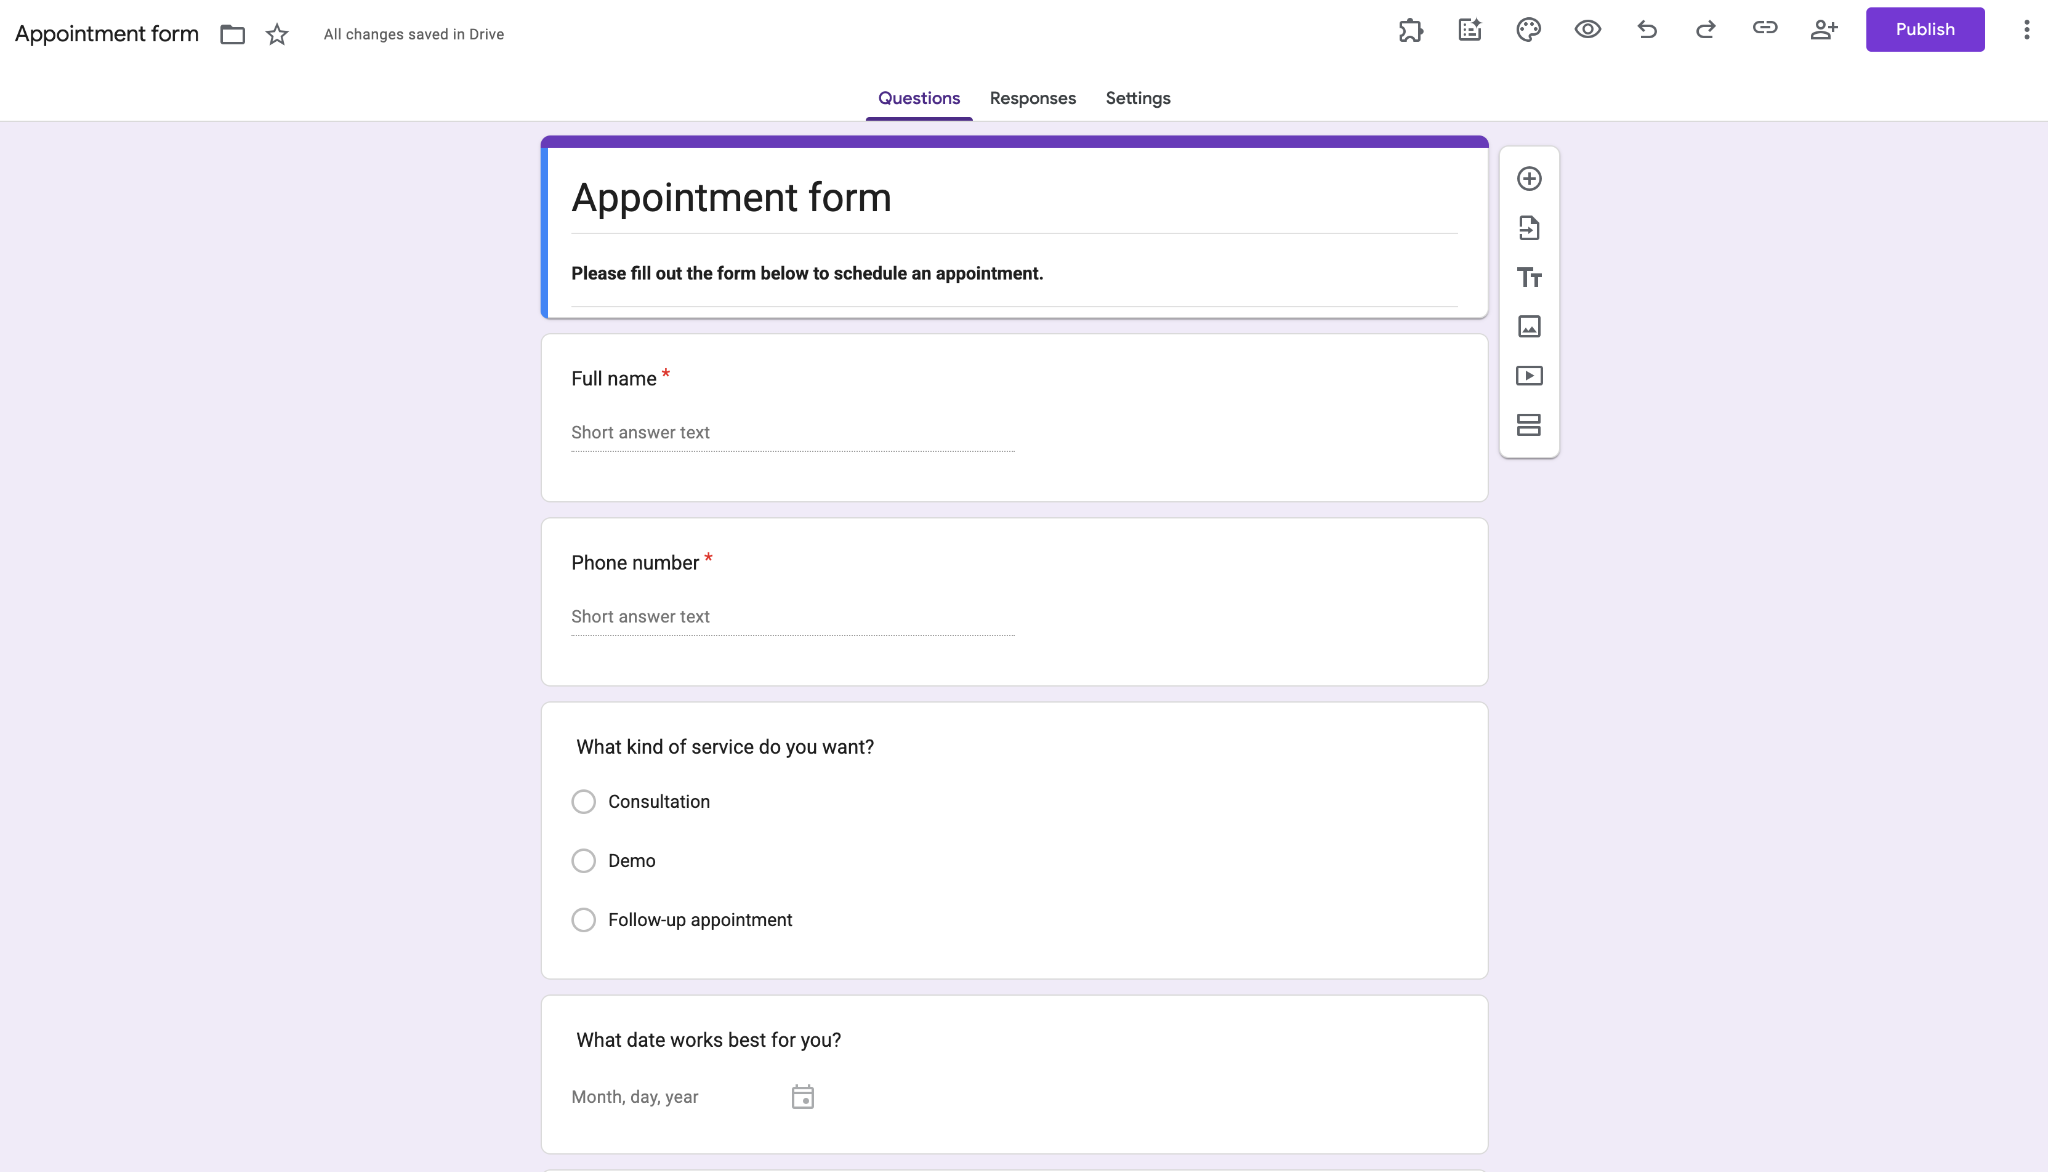
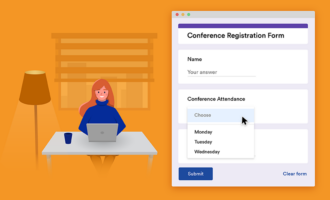
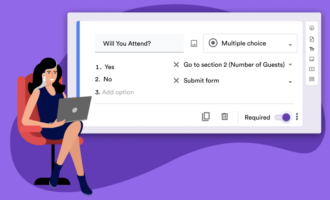
2. Set up the scheduling fields
Next, you’ll set up a multiple-choice or drop-down question that has all the time slot options for your customers or clients to choose from, depending on what your organization offers.
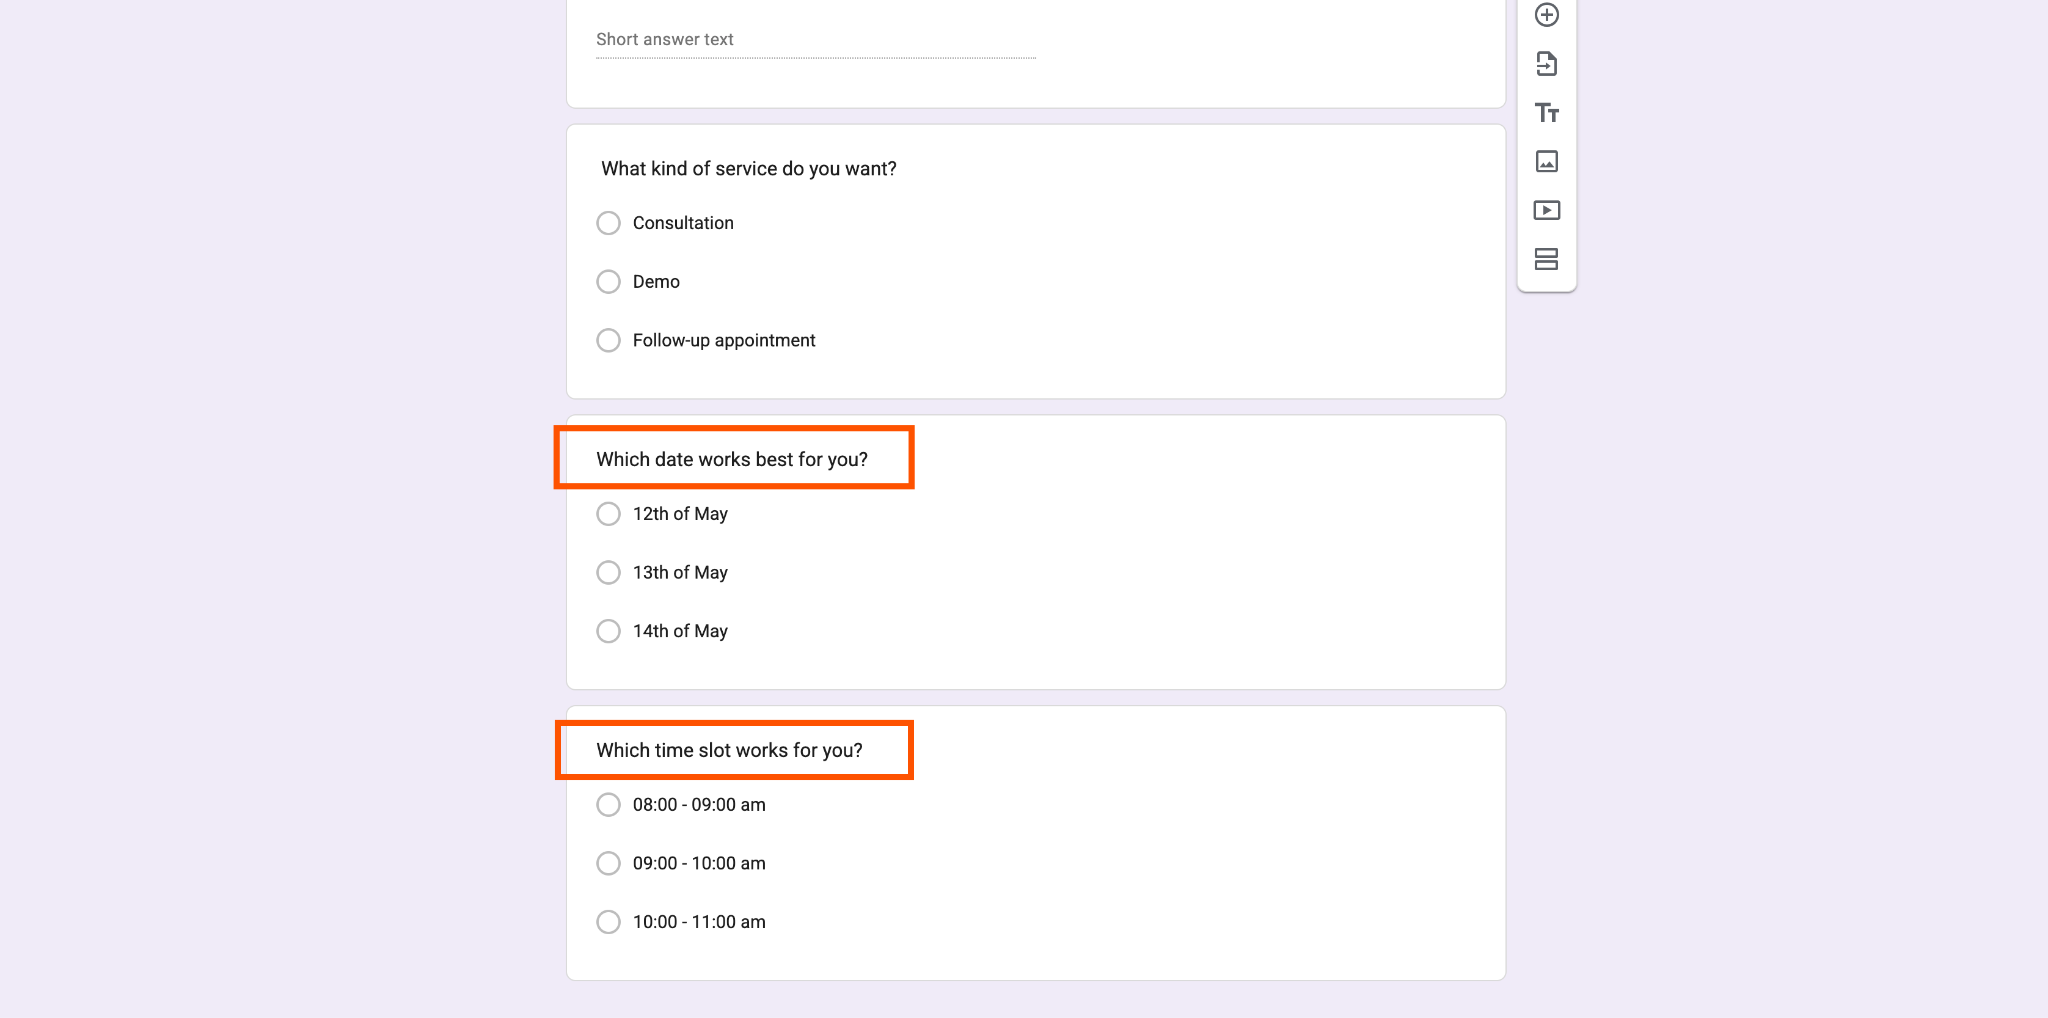
You can even begin your form by first asking respondents to pick the day of the week they want to meet and then, using conditional logic, offer them specific time slots to choose from depending on the day.
3. Eliminate choices for time slots that are no longer available
If you want to be able to block out time slots that clients have already selected, check out how to add Choice Eliminator to Google Forms to avoid double-booking appointments.
This add-on is available from the Google Workspace Marketplace. Once you install it, integrate it into your form using the add-on puzzle piece icon at the top of your form to complete the process of setting up a Google form for scheduling.
If you need a broader walkthrough on how to make a sign up sheet on Google Forms, this guide covers the full setup process step by step.
How to use Jotform for scheduling
Online form builder Jotform, unlike Google Forms, gives you the ability to customize your scheduling form as much as you’d like, while making it easy to set parameters for appointment slots. Simply select the Appointment form element when creating your scheduling form with Jotform to add a calendar that displays available times for each day. You can set conditions like appointment slot duration and blackout dates for vacation time.
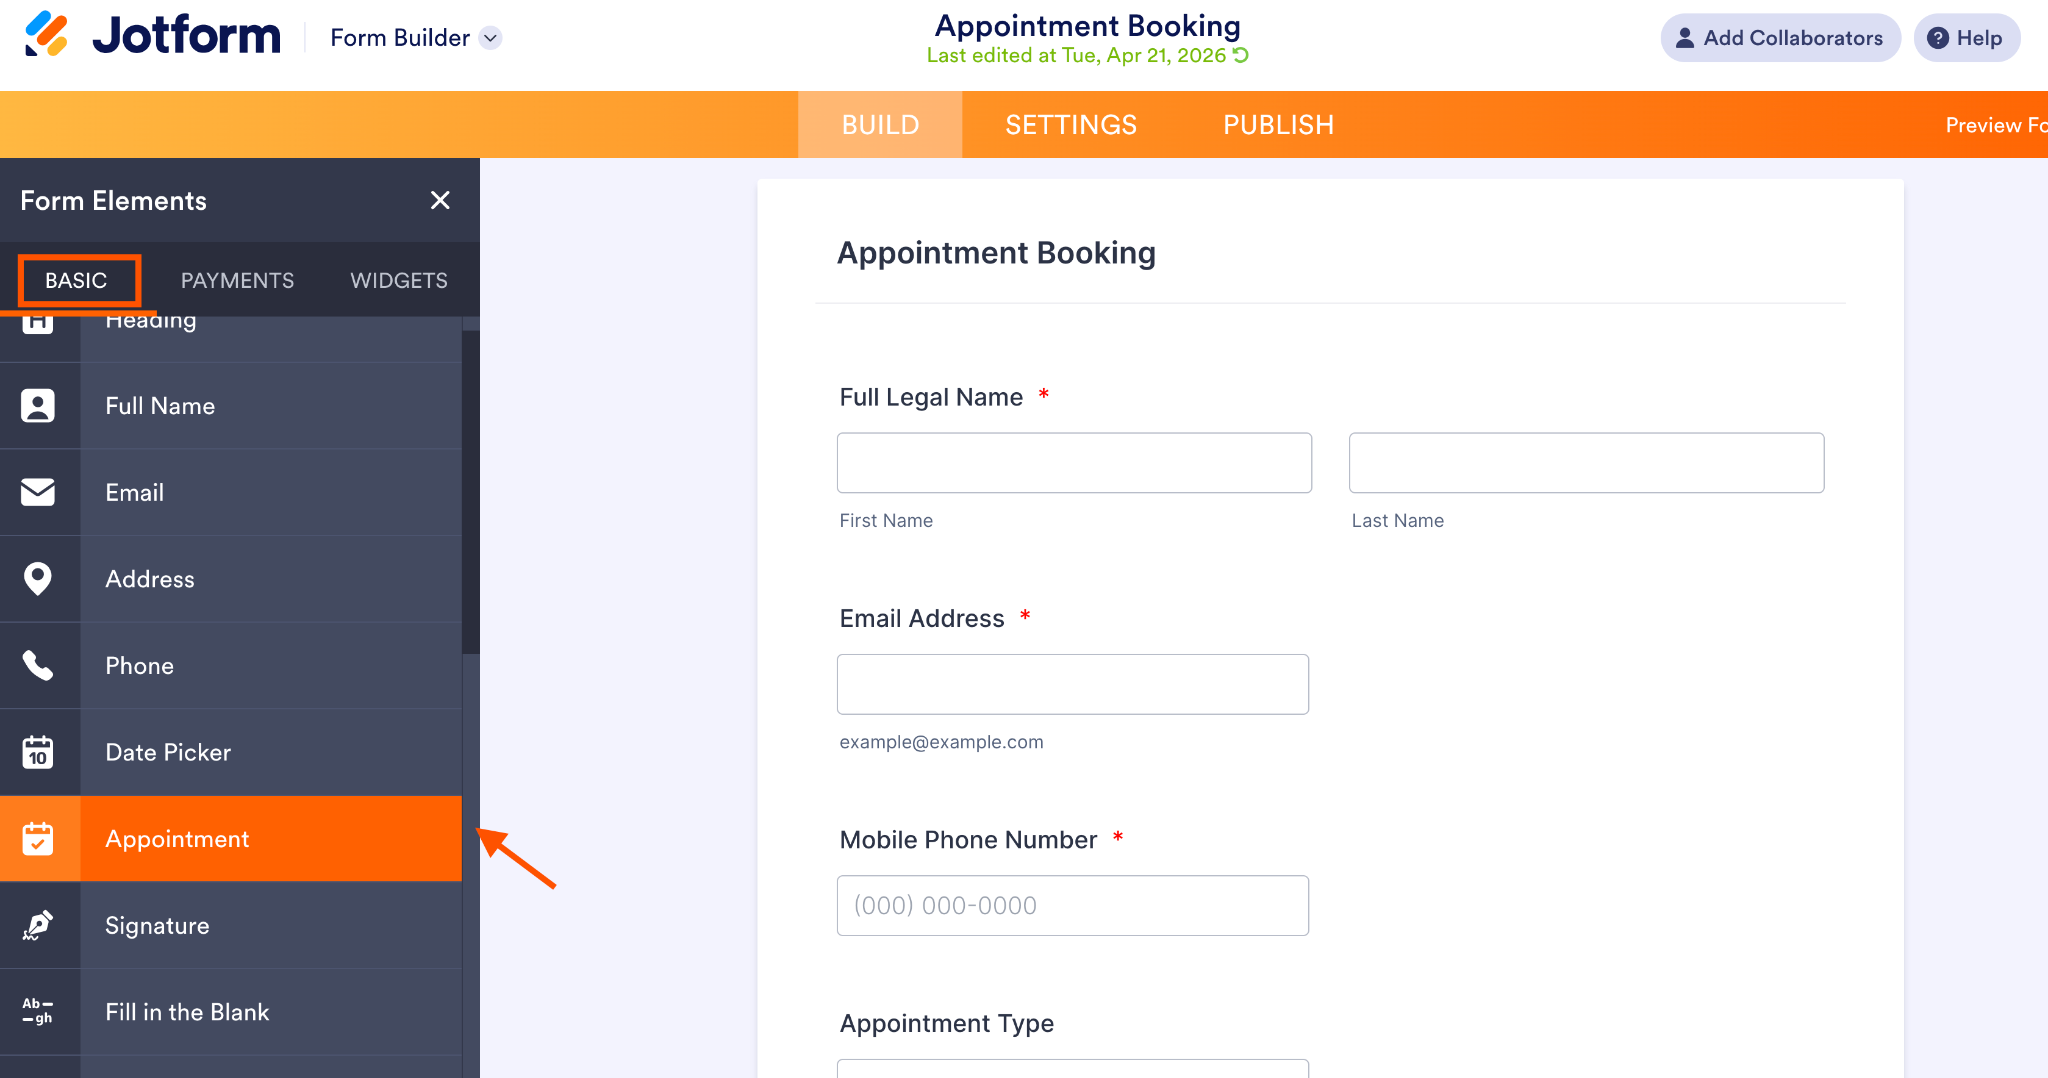
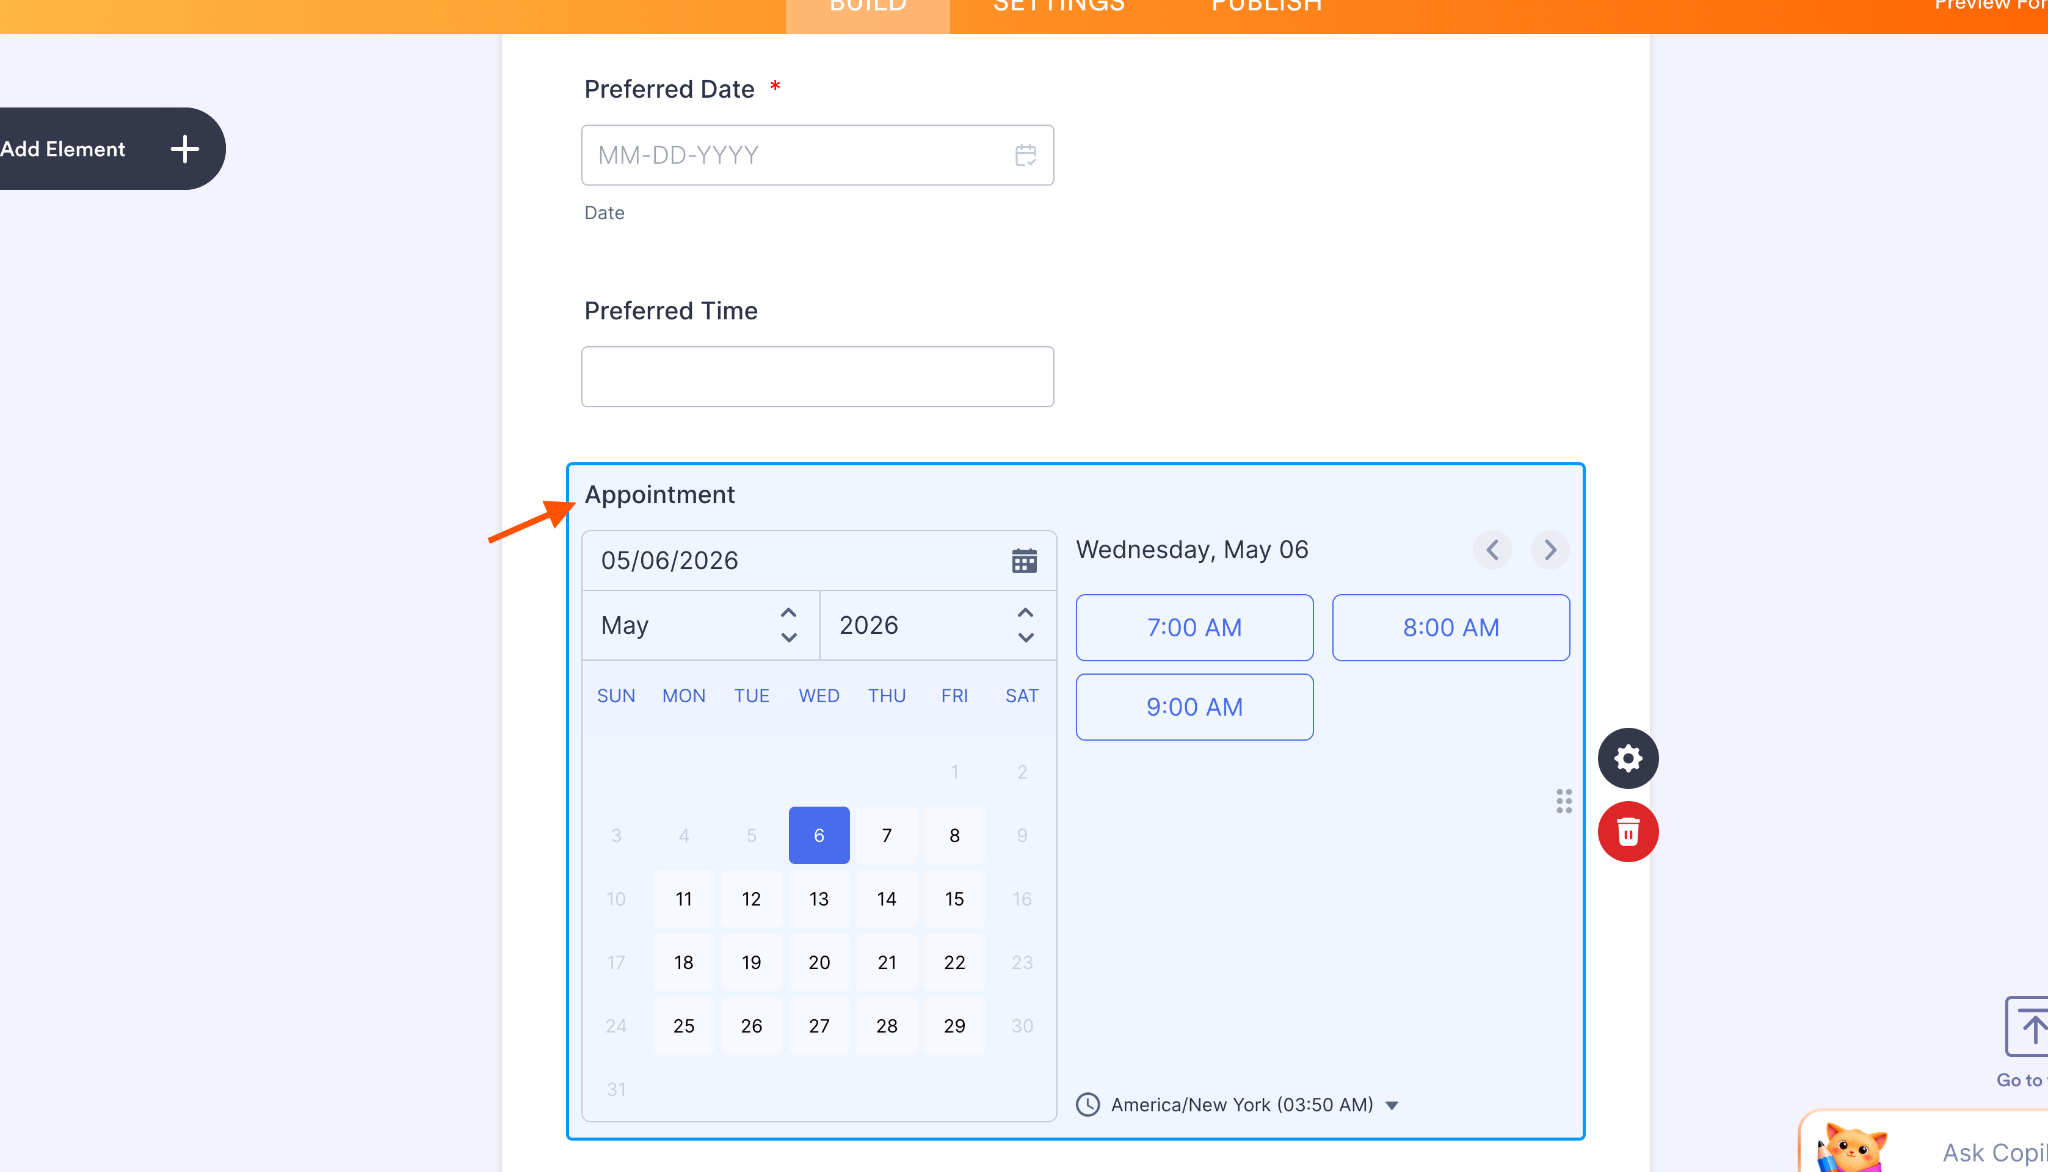
The Appointment element automatically shows only available time slots, and each response is stored on the Jotform platform. You can even collect payment through the same form with Jotform’s payment processor integrations.
If you want your appointments to transfer directly to your Google Calendar, there’s an integration for that too. Jotform’s Google Calendar integration automatically creates a new event on your calendar for every completed appointment form your clients submit.
Pro Tip
Save time and eliminate the hassle of back-and-forth scheduling with an AI phone answering system, automating your appointment management for maximum efficiency.
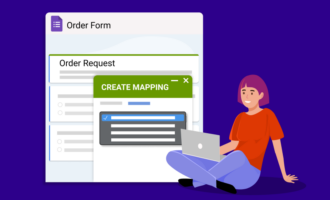
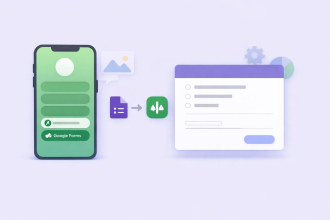
Migrate your Google Forms to Jotform with a single click
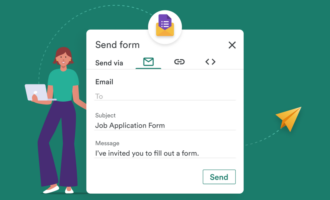
Want to try Jotform but worried about rebuilding forms you’ve already created in Google Forms? Good news, you don’t have to start from scratch. With Jotform’s Google Forms import tool, you can migrate your Google Forms to Jotform in minutes.

Migrate existing forms instantly
There’s no need to rebuild your online forms from scratch. Instead, migrate existing forms and submission data into your Jotform account in one click — so you can collect data without skipping a beat.
Bring your forms over, customize them with Jotform’s advanced features, and start using Jotform for free today.
See also Jotform’s detailed guide about: Google Forms


Send Comment: