
When your business consists of just a few buddies working out of a garage, an employee directory may be the last thing on your mind. But having an employee directory will become important sooner than you might think.
At the early stages of a business, everyone may still know everyone. But it’s important to keep track of information, and if you don’t, things can get out of hand pretty quickly.
Yes, you’ll want to keep track of names, addresses, and phone numbers, etc. But there’s a lot of other information that’s important to collect as well. For example, you may want to keep track of resumes, onboarding notes, skills, and opportunities for growth.
Whatever it is you decide you need to track, you can do it with Jotform. Of course, all businesses need forms, but Jotform provides many tools you wouldn’t normally find in a form tool.
Many of our tools can help you manage your whole business, including your employee directory. On top of that, Jotform is affordable and lets you do a lot for your business without a single line of code.
Employee onboarding
A good time to start collecting employee info is immediately after you’ve hired someone. A simple form to collect their contact and other essential info is easy enough to make with Jotform. There are many templates to help you get started.
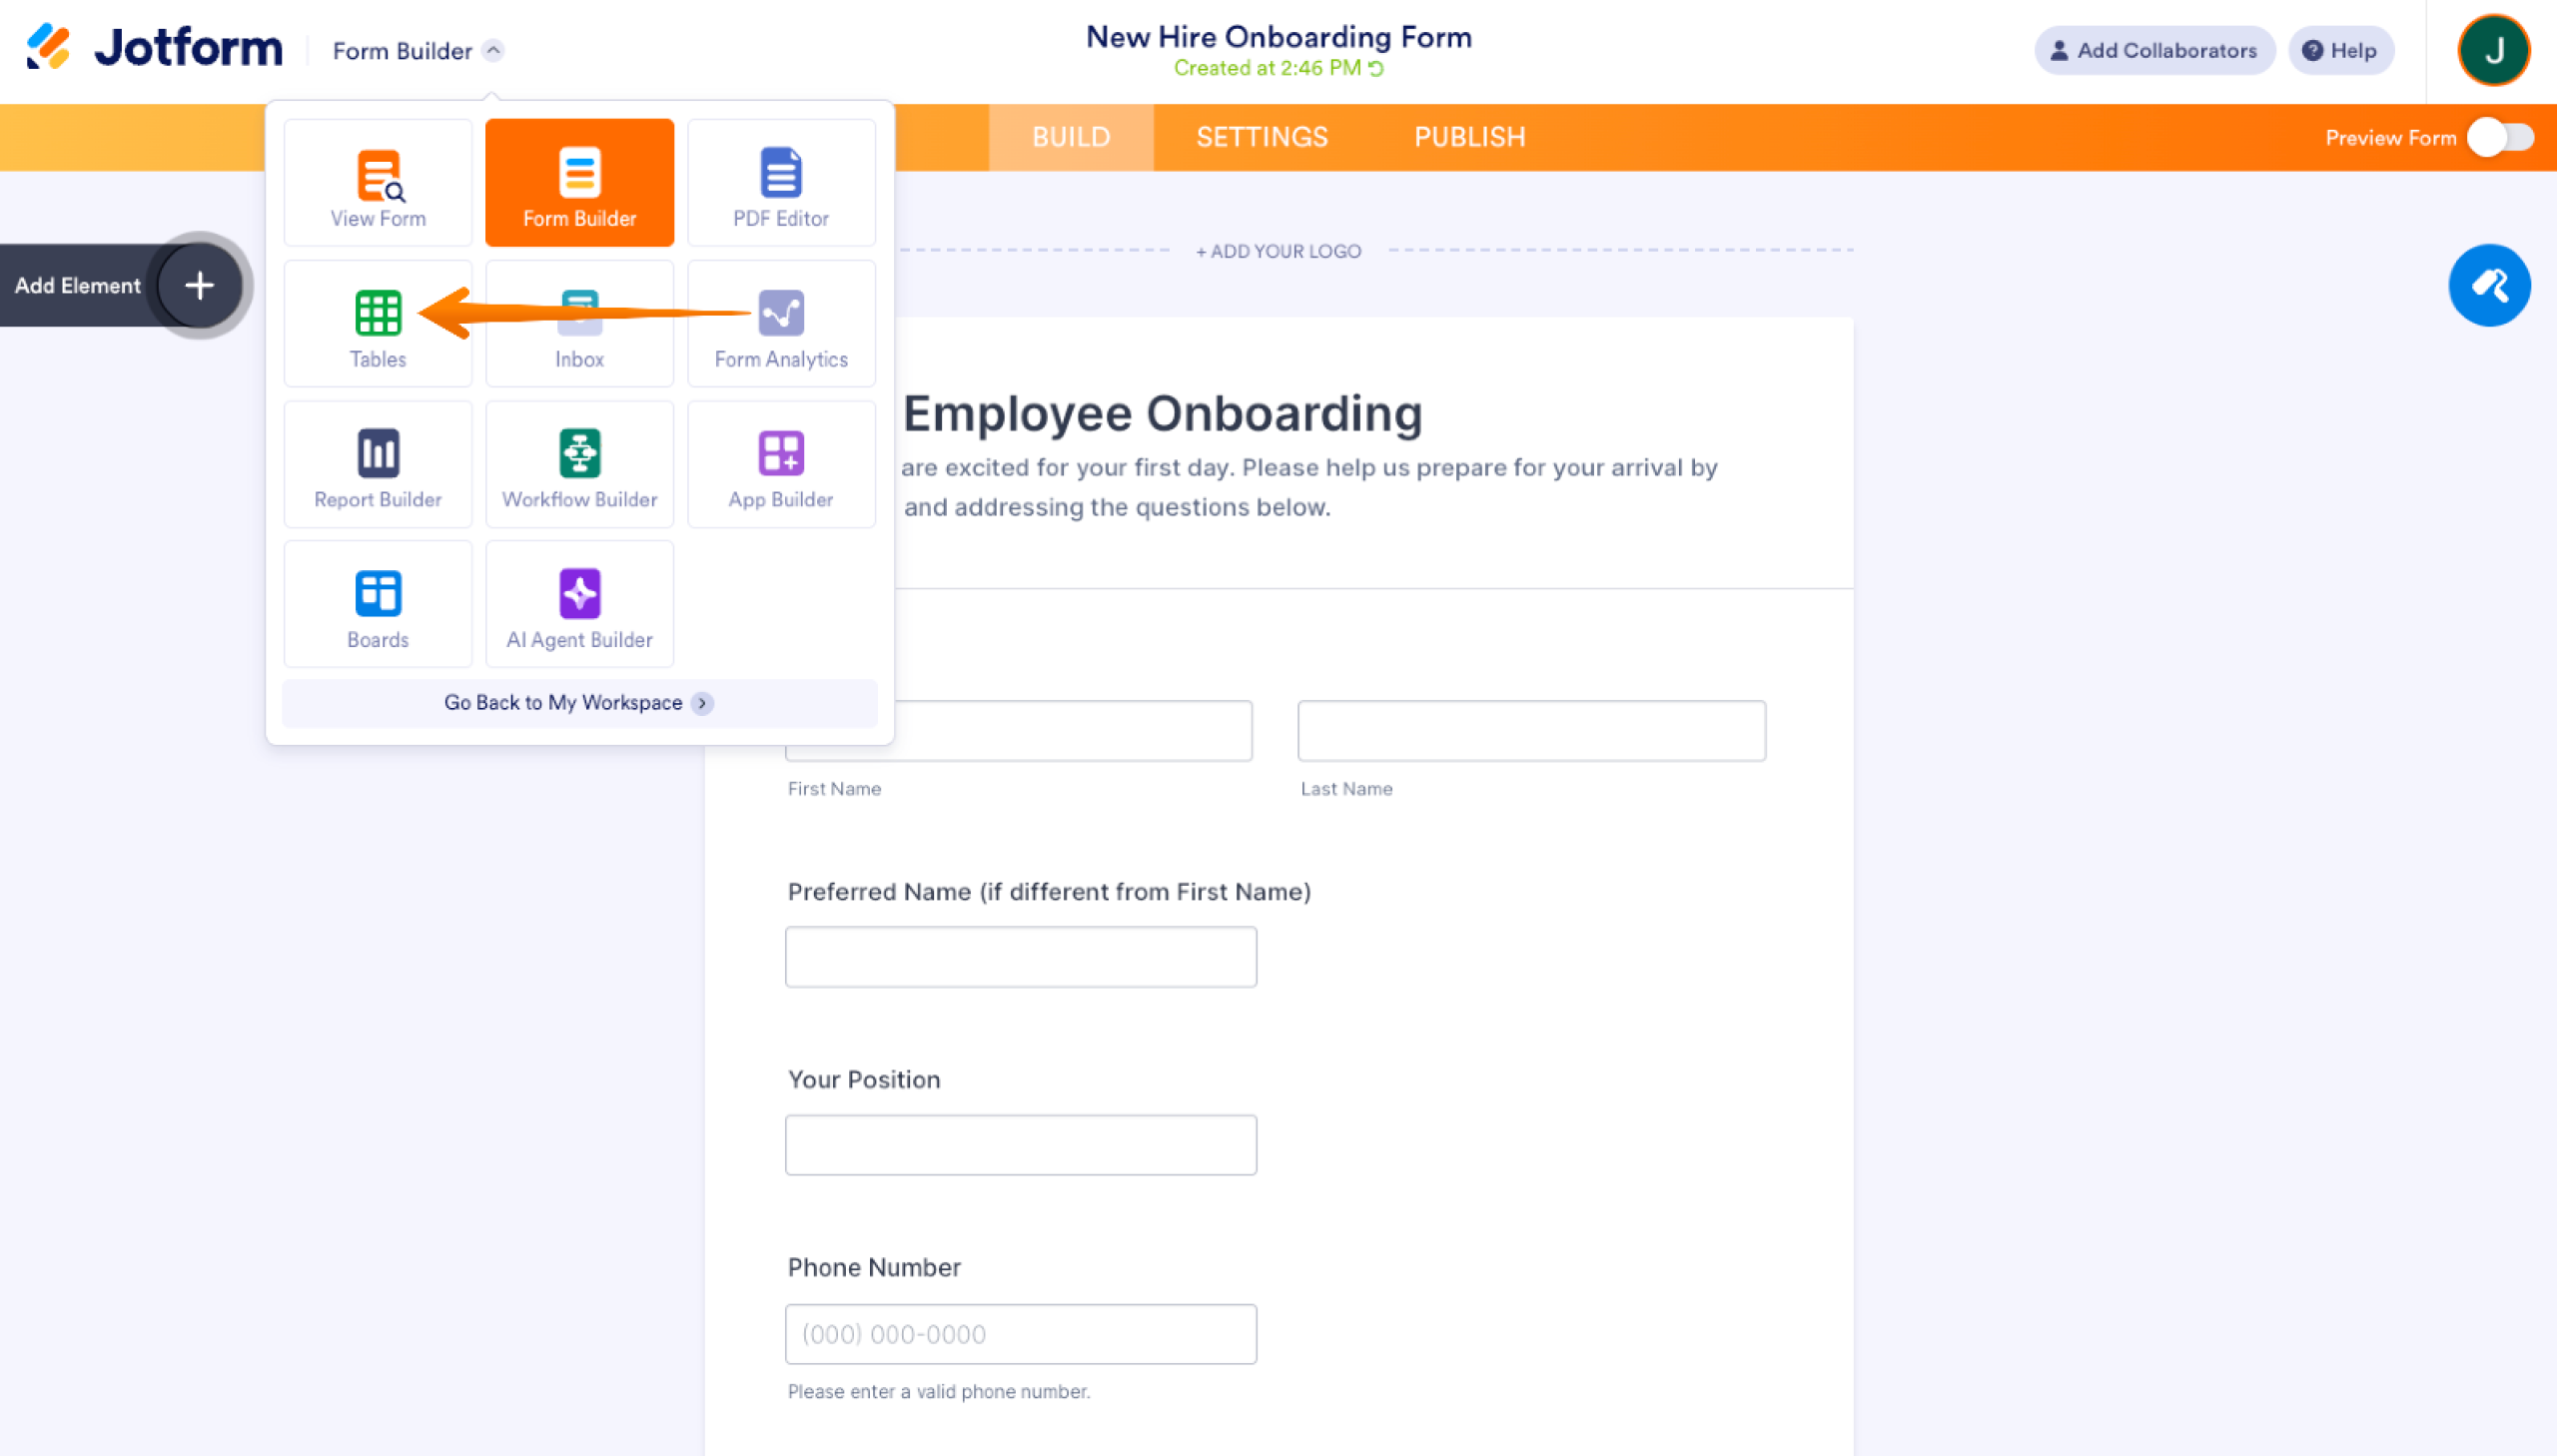
For this example, we’ll use the first option: New Hire Onboarding. It’s a good, basic form that you can build to suit your needs. You can also customize it with your company logo, fonts, and other branding.
Once you’ve finished setting everything up, you can check out Jotform Tables by clicking the dropdown in the upper left-hand corner. Tables is a dynamic spreadsheet tool similar to Airtable. Jotform will store all of your onboarding submission forms there.
That form is great for collecting an employee’s info. But as mentioned, you may want to keep their resume handy as well as any observations you and others made during the hiring process. So you should create another form for the more sensitive info. Jotform has hundreds of templates for other employee information you can choose from.
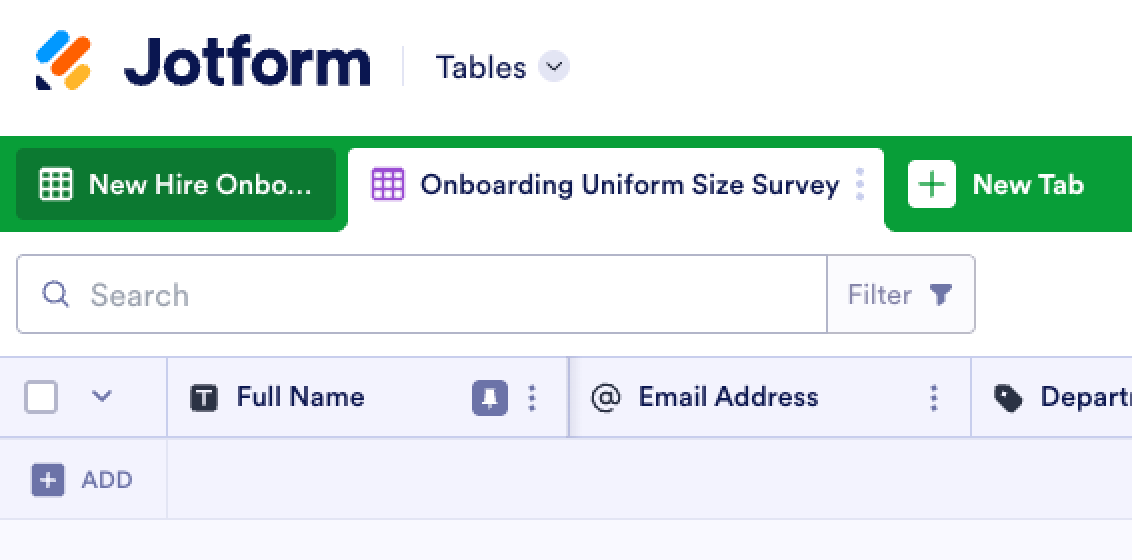
Now, to connect your new form to your onboarding table, you have two options. You can create a new tab dedicated to that form, or you can add columns to the existing view. To add a new tab, click the New Tab button above the table and connect a new table view to the second form.
Next, you’ll need to select the visible form fields. They’ll all be available to you at any time. This step just shows which ones will be visible by default. You can also choose to display information like Submission IDs, IPs and dates which Jotform keeps track of.

Once you’ve added your new form, you can see all the info for either of them by switching tabs.
If you want to add more columns, click the ADD button at the top of the empty column furthest to the right. Now select the column type you want to create. You can choose from many different custom columns, formulas, buttons, or just add a field from another form yours. Choose one and click on Next.
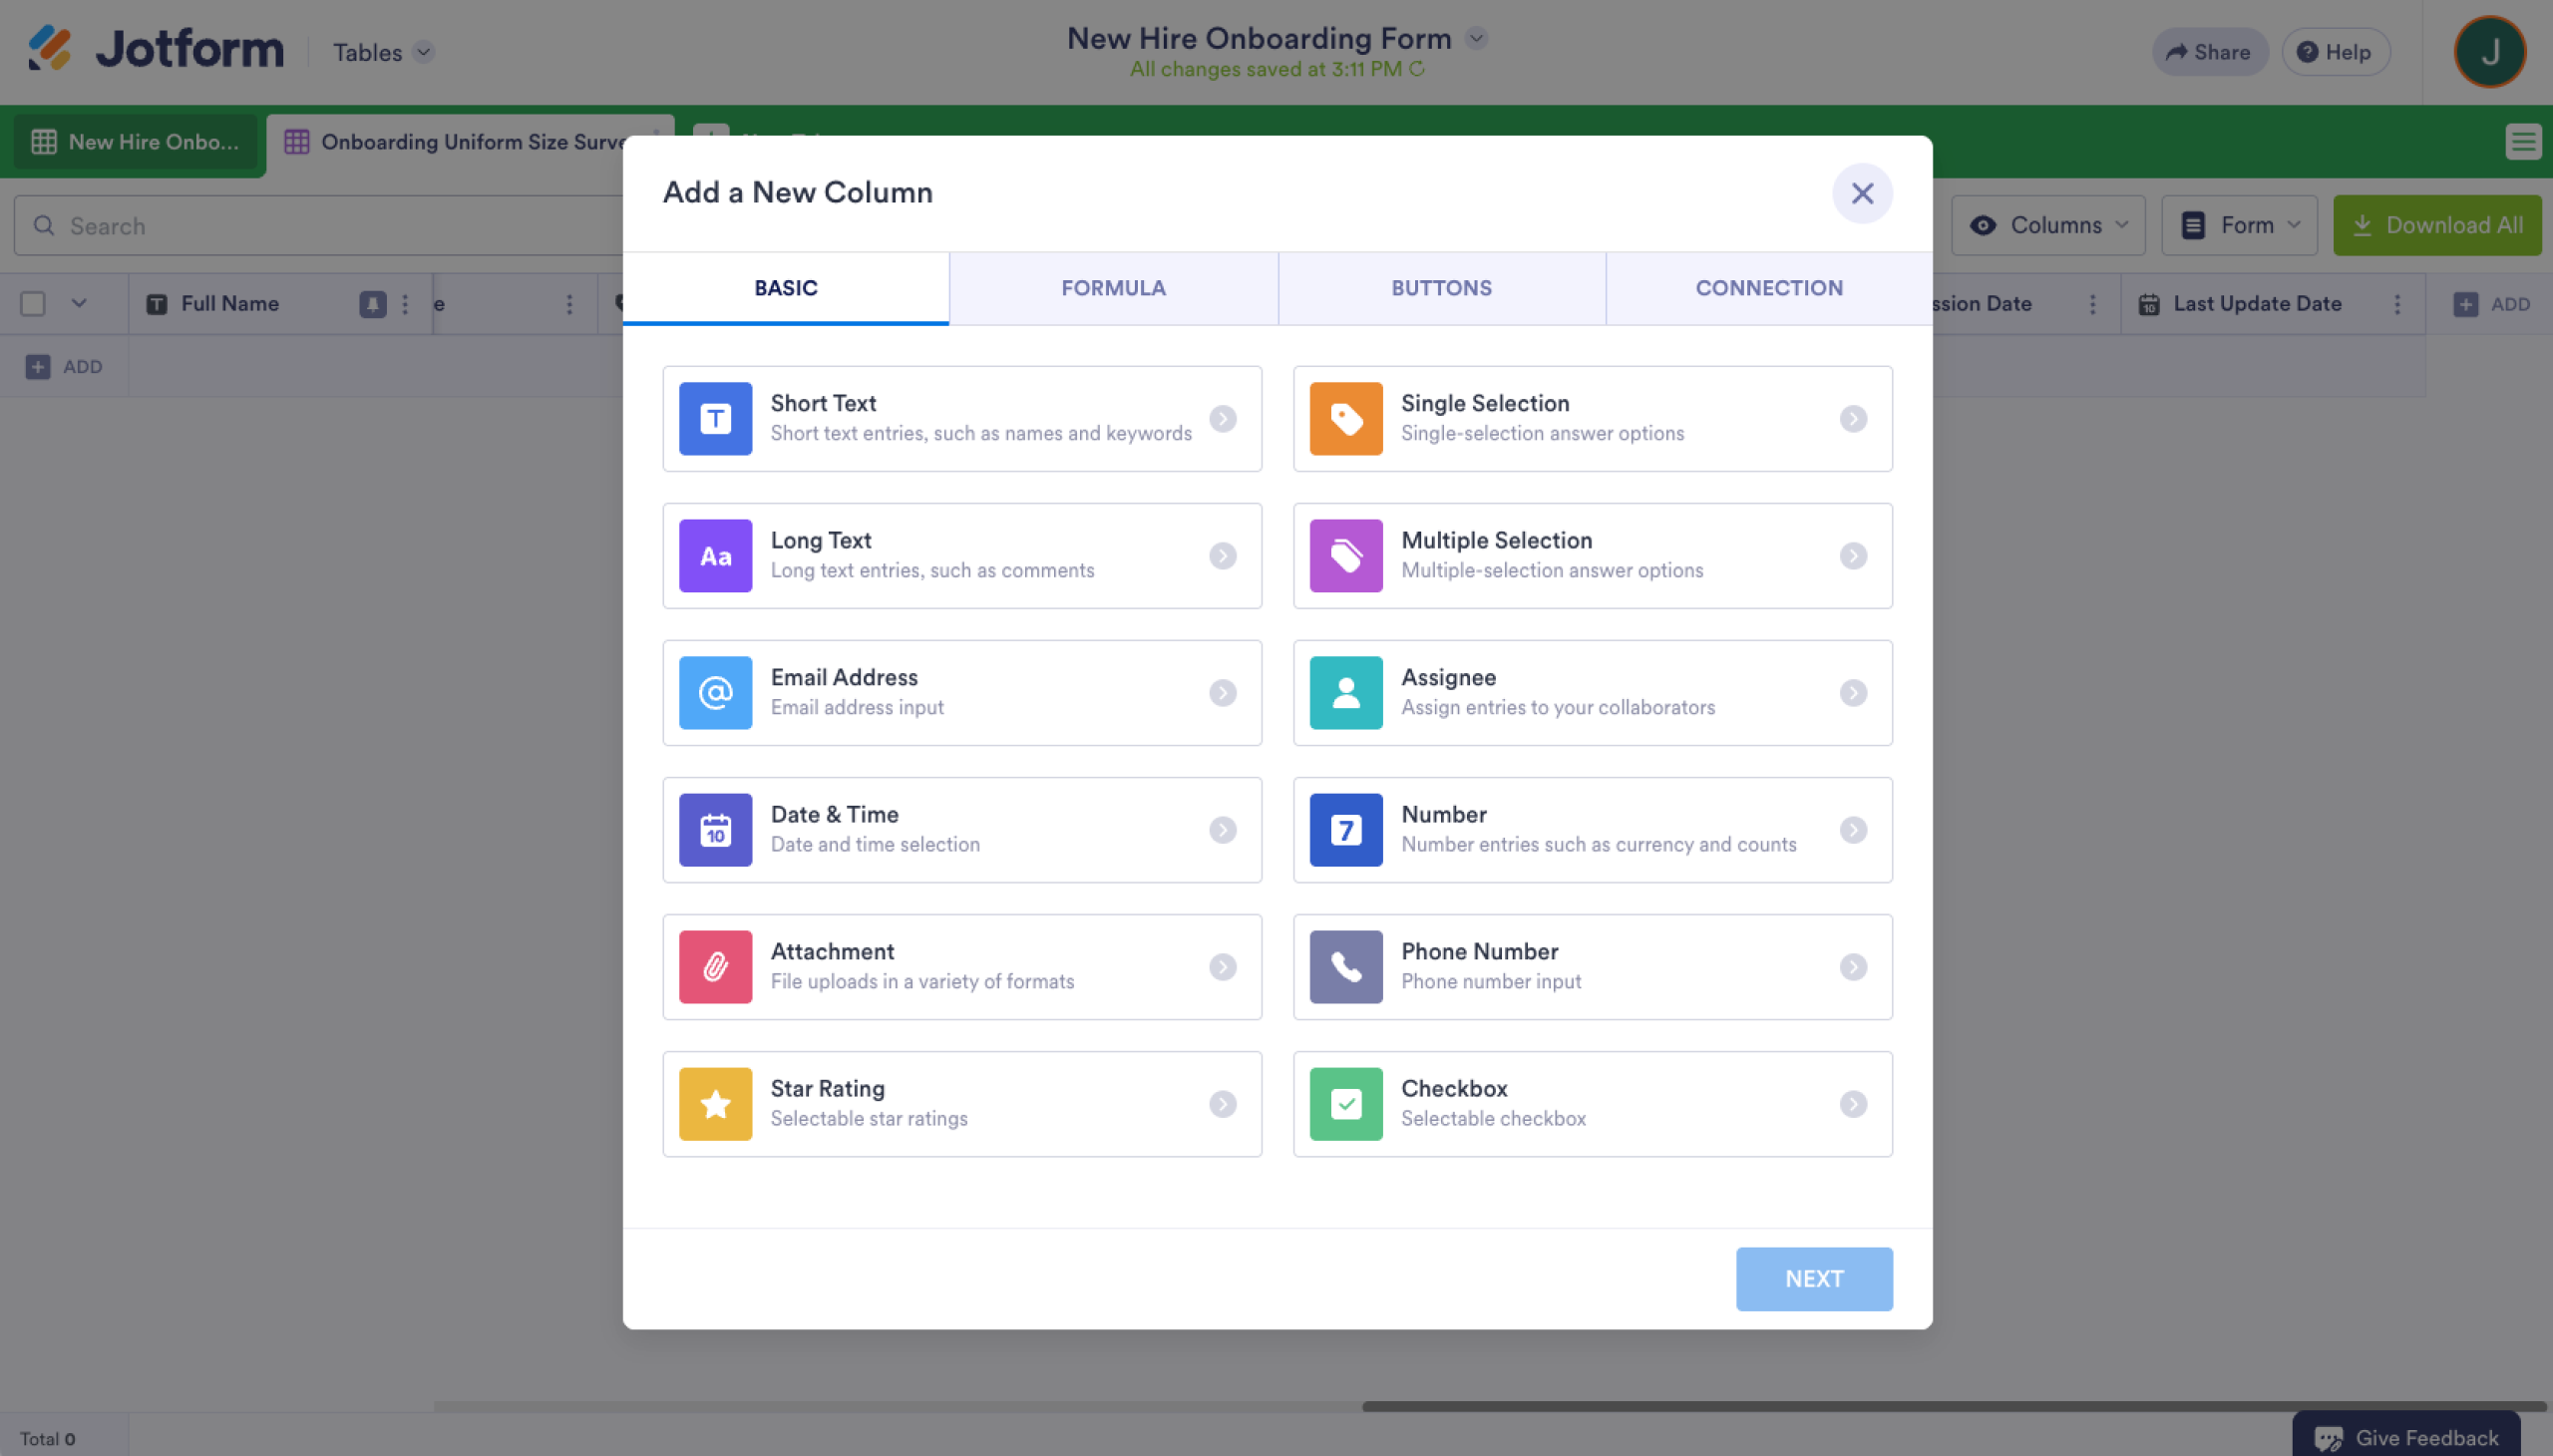
For the last step, give a name to your column. Click on Create Column to add it to your Table.

Pro Tip
Want an even faster way to collect and organize employee details? Try Jotform’s Employee Directory App Template. It lets new hires submit all their information in one place and automatically syncs everything into an easy-to-manage directory.
Search, sort, and filter: Ways to find employees
Now that your employee info is safely stored in your Jotform table, you can access the data just like you would with a database — except there’s no programming required.
There’s a search bar right above your column data. Next to that is a Filter button. If you click that, you’ll see several options.
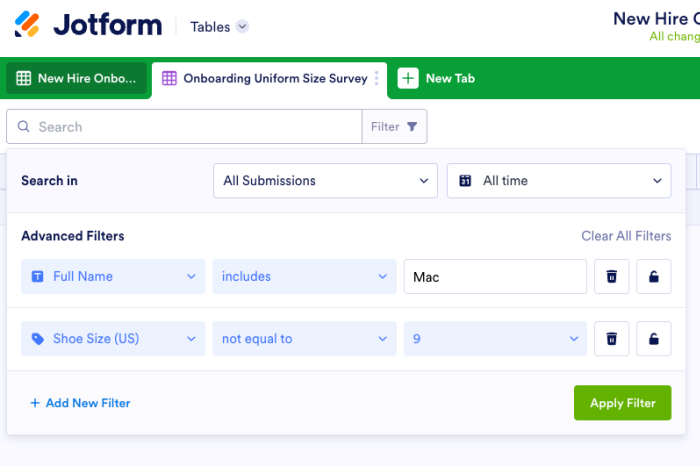
You can search for specific submissions using the Search Bar at the top. You can also set filters to limit viewed data. You can choose to view specific fields that has certain data you are looking for, or choose to exclude them from the dataset in front of you.
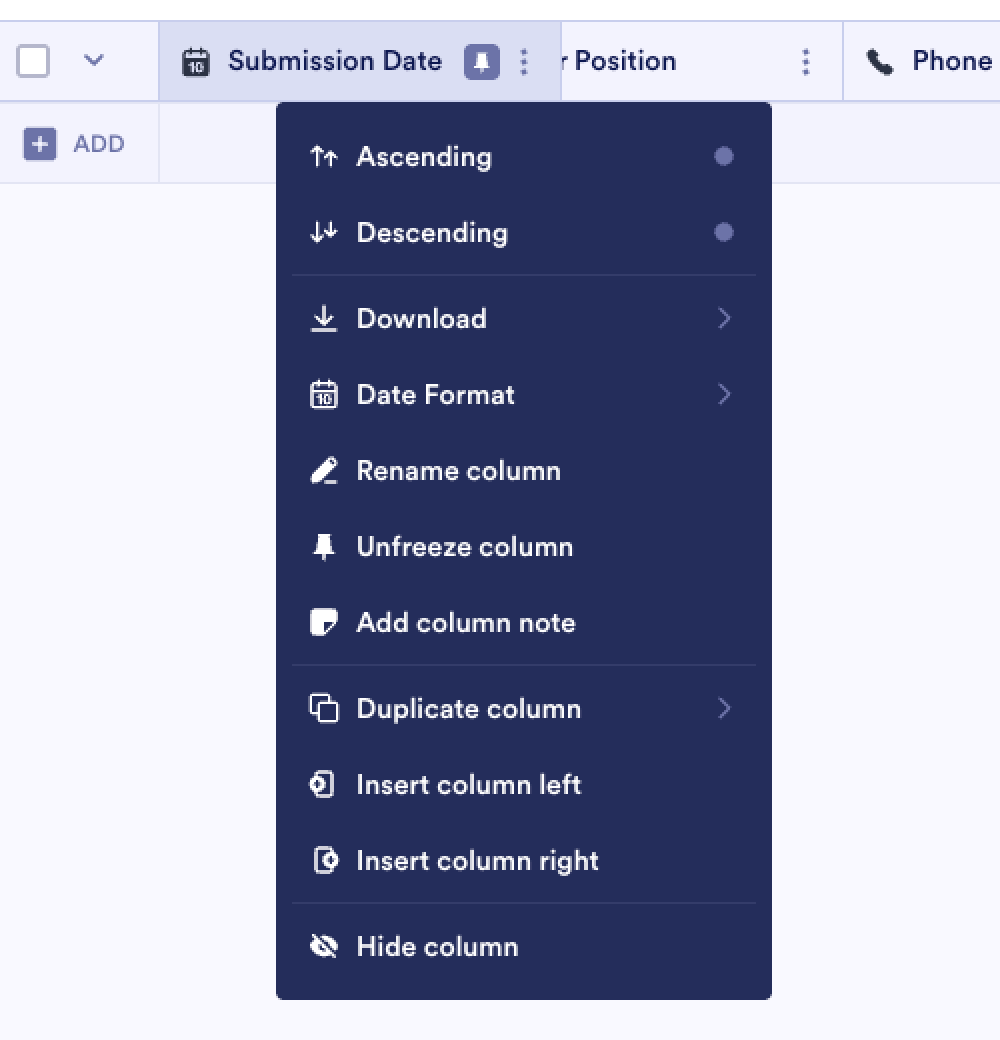
Sorting works just like it does with a spreadsheet. Just click the three-dots icon next to the header of the column you want to sort.
Data security
By default, you’re the only one who’s able to access Jotform table data. But if you want to share that data with others in your company, it’s easy. It works just like sharing documents in Google Drive. Click the Share button in the upper left-hand corner to get started.
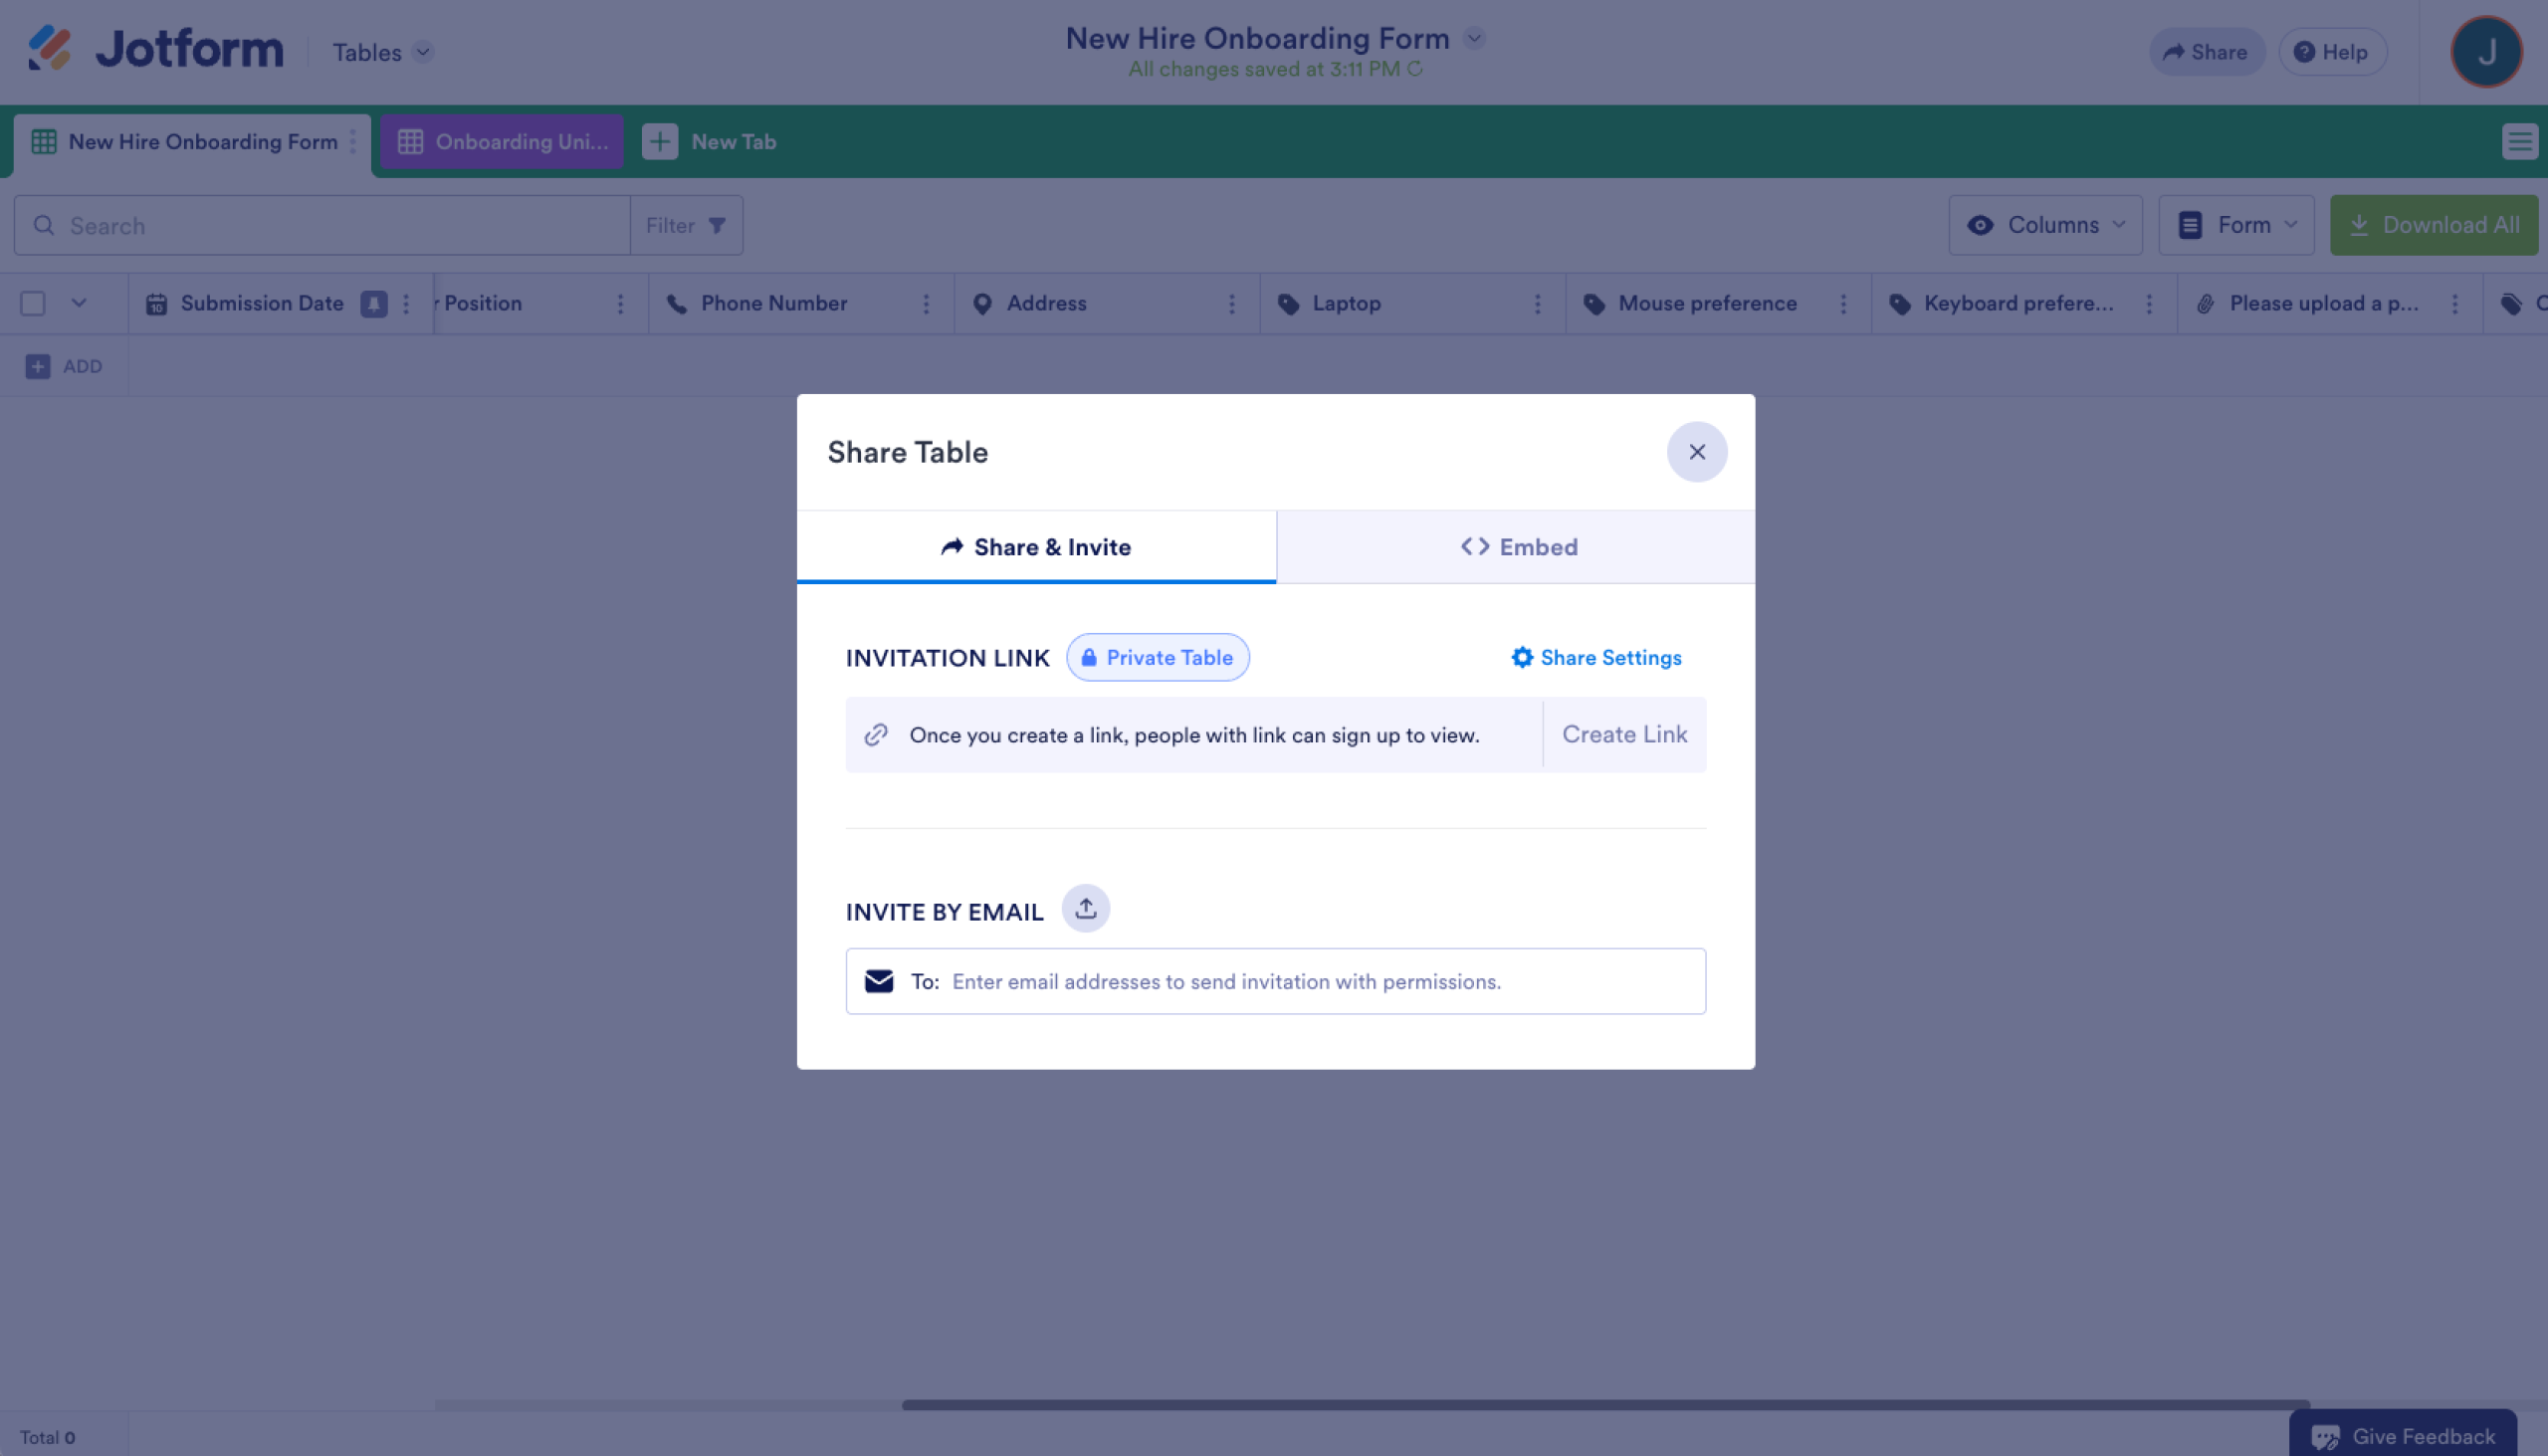
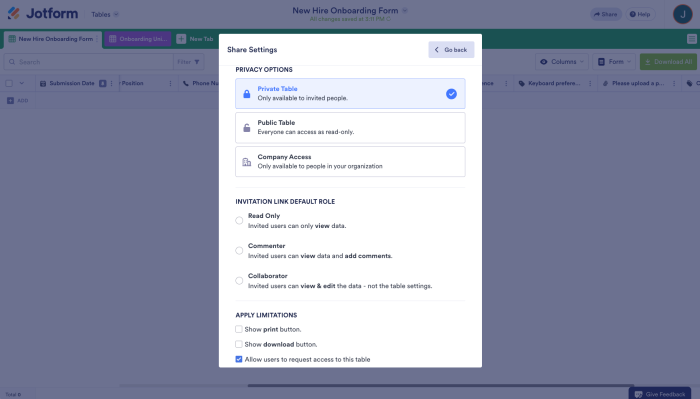
Jotform gives you some handy extras to customize your form’s accessibility as well. Click on the Share Settings button to check those out.
Further steps
You may want to store additional data about your employees, such as commendations, special training availability, system credentials, and more.
Your Jotform tables aren’t strictly limited to employee data either. You can use them for all sorts of data. Whenever your business needs to track some data, you can create a new form for entry and manage it with Tables.
If you really want to get organized, Jotform has templates to help you get up and running with Tables as well. Here’s one of our CRM templates to build off of. You can also use templates like an employee details form to easily collect and organize staff information in one place. Basically, whatever your growing business needs, Jotform has your back.
This guide is for founders, operations and HR leads at startups and growing SMBs who need a simple, no-code employee directory that scales.


")


Send Comment: