Your e-commerce platform can make all the difference in how your business performs. While many store owners trust BigCommerce for their online sales, some find the platform misaligned with their operational needs and budget.
Such organizations may choose to migrate to a different platform, such as WooCommerce. But making this switch comes with the challenge of transferring important product data.
In this guide, we provide step-by-step instructions for BigCommerce-to-WooCommerce migration, covering various transfer methods and important considerations.
Why migrate from BigCommerce to WooCommerce?
Although BigCommerce is a capable e-commerce platform, a few constraints lead teams to consider BigCommerce alternatives such as WooCommerce. Compared with BigCommerce, users often find that WooCommerce offers the following benefits:
- Increased flexibility and customization
- Full store ownership
- More predictable and manageable costs
- A vast plug-in library through WordPress
- Improved SEO performance
Developers may prefer WooCommerce for its open-source nature, and agencies may prefer it for its simplicity and scalability. Whatever the reason you choose to migrate, it’s important to take the proper steps to transfer your e-commerce data.
What you need before you begin
Before starting your BigCommerce-to-WooCommerce migration, you’ll need to choose a hosting provider for your WooCommerce site. Your choice in hosting provider will determine your site’s speed, stability, and security.
WooCommerce offers a list of recommended hosts to help you decide, but you should also consider these major factors::
- Meeting WooCommerce’s basic hosting requirements
- Access to free migration services
- Free SSL certificates for security
- Server-side caching
- Daily automatic backups
You also need to back up your BigCommerce data before beginning the migration to ensure nothing gets lost if there’s a malfunction. You can back up your data manually by exporting it (a time-consuming process) or use a third-party tool that backs it up automatically.
Part of the migration process will also involve transferring your domain. To ensure your website’s performance remains consistent after transfer, you’ll need to perform some of the following steps:
- Create 301 redirects from BigCommerce to WooCommerce to maintain SEO rankings.
- Update DNS settings with your domain registrar to point to your new WooCommerce host.
- Ask customers to reset their passwords.
- Reconfigure payment gateways and shipping providers.
- Re-host product images as you list your products on your website.
After completing these steps, you can begin importing BigCommerce data to WooCommerce.
How to prepare your BigCommerce store for export
Before you learn how to sell online with your new WooCommerce site, you must first extract your store data from BigCommerce. There are three key data categories you’ll need to export: products, customers, and orders.
You’ll need to export each individually using BigCommerce’s export tools, but the good news is, the process is the same for each data type. Here’s a high-level overview:
- Navigate to Orders, Products, or Customers.
- Select the Export option under each category.
- Choose an Export Template or create a new one.
- Pick your preferred file format. It’s best to use either a CSV or XML file format.
- Run your Export.
- Repeat with each data type.
Keep in mind that your data will not yet be ready for the BigCommerce-to-WooCommerce migration. To accurately migrate a BigCommerce store to WooCommerce, you’ll need to clean up your data to include only necessary fields and avoid duplicating product variants.
Methods to import BigCommerce to WooCommerce
Once you’ve exported your e-commerce data from BigCommerce, you can then transfer it to WooCommerce. There are a few ways to do this: manually, using built-in WooCommerce import tools; using WooCommerce migration plug-ins; or hiring a professional to do it for you.
If you want the migration to take you as little time as possible, hiring a professional can save you the hassle, but for a fee. Self-service methods are typically free.
If you have a large store with complex data and want to save time while ensuring your data is managed accurately, you might use WooCommerce migration plug-ins. For small stores with simple data, using built-in WooCommerce import tools gives you the most control and eliminates plug-in costs. However, this process also requires the most work from your team and leaves the most room for error.
If you prefer using one of these self-service methods to import BigCommerce to WooCommerce, follow along as we break them down.
Using a migration plug-in: Step-by-step
The first step of using WooCommerce migration plug-ins is to choose a solution that best suits your needs. Many users choose one of two popularly recommended WooCommerce migration plug-ins:
Depending on which solution you use, your setup process will vary. However, your solution will likely provide the information necessary to implement your plug-in. You may even have access to migration specialists who can help, but using this service will likely cost you an additional fee.
Either solution can migrate a wide range of data types from BigCommerce to WooCommerce, including
- Products
- Images
- Customers
- Orders
- Manufacturers
- SEO
- Coupons
- Reviews
- CMS pages
- Blogs
While a third-party WooCommerce migration plug-in may reduce some of the technical headaches associated with the BigCommerce-to-WooCommerce migration, there are still a few best practices to follow to keep your data safe and ensure it’s effective on the other side:
- Use a staging environment: Avoid migrating to a live site. Creating a staging environment allows you to test functionality and data integrity before it goes to your customers.
- Perform a thorough backup: Although WooCommerce migration plug-ins can help maintain your data’s integrity, they are not immune to errors. Backing up your BigCommerce data before initiating the migration will ensure you have an accurate copy to pull from and cross-reference if something goes wrong.
- Prioritize SEO protection: Some plug-ins can help create 301 redirects. Whether or not you use these tools, it’s essential to ensure your URLs direct users to your current site.
- Check for hidden metadata: Make sure all the vital metadata stored on your BigCommerce site is successfully transferred to your new site, because this is essential for both SEO and user experience.
- Audit data: Don’t migrate data you don’t need. Take the time to review your current BigCommerce data to identify outdated SKUs or other data points that can be removed before you import to WooCommerce.
- Check data integrity: After your data has been imported, it’s vital that you double-check your plug-in’s work. WooCommerce migration plug-ins can sometimes make mistakes, and it’s up to you to catch them.
Manual migration: When and how to do it
Small to medium-size store owners are used to taking charge of their online business operations, and migrating from BigCommerce to WooCommerce is no different. When transferring a small or simple dataset from one platform to another, using a WooCommerce migration plug-in may be overly complex or expensive.
For a free option that gives you full control over your simple datasets, use WooCommerce’s native import tools. Here’s how to get started:
- Export a CSV file of your product data.
- Open the WooCommerce Product CSV Importer and Exporter.
- Go to All Products, then Products.
- Select Import from the top menu.
- Select Choose File, click on the CSV you want to import, then click Continue.
- In the Column Mapping screen, check to confirm WooCommerce has accurately mapped your Column Names to the right Fields. Update as necessary by using the dropdown menus to adjust fields or set a field to Do Not Import.
- Once your fields are accurately mapped, click the Run the Importer button.
- Wait until your import is complete before navigating away or refreshing the page.
While this method will help you upload most of your product data, you’ll still need to make a few updates manually, which is one of the reasons this process is better suited for simpler datasets. After your CSV has been successfully imported, you’ll need to update
- Product imagery
- Metadata
- Descriptions
It’s also important to note that this method is limited to product data. For customer or order data, you’ll need to use a secondary tool compatible with the data type, because there is no native WooCommerce solution for it.
Using Jotform to simplify the migration
Whether you use a migration plug-in or manually transfer e-commerce data, you’ll need to manage the CSV file that contains the information before importing it. These files often need to be cleaned up, because mismatched SKUs, category errors, or incomplete descriptions can cause problems after import.
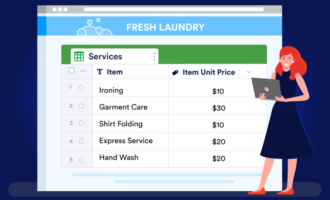
To simplify your migration process, especially with complex product data, Jotform’s Product List field makes it easy to review and organize your BigCommerce data before you update your CSV for WooCommerce.
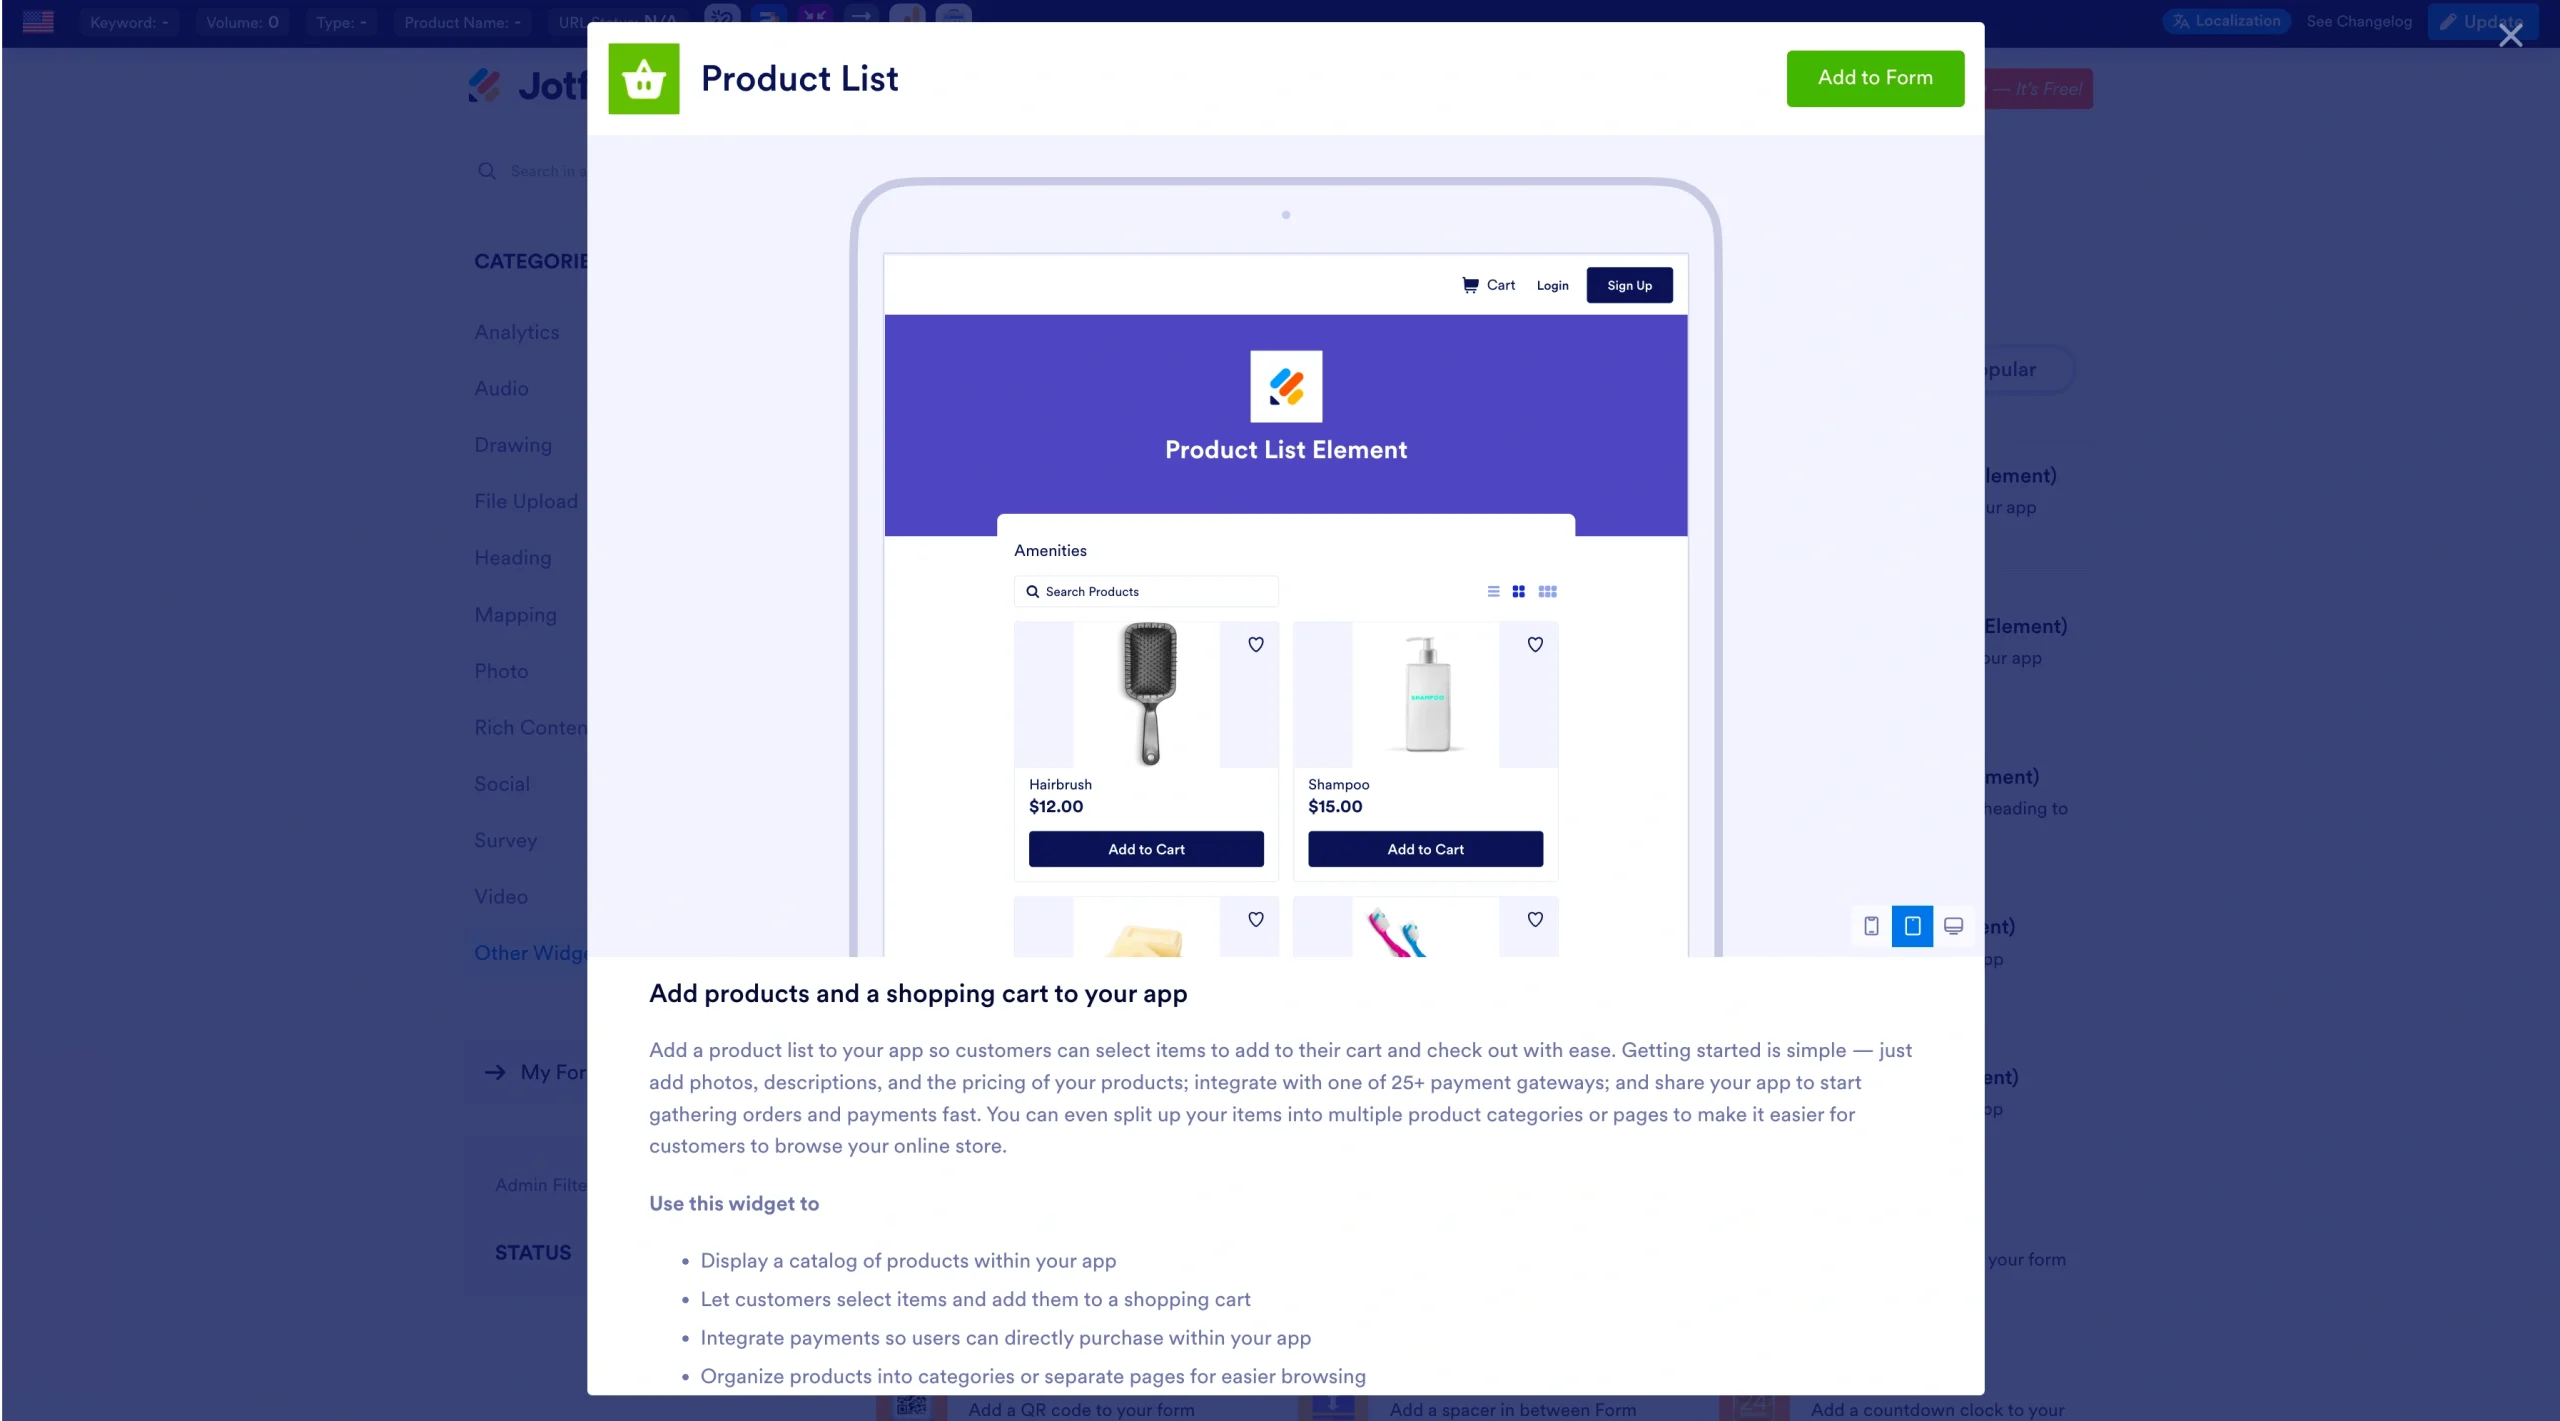
With this tool, you can easily
- Review and edit product names, prices, and descriptions to catch errors before migration.
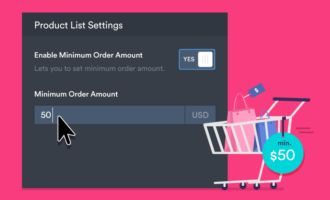
- Standardize SKUs and categories before updating your CSV for WooCommerce.
- Remove outdated or unnecessary items from the catalog.
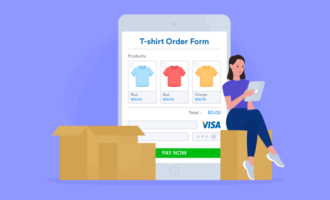
- Use your refined product list in custom order forms, wholesale catalogs, or preorder pages.
Here’s how it works:
- Export your BigCommerce products as a CSV file.
- In Jotform’s Form Builder, add a Product List field and click Import.
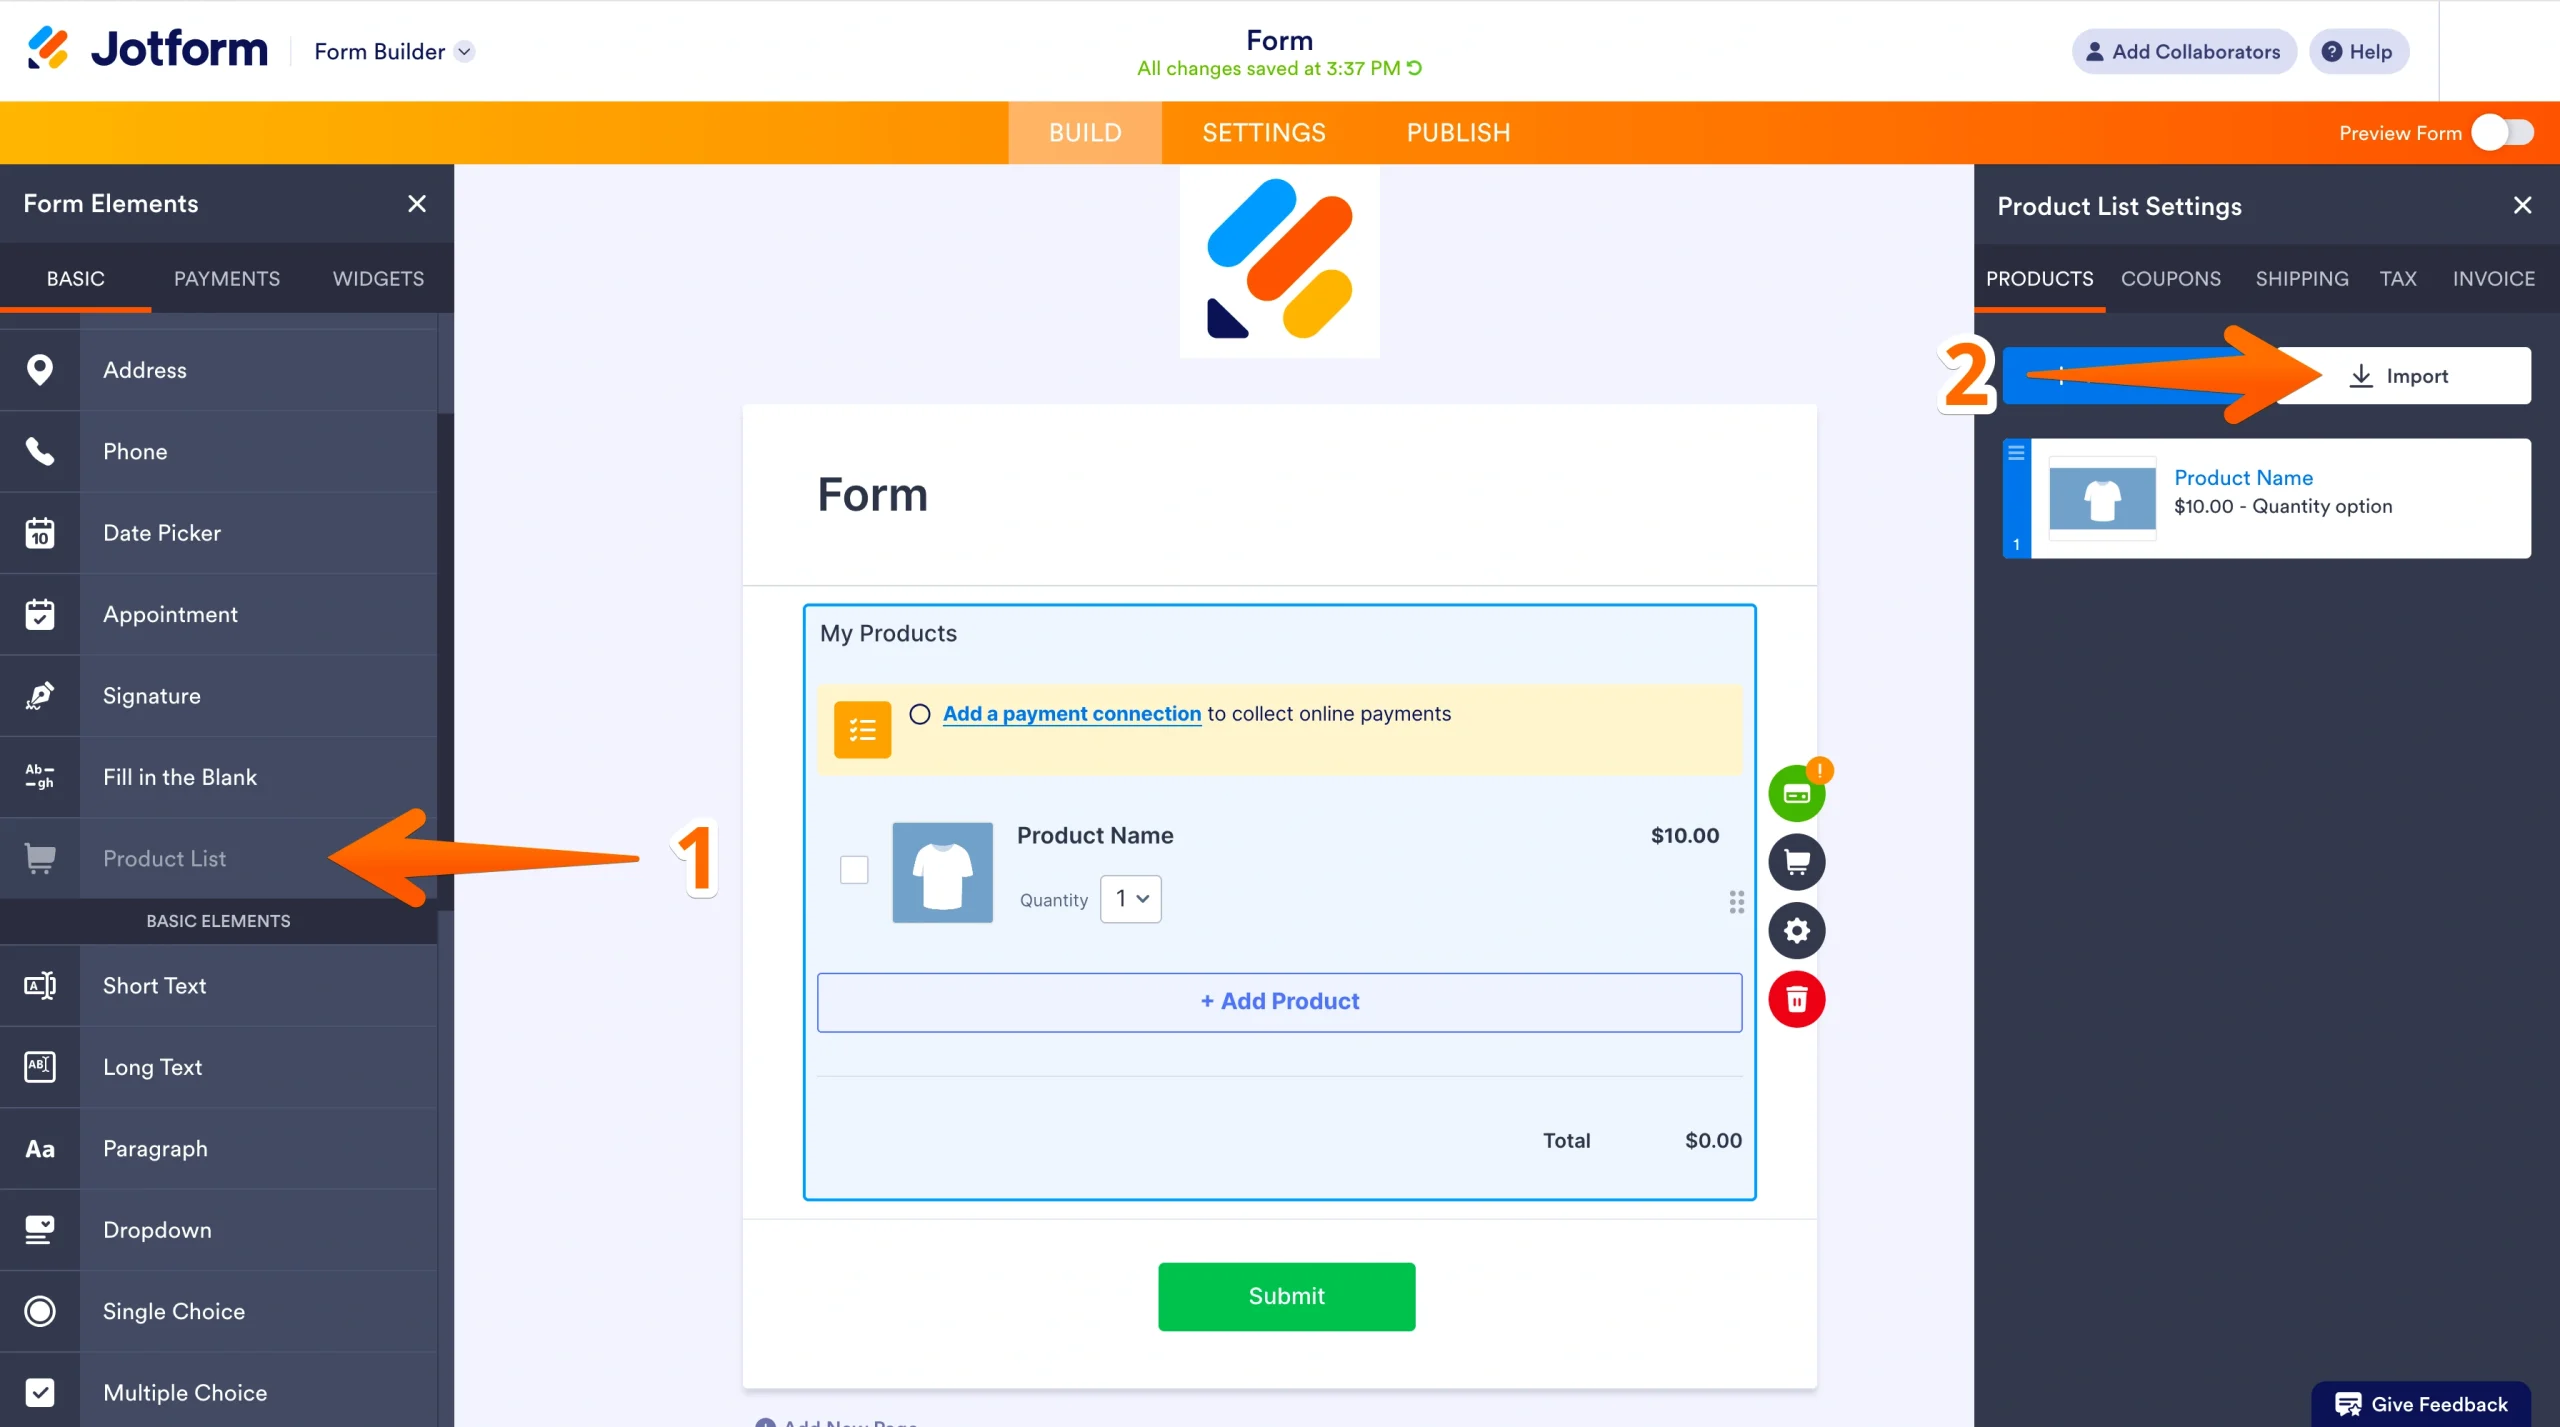
- Upload your CSV; Jotform automatically maps product fields including title, price, and SKU.,
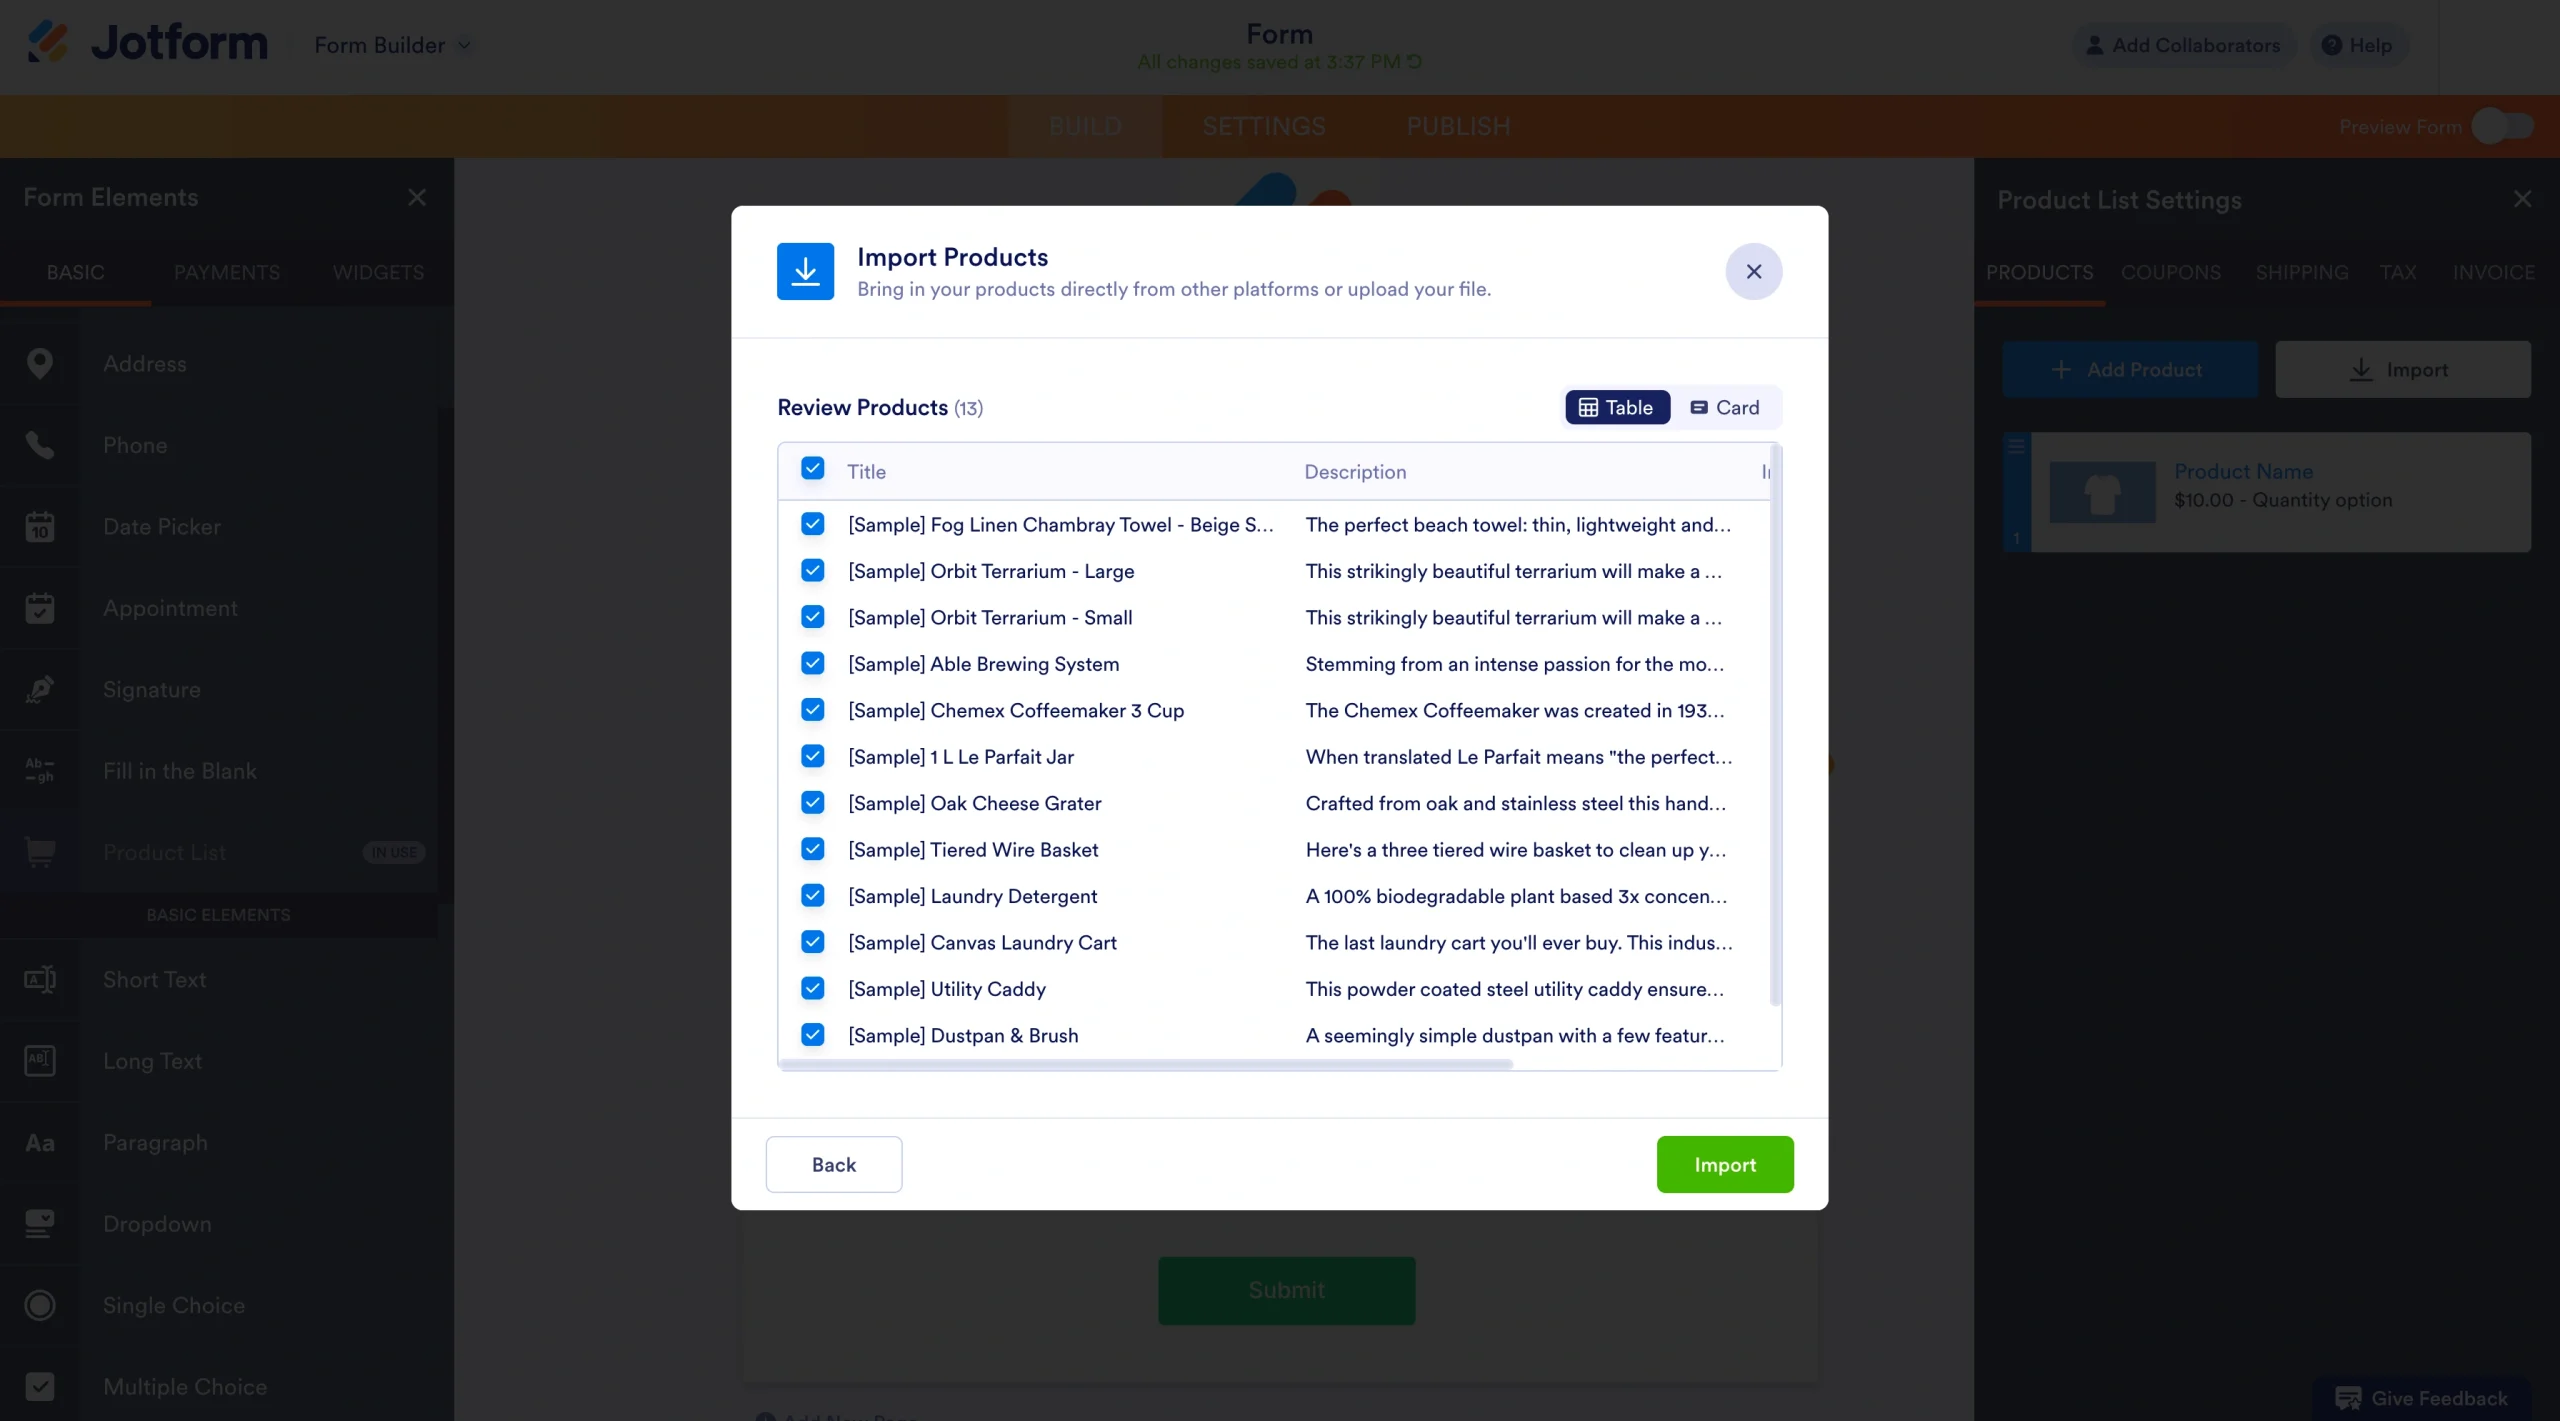
- Review, adjust, and finalize your product data. Apply your corrections to the original CSV file, then import it into WooCommerce.
Pro Tip
Because Jotform also supports ongoing WooCommerce imports, you can keep your product catalog organized and ready for updates by learning how to import products into your form.
Use Jotform to review your product data before migration
Successfully importing data from BigCommerce to WooCommerce requires attention to detail with your CSV files. Jotform’s Product List field can help you better manage your exported e-commerce data so that when you’re making updates behind the scenes, your customers are never inconvenienced and your business keeps on running.
This article is for ecommerce store owners, website operators, and digital agencies who want to import BigCommerce to WooCommerce efficiently and avoid data loss or downtime during the migration process.


Send Comment: